3
6. ACP9VBatChar- 2 9v rechargeable batteries with 2 bay charging tray and wall
power supply.
1.3 Setting up your Camera for 1st time use
1. Connect the Battery to the Camera and open the LCD screen.
2. Turn on the Camera and setup the camera for initial use
a. Initial use includes: Setting the time and date, choosing the recording
media (internal memory or SD Card)
b. Turn off Demo Mode (This mode will show a demonstration of the
cameras features if left into pause too long. This can interfere with the
operation of the camera if Demo Mode is left on. Consult your camera
manual on how to disable this mode as it will vary between camera
models.)
c. Turn Power Saving Mode Off (This mode will power off the camera if
left in pause too long. This can interfere with the control of the camera if
Power Save mode is left on. Consult your camera manual on how to
disable this mode as it will vary between camera models.)
3. Disconnect the Camera Battery. IMPORTANT: Do not leave the camera
battery connected to the Camera when also connected to the Air Potato Receiver.
This will cause the Air Potato Receiver battery to lose charge quickly, as it will
attempt to charge the battery attached to the camera
1.4 Setting up the Camera and the Receiver
. 1. Setup your tripod to your desired height.
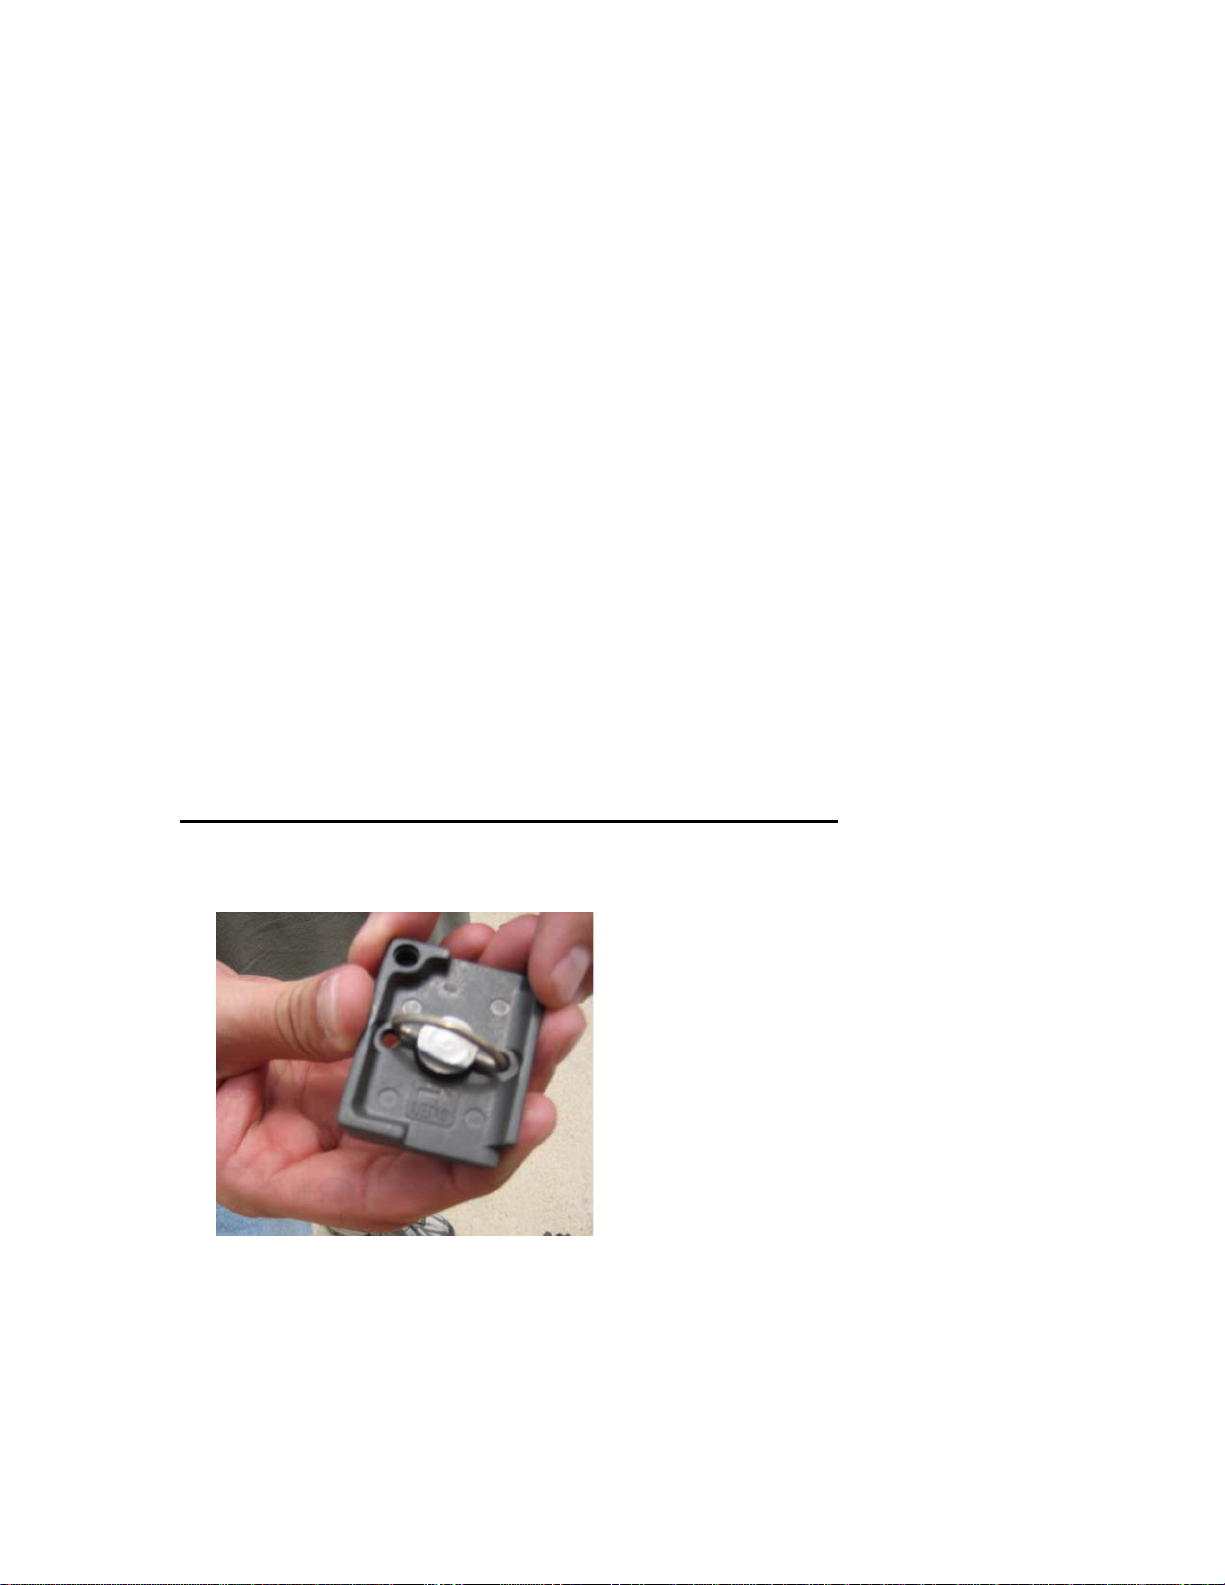
2. Attach the quick release plate from the tripod to the bottom of your camera
Picture of quick release plate that connects to the Camera, allowing it to be attached
to your tripod.
3. Attach the camera to the tripod. (NOTE: Do not attach the battery to the camera.
The camera will get its power from the Receiver)
4. Connect the charged receiver to the camera using the cable labeled Camera Power
to the DC Connection on the Camera
5. Connect the 2nd cable labeled Camera AV to the AV Port on the camera