Weccan Weccan-BT Heli User manual

User Manual
Warning
zPlease read carefully the complete user manual before flying and strictly follow the
instructions given.
zThis product is not suitable for children under 14 years old due to the danger of breaking off
and choking hazard of small parts.
zStay away from the product when it is turned on, Do not come closer or touch the rotating
parts as this may cause injury.
zDo not disasemble or rework the product as this may cause damage and void the warranty.
zDo not stick anything to the helicopter, it might not be able to fly as overloaded.
zAny Changes or modifications not expressly approved by the party responsible for
compliance could void the user's authority to operate the equipment.
zThis device complies with part 15 of the FCC Rules. Operation is subject to the following
two conditions: (1) This device may not cause harmful interference, and (2) this device
must accept any interference received, including interference that may cause undesired
operation.
Table of contents
1. Packaging content
2. Pre-work for playing
3. Application setting
4. Flying your iOS Heli
5. Triming your iOS Heli
6. Additional Function:
7. Products specification
8. Trouble Diagnoses
9. Use and maintenance

1. Packaging content
Main bldes (dual)
Stablilizer
Tail blade
Canopy
Power light
Trestle
USB Cable
User Manual
Connect button

Tail blades
2. Pre-work for playing
I. Download iOS Heli APP
Please download the free iOS Heli APP to your Apple device (iPod touch, iPhone 3, iPhone 4,
iPad, iPad 2 etc) by searching for iOS Heli or Weccan on iTunes orApple Store.
Note: The iOS system require for above V4.0
II. Charging iOS Heli (picture)
1) Ensure helicopter is switched "OFF"
2) Plug the USB cable into the USB port on your laptop or desktop PC, the indicate light on the
USB charger is lighting.
3) Connect the USB cable to the charging socket located underneath body of helicopter. (Do not
force, if correctly connected the cable will attach with ease)
4) If the indicate light on the USB charger is OFF, it means the helicopter is in power charging. If
the indicate light on the USB charger is ON, which means the helicopter is fully charged.
5) When it fully charged, pull out the USB charger and helicopter
6) Leave helicopter to cool for five mintes
7) You are now ready for flying
III. Pairing
1) Power on the iOS Heli (picture)
2)Setting bluetooth on your Apple device:
Select Setting menu---General---Bluetooth---Turn on
3) Pairing the Apple device to iOS Heli
On your Apple device will show that iOS Heli (Weccan i737) want to pairing with your
APPLE device, PLS select "Yes"
4) Paring success
3. Application setting
Set the application by "OPTIONS" menu.

I. Speed: Adjust the accelerator speed
II.Music: Turn on or Turn off the music
III. Audio: Adjust the sound volume
IV. Background: different APP background for choice
4. Fly your iOS Heli
Fly your iOS Heli with Apple device. Come into your APP by selecting "play" and correct
helicopter model NO. , then by select "next" to start your voyage, you will have 3 different flying
experiences by 3 different control mode:.
I. Full Gesture control
1) Click "start"
2) Touch the accelerator on the "space area" to give power to helicopter
3) Up/Down: hold the apple device up/down quickly by keeping touching accelerator (picture)
4) Forward/backward: hold the apple device moving forward/back quickly by keeping touching
accelerator.
5) Left/Right: Hold the apple device moving left/right by keeping touching accelerator. (picture)
6) Stop: touch "stop" on the up-right corner of the APP.
II. Motion control
1) Click "start"
2) Up/Down: Touch the accelerator up on the "space area" to give power to helicopter upward;
Touch the accelerator down on the "space area" to give power to helicopter downward.
3) Forward/Backward:Apple device lean forward/backward tilt.
4) Left/Right: Apple device lean left/right
5) Stop: Touch "stop" on the up-right corner of theAPP
III: Joystick control
1) Up/down: Touch the accelerator up on the left column to give power to helicopter upward;
Touch the accelerator down on the left column to have the helicopter go downward.

2) Forward/Backward: Touch and slide forward/backward on the right column
3) Left/Right: Touch and slide leftward/backward on the right column
4) Stop: Touch the accelerator down to zero.
5. Trimming your iOS Heli
The trimmer will allow you to adjust the flight of the helicopter and erase any unexpected
turning tendencies.
If the helicopter spins, you need to use the TRIM control to adjust the flying.
Keep the power accelerator at a certain height to keep the helicopter fying upwards between 0.5 to
1 meter.
1) Turn the TRIM to the left if the helicopter spins right.
2) Turn the TRIM to the right if the helicopter spins left.
6. Additional function
Share: You can share your best playing to your friends via Twitter, Facebook,Youtobe
7.Product Specification
Helicopter size: 22x4x10cm
Charging time: 50min around
Flying time: 6-8min
Helicopter Charging mode: Via USB cable
Control distance: 8-10m (Suitable for indoor flying)
Battery type: Built-in 3.7V 180mAh Li-poly battery
Function: 3.5CH can flying up/down, forward/backward, turn left/right combating function
8. Trouble Diagnoses
Problem Cause Solution
Low power of Apple
device Apple device is short of power Fully charge theApple device
No power of
helicopter Helicopter is short of power Charging the helicopter by the USB
cable
Could not control it Bluetooth on Apple device is not on Turn on the bluetooth connection on
your Apple device
No power of the Apple device or
helicopter Charging your Apple device or
helicopter
Helicopter is not flying
high enough Blade speed is too slow Re-start the flying again
Battery is not fully charged Recharge your helicopter
Helicopter spins / flies
off course Trimming adjustment See ‘Trimming picture’ on Instruction
manual section

9. Use and Maintenance
1)During the first few flights, try to keep the helicopter very close to the ground to learn how to
use it and land safely in case you lose control
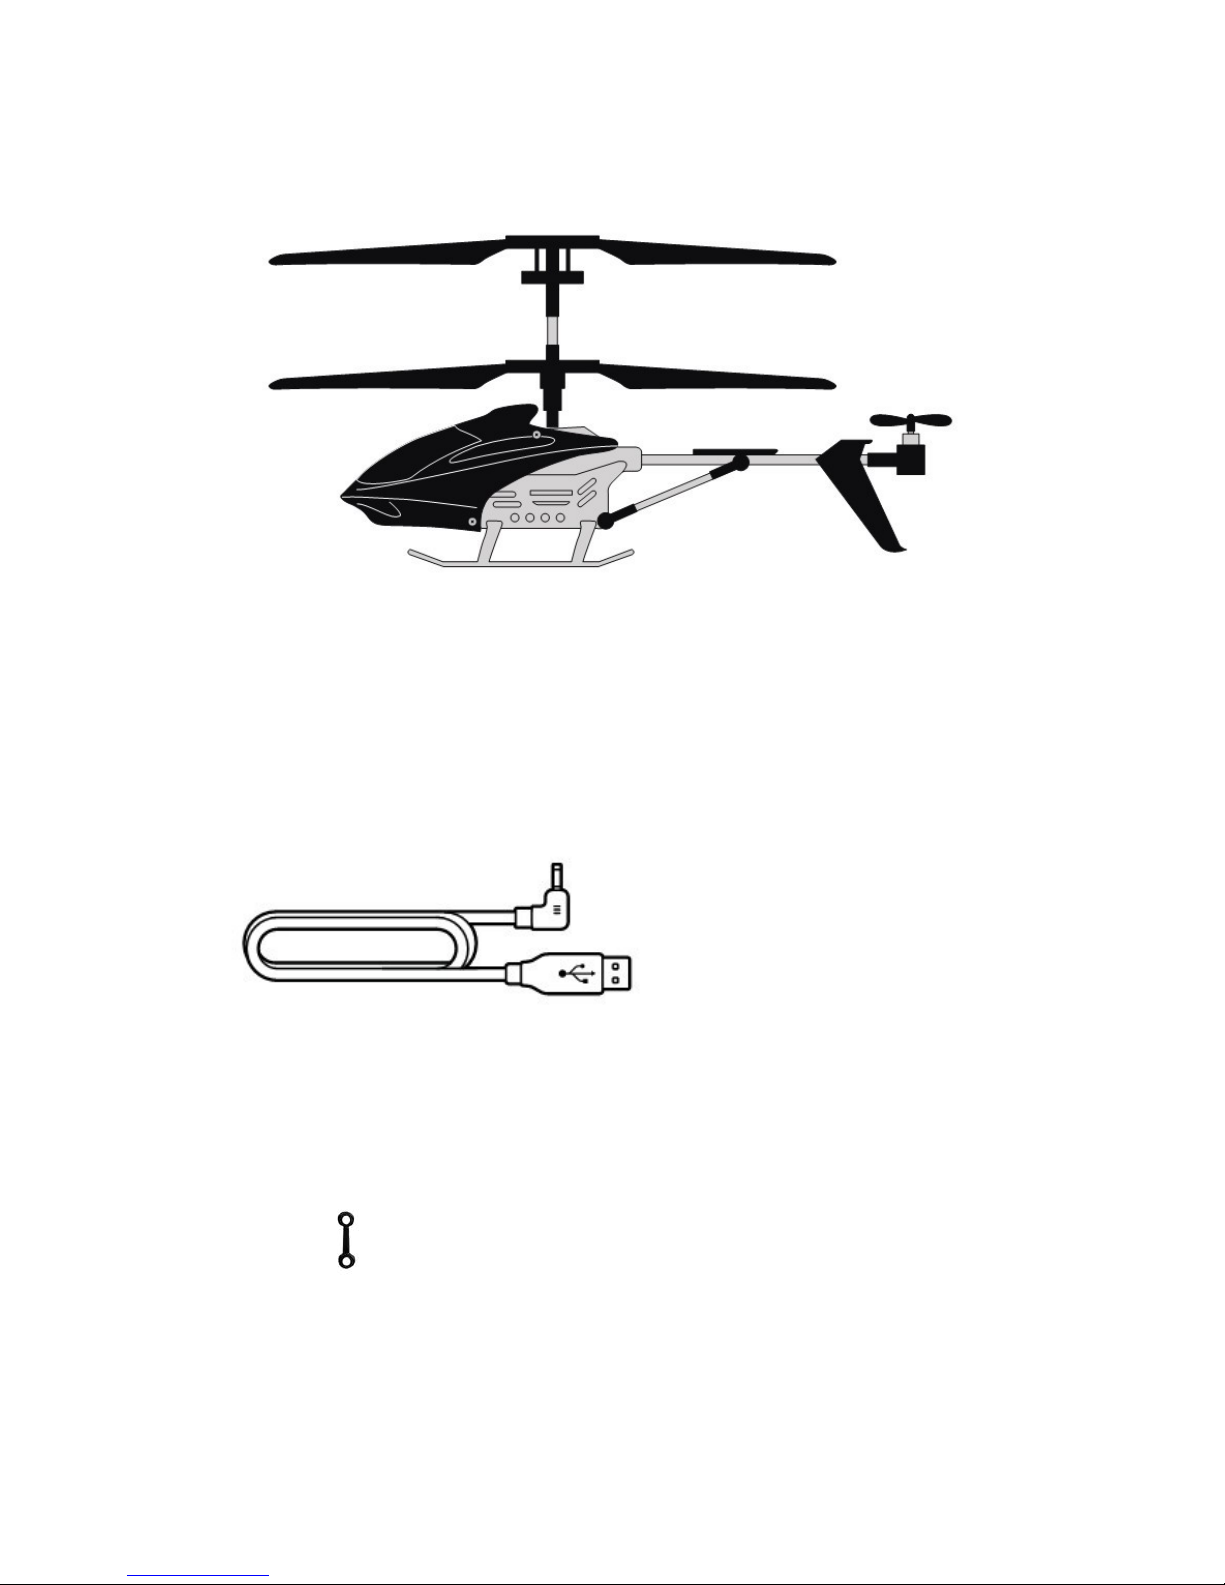
2)For better performance this model uses only on connect hook--do not try to add another one.
3)Use only the charging cable supplied with the helicopter, excluding any other USB cable.
4)Do not operate the product with a crowd of people or obstacles around.
5)Do not operate the product outdoor in windy or bad weather conditions.
6)Use the product with care and avoid throwing, crashing or twisting it.
7)Make your Power accelerator on the interface to the bottom quickly once the helicopter
dropped.
8)In case of a crash, the helicopter will automatically disconnect to avoid further damage and
re-connect after 30 seconds.
9)Do not leave the product near sources of heat or in wet environment conditions for a long time.
10)Make sure your hands are dried before touching the charger.
11)Do not use the product when it already broken or damaged.
12)iOS Heli has a control range up to 10m. Be aware that the signal interference may reduce this
range.
13)Package should be kept for proper storage of the helicopter after each using.
Notes: Improper storage of the helicopter may lead to the blades becoming bent or warped. This
will decrease the flight performance.
We decline responsibility for any possible omission or tying mistake in this manual and in its
annex. The user is responsible for any risk arising from the use of these information.
We decline responsibility for any direct, consequential, accidental, particular, moral or any other
kind of damaged caused by in-observance of information in the manual.
Contents of this manual can change without notice.
WEEE Directive & Product Disposal
At the end of its serviceable life, this product should not be treated as household or general waste.
It should be handed over to the applicable collection point for the recycling of electrical and
electronics equipment, or returned to the supplier for disposal.
Internal/Supplied Batteries
This symbol on the battery indicates that the battery is to be collected separately. This battery is
designed for separate collection at an appropriate collection point.
Table of contents
Popular Toy manuals by other brands

marklin
marklin 43855 user manual

Advanced Methods in Innovation
Advanced Methods in Innovation NASA/INVENTORcloud Mars Rover Kit Gaining Traction on... Assembly instructions

LEGO
LEGO 75094 instructions

Textron
Textron Bell 412 Maintenance manual

Eduard
Eduard F-100C interior pt.2 Assembly instructions

Rebel
Rebel HOVER BALL user manual