3
DInspect extension cords before each
use and replace if damaged.
DDon’t abuse cord. Never carry unit
by the cord or yank extension cord to
disconnect unit.
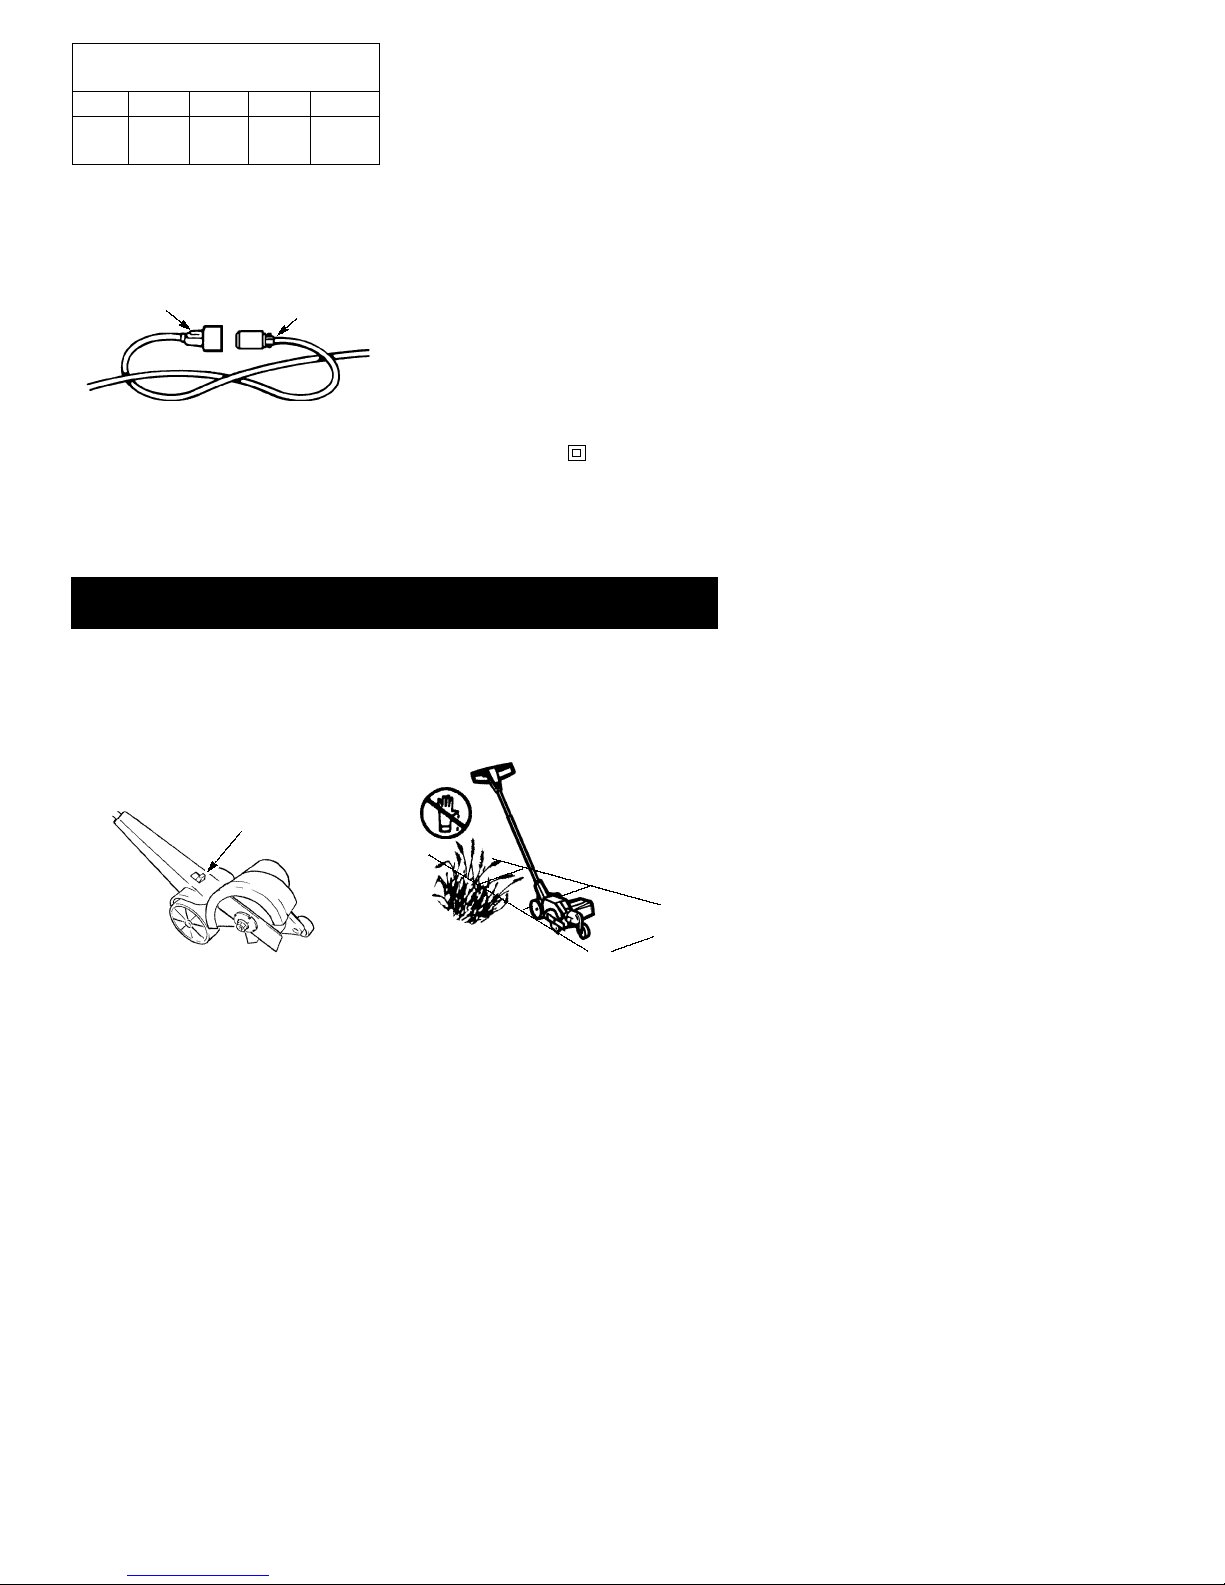
DTo reduce the possibility of the ex-
tension cord disconnecting from the
unit during operation, tie the power
cord on the unit to the extension cord
as shown in the Extension Cord sec-
tion. Insert cord socket on the unit
into the extension cord receptacle.
DDo not use unit if the switch does not
turn the unit on and off properly. Re-
pairs to the switch must be made by
an Authorized Service Dealer.
DKeep extension cord clear of opera-
tor, unit, and obstacles at all times.
Do not expose the cord to heat, oil,
water, or sharp edges.
DAvoid any body contact with any
grounded conductor, such as metal
pipes or wire fences, to avoid the
possibility of electric shock.
DGround Fault Circuit Interrupter (GFCI)
protection should be provided on the
circuit or outlet to be used for this
unit. Receptacles are available hav-
ing built-in GFCI protection and may
be used for this measure of safety.
DTo reduce the risk of electric shock,
this unit has a polarized plug (one
blade is wider than the other) and will
require the use of a polarized exten-
sion cord. This plug will fit into a po-
larized extension cord only one way.
If the plug does not fit fully into the
extension cord, reverse the plug. If it
still does not fit, obtain a correct po-
larized extension cord.
A polarized extension cord will re-
quire the use of a polarized wall out-
let. This plug will fit into the polarized
wall outlet only one way. If the plug
does not fit into the wall outlet, re-
verse the plug. If it still does not fit,
contact a qualified electrician to
install the proper wall outlet. Do not
change the equipment plug, exten-
sion cord receptacle, or extension
cord plug in any way.
UNIT SAFETY
DDo not attempt to repair unit. Inspect
entire unit and extension cord before
each use. Have damaged parts re-
paired or replaced by an Authorized
Service Dealer. Make sure all fasten-
ers, handles, and guards are in place
and securely fastened. A guard or
other part that is damaged should be
properly repaired or replaced by an
Authorized Service Dealer.
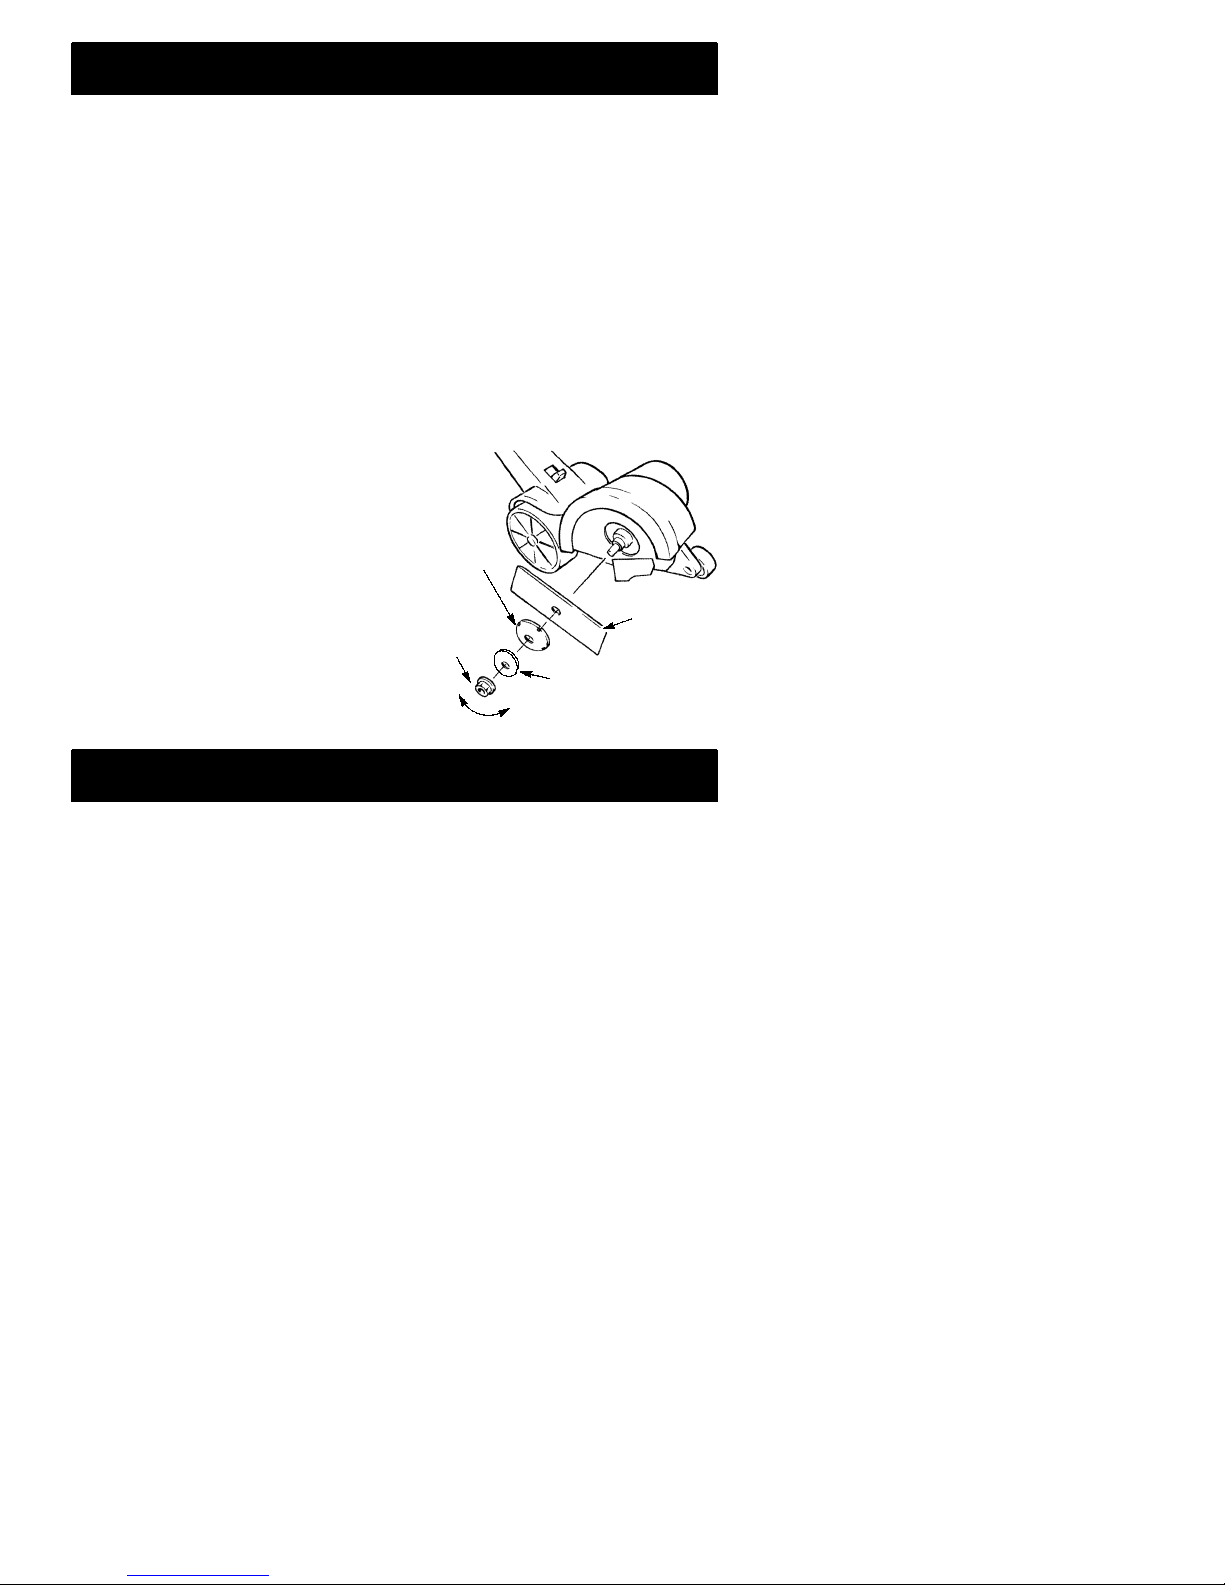
DReplace blades that are bent,
warped, cracked, broken, or dam-
aged in any other way.
DBefore using your unit, have an Au-
thorized Service Dealer repair or re-
place parts that are cracked,
chipped, broken, or damaged in any
other way.
DUse only genuine replacement
blades and accessories as recom-
mended for this unit. Never use wire,
rope, string, etc. Use of any other
accessory or attachment may in-
crease the risk of injury or cause
damage to the unit.
DKeep blade guard in place and in
good working order.
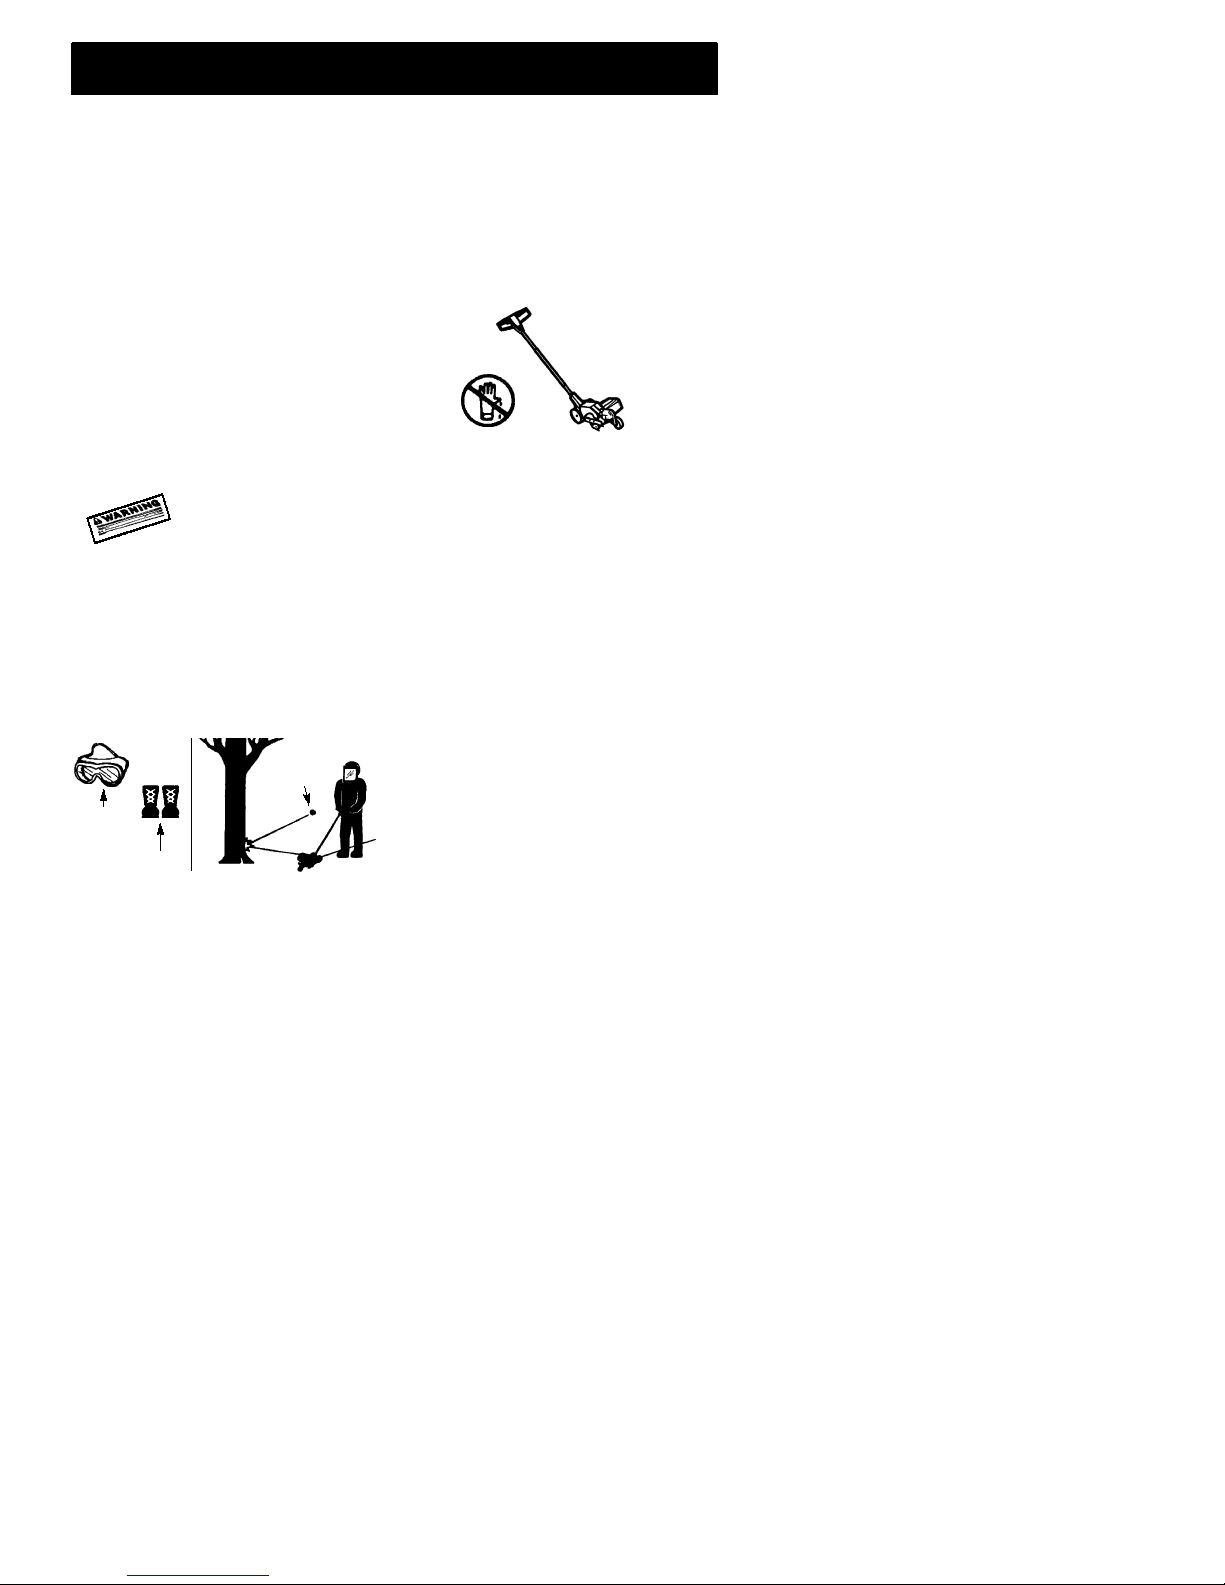
EDGING SAFETY
DInspect the area to be edged before
each use. Remove objects (rocks,
broken glass, nails, wire, string, etc.)
which can be thrown by blade or can
wrap around blade shaft.
DKeep children away. Keep others in-
cluding children, animals, bystanders
and helpers outside the 100 foot (30
meter) Hazard Zone. Stop the unit
immediately if you are approached.
50 ft.
(15 m)
DAlways keep unit in front of your body.
Keep hands and feet away from cut-
ting area.
DHold the unit firmly with both hands.
DDo not overreach or use from unsta-
ble support. Keep firm footing and
balance at all times.
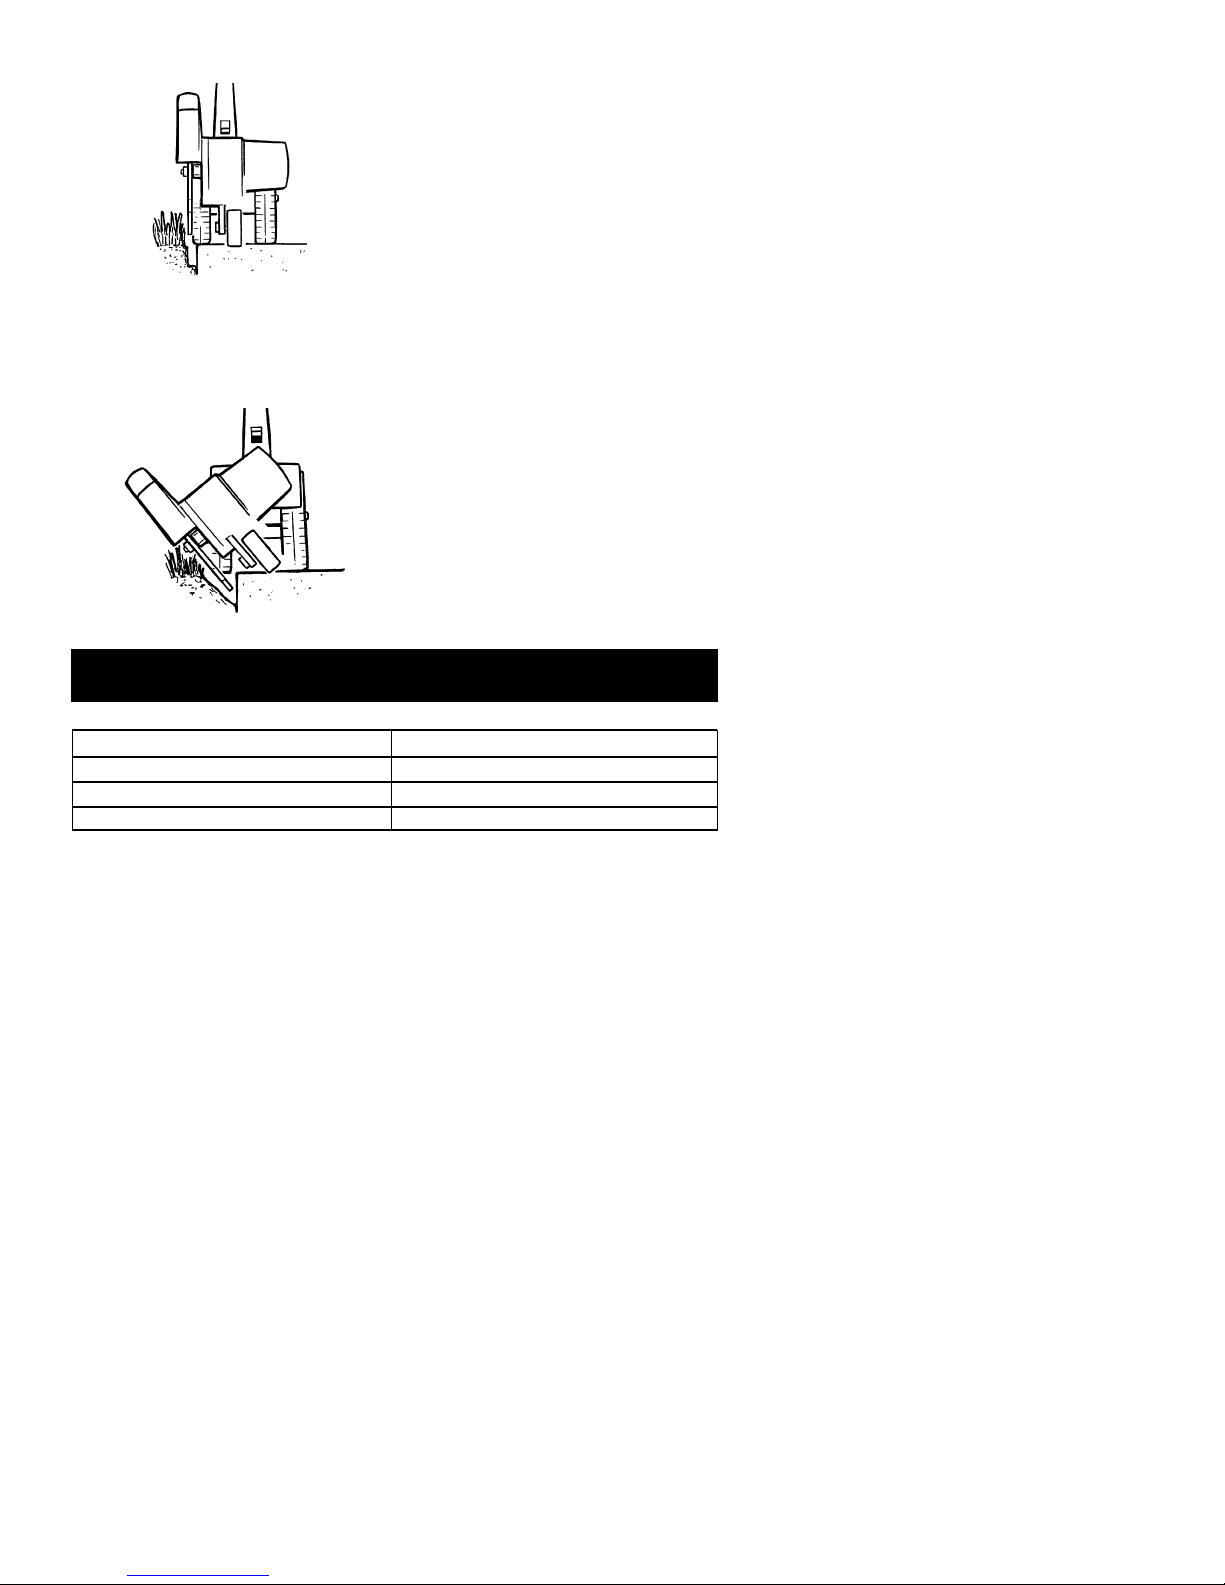
DKeep wheels in contact with ground.
DDo not raise the unit above the
ground. The blade can come dan-
gerously close to your body.
DAlways push unit slowly over ground.
Stay alert for uneven sidewalks,
holes in terrain, large roots, etc.
DDo not force the unit; it will do the job
better and with less likelihood of a
risk of injury at the rate for which it