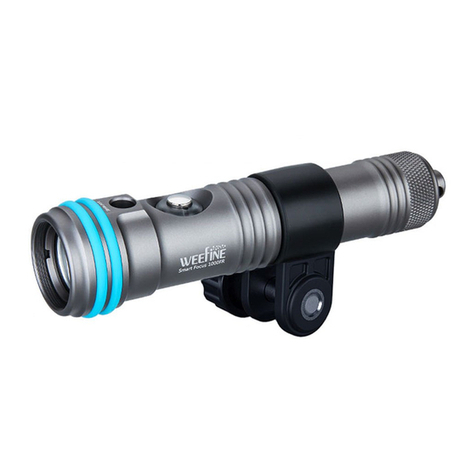
Operating Instructions
Turn on
Press the left and right buttons at the same time for 0.5 seconds to turn on the
power, short press the left button to enter the astigmatism mode, the
brightness is 100%.
Turn off
In any mode, under any brightness, press the left and right buttons at the same
time for more than 2 seconds to shut down.
Switch mode
Short press the left button:Flood light →Red light →Blue light →Red light +
blue light →Flood light infinite loop switching;
Adjust brightness
Flood light mode short press right button:
100%→75%→50%→25%→100% cycle switch;
Red light; blue light; red light + blue light;
Mode short press the right button 100%→50%→25%→100% cycle switch;
SOS and Strobe Mode
In the case of power on, press and hold the right button for more than 1.5
seconds to enter (exit) the strobe mode, and the indicator light flashes at a
frequency of 3 times per second.
In this mode, when the strobe signal is received, the current light will go out,
and then it will light up to strobe the flash. After 0.1 seconds, the strobe flash
will go out, and it will switch back to the light source before strobing the flash,
which plays the role of flash exposure.
In strobe mode:
Short press the left button to switch the strobe light source:
Flood light →Red light →Blue light →Flood light cycle;
Short press the right button to adjust the brightness:
Flood light 100%→50%→0→100%, cycle;
Red light 100%→50→0→100%, cycle;
Blue light 100%→50→0→100%, cycle;
Focus Light Out Function
In the strobe mode, adjust the brightness to 0% to realize the function of
focusing and turning off the lights.
When the light sensor of the lamp head detects the flash signal, the flashlight
will turn off the focus light, and the flashlight will turn on again after 1 second.
Sleep Mode:
In the power-on state, long press the left button for more than 2 seconds to
enter (exit) sleep mode, and only the indicator light will be on.
Temperature Protection
When the temperature of the lamp head reaches 50~55 degrees, the lamp head
enters the temperature protection function, and the lamp head turns into a
white light with a brightness of 20%. When the temperature is lower than 40
degrees, the temperature protection function is cancelled.
Low Battery Protection
When the battery is low, the brightness will drop to 10% and the countdown
will be displayed for 10 minutes. After reaching 10 minutes, it will automatically
shut down (the strobe function can be used in this state).
Install Fiber Optic Cable and Remote Control
One end of the optical fiber cable is inserted into the remote control optical
fiber jack of the flashlight tail cover, and the other end is connected to the
special remote control for WEEFINE (WFA03 is optional).
Battery Warnings
* Remove the battery if the light will not be used for long periods of time
(e,g., between dive trips).
* Do not use a sharp object to remove the battery.
* Keep the battery away from children.
* Contact your local waste disposal department to dispose of the
light/battery in accordance with applicable local laws and regulations.
* If using an extermal battery charger, only use the WEEFINE accessory
approved for your product.
* Only replace the battery with the correct WEEFINE approved
replacement battery. Using an incorrect battery presents a risk
of fire or explosion.
To purchase a replacement battery, please contact WEEFINE dealer or the
WEEFINE website.
Normal Maintenance
There are two waterproof O-rings on the tail to the light and silicone oil
should be used to keep the O-rings well lubricated.
If the O-ring is cracked, hardened, damaged, deformed, etc., it should be
replaced in time.
Spare O-rings are included in the accessory kit, please contact your local
weefine dealer if necessary.
* * Note: Please use the special tool provided by the manufacturer to remove
the O-ring.
Warnings
1. Do not open the tail cap when the video light is in the water.
2. Do not direct light to human eyes.
3. Do not touch the battery and charger with wet hands.
4. Use only the manufacturer's battery and charger with this system.
5. If the video light will not be used for a long period of time,the battery
should be removed.
Failure to comply with these warnings may result in damage to the
video light and will nullify the warranty.
Warranty
If there is any quality problem within one year of purchasing this product, it
can be repaired free of charge. If the purchase is more than one year the cost
of repair parts will be charged. but does not include the following:
1. Damage caused by use, maintenance and storage not in accordance with
the requirements of the product instruction manual.
2. Unauthorized maintenance service points or personnel repair or modify
the product;
3. Battery damage caused by not using a dedicated charger
4. Damage caused by force majeure (such as geological disasters, wars, etc.).
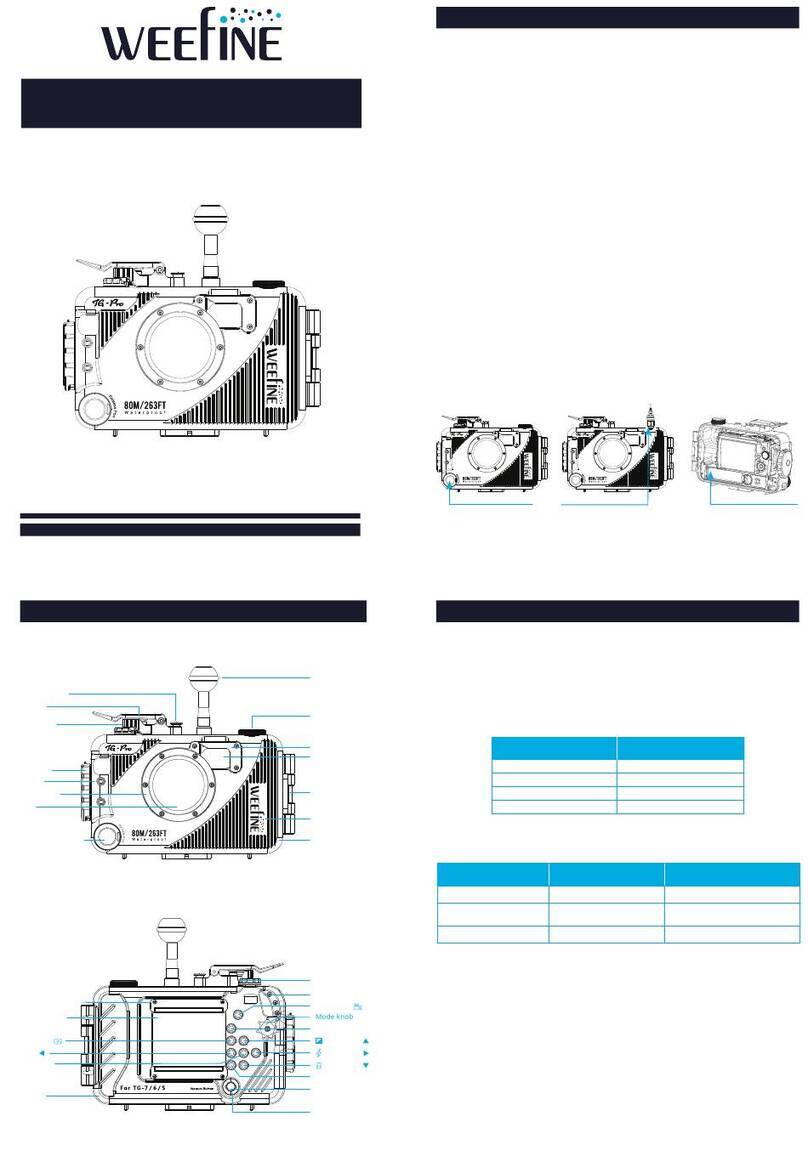
( Optional for WFA03 )
( Optional for WFA14 )
( Optical fiber
remote control port )
(Waterproof O-ring*2)


