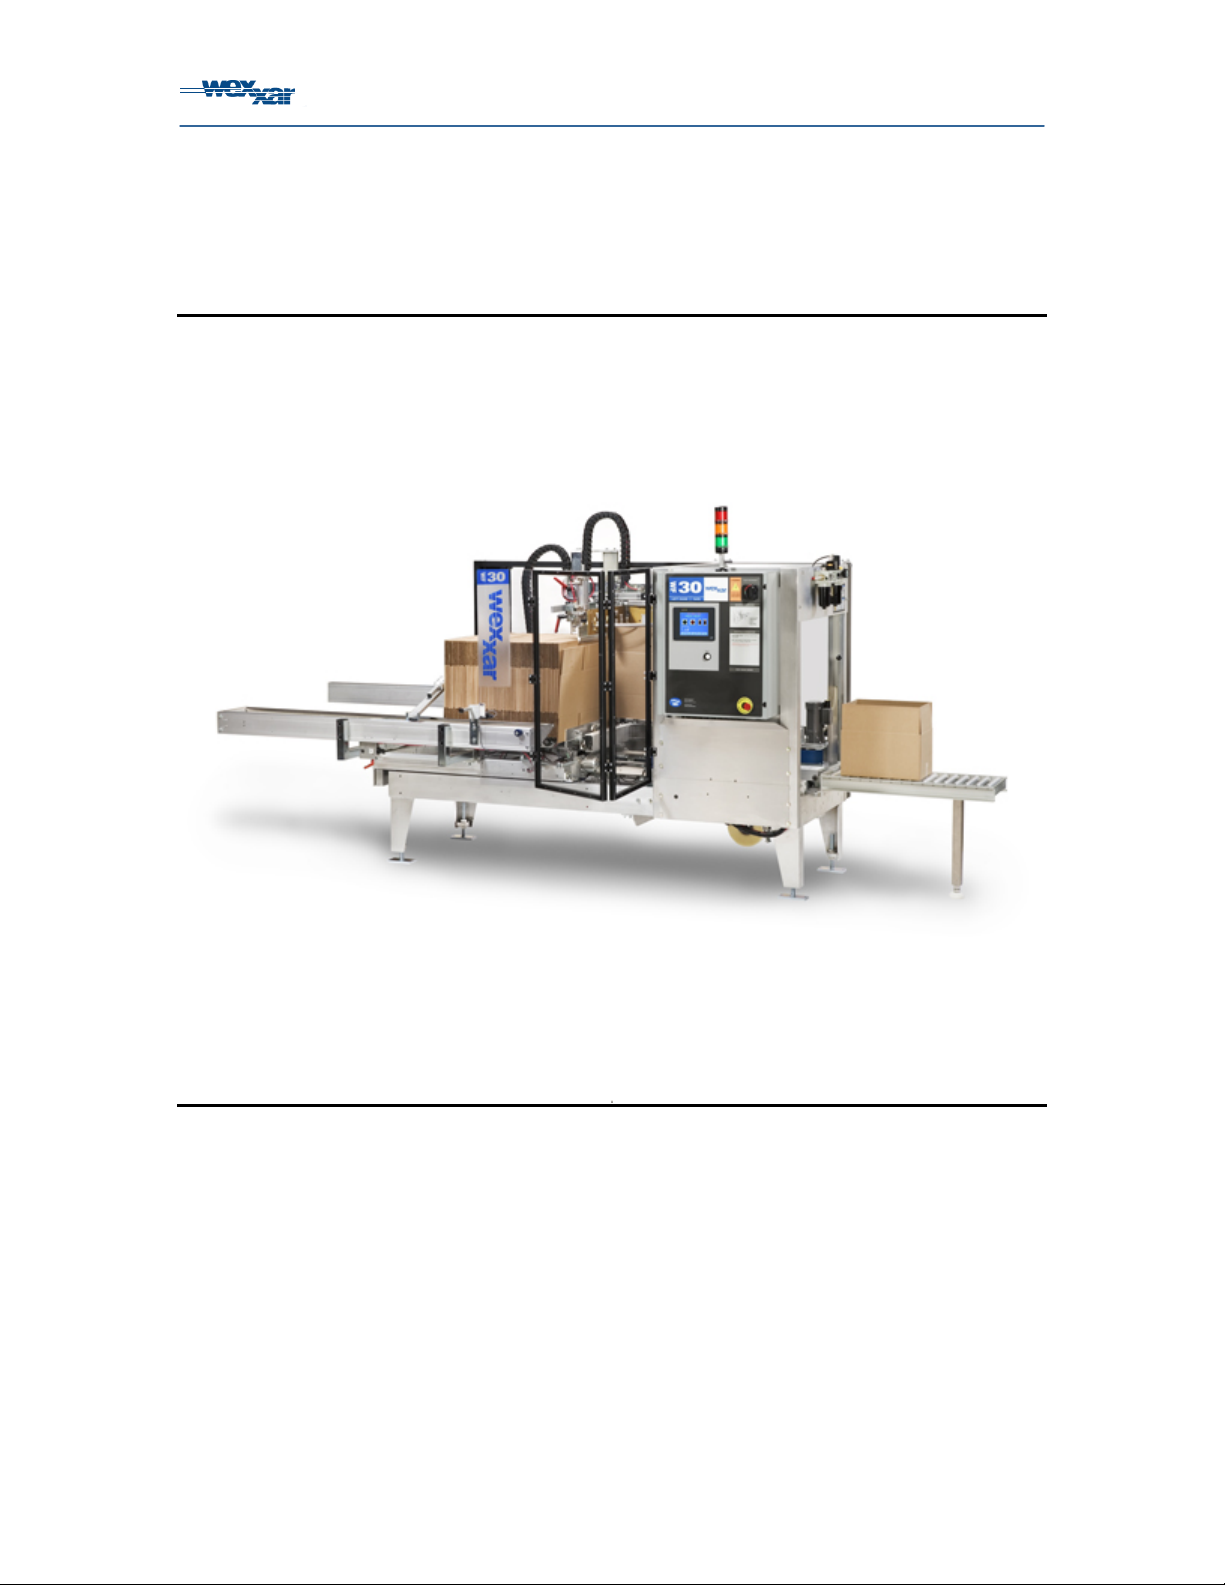
WF30T Case Former Table of Contents
ii
5.2 CONTROLS DESCRIPTION......................................................................................................5-27
HIGH SPEED SERVO SETTINGS ............................................................................................5-45
LOW SPEED SERVO SETTINGS.............................................................................................5-45
6OPERATING PROCEDURES ...................................................................................................6-46
6.1 SAFETY ...............................................................................................................................6-46
6.2 START-UP............................................................................................................................6-47
6.2.1 Preliminary Checks ...................................................................................................6-47
6.2.2 Start-up Procedures..................................................................................................6-48
6.2.3 ‘CYCLE’ Operation....................................................................................................6-50
6.2.4 ‘JOG’ Operation.........................................................................................................6-50
6.3 MONITORING........................................................................................................................6-50
6.3.1 Monitoring Machine Operation..................................................................................6-50
6.3.2 Loading the Magazine...............................................................................................6-51
6.4 CLEARING A CASE JAM .........................................................................................................6-52
6.5 SHUTDOWN..........................................................................................................................6-54
7CASE SIZE ADJUSTMENTS....................................................................................................7-55
7.1 SAFETY ...............................................................................................................................7-55
7.2 FLAT CASE HEIGHT (DIMENSION ‘B’)......................................................................................7-58
7.3 FORMED CASE HEIGHT (DIMENSION ‘E’) ................................................................................7-60
7.4 CASE WIDTH (DIMENSION ‘D’)...............................................................................................7-62
7.5 CASE LENGTH (DIMENSION ‘C’) ............................................................................................. 7-64
7.6 FLAT CASE WIDTH (DIMENSION ‘A’).......................................................................................7-66
7.7 FEEDBELT HORIZONTAL ADJUSTMENTS (DIMENSION ‘H’).........................................................7-67
7.8 CASE SEPARATOR HORIZONTAL ADJUSTMENT (DIMENSION ‘G’)...............................................7-68
7.9 CORRUGATE THICKNESS ADJUSTMENT (DIMENSION 'F') ..........................................................7-68
7.9.1 Jawplate ‘F’ Adjustment ............................................................................................7-69
7.9.2 Caliper ‘F’ Adjustment...............................................................................................7-70
8OTHER MACHINE ADJUSTMENTS.........................................................................................8-72
8.1 SAFETY ...............................................................................................................................8-72
8.2 STABILIZER BARS AND PINBLOCKS.........................................................................................8-73
8.3 MAGAZINE PUSHER ..............................................................................................................8-74
8.4 SENSOR LS-7 ADJUSTMENT .................................................................................................8-75
8.5 MINOR FLAP FOLDERS..........................................................................................................8-75
8.6 TESTING THE SIZE ADJUSTMENTS..........................................................................................8-75
8.7 QUICK SIZE CHANGE GUIDE..................................................................................................8-77
9MACHINE MAINTENANCE.......................................................................................................9-79
9.1 SAFETY ...............................................................................................................................9-79
9.2 MAINTENANCE .....................................................................................................................9-80
9.2.1 Inspections................................................................................................................9-80
9.2.2 Cleaning....................................................................................................................9-81
9.3 PREVENTATIVE MAINTENANCE SCHEDULE..............................................................................9-82
9.4 TYPICAL MAINTENANCE ADJUSTMENTS ..................................................................................9-83
9.4.1 Machine Output Rate ................................................................................................9-83
9.4.2 Mechanism Speeds...................................................................................................9-83
9.4.3 Magazine Pusher ......................................................................................................9-84
9.4.4 Magazine Feedbelts..................................................................................................9-84
9.4.5 Injector Assembly......................................................................................................9-85
9.4.6 Mast Assembly..........................................................................................................9-85
9.4.7 Forming Head............................................................................................................9-86
9.4.8 Discharge Pusher......................................................................................................9-86
9.4.9 Shock Absorbers.......................................................................................................9-86
9.4.10 Conveyor Belt Tension & Tracking............................................................................9-87
9.4.11 Discharge Conveyor Assemblies ..............................................................................9-88
9.4.12 Machine Management System..................................................................................9-88
9.4.13 Tape Head Adjustments............................................................................................9-88
9.4.14 Proximity Sensors .....................................................................................................9-89
9.4.15 Flap Folder Assemblies.............................................................................................9-89