CeilingMounting:PI-C6,PI-C6SandPI-C8
Check the ceiling carefully. As all the weight
acts directly downward ensure that the ceiling
panelandstructurewillsupportthespeaker.
Suspended Ceilings: If the grids are 600 x
600 mm (2’X2’) we suggest you strengthen the
panel. If the grids are 1200 x 600 mm (4’X2’)
the panel may be too weak, especially for the
PI-C8. It may be advisable to suspend the
assembly from the grids and not rely on the
panel alone (see drawing).Alternatively, use a
safety wire tethered securely to the speaker
frameandattachedtoanearbyanchorpointon
theceilinggrid.
Remove the grille. Make sure the speaker
mounting lugs are within the circumference of
the cutout, support the speaker with one hand
and push it through the hole. With the free
hand, insert a screwdriver into each mounting
screw and rotate the lug outwards. Tighten
each lug in turn until the speaker is securely
trapped to the ceiling. Keep the speaker
centralisedintheholeduringmounting.
Whencutting into cavities during installation,itis essential to ensurethat existing fire
barriers are not breached, and that the installation does not result in a new fire
hazard. If you suspect that either has occurred or is likely to occur, consult a
competentsurveyororyourlocalBuildingControlAuthorityforadvice.
Incaseswherealoudspeakermaybemountedclosetoaresonantstructure,suchas
a ventilating duct or plastic drainpipe, it may be a good idea to place some sound
absorbing material around the structure to damp down these resonances. Similarly,
ina ceiling cavity thatmay be resonant, apador sheet of fibreglassmay be tacked in
place loosely around the speaker - taking care to keep it clear of the components of
thespeaker. If spacepermitsa fibreglass curtainmaybehungtoadvantagebehind a
wall-mountingspeaker.
It is essential that any insulating or sound absorbing material is non-flammable and
compliantinfulltoallbuildingandelectricalstandardsinforceinyourlocality.
Note: The tweeter on the PI-C8 is mounted off-axis. When these speakers are used
inastereoor home cinema installation,thetweetersshouldface inwards sothatthey
canbeadjustedforoptimumeffectiveness.
FireBarriersandHazards
DampingMaterials
TrebleandBassAdjustments
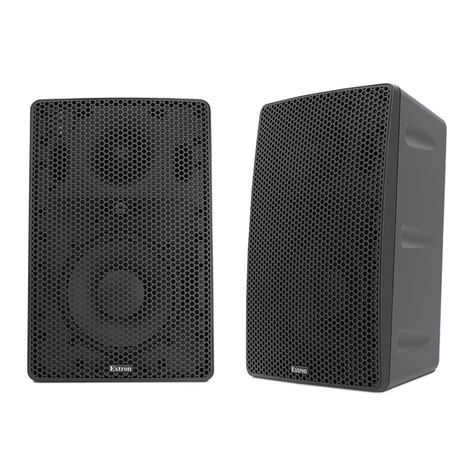
PI-C6 and PI-C8: These speakers have separate three way switches on the front of
theunitthatcanbeusedtoadjustthetreble(HF)andbass(LF)level+3dB,0,-3dB.
ThePI-C6STisdescribedonthefollowingpage.
PI-W6: The PI-W6 features HF adjustment by +3dB, 0, -3dB on a front mounted
switch. Bass adjustment is by means of a set of tabs marked +3dB, 0, -3dB. As
supplied the unit is in the 0dB position and a red cable with a push on spade is
connected to the 0dB tag. To adjust the bass response up or down, lift off this spade
andreplaceitontherequiredtag.
PI-W8: The PI-W8 has three front mounted switches for separately adjusting the HF,
MidrangeandBasslevelby+3dB,0,-3dB.
Default factory setting is 0db in all cases. Boost and cut should only be finalised after
listeningtestsinsituandafterthetweeterpodsareadjustedforoptimumdispersion.
Altering the bass changes the impedance of the loudspeaker. When set to 0dB, the
impedanceis6Ω; atthe+3dBsettingitis4Ω,andwhensetto-3dBitis8Ω.
AdjustingtheTrebleDispersion
The PI-C6, PI-C6ST and PI-C8
ceiling speakers and the PI-W6
wall loudspeakers feature pod-
mounted ball tweeters. When
adjusting the pod, take care not to
damagethetweeterdome.
The pod is capable of a virtual 360º
circular rotation and a virtual 180º
axialadjustmentsoawidevariation
indispersionisachievable.
The PI-W8 has a rotatable mid/tweeter assembly. This is described on Pgs 5 & 8.
The pods should be adjusted so that the HF dispersion is focused on the listening
area. Where the speakers are used as surrounds the focus should be slightly
behind the listening position for good diffusion of rear effects. If an architectural
speaker is used as a home cinema centre channel, keep the focus tight on the
listening seat. The diagrams on Pgs 2 & 8 provide an idea of dipersion patterns.
InstallingGrilles
This is the final stage of assembly. Always make sure that the backing gauze is in
placebeforeyouinstallgrillesandinsertthembyapplyinglighthandpressurearound
theperimeter.DONOTapply pressure inthemiddleofthegrille or youmaydentit.PI
SeriesGrillesarenotdesignedforfrequentremovalandreplacement.
Ceiling grilles may have to be lightly worked by hand to ensure a tight fit. We
recommendthatyouapplyaverysmallamountofsiliconesealantaroundtheoutside
ofthegrilleperimetertokeepittotallysecure.
SUSPENDED
CEILING
BRIDGE
67


