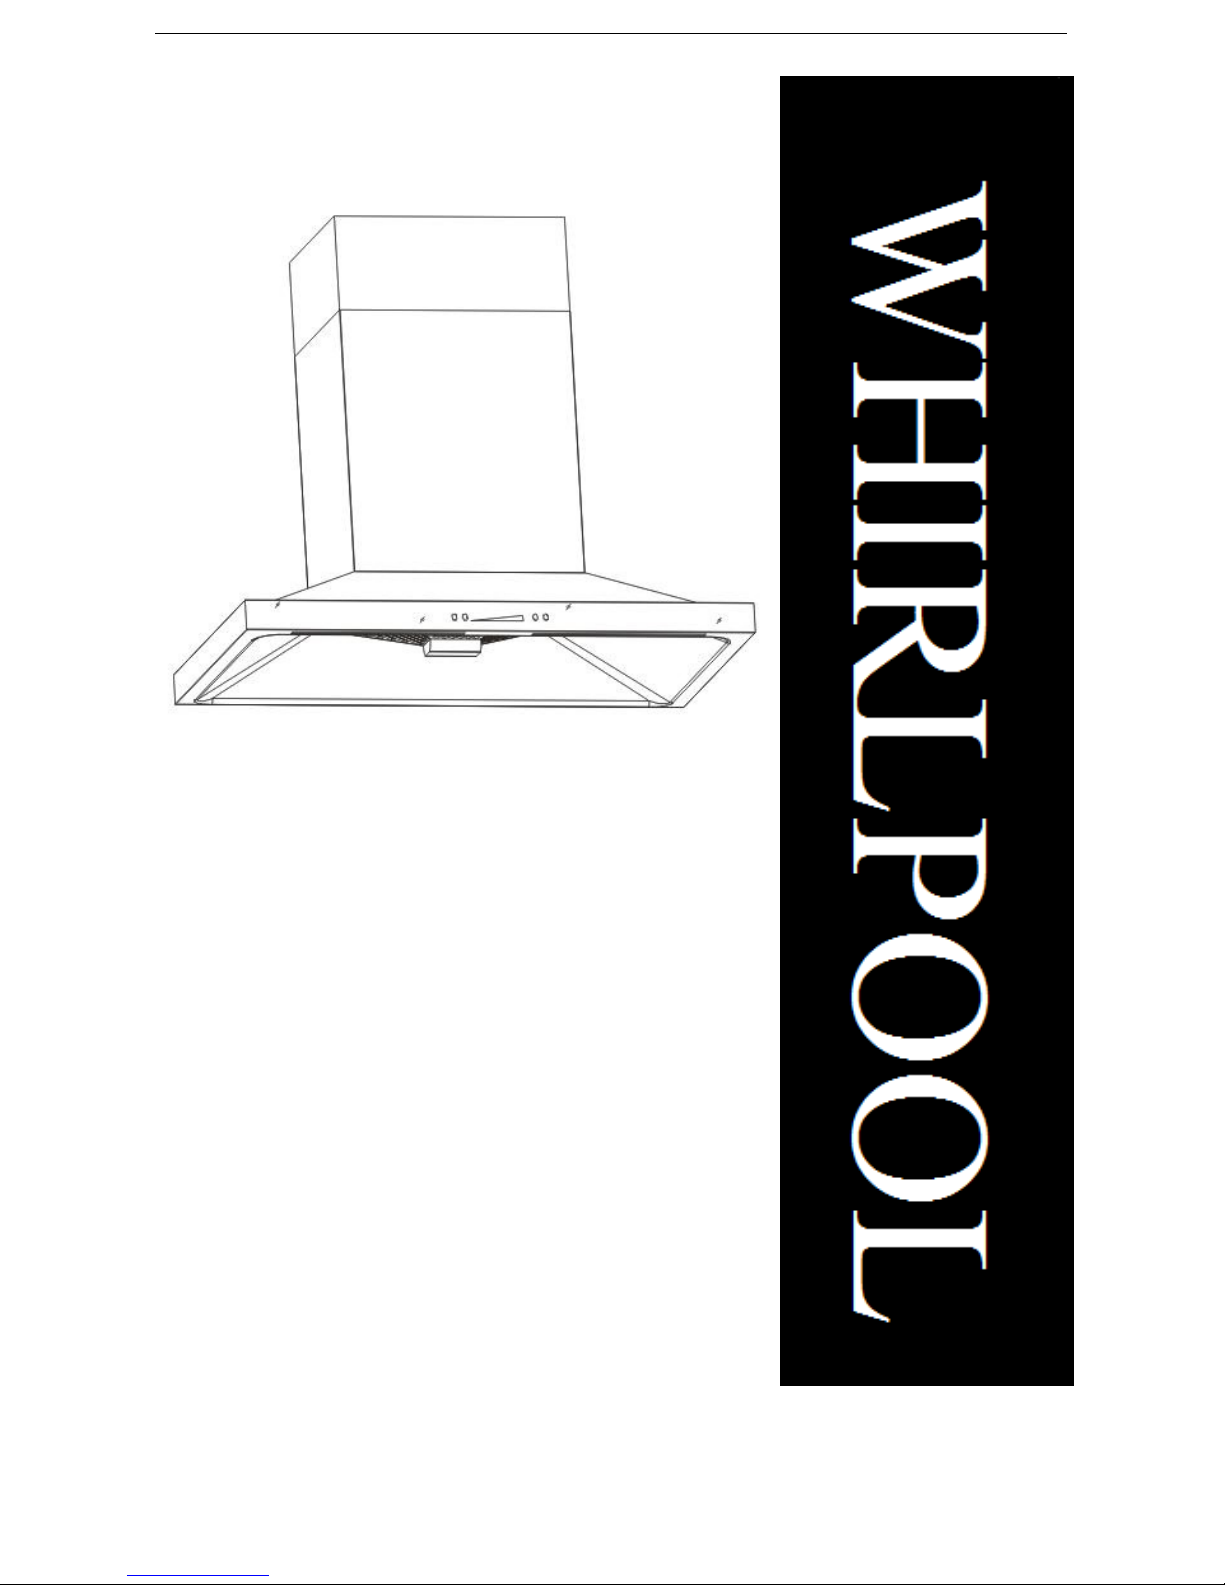
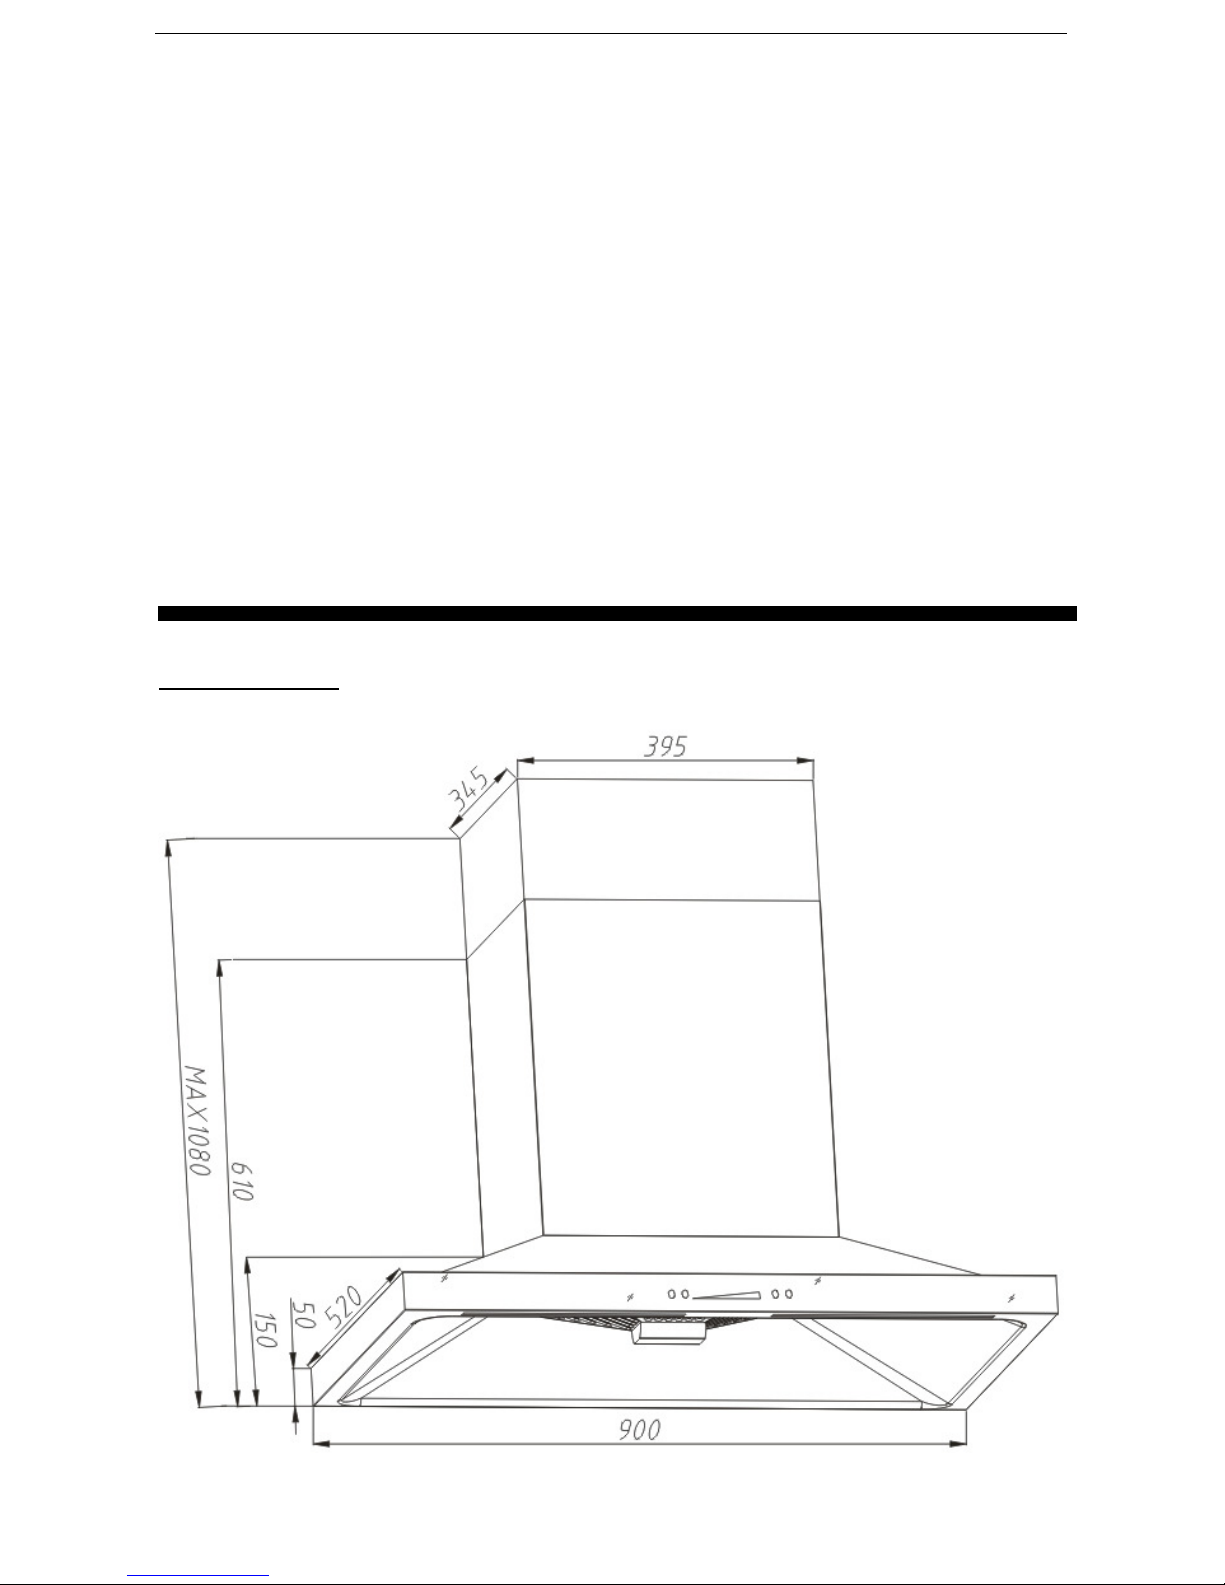
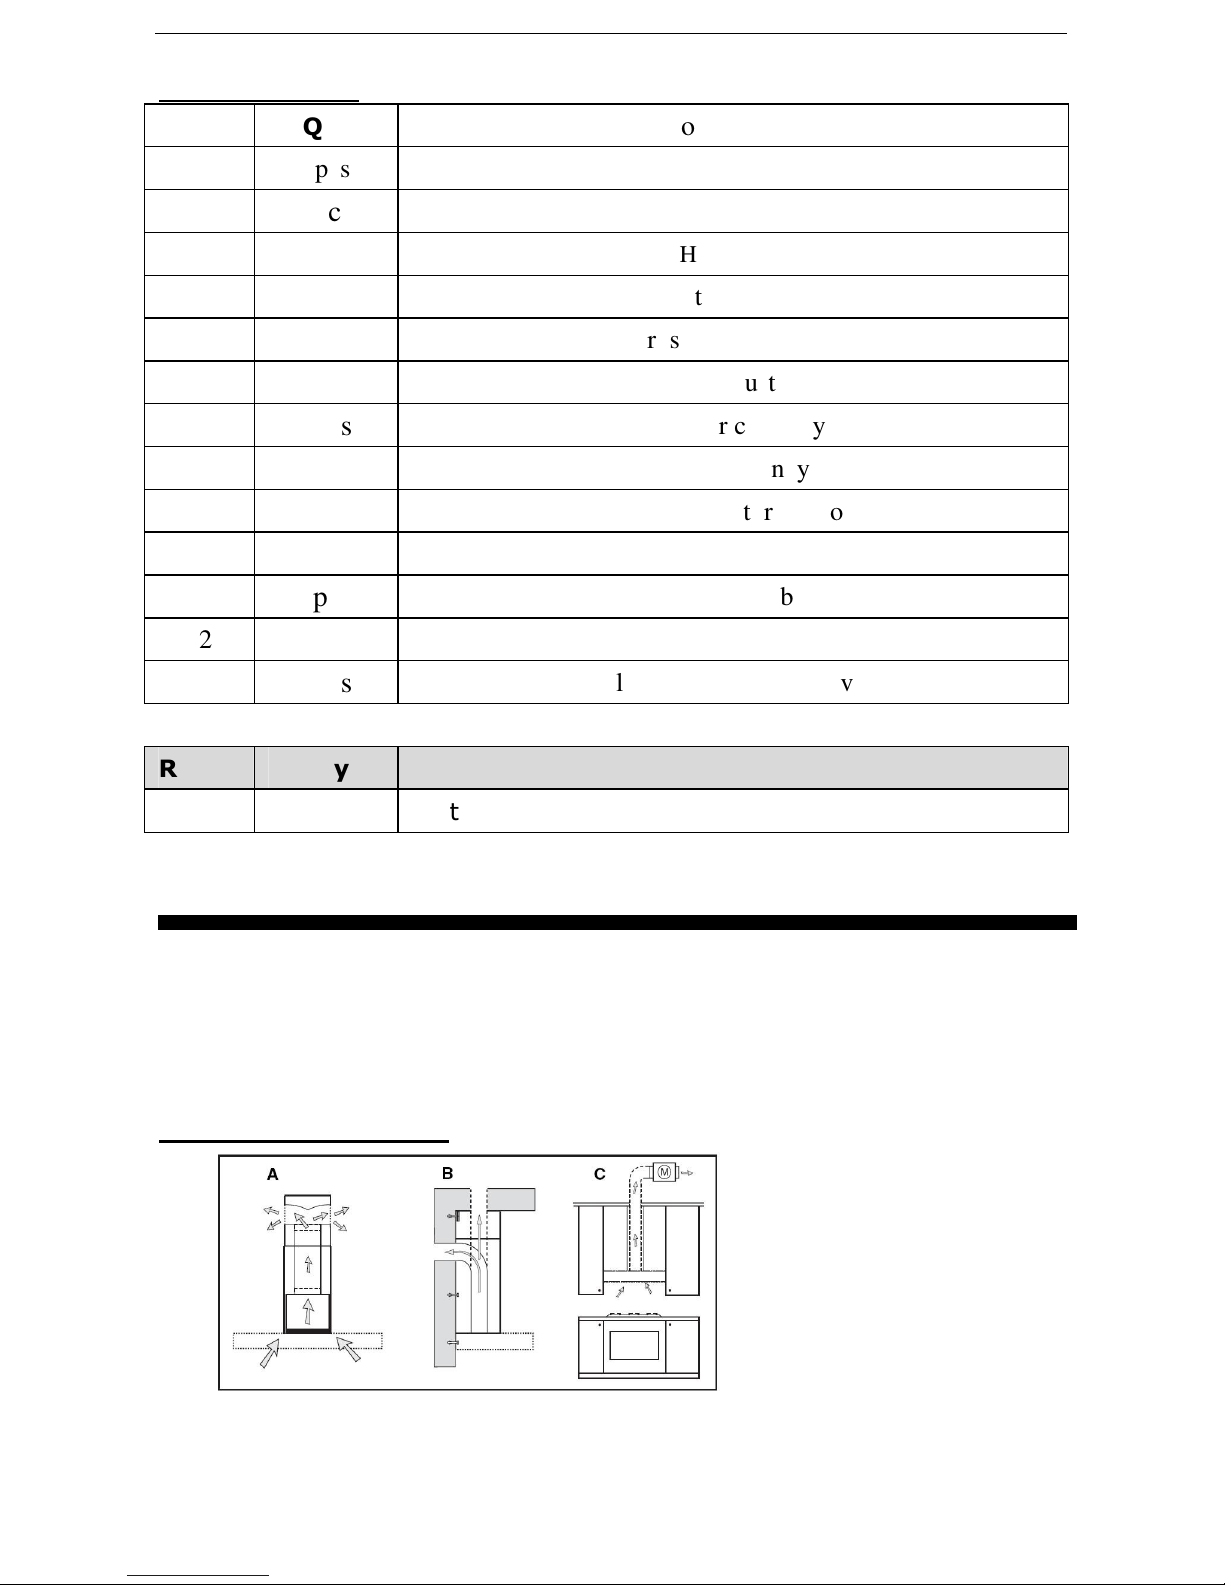
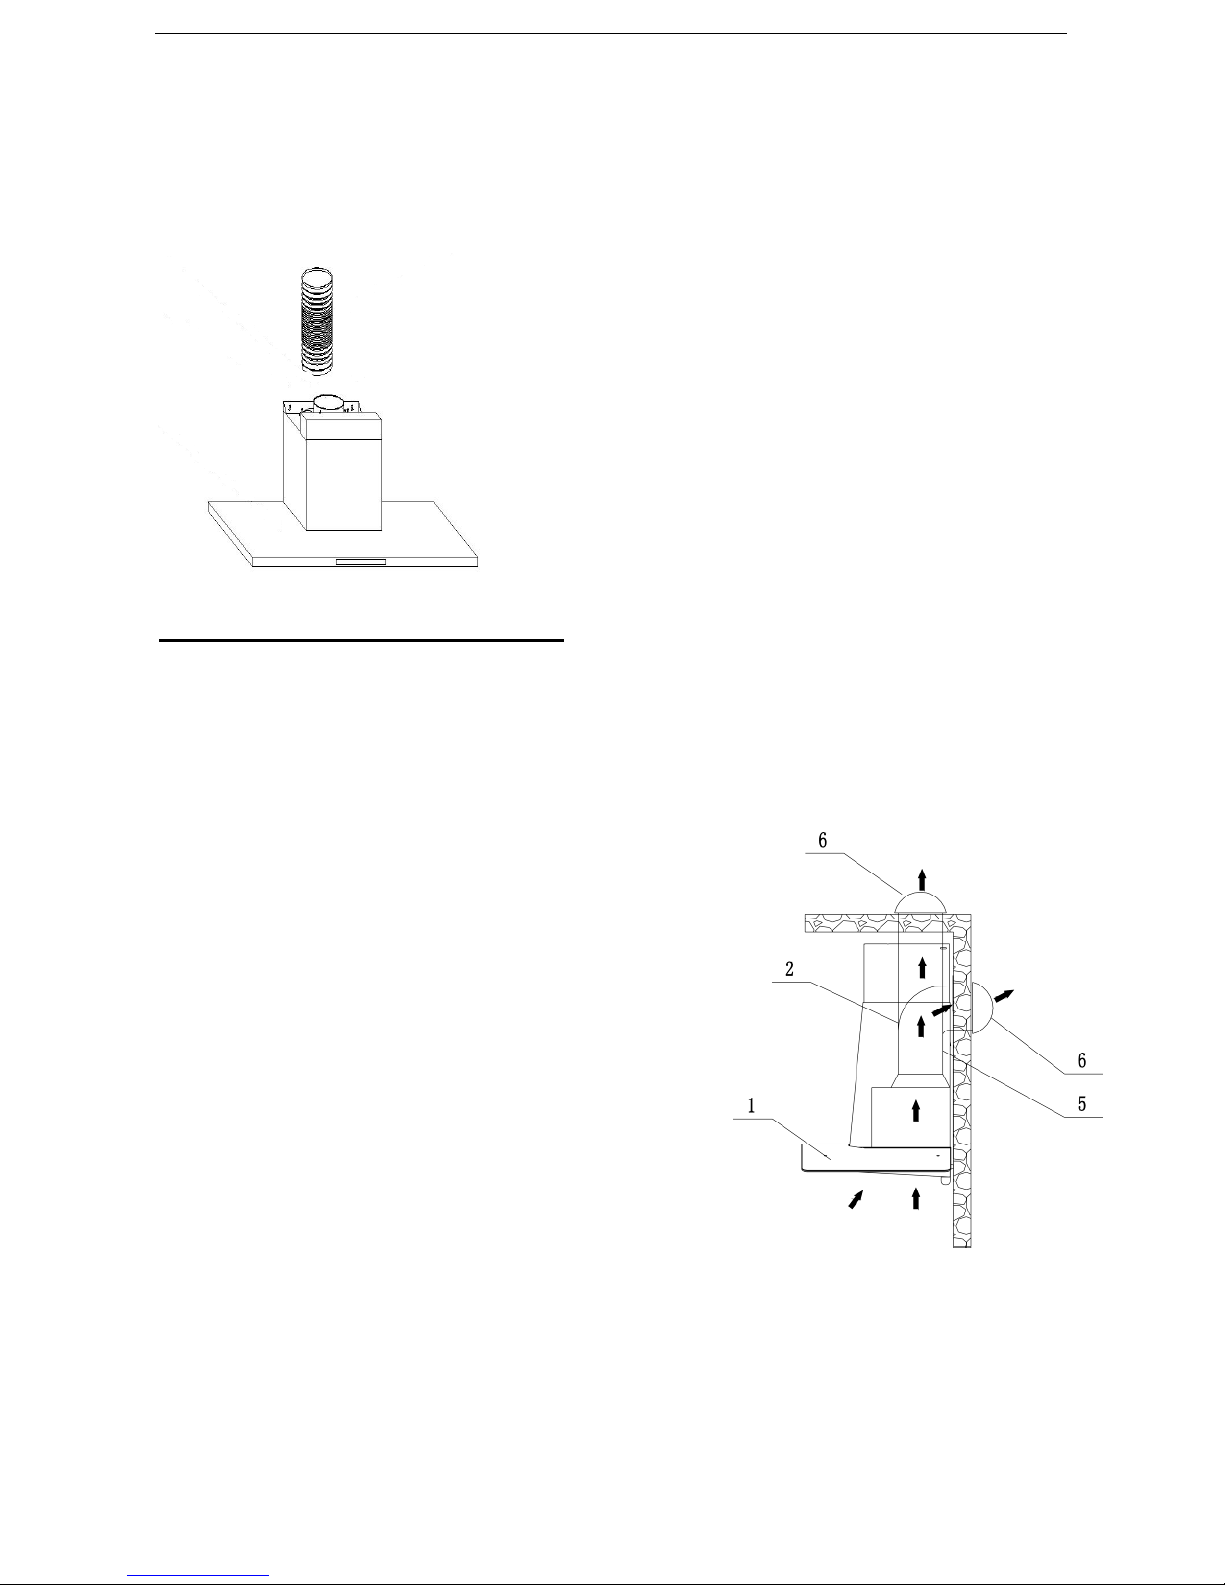
Whirlpool AKR912CIXM User manual
Other Whirlpool Ventilation Hood manuals

Whirlpool
Whirlpool UXT4830AAS Product information sheet

Whirlpool
Whirlpool RH3736XLT3 Product information sheet

Whirlpool
Whirlpool RH6330XL SERIES User manual

Whirlpool
Whirlpool AKR 703 IX AKR 703 IX User manual

Whirlpool
Whirlpool UXT2030AD User manual

Whirlpool
Whirlpool RH2030XJB3 User manual

Whirlpool
Whirlpool GZ8336XLS Product information sheet

Whirlpool
Whirlpool AKR290/WH User manual

Whirlpool
Whirlpool UT750/IX Installation guide

Whirlpool
Whirlpool GZ5730XRB0 Product information sheet

Whirlpool
Whirlpool UMH50008HS0 User manual

Whirlpool
Whirlpool AKR 767 IX Operating instructions

Whirlpool
Whirlpool HC338 Installation guide

Whirlpool
Whirlpool RH2630XJ Service manual

Whirlpool
Whirlpool RH2330XJB1 User manual

Whirlpool
Whirlpool HAH 65 F LB X User manual

Whirlpool
Whirlpool RH3730XLB0 User manual

Whirlpool
Whirlpool Cooker hoods Operating instructions

Whirlpool
Whirlpool WVI30330LS User manual

Whirlpool
Whirlpool Maytag WVU37UC6FS Product information sheet