manuals.online logo
Brands
  1. Home
  2. •
  3. Brands
  4. •
  5. Whirlpool
  6. •
  7. Washer
  8. •
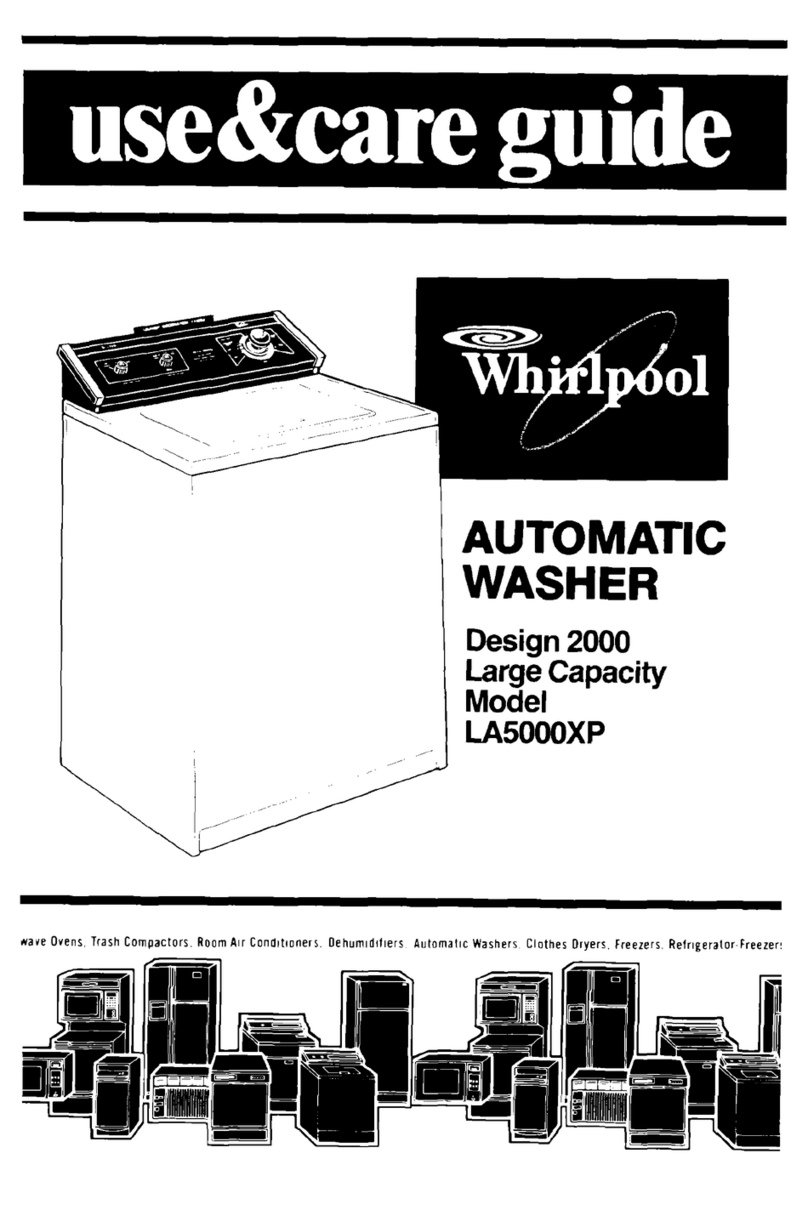
  9. Whirlpool LC45OOXS User manual

Whirlpool LC45OOXS User manual

This manual suits for next models

1

Other Whirlpool Washer manuals

Whirlpool AWG 812 S/PRO Installation guide

Whirlpool

Whirlpool AWG 812 S/PRO Installation guide

Whirlpool W6X W845WB EE User manual

Whirlpool

Whirlpool W6X W845WB EE User manual

Whirlpool LAVE-LINGE TOP AWE 9726 User manual

Whirlpool

Whirlpool LAVE-LINGE TOP AWE 9726 User manual

Whirlpool WTW5510VQ0 User manual

Whirlpool

Whirlpool WTW5510VQ0 User manual

Whirlpool WFW8300SW - Duet Sport Washer User manual

Whirlpool

Whirlpool WFW8300SW - Duet Sport Washer User manual

Whirlpool LSN7233DW0 User manual

Whirlpool

Whirlpool LSN7233DW0 User manual

Whirlpool 8316566 User manual

Whirlpool

Whirlpool 8316566 User manual

Whirlpool Duet HT GHW9200LW0 User manual

Whirlpool

Whirlpool Duet HT GHW9200LW0 User manual

Whirlpool WTW4850BW User manual

Whirlpool

Whirlpool WTW4850BW User manual

Whirlpool Cabrio WTW5610XW1 User manual

Whirlpool

Whirlpool Cabrio WTW5610XW1 User manual

Whirlpool LA6150XS User manual

Whirlpool

Whirlpool LA6150XS User manual

Whirlpool FFT M22 8X3B EE User manual

Whirlpool

Whirlpool FFT M22 8X3B EE User manual

Whirlpool duet GHW9100L User manual

Whirlpool

Whirlpool duet GHW9100L User manual

Whirlpool FWG71484W User manual

Whirlpool

Whirlpool FWG71484W User manual

Whirlpool Cabrio WTW8200YW Assembly instructions

Whirlpool

Whirlpool Cabrio WTW8200YW Assembly instructions

Whirlpool WFW9400SZ - Metallic Water Drop R Duet HTR Ultra... Assembly instructions

Whirlpool

Whirlpool WFW9400SZ - Metallic Water Drop R Duet HTR Ultra... Assembly instructions

Whirlpool 3LWTW4840YW User manual

Whirlpool

Whirlpool 3LWTW4840YW User manual

Whirlpool LA5460XPW3 User manual

Whirlpool

Whirlpool LA5460XPW3 User manual

Whirlpool FSCR10421 Installation and operation manual

Whirlpool

Whirlpool FSCR10421 Installation and operation manual

Whirlpool AWG812/PRO Installation guide

Whirlpool

Whirlpool AWG812/PRO Installation guide

Whirlpool LA7001XS User manual

Whirlpool

Whirlpool LA7001XS User manual

Whirlpool AWT 4089 User manual

Whirlpool

Whirlpool AWT 4089 User manual

Whirlpool LA5300XK User manual

Whirlpool

Whirlpool LA5300XK User manual

Whirlpool CABRIO WTW6200SW0 User manual

Whirlpool

Whirlpool CABRIO WTW6200SW0 User manual

Popular Washer manuals by other brands

Zanussi ZWF 14080 W user manual

Zanussi

Zanussi ZWF 14080 W user manual

Zanussi FV 825 N Instruction booklet

Zanussi

Zanussi FV 825 N Instruction booklet

LG WM8000HVA Specifications

LG

LG WM8000HVA Specifications

Zanussi TJ 1284 H instruction manual

Zanussi

Zanussi TJ 1284 H instruction manual

AEG KO-LAVAMAT 74740 User information

AEG

AEG KO-LAVAMAT 74740 User information

Beko WSRE7512PRA user manual

Beko

Beko WSRE7512PRA user manual

Miele PW 6207 operating instructions

Miele

Miele PW 6207 operating instructions

GE GE Profile WWSE3160AAA Specifications

GE

GE GE Profile WWSE3160AAA Specifications

Bush WMNB712EB instruction manual

Bush

Bush WMNB712EB instruction manual

ALLIANCE UW60AV Information manual

ALLIANCE

ALLIANCE UW60AV Information manual

Bosch WAN280H3 User manual and installation instructions

Bosch

Bosch WAN280H3 User manual and installation instructions

Maytag MAT15MNAW installation instructions

Maytag

Maytag MAT15MNAW installation instructions

LG T2109VSAL owner's manual

LG

LG T2109VSAL owner's manual

Indesit IWC 61481 Instructions for use

Indesit

Indesit IWC 61481 Instructions for use

Electrolux EWF12843 user manual

Electrolux

Electrolux EWF12843 user manual

Indesit WIN 70 Instructions for use

Indesit

Indesit WIN 70 Instructions for use

Bosch WGB25400BY User manual and installation instructions

Bosch

Bosch WGB25400BY User manual and installation instructions

Coltene SciCan HYDRIM C61W G4 Operator's manual

Coltene

Coltene SciCan HYDRIM C61W G4 Operator's manual

manuals.online logo
manuals.online logoBrands
  • About & Mission
  • Contact us
  • Privacy Policy
  • Terms and Conditions

Copyright 2025 Manuals.Online. All Rights Reserved.

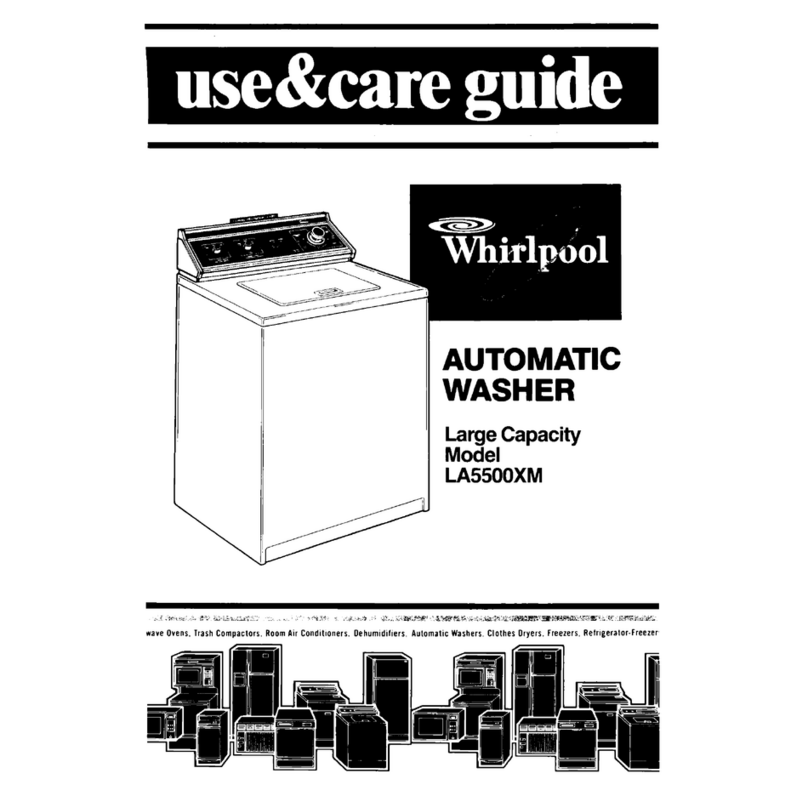
AUTOMATIC
WASHER
Compact
Model
LC45OOXS
MIcrowave Ovens. Trash Compactors. Room Au Condllloners. Dehumldlflers, Automatic Washers, Clothes Dryers, Freezers. Refrtgerator-Fr
Parts and fe-,
\
WATER
lEMPERATURE
SELECTOR
(not shown)
BASKET
L II TUB
.I I AGITATOR
Remove the Consumer
Buy Guide label. It will be
easier to remove before the
washer is used.
You should wipe out the
basket with a damp cloth
before using to remove dust
from storing or shipping.
Copy your Model and Serial Numbers here
When you need service or call with a
question, have this information ready:
1. Complete Model and Serial Numbers
Model Number
(from plate under the lid near the
hinge). serio, Number
2. Purchase date from sales slip.
Copy this information in these spaces. Purchase Dote
Keep this book, your “Laundry Guide” and
sales slip in the Laundry Information
Center.
Service Company
Phone Number
Please complete and mail the Owner Registration Card furnished with
this product.
Contents
Page
PARTS AND FEATURES 2
YOUR RESPONSIBILITIES 3
INSTALLATION 3
SAFETY FIRST 3
STARTING YOUR WASHER 4
WHAT HAPPENS IN EACH CYCLE 6
OTHER OPERATING
INSTRUCTIONS 8
For a Rinse and Spin 8
ForaDrainandSpin 8
Cleaning the Lint Filter
CARING FOR YOUR WASHER
IF YOU NEED SERVICE OR
ASSISTANCE
1. Before Calling for
Assistance
2. If You Need Assistance
3. If You Need Service
4. If You Have a Problem
Page 8
9
11
,.. 11
11
.-- 11
11
2 01986 Whirlpool Corporation
Your responsibilities
Read this “Use and Care Guide”
and your “Laundry Guide” care-
fully for important use and safety
information.
You are personally responsible
for making sure that your
washer...
l
is installed by a qualifiedinstaller.
l
is properly installed and
leveled on a floor that can
support the weight.’
l
is connected to the right kind
of outlet, electric supply, water
supply and drain.*
l
is properly grounded.*
l
is used only for jobs normally
expected of home automatic
washers.
l
is properly maintained.
l
is protected from the weather
and kept where the tempera-
ture will not fall below freezing.
l
is not run by children or anyone
unable to operate it properly.
*See the “Installation Instructions”
for complete information.
Installation instructions
Your washer is a
compact auto-
matic washer,
not a portable. It is
installed very much like a full-sized
washer.
The”lnstallation InstructionCgive
complete information. To get the
safest and best use from your
washer, those instructions
must be
followed exactly.
Starting your washer
Select WATER
1. TEMPERATURES
l
Match the wash water temperature
to the type of fabrics and soils being
washed.
l
All rinses are cold.
Recommended wash temperatures
can be found in your “Laundry Guide”
and printed under the washer lid.
CAUTION:
DO NOT OVERLOAD
Overloading or packing can...
l
cause poor cleaning;
l
increase wrinkling;
l
cause excessive lint;
l
wear out or tear items.
See the chart below for suggested
load sizes.
Fully loaded, the washer fills with about 11.3 gallons (42.7 liters) of water.
Suggestedload sizes
Be
careful to use enough water For
best results, the load should
for the load. Too big a load or too move freely in the water. Watch for
liffle water can result in a wash that rollover. An item (like a sock] should
isn’t clean; some items can be torn. sink and come up again later.
MIXED LOAD
1 pair slacks
2 pillowcases
2
shirts
2 T-shirts
PERMANENT
PRESS
6
shirts
-or-
2 double sheets
2 pillowcases
-or-
2 single sheets
2 pillowcases
HEAW
WORK CLOTHES
3
work shirk
2 pair pants
KNITS
2 slacks
2
shirk
-or-
3
dresses
TOWELS
9
bath towels
-or-
6
bath towels
3 hand towels
6 wash cloths
DELICATES
1 camisole
2 slips
2 panties
2 bras
1 nightie
1 halfslip
Select CYCLE and WASH TIME;
2.
Start the washer
A.
Push in the Control Knob and
turn it to the right (as indicated by
the arrows shown above). It must
be pushed in and turned only
clockwise.
B.
Stop on a number in the cycle
you want. The numbers are
minutes of wash time. The
drawing shows 8 minutes of
agitation in the REGULAR HEAVY
Cycle.
C.
Start the washer by pulling out
the Control Knob.The washer will
fill to its highest level with wash
water of the selected tempera-
ture. After filling,the washer will
agitate for the selected number
of minutes.
D.
To stop the washer at any time
push in the Control Knob. To
restart the washer, pull out the
Control Knob.
What happens in each cycle*
Each cycle has been designed for different kinds of fabrics. Numbers on the
dial in each cycle are the minutes of WASH agitation time.
When the Cycle Control Knob is set to a number and pulled out, the washer
fills before agitation and timing start. After agitation starts, the knob turns
REGuLqR HEAVY Cycle
PERMANENT PRESS Cycle
KNITS/GENTLE Cycle
permanent press
fabrics.
SOAK Cycle
A Indicates the machine is
pausing for a brief soak
period.
Brief periods of agitation
and soak time help remove heavy
soils and certain stains that need
extra pretreatment. Use recom-
mended amount of detergent or
pre-soak additive. The SOAK
Cycle should always be followed
by a Wash Cycle.
FILL
q
-mm,-,
DRAIN
No
E :A: Y!::
Agltation
I Speed
3 Spray
Rinses
I
I’ I
I’ I I’ I I
-II-II-
WASH
2
1
Minutes
Low
Speed
clockwise until it points to OFF and the cycle ends.
You may hear the sound of water spraying during the spin parts of some
cycles. In some cycles, cold water is sprayed on the spinning load to help
WASH
2
Ll
Mlnutes
Hlgh
Speed
Special care is needed when soaking laundry. See your
“Laundry Guide” for proper use of fhls cycle.
RECOMMENDED AMOUNT OF DETERGENT - FULL TUB
WATER HARDNESS IN GRAINS
Powdered Detergents o-4 gr. 4-10 gr. IO-20 gr. 20+ gr.
low suds/phosphate
normal suds/
phosphate
low suds/
non-phosphate
normal suds/
non-phosphate
Liquid Detergents
‘I4c. ‘/3c. ‘h c. VA-1c.
(60 ml] (80 mL) (125 ml) (I 75-250 mL]
‘h c. 74c. 1c. I’/3 c.
(125 mL) (175 mL) (250 mL] (300-350mL)
‘/3c. 1x7c. J/4c. 1c.
(80 mL) (f25 mL) (175 mL) (250 mL)
‘/2c. J/Ac. l-lvd c. I’/2 c.
(125 mL) (175 mL) (250-300 mL] (350 mL)
1/4
c.
f/3-1/2
c.
1/2
c. =/Ac.
(60 ml) (80-125 mL) (125 ml] (175 mL)
Other operating instructions
For a rinse and spin
You may need an extra rinse
and
spin for heavily soiled loads which
need more detergent. (Extra de-
tergent can require an extra rinse.)
l
Push Control Knob in.
l
Turn clockwise to any. on the dial.
See above drawing.
l
Pull Control Knob out.
l
The washer will fill with cold water,
agitate, drain and spin.
For a drain and spin
Your washer can be set to drain
and spin out water.
l
Push Control Knob in.
l
Turn clockwise to the bar just before
OFF in any cycle. See above
drawing.
9 Pull Control Knob out.
l
The washer will drain and spin.
Cleaning the lint filter
Clean filter after every load for best
filtering results. Note: The load type
will vary the amount of lint build-up.
To clean:
l Liftoff the agitator barrel.
l Wash or wipe the filter clean in the
bottom of the agitator barrel. The
filter Is not removable.
l Replace the agitator barrel and
snap into place.
8
Caring for your washer
OF
WHEN NOT WASHING, keep both
water faucets turned off. This takes
the pressure off the water inlet valve
and hoses.
REMOVESHARPOBJECTSsuch as pins,
buckles, etc., from clothes before
washing. Close metal zippers.
APTERWASHING, use a sofl dry cloth
to wipe the outside and inside dry.
Leave the lid up until the basket is dry.
Wipe up spills right away. Spills can
dull or damage the finish.
SHARP OR HEAVYOBJECTS should
never be put on or in the washer.
Check pockets for bolts, nuts,
tools, etc.
SOME PRETREATMENTPRODUCTS
can damage washer and dryer dials,
consoles and finishes. Do not use
these products on or near your
washer or dryer.
Winterizing
Because some water stays in the washer, freez-
ing can cause a lot of damage. If your washer is
stored or moved during the cold weather
1. Shut off both water
faucets. Discon-
nect and drain
water inlet hoses.
2. Put a quart of
automobile-type
antifreeze in the
basket.
3. Set the washer for a
DRAIN and SPIN
(see page 8). Let it
run for about 30
seconds to mix the
antifreeze and
water.
through a com-
plete cycle with
To use the washer again.. .
one cup of deter-
1. Flush water pipes and hoses. gent to clean out
2. Connect hoses to the washer. the antifreeze.
3. Turn on the water faucets.
10