manuals.online logo
Brands
  1. Home
  2. •
  3. Brands
  4. •
  5. White and Brown
  6. •
  7. Coffee Maker
  8. •
  9. White and Brown FA 873 MARUPA User manual

White and Brown FA 873 MARUPA User manual

12
V1 - 6/08
MODE D’EMPLOI
MODE D’EMPLOI
USER MANUAL
USER MANUAL
CAFETIÈRE PROGRAMMABLE
COFFEE MAKER WITH TIMER
FA 873 MARUPA
Indications relatives à la protection de l’environnement
Au terme de sa durée de vie, ce produit ne doit pas être éliminé avec les ordures ménagères mais
doit être remis à un point de collecte destiné au recyclage des appareils électriques et
électroniques. Le symbole figurant sur le produit, la notice d’utilisation ou l’emballage vous indique
cela.
Les matériaux sont recyclables conformément à leur marquage. Vous apporterez une large
contribution à la protection de l’environnement par le biais du recyclage, de la réutilisation
matérielle ou par les autres formes de réutilisation des appareils usagés.
Veuillez vous adresser à votre municipalité pour connaître la déchetterie compétente.
Instructions on environment protection
Do not dispose of this product in the usual household garbage at the end of its life cycle ; hand it
over a collection point for the recycling of electrical and electronic appliances. The symbol on the
product, the instructions for use or the packing will inform about the methods of disposal.
The materials are recyclable as mentioned in its marking. By recycling or others forms of re-
utilization of old appliances, you are making an important contribution to protect our environment.
Please inquire at the community administration for the authorized disposal location.
CONSIGNES DE SÉCURITÉ
Lire attentivement ce mode d’emploi avant d’utiliser l’appareil pour la première fois et le
conserver pour les utilisations futures.
• Vérifier que la tension de votre appareil correspond à celle de votre installation
électrique.
• Ne jamais laisser l’appareil sans surveillance lorsqu’il est en fonctionnement.
• Ne pas laisser l’appareil à la portée des enfants ou de personnes irresponsables.
• Cet appareil ne doit pas être utilisé par des personnes (y compris les enfants) dont les
capacités physiques, sensorielles ou mentales sont réduites, ou des personnes
dénouées d’expérience ou de connaissance, sauf si elles ont pu bénéficier, par
l’intermédiaire d’une personne responsable de leur sécurité, d’une surveillance ou
d’instruction préalables concernant l’utilisation de l’appareil.
• Il convient de surveiller les enfants pour s’assurer qu’ils ne jouent pas avec l’appareil.
• Utiliser l’appareil uniquement pour des usages domestiques, et uniquement pour de
l’alimentation, conformément aux indications de ce mode d’emploi.
• Ne jamais plonger l’appareil dans l’eau ou tout autre liquide ni l’exposer à un
environnement humide.
• Ne pas utiliser l’appareil avec les mains mouillées ou humides.
• Utiliser sur une surface plane et stable.
• Ne pas installer l’appareil à proximité immédiate d’une source de chaleur.
• La longueur du cordon de cet appareil a été calculée pour réduire les risques
d’accidents. S’il est trop court, utiliser une rallonge en veillant à ne pas la laisser pendre
sur le plan de travail et prendre toutes les précautions nécessaires pour qu’on ne puisse
pas se prendre les pieds dedans ou la tirer accidentellement.
• N’introduire aucun objet métallique pointu, ni vos doigts, ni un chiffon dans l’appareil.
• Ne jamais déplacer ou débrancher l’appareil en tirant sur le cordon d’alimentation.
• Avant de ranger ou de nettoyer l’appareil, s’assurer qu’il est bien débranché et
complètement refroidi.
• Ne pas nettoyer l’appareil avec des produits chimiques abrasifs.
• La cafetière ne doit être utilisée qu’avec les accessoires qui lui sont associés.
• Vérifier régulièrement l’état du cordon d’alimentation. Ne pas utiliser l’appareil si le
cordon d’alimentation, la prise ou l’appareil sont endommagés.
2 11
FRANÇAIS
FRANÇAIS
WHITE & BROWN vous félicite d’avoir choisi ce produit et vous remercie de votre confiance.
Pour votre confort et votre sécurité, votre article a été vérifié à toutes les étapes de sa
fabrication et a passé avec succès tous nos tests de qualité.
Nos produits sont conçus pour vous plaire tant par leur design que par leur facilité d’utilisation et
dans l’objectif constant de vous apporter complète satisfaction.
PROGRAMMING
• Press PROG button twice. “TIMER” appears on the display.
• Use HR button to settle required starting hour.
• Use MIN button to settle minutes.
• Press ON/OFF button twice. The green AUTO indicator lights on, indicating that the timer
is on.
• At the set time, the coffee maker will automatically start. The red indicator lights on and
the green AUTO light indicator switches off.
• To stop the appliance or the timer, press the ON/OFF button until both indicator lights
switch off.
MAINTENANCE AND CLEANING
• Before cleaning, unplug the appliance and let it cool completely.
• Wipe the outside with a soft dry cloth.
• Do not use abrasive or chemical products which may deteriorate the housing.
• Removable accessories can be washed in hot soapy water. Rinse and dry before fixing.
• Never immerse the coffee maker in water or other liquid.
• Descaling is necessary when the time needed to prepare coffee becomes considerably
longer. Use descaling products commercially available.
• Ne jamais réparer l’appareil vous-même. Vous perdriez le bénéfice de la garantie.
Comme tout appareil électrique, il doit être réparé par une personne qualifiée. De même,
le changement du cordon d’alimentation représente un réel danger et il est nécessaire
de contacter un réparateur agréé.
RECOMMANDATIONS SPÉCIFIQUES :
• Utiliser de l’eau fraîche et potable.
• Ne pas ouvrir le capot du porte-filtre lorsque l’appareil fonctionne. Risque de brûlure. De
même, après tout cycle, laisser refroidir l’appareil au moins 30 secondes avant d’ouvrir le
couvercle.
• La sole chauffante, la verseuse et les parois restent très chaudes. Prendre toutes les
précautions nécessaires pour éviter les risques de brûlure.
• De la vapeur s'échappe du porte-filtre pendant le fonctionnement. De la condensation
peut se former sur la partie supérieure de l’appareil. Ceci est tout à fait normal et
n’entrave en aucun cas le bon fonctionnement de celui-ci.
• Vérifier régulièrement l’état de la verseuse. Si celle-ci présente une fêlure, elle doit être
changée. Une verseuse abîmée peut se casser lorsqu’elle contient un liquide chaud et
provoquer de graves brûlures.
LE FABRICANT NE SAURAIT ÊTRE TENU POUR RESPONSABLE DE LA MAUVAISE
UTILISATION DE L’APPAREIL.
CONSERVER SOIGNEUSEMENT CE MODE D’EMPLOI.
10 3
OPERATION
OPERATION
Before the 1st use, remove all packaging and protections from the appliance. Wipe all
parts with a moist cloth.
Carry out 2 or 3 cycles with cold water only to clean the device before brewing coffee.
• Plug the appliance to the mains.
• The display lights on in blue. 12:00 appears. After about 15 seconds, the display switches
off automatically.
SET THE TIME (24H)
• Press the PROG button once. “CLOCK” appears on the display.
Press the HR button to set the hours
Press the MIN button to set the minutes
• To leave the adjustment mode, press the PROG button twice or wait for 10 seconds.
USE
• Open the top cover and fill in with cold water to the required level. Do not fill above the
MAX mark (inside the water tank).
• Place a paper filter into the filter holder, and fill it with the desired quantity of coffee
powder.
• Close the cover.
• Place the jug on the hotplate. Ensure that the lid is on the jug.
• Press the ON/OFF button. The red indicator lights on. The coffee maker starts brewing.
• To stop brewing during cycle, press the ON/OFF button twice. Both indicator lights switch
off.
• To reheat or keep your coffee warm, let the coffee maker switched on (the red indicator
remains lighted) and the jug on the hotplate. The hotplate keeps the coffee warm for
2 hours.
• Remove the filter holder by the clip and dispose of the paper filter.
• Replace correctly the filter holder.
DESCRIPTION DE L’APPAREIL
4 9
DESCRIPTION
DESCRIPTION
Marche/Arrêt
Sole
Ouverture du
couvercle
Verseuse
Voyant de
fonctionnement
Réglage Heure
Réglage Minute
Programmation Voyant mode
programmation
On/Off button
Hote plat
Cover
Jug
On light
indicator
Hour setting
Minutes setting
Programmation
Écran LCD
Auto light
indicator
LCD display
5
Specific recommendation
• Only use fresh drinking water.
• Do not open the water tank lid during use to avoid burn risks. Also allow the coffee
maker to cool at least 30 seconds after cycle before opening the lid.
• The hot plate and the coffee pot become very hot. Danger of scalding!
• Steam evaporates from the coffee filter during use and can then generate condensation
on the upper part of the appliance. This is normal and does not affect the correct
functioning of the appliance.
• Never use the appliance if the jug shows any leaking signs. A damaged jug can break
when containing hot liquid and cause serious burns.
SAVE THESE INSTRUCTIONS CAREFULLY.
THE MANUFACTURER WILL NOT ASSUME ANY RESPONSIBILITY IN CASE OF NON
ADHERENCE TO THESE RECOMMENDATIONS.
8
UTILISATION
UTILISATION
Avant la 1ère utilisation, retirer tous les emballages et films de protection de l’appareil.
Nettoyer toutes les pièces avec un chiffon humide.
Faire 2 ou 3 cycles d’eau seule pour nettoyer l’appareil.
• Brancher l’appareil sur le secteur.
• L’écran s’éclaire de bleu et affiche 12:00. L’écran s’éteint automatiquement au bout de 15
secondes.
RÉGLAGE DE L’HEURE (24H)
• Appuyer sur la touche PROG. L’écran affiche 12 :00 et « CLOCK » en haut à droite.
Réglage des heures : appuyer autant de fois que nécessaire sur la touche HR.
Réglage des minutes : appuyer autant de fois que nécessaire sur la touche MIN.
• Pour quitter ce mode, appuyer deux fois sur la touche PROG ou attendre 10 secondes.
UTILISATION
• Soulever le couvercle et remplir le réservoir d’eau froide jusqu’au niveau souhaité.
Veiller à ne pas dépasser le niveau d’eau maximum (marque intérieure du réservoir).
• Placer un filtre papier dans le porte-filtre puis verser la quantité souhaitée de café.
• Fermer le couvercle.
• Placer la verseuse sur la sole. Veiller à ce que le couvercle de la verseuse soit bien en
place.
• Appuyer sur le bouton M/A. Le voyant rouge de fonctionnement s’allume. Le café coule.
• Pour arrêter la cafetière en cours de cycle, appuyer sur le bouton M/A deux fois. Les
deux voyants lumineux s’éteignent.
• Pour réchauffer ou maintenir le café au chaud, laisser la cafetière en marche (le voyant
rouge de fonctionnement reste allumé) et la verseuse pleine sur la sole. La sole maintient
le café au chaud pendant deux heures maximum.
• Retirer le porte-filtre par son anse et jeter le filtre usagé.
• Replacer le porte-filtre dans son logement.
CAUTIONS
CAUTIONS
READ ALL THESE INSTRUCTIONS CAREFULLY BEFORE USING THIS PRODUCT.
• Make sure that the voltage rating on the type plate corresponds to your main voltage.
• Never leave the appliance unsupervised when in use.
• Keep out of children or incompetent persons. Do not allow them to play with the
appliance.
• This appliance should not be used by people (and children) whose physical, sensorial or
mental capacities are reduced, or without experience and knowledge, except if a person
responsible for their security can supervise or give preliminary instructions for product
use.
• Only use the appliance for domestic purposes and in the way indicated in these
instructions.
• Never immerse the product in water or any liquid for any reasons. This appliance must
be placed in a dry environment.
• Do not use if you have wet hands.
• Place the appliance on a plane and steady surface.
• Never use the appliance on or near hot surfaces.
• Never move or unplug the appliance by pulling the cord.
• Before storing or cleaning the appliance, make sure that it is unplugged from the power
supply and that it is completely cooled.
• Make sure the cord never comes into contact with the hot parts of the appliance.
• The cord length of this product has been designed to reduce the risk of fall. If needed, an
extension cord may be used. Do not let it hung over the working area and make sure
no-one can accidentally trip over it.
• Only use accessories supplied with the appliance and recommended by White&Brown.
• From time to time, check the cord for damages. Never use the appliance if cord or
appliance show any sign of damage.
• All interventions made by a non-qualified person can be dangerous; in this case
guarantee conditions would cancel. As all electrical products, a competent electrician
must repair it.
76
ENGLISH
ENGLISH
Congratulations for having chosen this WHITE & BROWN product, and thank you for
trusting us. For your comfort and safety, your appliance has been checked at
every step of manufacturing and has successfully gone through all our tests of quality.
WHITE & BROWN creates original products to please you, as far as design and easiness
to use are concerned in order to give you complete satisfaction.
PROGRAMMATION
• Appuyer deux fois sur la touche PROG. L’écran affiche « TIMER » en haut à gauche.
• Utiliser la touche HR pour régler l’heure de démarrage souhaitée.
• Utiliser la touche MIN pour régler les minutes.
• Appuyer deux fois sur la touche M/A. Le voyant vert AUTO s’allume indiquant que le
programmateur est activé.
• A l’heure programmée, la cafetière démarre automatiquement. Le voyant lumineux rouge
de fonctionnement s’allume et le voyant lumineux vert du mode AUTO disparait.
• Pour arrêter l’appareil ou désactiver le minuteur, appuyer sur la touche M/A jusqu’à ce
que les deux voyants lumineux s’éteignent.
ENTRETIEN ET NETTOYAGE
• Bien débrancher l’appareil avant de le nettoyer.
• Attendre que l’appareil soit complètement refroidi.
• Nettoyer l’extérieur de l’appareil avec un chiffon doux et sec.
• Ne pas utiliser de produits abrasifs qui risqueraient d’abîmer la surface de l’appareil.
• Les accessoires amovibles (porte-filtre, verseuse…) peuvent être nettoyés à l’eau
savonneuse. Rincer soigneusement et sécher les accessoires avant de les replacer.
• Ne jamais immerger le corps de la cafetière dans l’eau ou tout autre liquide.
• Un détartrage est nécessaire lorsque le temps de préparation du café s’allonge
sensiblement. Utiliser à cet effet un produit détartrant vendu dans le commerce.

Other White and Brown Coffee Maker manuals

White and Brown FA 872 KARA User manual

White and Brown

White and Brown FA 872 KARA User manual

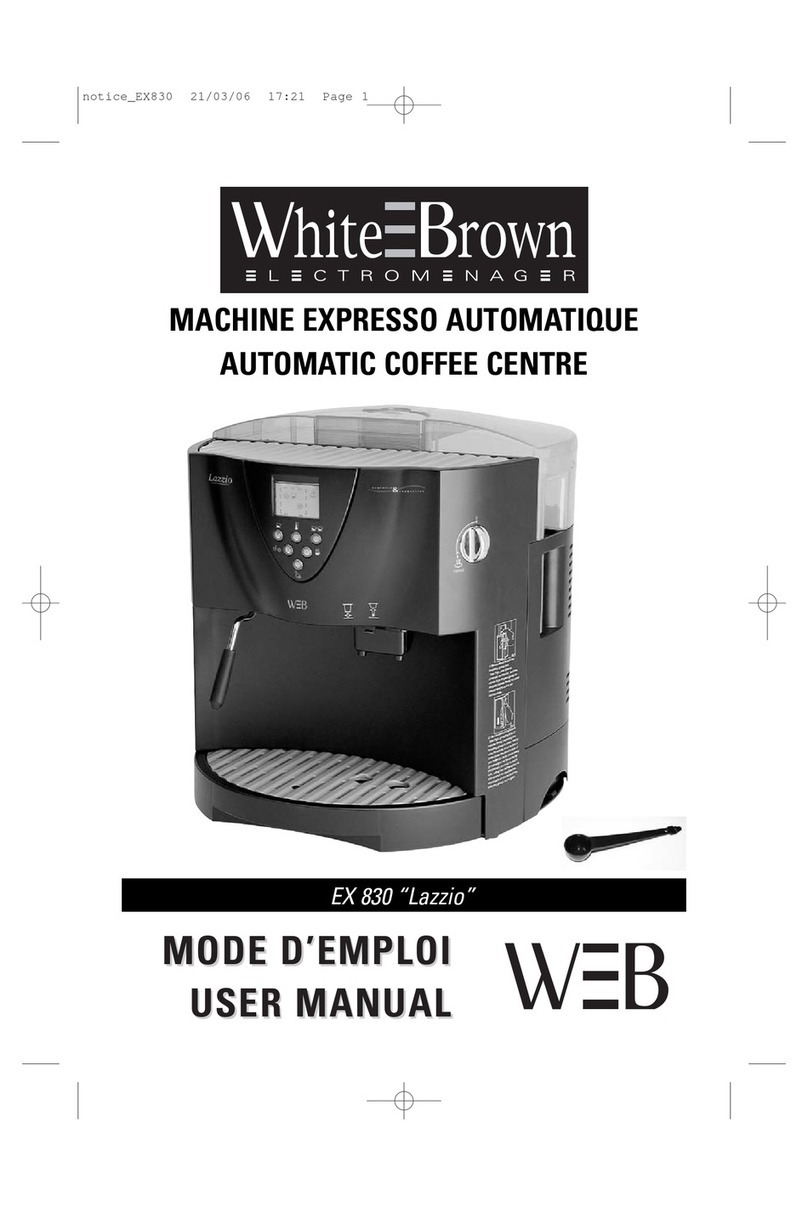
White and Brown EX 830 Lazzio User manual

White and Brown

White and Brown EX 830 Lazzio User manual

White and Brown EX 826 MILENA User manual

White and Brown

White and Brown EX 826 MILENA User manual

White and Brown EX 826 MILENA User manual

White and Brown

White and Brown EX 826 MILENA User manual

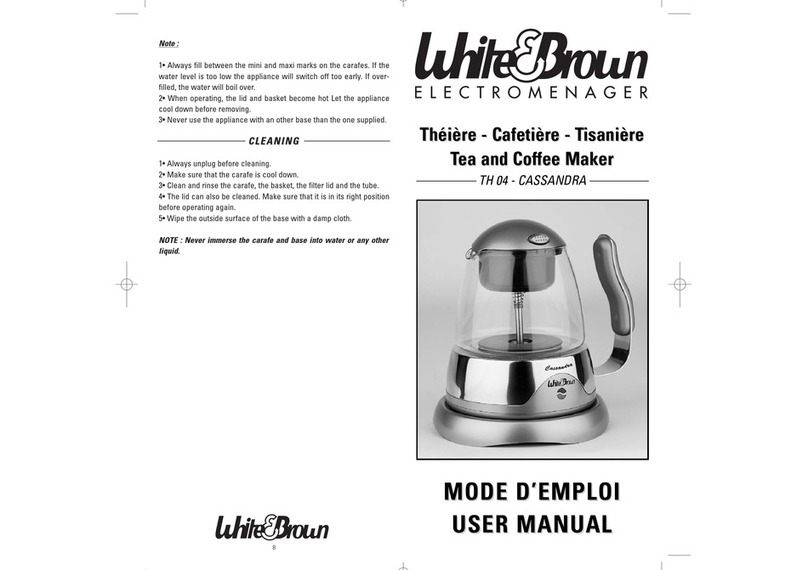
White and Brown TH 04-CASSANDRA User manual

White and Brown

White and Brown TH 04-CASSANDRA User manual

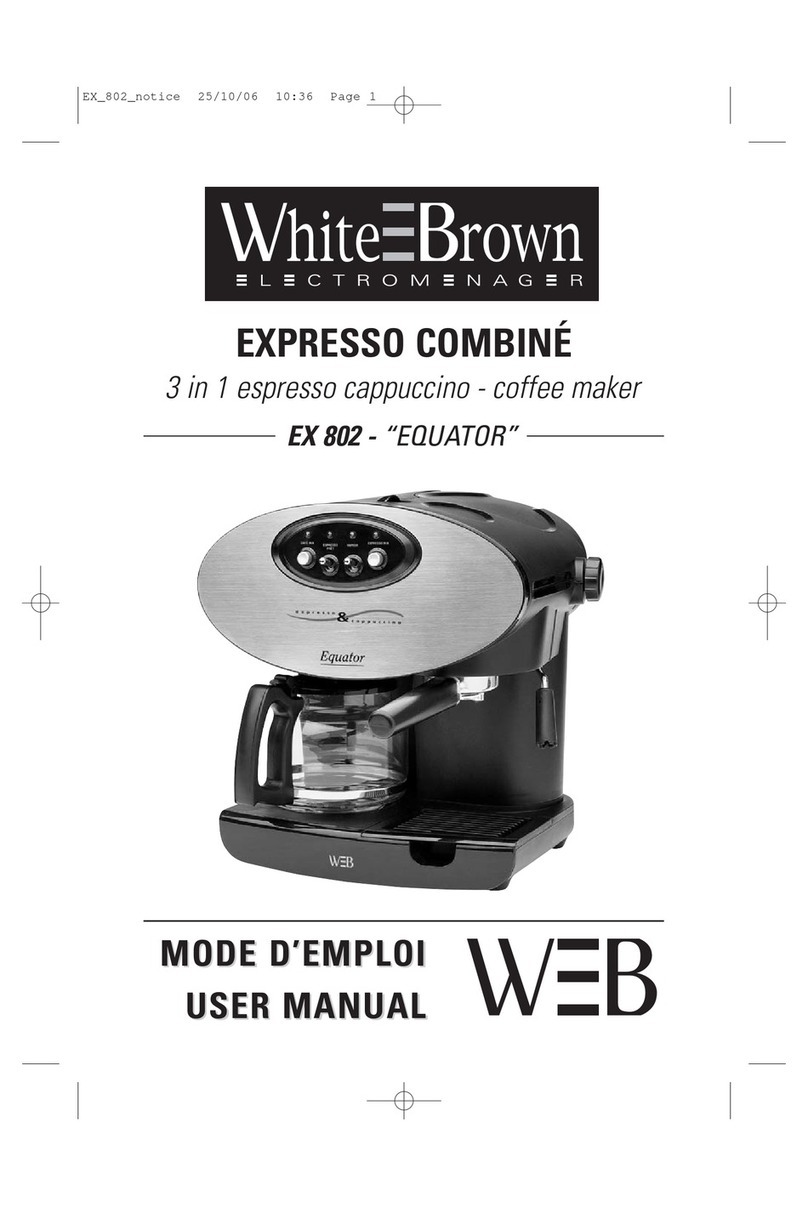
White and Brown EX 802 EQUATOR User manual

White and Brown

White and Brown EX 802 EQUATOR User manual

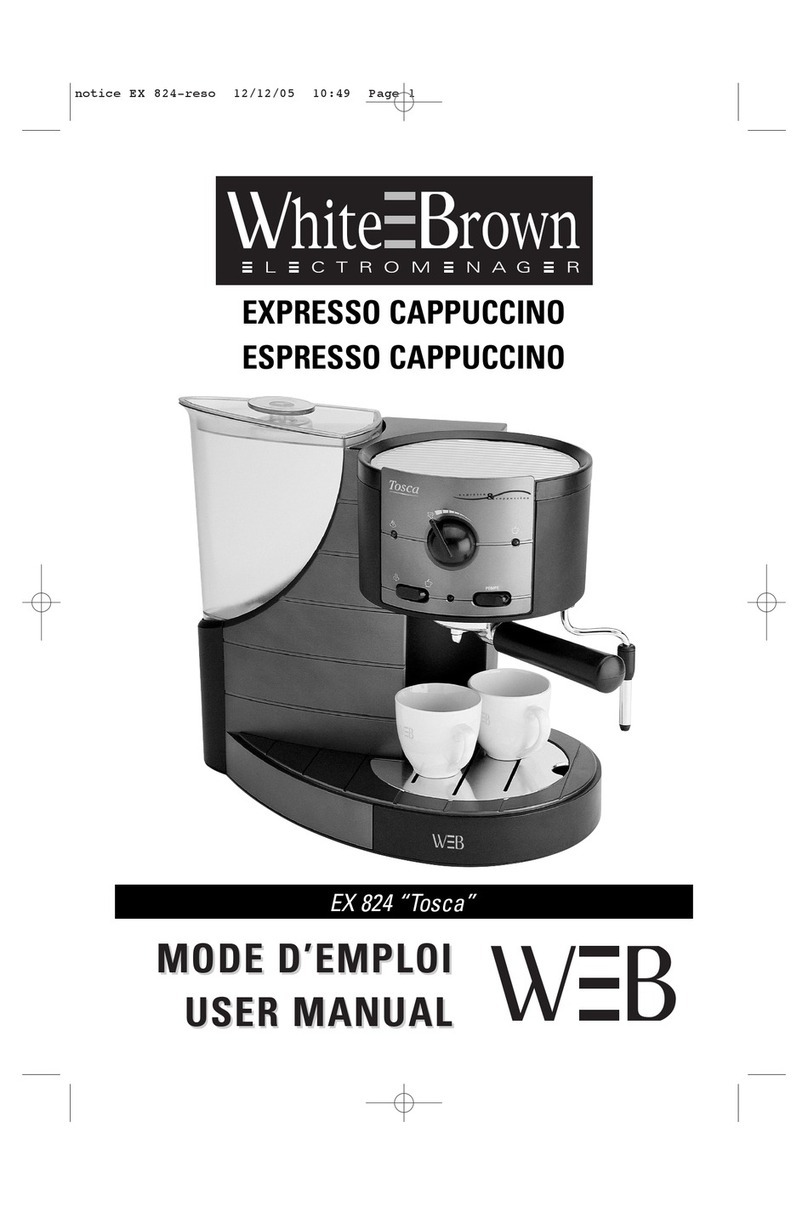
White and Brown EX 824 Tosca User manual

White and Brown

White and Brown EX 824 Tosca User manual

White and Brown FA 850 morning coffee User manual

White and Brown

White and Brown FA 850 morning coffee User manual

White and Brown FA 879 NORA User manual

White and Brown

White and Brown FA 879 NORA User manual

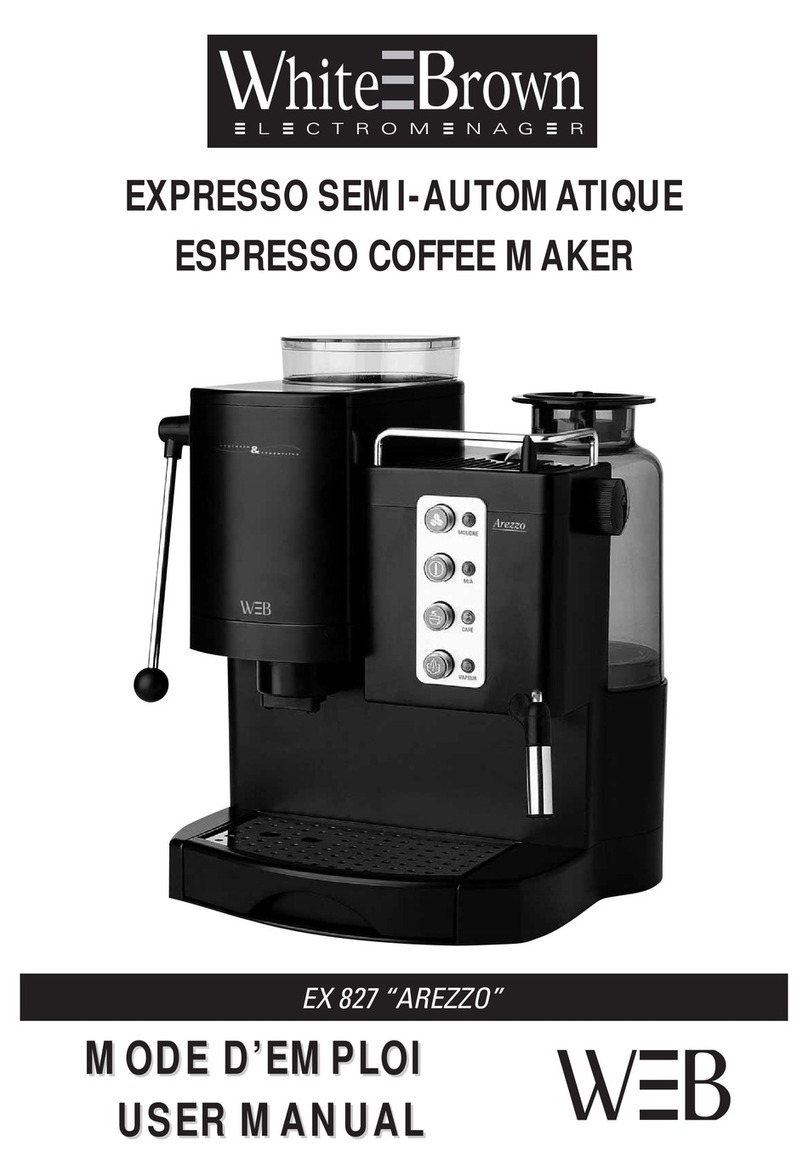
White and Brown EX 827 AREZZO User manual

White and Brown

White and Brown EX 827 AREZZO User manual

White and Brown FA 836-Morning Pearl User manual

White and Brown

White and Brown FA 836-Morning Pearl User manual

White and Brown CD 853 GIACOMO User manual

White and Brown

White and Brown CD 853 GIACOMO User manual

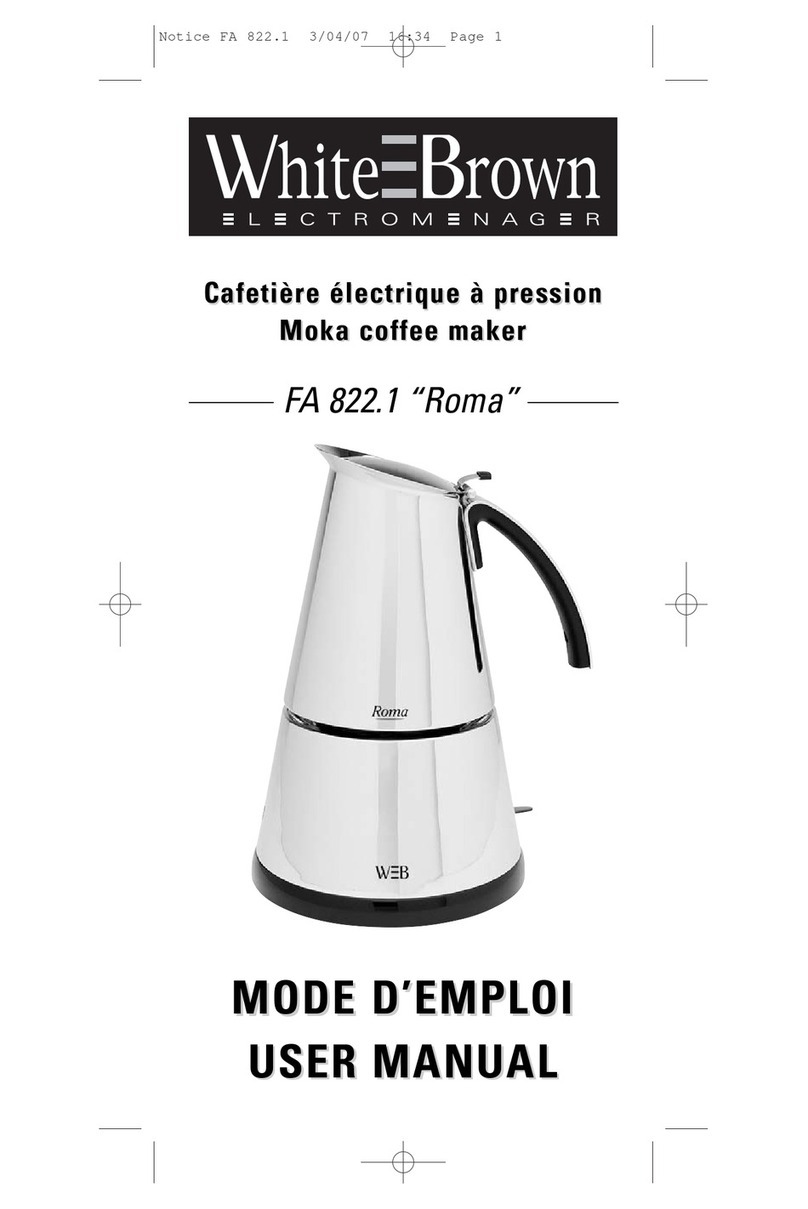
White and Brown FA 822.1 "Roma" User manual

White and Brown

White and Brown FA 822.1 "Roma" User manual

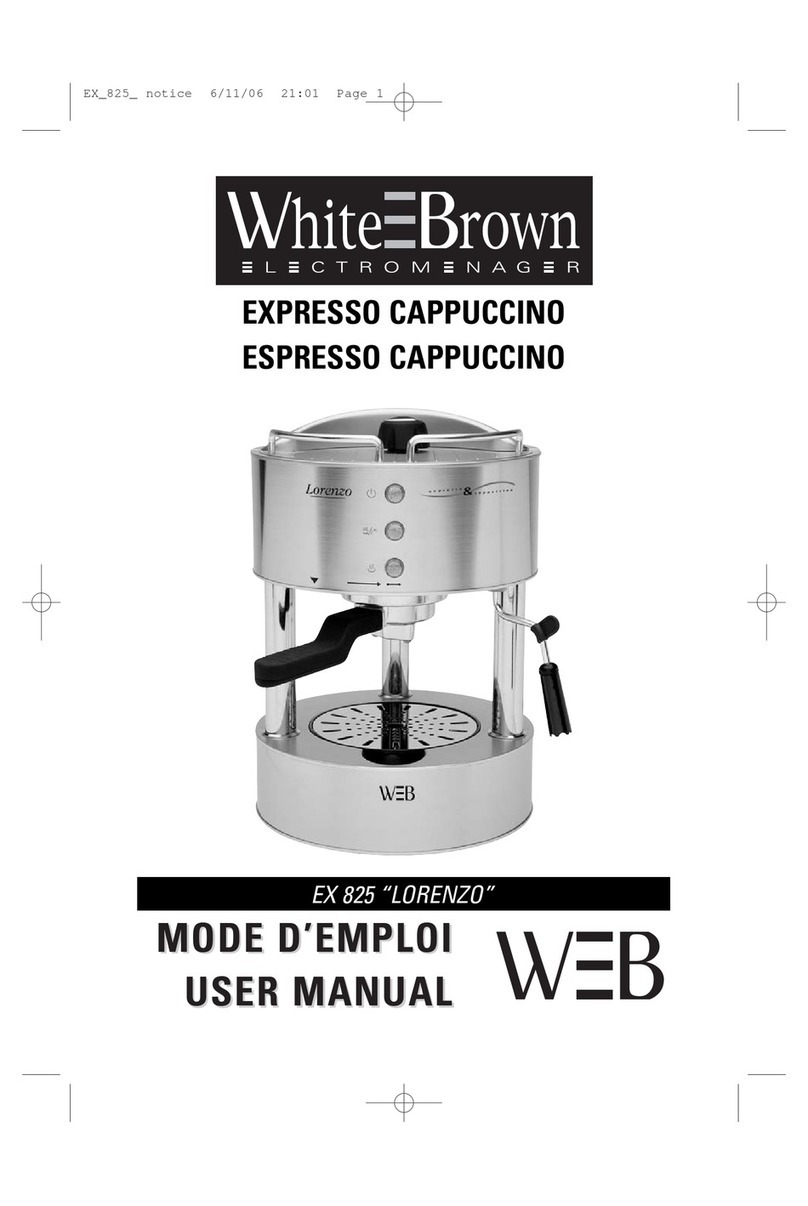
White and Brown EX 825 LORENZO User manual

White and Brown

White and Brown EX 825 LORENZO User manual

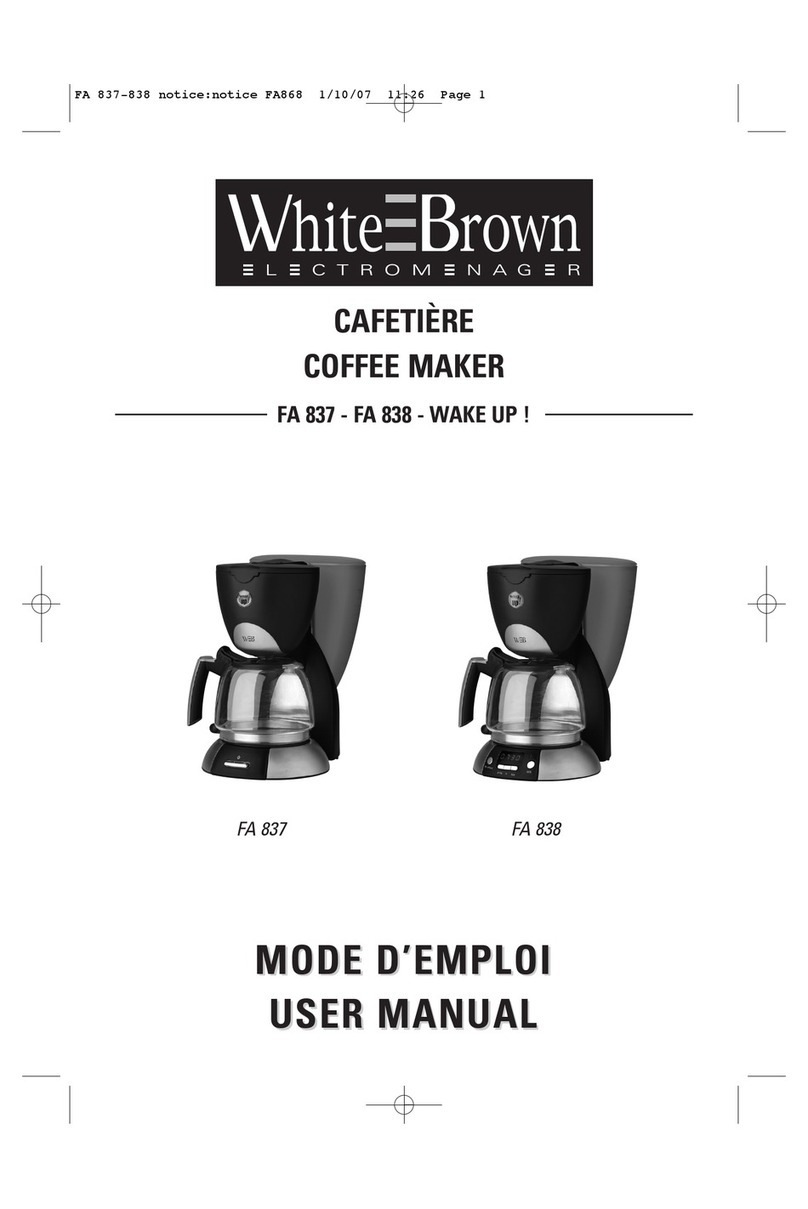
White and Brown FA 837 WAKE UP User manual

White and Brown

White and Brown FA 837 WAKE UP User manual

Popular Coffee Maker manuals by other brands

Oster PRIMALATTE II TOUCH instruction manual

Oster

Oster PRIMALATTE II TOUCH instruction manual

Krups SAVOY EC314 user manual

Krups

Krups SAVOY EC314 user manual

Sage Nespresso Creatista Uno user manual

Sage

Sage Nespresso Creatista Uno user manual

Rancilio Classe 8 DE specification

Rancilio

Rancilio Classe 8 DE specification

Carimali F10 quick start guide

Carimali

Carimali F10 quick start guide

Schaerer Coffee Art Plus Daily cleaning instructions

Schaerer

Schaerer Coffee Art Plus Daily cleaning instructions

LAVAZZA IDOLA operating instructions

LAVAZZA

LAVAZZA IDOLA operating instructions

MESTIC ME-80 Instructions for use

MESTIC

MESTIC ME-80 Instructions for use

Krups Nespresso PIXIE YY1204FD instruction manual

Krups

Krups Nespresso PIXIE YY1204FD instruction manual

Gaggia 740911008 operating instructions

Gaggia

Gaggia 740911008 operating instructions

Salton Elite SECM21 Instructions and warranty information

Salton

Salton Elite SECM21 Instructions and warranty information

NEFF C77V60N2 installation instructions

NEFF

NEFF C77V60N2 installation instructions

Melitta OPTIMA Timer operating instructions

Melitta

Melitta OPTIMA Timer operating instructions

AEG Favola Cappuccino manual

AEG

AEG Favola Cappuccino manual

Elite Gourmet CCM040 instruction manual

Elite Gourmet

Elite Gourmet CCM040 instruction manual

Mr. Coffee BL110 operating instructions

Mr. Coffee

Mr. Coffee BL110 operating instructions

BLACK DECKER CM0750 use and care manual

BLACK DECKER

BLACK DECKER CM0750 use and care manual

H.Koenig XPS15 instruction manual

H.Koenig

H.Koenig XPS15 instruction manual

manuals.online logo
manuals.online logoBrands
  • About & Mission
  • Contact us
  • Privacy Policy
  • Terms and Conditions

Copyright 2025 Manuals.Online. All Rights Reserved.