White Knight WK 290-1704A User manual

W
WW
W
W
WW
WK
KK
K
K
KK
K
2
22
2
2
22
29
99
9
9
99
90
00
0
0
00
0-
--
-
-
--
-1
11
1
1
11
17
77
7
7
77
70
00
0
0
00
04
44
4
4
44
4A
AA
A
A
AA
A
REFRIGERATOR
REFRIGERATORREFRIGERATOR
REFRIGERATOR
Instruction manual

IMPORTANT NOTE
REMOVAL OF TRANSIT PACKAGING
BEFORE USING FOR THE FIRST TIME, REMOVE BLANKING
PLUG "A", TAKE OFF ALL PACKING PIECES ''B'',
AND THEN REPLACE IN HOLE ''C''
GENERAL INFORMATION
Refrigerator WK 290 is a compressor based refrigerator, designed for short-term storage of chilled
products.
T E APPLIANCE IS ECOLOGICALLY CLEAN, CONTAINING NO MATERIALS ARMFUL TO T E OZONE
LAYER: the refrigerant used is R600a, the foaming agent used for the appliance insulation is
cyclopentane C
5
10
.
! T E MANUFACTURER GUARANTEES RELIABLE OPERATION OF T E REFRIGERATOR W EN T E
AMBIENT TEMPERATURE IS +16 TO +32 DEGREES CELSIUS AND T E RELATIVE AIR UMIDITY NOT
GREATER T AN 70 PER CENT. The appliance climate class is N.
! IF T E APPLIANCE IS OUT OF ORDER AND IT IS NOT POSSIBLE TO REPAIR IT BY MEANS OF GIVEN
RECOMMENDATIONS, UNPLUG IT, OPEN T E DOORS AND CALL T E SERVICE EXPERT. ONLY A SERVICE
REPRESENTATIVE CAN REMEDY ALL TEC NICAL OR CONSTRUCTION FAULTS.
! CAREFULLY READ THE INSTRUCTION MANUAL. I instructions are not ollowed, there is a
risk o injury, damage to the appliance, and loss o the right to ree warranty service. We
recommend to keep the Instruction manual the whole time you have the appliance.
NOMINAL TECHNICAL DATA
Model WK 290-1704A
Energy e iciency class in accordance with directive 94/2 EC
A
Energy consumption: kWh/24h
kWh/per year
0,46
168
Actual consumption will depend on how the appliance is used and where it is located
Total gross volume, L 284
Fresh Food volume, L 275
Overall dimensions, mm 1450 x 600 x 600
Storage shelf area, dm
2
112
Weight, kg 49,5
Voltage, V / Frequency, z 220-230 / 50
Rated input, W 150
NOTE. The manufacturer reserves the right to make future changes to technical parameters and
specifications.
SAFETY PRECAUTIONS
•
Prior to connecting the refrigerator to the mains make sure that the power cord is not damaged.
•
This refrigerator is supplied with a special supply cord. It should only be exchanged for an identical
special supply cord, and this replacement should only be carried out by the manufacturer or the
manufacturer’s appointed agent.
•
The plug of the refrigerator should be connected to a properly fixed stationary socket providing
good contact. The socket must have a reliable earth connection.

•
Keep the rear of the refrigerator free from dust using a dry brush or a vacuum-cleaner at least once
a year.
WARNING!
Keep ventilation openings in the appliance enclosure or in the built in structure, clear
o obstruction.
Do not use mechanical devices or other means to accelerate the de rosting process.
Do not damage the re rigerant circuit.
Do not use electrical appliances inside the ood storage compartments o the
appliance.
A ter switching the appliance o (while cleaning, removing to another place and so
on), it can be switched on again only a ter 15 min.
Do not touch the plug pins a ter switching the appliance o .
•
Do not place vessels containing liquid on the top of the refrigerator as these could spill onto
electrical components.
•
Do not place electrical heating appliances (electric stoves, irons, grills and others) on the top cover
of the refrigerator.
•
During refrigerator maintenance avoid ingress of moisture to the current carrying parts of the
electric equipment.
•
Protect plastic surfaces of the food storage compartment from any fat, oils, sauces because they
can cause damage to the compartment. In case of unintended spill immediately clean the surface
with dish washing liquid.
•
While defrosting or cleaning the inside of the refrigerator, do not forget to disconnect it from the mains.
In ormation:
leave the doors of refrigerator open if it is switched off for a long time;
if selling or transferring this refrigerator inform the new user, that it contains insulation -
cyclopentane (foaming agent C510), and refrigerant - R600a.
REFRIGERATOR DESIGN ( ig. 1)
1 Interior lighting lamp
Interior lighting lamp cover
2 Thermostat position
indicator
3 Electric supply indicator
(green light)
4 Thermostat - temperature
regulator
5 Adjustable height shelves
6 Shelf (glass)
7 Fruit and vegetable boxes
8 Doors tray
9 Egg tray
10 Thaw water channel cleaner
(red color)
11 Condenser
12 Compressor
13 Thaw water drip tray

CHANGING THE OPENING DIRECTION OF THE DOORS
It is recommended that changing the opening direction of the doors should be done with a helper.
You will need two spanners No. 8 and No. 10 and a Philips head screwdriver.
! When changing the opening direction of the doors, YOU CAN NOT lay the refrigerator horizontally.
Do the actions below in the order they
are listed:
WARNING! Turn o the appliance
and pull the plug out o the
electricity supply socket.
1. Remove bottom bracket 1. Remove
bottom bracket 2 together with the
washers on the axle and the plastic
spacer. Remove compartment door.
2. Remove cap 4 from the refrigerator
door and press it in on the opposite
side.
3. Unscrew axle 5 by turning it counter-
clockwise. Remove it together with
the bolt and washers.
4. On the opposite side, screw in axle 5
in a clockwise direction together with
the bolt and washers.
5. Turn bracket 2, together with the
nuts on the axle and the plastic
spacer, around a full 180°, replacing
the nuts on the axle and tightening
them on the opposite side.
6. Screw bottom bracket 4 together
with the washers on the axle and the
plastic spacer into the place for
bracket 2. Screw bracket 2 into the
place for bracket 4. Remove bolt
caps (a) and plugs (b). Unscrew the
bolts holding the handles in place.
Move the handles to the other side.
Screw on. Press plugs into the
remaining apertures in the door and
cover bolts with caps a.
7. Replace bottom lid 1.
PREPARING THE APPLIANCE FOR OPERATION
! It is recommended to prepare the appliance for operation with a helper.
•Remove package. Lift the appliance away from foamed polystyrene base. Do not rise or push it
taking by handles. Handles may break. Tear off adhesive tapes.
•When positioning the appliance in chosen location, it will move more easily into position if you lift
the front a little and incline it backward, allowing it to roll on its casters.
◄Remove all red-coloured parts from the shelves. Tear away the red-
coloured adhesive tapes from the door trays – they
are intended only for the transport of the appliance.
•Suitably dispose the packaging material.
•Take two supports from the bag and insert them
into the guides at the top back part of the
appliance ►

POSITIONING. VENTILATION
•Place the appliance in a dry, well ventilated room.
•ATTENTION!
The appliance should not be operated in an unheated room or
porch. Place the appliance away from heat sources such as kitchen stove/oven,
radiators, or direct sunlight.
•ATTENTION!
The appliance must not touch any pipes or heating, gas or
water supply, or any other electrical devices.
•Do not cover the ventilation holes at the top of the appliances– it must be a good
air circulation body and any furniture that may be above it. If this requirement is
not followed, the appliance consumes more electrical energy and its compressor
may overheat ►
◄Overall space required in use o the reezer. If the appliance is placed in a
corner, a gap of at least 1 cm must be left between the appliance body and the wall.
•The appliance must stand on a level surface and must not touch the wall. If
necessary, regulate the height of the appliance by adjusting the levelling feet: by
turning them clockwise – the front of the appliance rises, by turning them counter
clockwise – it comes down. If the appliance is tilted slightly backward – the doors
will close by themselves.
TEMPERATURE REGULATION
The temperature in the refrigerator compartment is controlled using the thermostat knob 4 ( ig. 1) by
turning it to one side or the other. The temperature indication in digits is shown beside the thermostat
knob. The temperature is regulated on the scale:
0 = Compressor is switched off. WARNING! Electric current is not switched o .
1 = highest temperature (lowest cooling) 5 = lowest temperature (highest cooling)
If food products in the refrigerator compartment are too cold, set the thermostat knob to 1, 2 or 3.
If food products in the refrigerator compartment are not being chilled sufficiently, set the thermostat
knob to 4 or 5 - 7.
! Please set the desired temperature in the appliance according to your own requirements.
! T E TEMPERATURE IN T E REFRIGERATOR COMPARTMENT MAY VARY DEPENDING ON AMBIENT
TEMPERATURE, T E AMOUNT OF FOODSTUFFS, T E TEMPERATURE OF T E FOODSTUFFS, AND
OW OFTEN T E APPLIANCE DOOR IS OPENED AND CLOSED. Therefore we recommend:
•locate the appliance away from heat sources,
•food placed in the appliance should not be warmer than the room temperature,
•appliance door must not to be left open,
•the appliance door should not be open longer than it is necessary to take out or put in foodstuffs.
! IF T E ROOM IS COOL, T E APPLIANCE COOLS LESS. T E TEMPERATURE IN T E APPLIANCE MAY
T EREFORE RISE. Use the thermostat wheel to set a lower temperature.
DEFROSTING OF THE REFRIGERATOR COMPARTMENT
The refrigerator compartment defrosts automatically. Drops of ice that form on the back wall of the
refrigeration compartment thaw during the time the compressor is not working and the thaw water
runs down the thaw water runoff channel to the tray on top of the compressor, where it evaporates.
CLEANING AND CARE
! REGULARLY CLEAN T E APPLIANCE.
! Remember that be ore de rosting the reezer compartment and cleaning the back part o
the appliance body you must disconnect the appliance rom the electrical energy supply
socket by pulling the plug out o the electricity outlet.
•Clean the appliance inner surfaces with warm soapy water. Dishwashing detergent may also be
used. Wipe dry inner and outer surfaces.

•Regularly clean the hermetic gaskets of the doors. Wipe dry.
•Regularly wash the trays and other accessories.
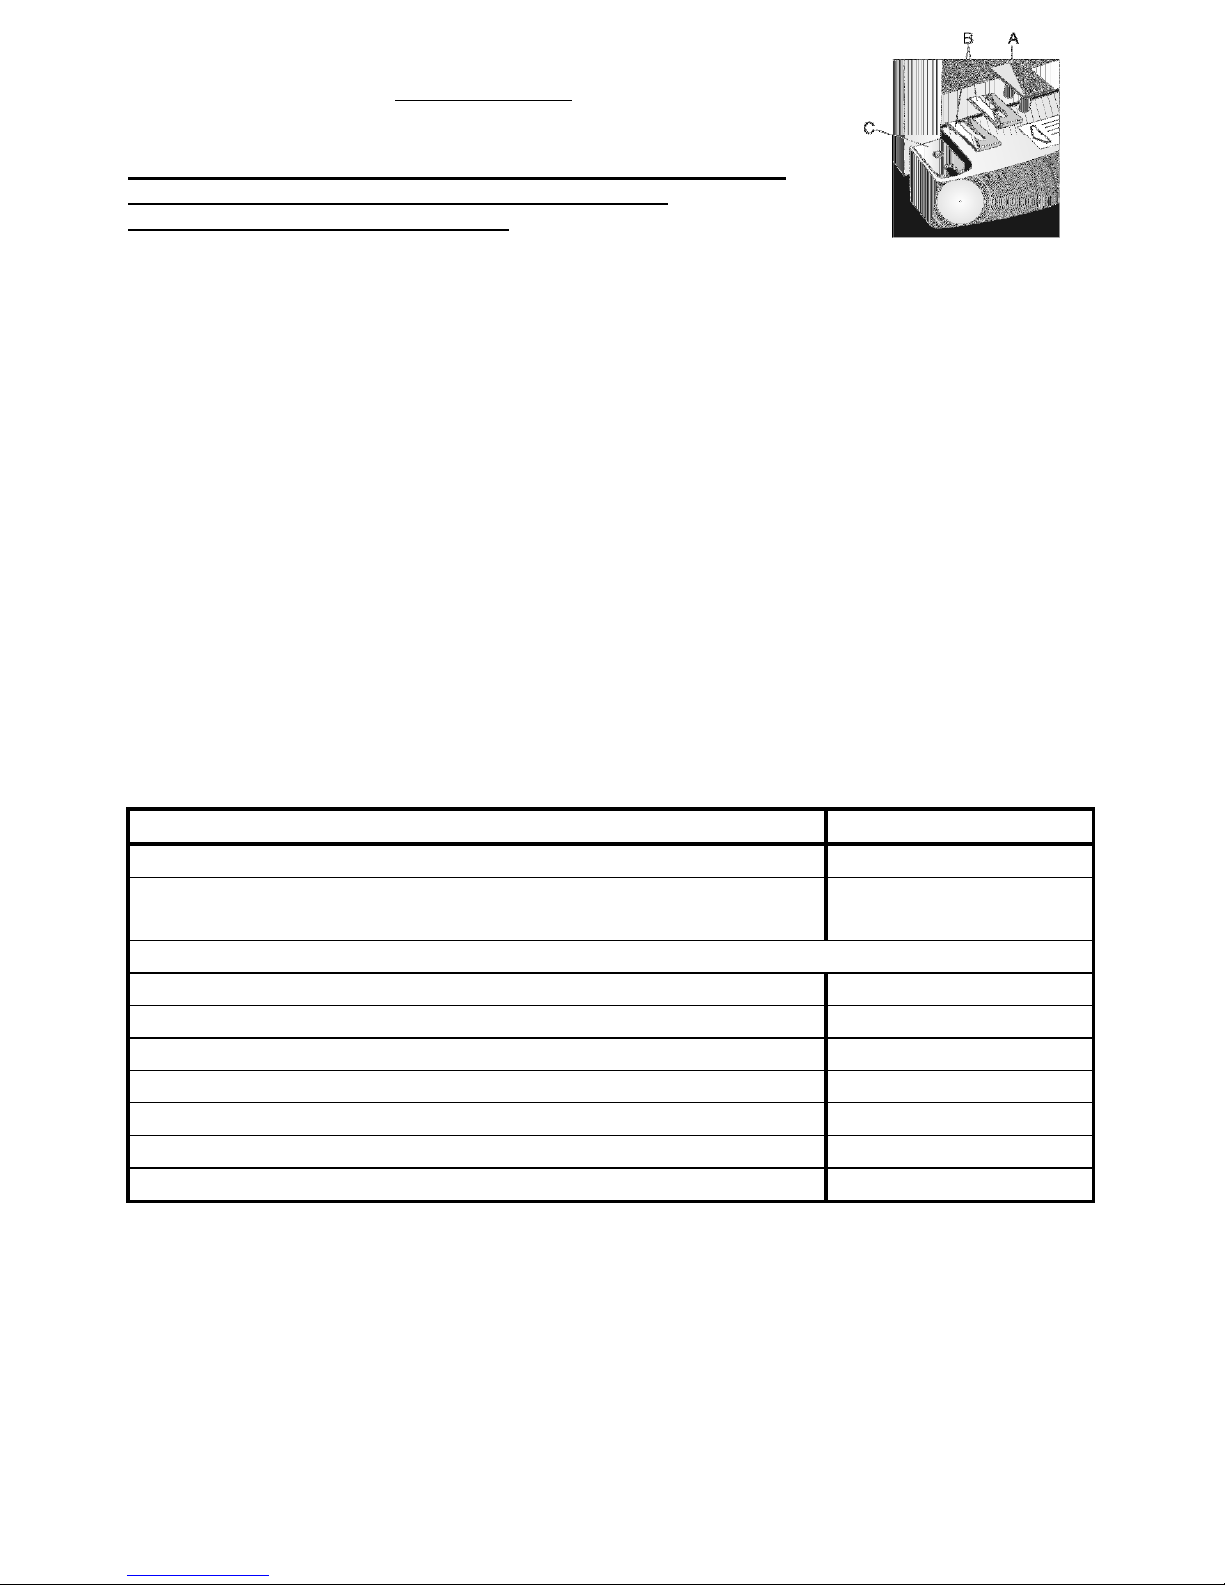
•WARNING! REGULARLY CLEAN T E T AW WATER C ANNEL SPACE WIT A SPECIAL CLEANER
FOR T AT PURPOSE 10 (Fig. 1).
•At least once a year clean dust away from the back part of the appliance body and the compressor.
A soft brush, electrostatic cloth or vacuum cleaner may be used for cleaning.
•DO NOT use detergents containing abrasive particles, acid, alcohol or benzene for cleaning the
appliance inner and outer surfaces.
•DO NOT use for cleaning cloths or sponges that have coarse surfaces intended for scrubbing.
Practical tips and observations
•Do not keep bananas in the refrigerator – these fruits are sensitive to cold.
•Do not keep prepared food and ready-to-cook (“heat and eat”) food in the same container.
•Store in an airtight container in the appliance any foodstuffs that have a strong odour (e.g. fresh
fish, pâté de foie gras goose liver pâté, and cheese).
•IF T E APPLIANCE IS TO BE LEFT SWITC ED OFF FOR AN EXTENDED PERIOD, LEAVE ITS DOORS
OPEN.
Remarks on the appliance operating noise
As the appliance operates and goes through the freezing cycle, various noises will be emitted. This is
normal and is not a sign of any malfunction.
•As the refrigerant circulates around the refrigeration system, it causes sounds like murmuring,
bubbling, or rustling.
•Louder sounds like popping or clicking may be heard for a short time as the refrigerator’s
compressor switches on.
OPERATION PROBLEMS AND THEIR SOLUTIONS (TROUBLESHOOTING)
What i …
•The appliance is plugged in to the mains but it does not work and the electricity supply
voltage indicator is not illuminated. Check that your house electricity supply installations are in
order. Check that the plug is correctly inserted into the electricity supply socket.
•The noise has become louder. Check that the appliance is standing stable, on a level place. To
make it level, regulate the front feet. Check if the appliance is not touching any furniture, and that
no part of the refrigeration system at the back part of the appliance body is touching the wall. Pull
the appliance away from any furniture or walls. Check that the cause of increased noise isn’t due to
bottles, cans or dishes in the appliance that might be touching each other.
•Water has appeared at the bottom o the re rigerator compartment. Check whether a thaw
water channel space isn’t blocked. Clean the thaw water channel space with a cleaner intended for
that purpose.
•Water has appeared on the tempered glass shelves. Food items or dishes in the refrigeration
compartment are touching the back wall of the compartment. Do not let food items or dishes touch
the back wall.
•Water has appeared under the appliance. The thaw water collection tray has slipped off the
compressor. Place the tray on top of the compressor.
•When the appliance door is opened, the rubber sealing gasket pulls out. The gasket is
smeared with sticky foodstuffs (fat, syrup). Clean the sealing gasket and the groove for it with
warm water containing soap or dishwashing detergent and wipe dry. Put the rubber sealing gasket
back into the place.
•High temperature in appliance, the compressor operation pauses are short. Ascertain
whether the appliance door is shutting tightly, whether the door wasn’t kept open longer than
necessary when taking out or putting in foodstuffs, or whether a large amount of warm food was
placed in the appliance.
•The top o the appliance has condensation on it. The ambient relative air humidity is above
70 %. Ventilate the room where the appliance stands, and if possible remove the cause of the
humidity.

! IF YOUR APPLIANCE IS NOT WORKING PROPERLY, ASCERTAIN W ET ER YOU CAN REMEDY T E
CAUSE OF T E FAULTY FUNCTIONING OF T E APPLIANCE YOURSELF. If you cannot solve the
problem yourself, contact the nearest
refrigerator service representative by
telephone or in writing. When
making contact, necessarily indicate
the refrigerator model 1 and number
2. You will find this data on the
product label, which is glued to the
left wall of the refrigerator
compartment, near the fruit and
vegetable trays.
TRANSPORT
! T E MANUFACTURER WILL NOT BE RESPONSIBLE FOR ANY DAMAGE TO T E APPLIANCE T AT
RESULTS FROM NON-COMPLIANCE WIT T E INSTRUCTIONS FOR TRANSPORTATION.
•The appliance should be transported only in the vertical position.
•When being transported, the appliance should be protected from atmospheric conditions (rain,
snow, dampness).
•The appliance should be firmly secured in place while being transported, to avoid slippage or any
shocks in the transport vehicle.
•If the appliance was transported not vertically, it may be connected to the mains after 4 hours at
least. If this is not done, the appliance compressor may fail.
ENVIRONMENTAL PROTECTION INFORMATION
This symbol indicates that once the appliance is no longer needed, it cannot be disposed together
with other miscellaneous municipal waste. It should be collected and eliminated separately, i.e. in
containers specially marked with this symbol in large-dimension rubbish collection areas.
Full information on where to submit the old appliance safety can be obtained from local
government authorities, the shop where you bought the appliance, or the manufacturer’s representatives.
If you decided to scrap the appliance, make it impossible to use in order to prevent possible misadventure.
Pull out the electric plug from the electricity supply socket and then cut off the cord. Tear off the gasket.
Break the door lock if any.
WARNING! Do not dismantle the appliance yoursel . Pass it on to recycling companies.
Table of contents
Other White Knight Refrigerator manuals
Popular Refrigerator manuals by other brands

Fisher & Paykel
Fisher & Paykel RF610ADW5 manual

Whirlpool
Whirlpool WRF736SDAB Quick reference guide

Electrolux
Electrolux Ecostore 727273 Short form specification

Atag
Atag KF8178WDL manual

True Manufacturing Company
True Manufacturing Company TR1RRI-1S installation manual

Dometic
Dometic A30P1 operating manual