9
Bluetooth:
1. Press the Power/Mode buon on the control
panel or press the “MODE” buon on the
remote repeatedly unl the “bt” shows on
the LED screen. The LED will ash unl a
device has been paired with speaker.
2. Pair a bluetooth enabled device with your
jukebox by selecng “i60024” from the listed
devices on your smart phone/tablet. When
pairing is successful, the LED icon “bt” will
light up and you will hear a “DU” sound.
3. You can now play or skip songs using your
Bluetooth device , remote control or jukebox
control panel.
AUX-IN:
Requires a 3.5 mm cable (included).
1. Connect a 3.5 mm cable to the AUX-in 1 jack.
Connect the other end of the 3.5 mm cable
to a smart-phone or other audio source.
2. Press the Power/Mode buon on the control
panel or press the “MODE” buon on the
remote repeatedly to select AUX-in mode.
3. You can now play or skip songs using your
Bluetooth device.
Changing LED light:
1. To turn the LED lights on , press once LED
ON/OFF buon on the remote , to turn
the lights o , press again the LED ON/OFF
buon .
2. Long press the LED ON/OFF buon on the
control panel to turn the LED lights on and
o.
TROUBLESHOOTING
The following checks will assist in the correcon
of most problems which you may encounter with
your set. Before going through the check list
below, rst check the following points:
The power cord must be connected rmly.
Should any problem persist aer you have made
these checks consult your nearest dealer.
Problem Possible Causes and Soluons
The jukebox has
no power.
Ensure that the adaptor has
been properly connected. Check
that the jukebox has been
switched on at the mains power
supply.
The jukebox is not
playing sound.
Check that the volume level is
set at an audible level and adjust
accordingly.
Unable to pair a
Bluetooth device.
Check if the device is compable
with the jukebox and ensure
the Bluetooth funcon on your
device is switched on.
The jukebox may not be set to
the correct mode. Press the
source buon to select the
Bluetooth funcon – when
the Bluetooth indicator light is
ashing, search for ‘i60024’ on
your device.
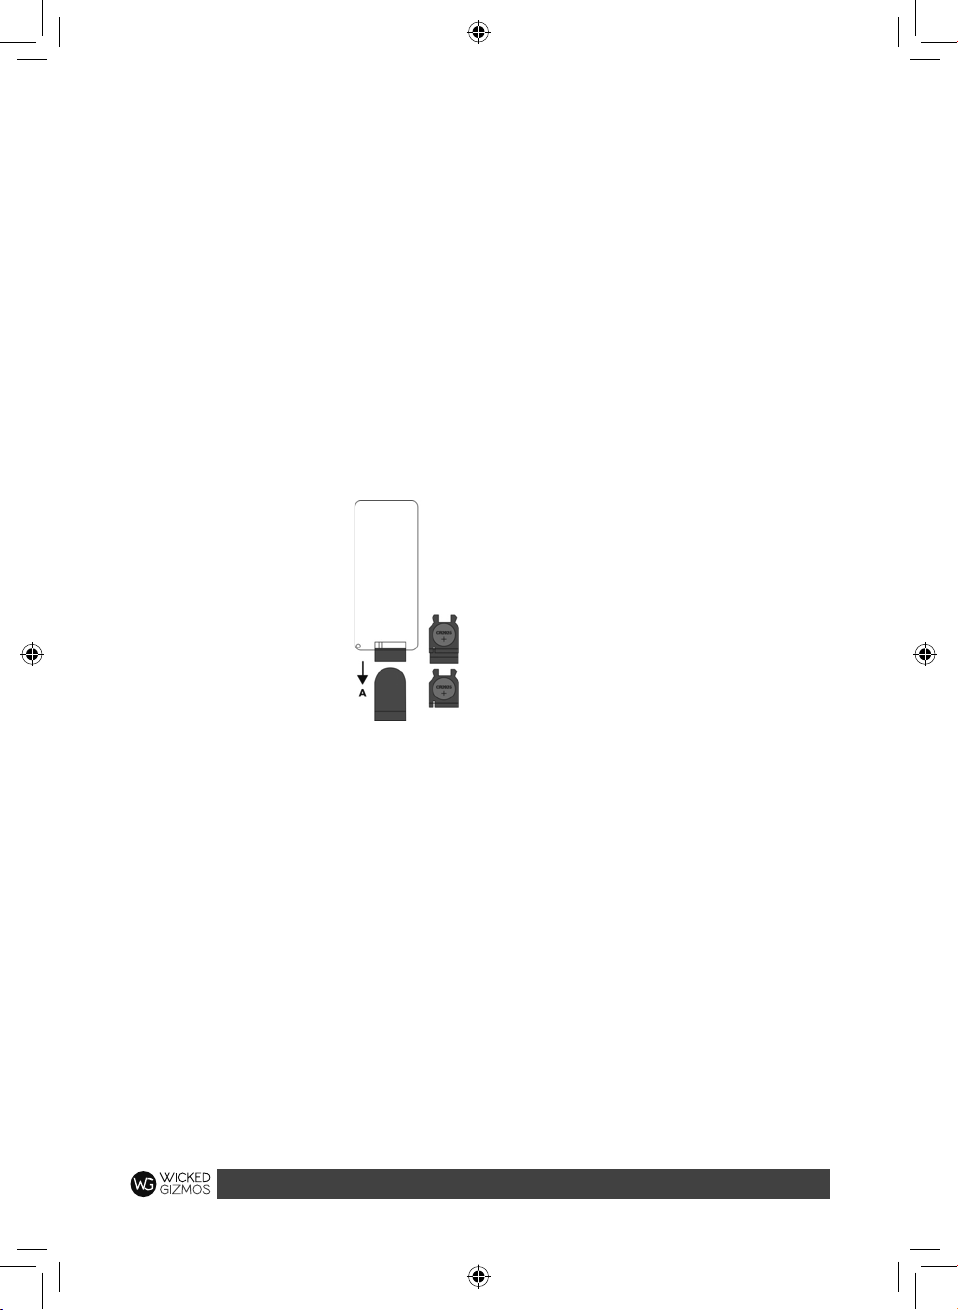
The remote
control is not
working.
The baery may be exhausted.
Replace with a new baery.
Make sure the remote is pointed
at the jukebox during use.
The sound is
distorted.
The volume or bass level may
be too high. Reduce the volume
and/or bass levels to increase
sound clarity.
Note: The normal funcon of the product
may be disturbed by strong Electro-Magnec
Interference. If so, simply reset the product to
resume normal operaon. If the issue connues,
please move the product to another locaon.