Page 1
Exclusive and IS 600 E · 9401-191-003-EN ·Version 18-01
1 About the Operating manual
This operating manual is not a comprehensive operating manual.
It is only a supplement to the operating manual for the oven.
All regulations and descriptions set forth in the operating manual for the oven apply to this operating
manual.This applies in particular to the chapters entitled “About the operating manual” and “Safety
instructions”.WIESHEU GmbH assumes no liability for damage occurring through failure to comply with
the operating manual for the control or through baking with incorrectly set operating parameters.
This operating manual describes the function and operation of the Exclusive and IS600E controls.
Some of the functions that are described depend on the respective oven type and thei
options.
This operating manual is an integral part of the product and must be kept in close proximity to the con-
trol, and stored in such a way that it is easily accessible for operating personnel at all times.
Read the instructions before starting to use the equipment.
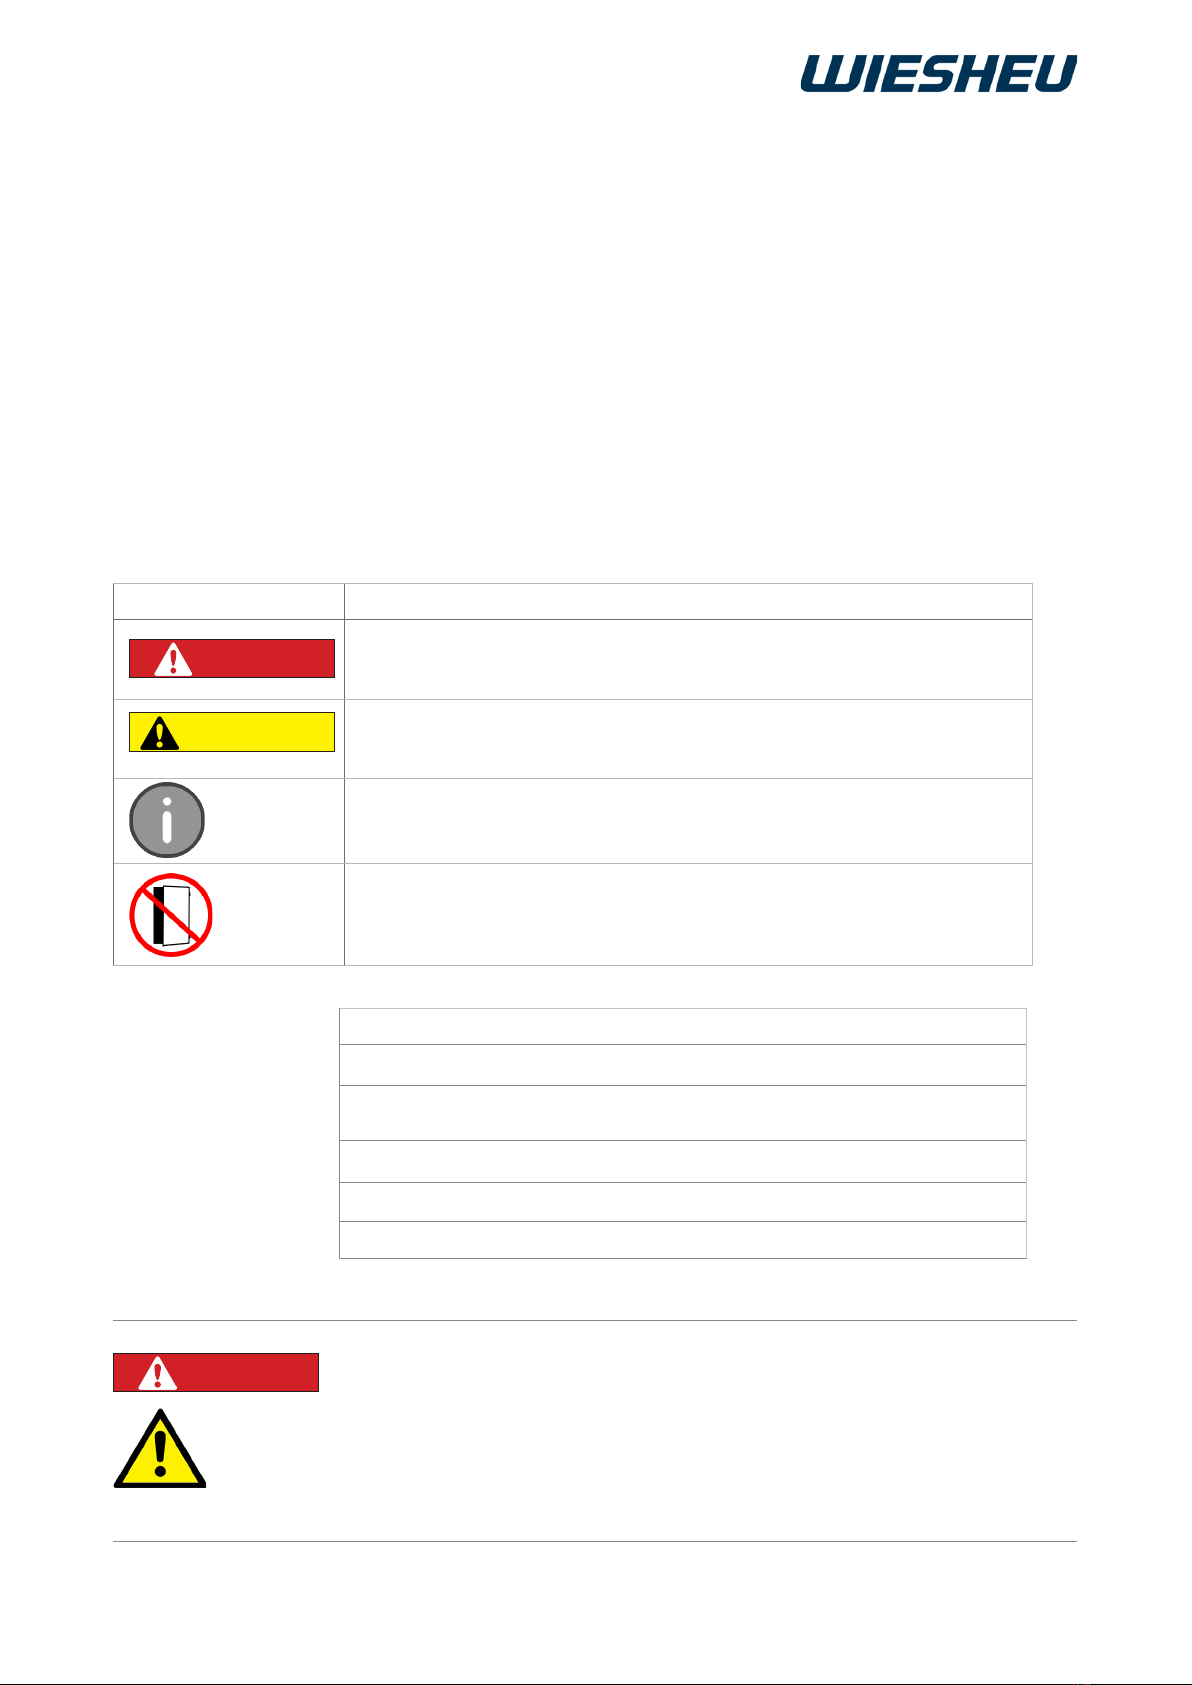
Symbol Declaration of Conformity
Danger!
An extremely dangerous situation in which ignoring the safety in-
structions will result in death or serious injury.
Caution
Information about a risk that possibly results in slight injuries if the appropri-
ate precautions are not taken.
Information
References to information that facilitates the handling and working
with the product.
Caution! Keep the door closed!
In the case of fault NO. 46 is shown on the display!
CAUTION
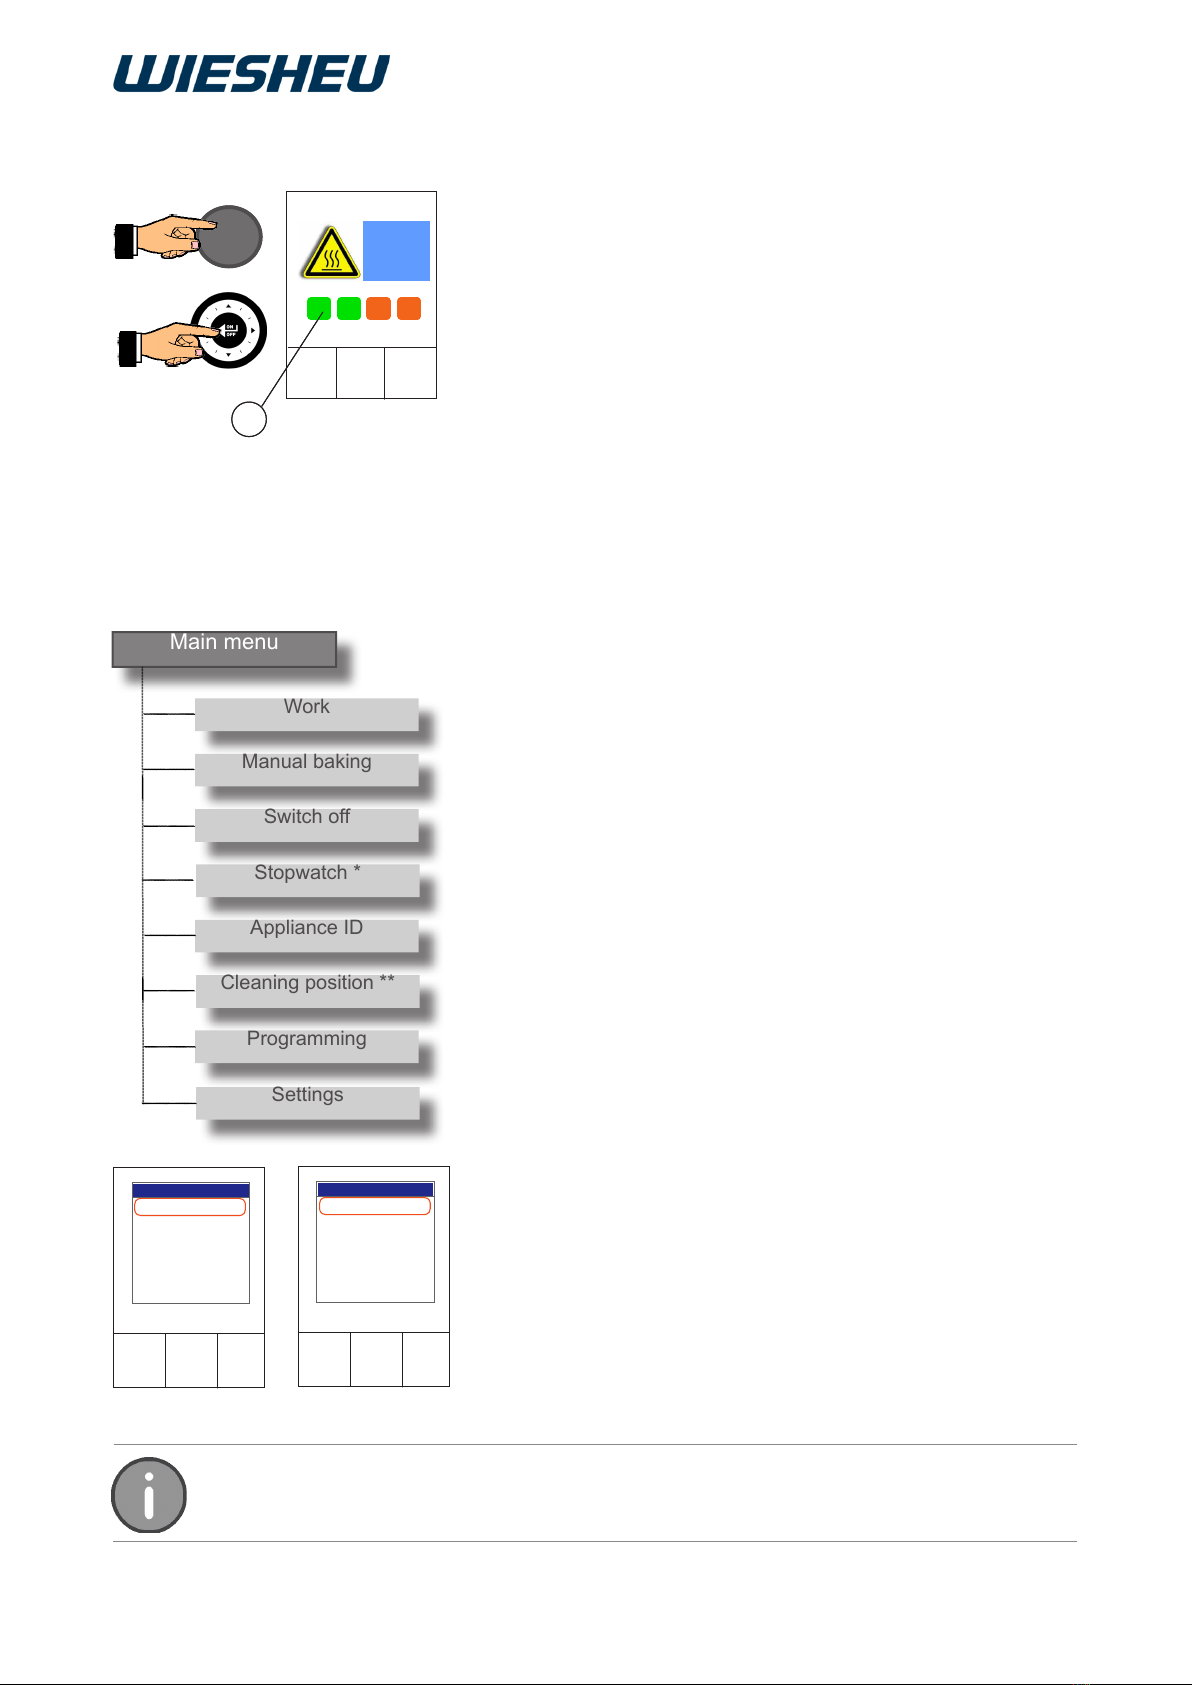
Legend
■Indicates an action
▪Indicates a lower-level action or an additional action that must be carried
out beforehand
→Indicates the result of an action
●Indicates a listing
○Indicates a lower-level listing
DANGER Caution! Danger of injury!
Operating or using the appliance incorrectly can cause serious injuries.
●Everybody who works with the appliance must have read the user informa-
tion before operating it.
●You must keep the user information in a safe place in the immediate vicinity
of the device.
●The user information must be kept in a safe place such that operators can
refer to it at any time.
DANGER