Assembly Procedure:
- Prior to assembling each wooden part, liberally apply the Wood Glue from the supplied bottle (o1) to both wooden
parts. After assembly (and before glue dries) wipe off any excess glue. While not absolutely necessary, the glue will
add additional strength to each joint, and is recommended.
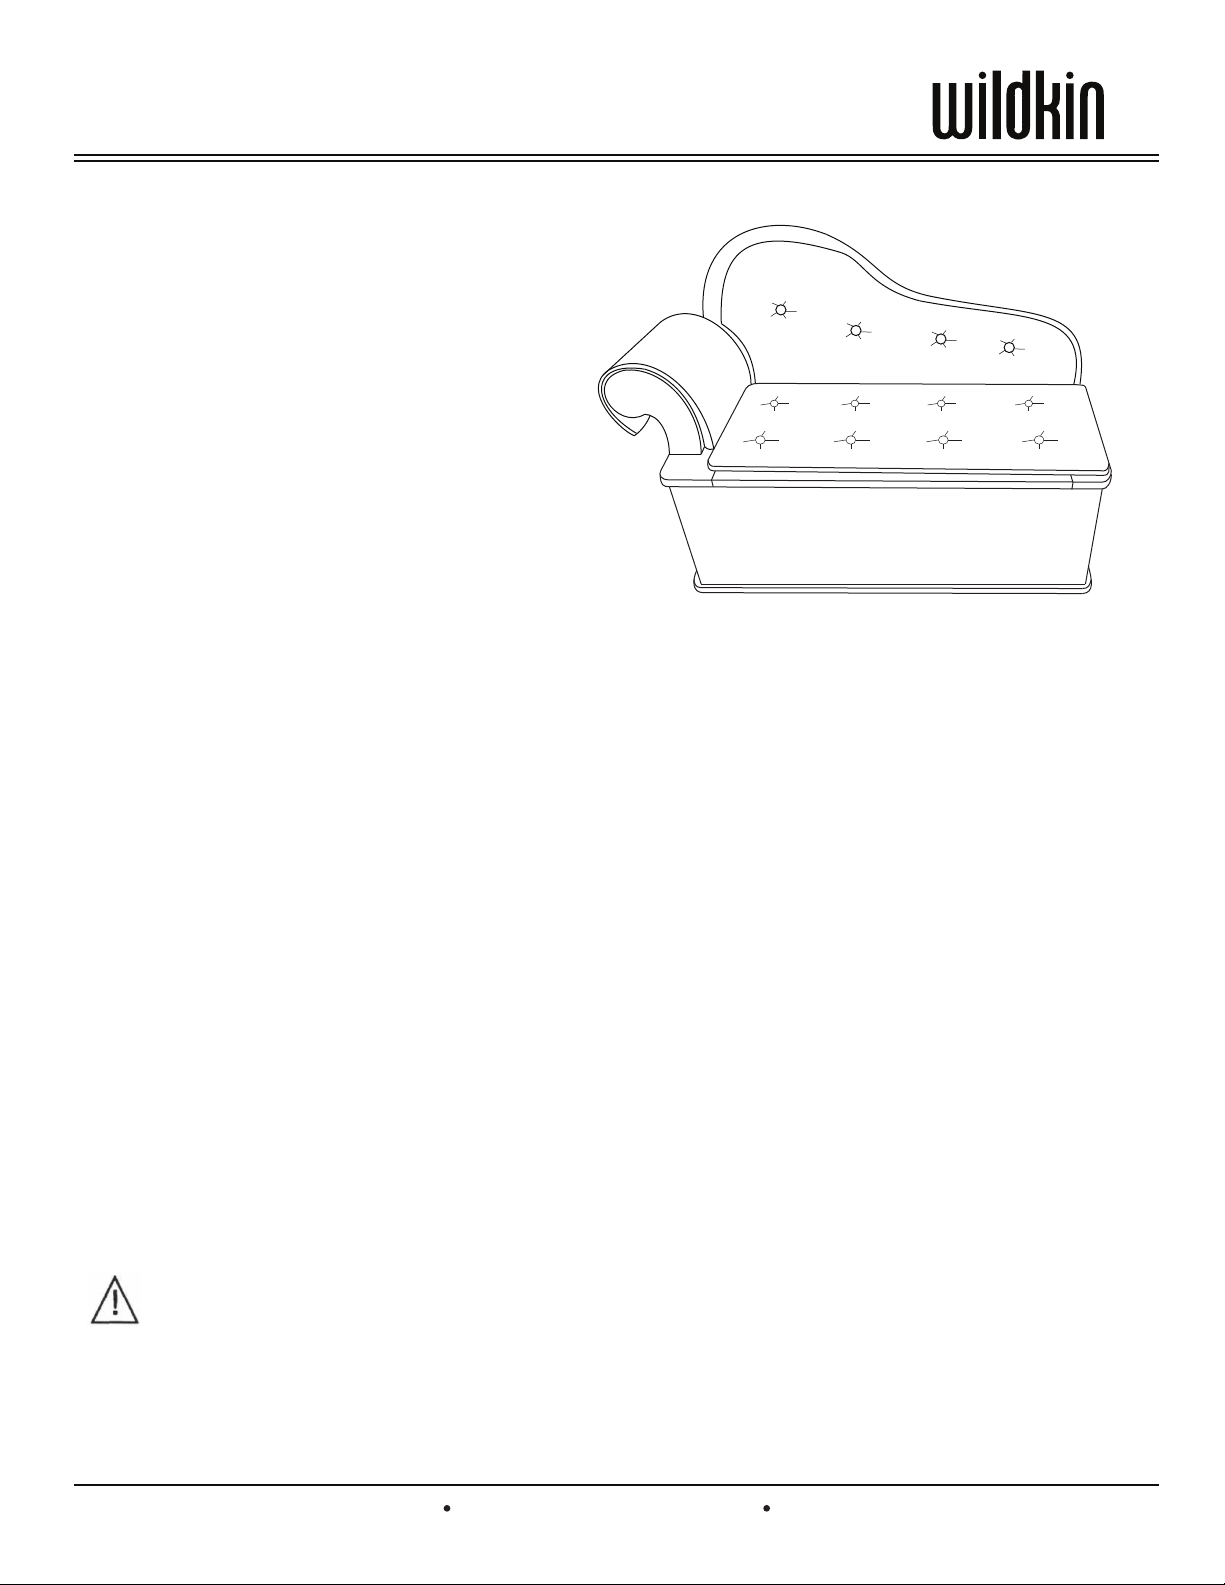
* Please note that the shape of your chair back (D)
may be slightly different than the drawing.
Page 1 of 7
Thank you for purchasing this Fainting Couch! We
know that it will bring you and your little one
years of enjoyment! Please first be sure you have
all the necessary components listed on page 2.
We suggest that you lay them all out on the
carpet before assembling. If for any reason you
think a component may be missing, please
contact our customer service team. Please read
the General Safety Instructions and Assembly
Procedure before beginning assembly.
General Safety Instructions
- Your bench is safety tested for all ages, however it is recommended that caution be used at all times.
- This item is recommended for children up to 100 lbs.
- This item must be assembled by an adult. Please do not leave any spare parts near children.
- CAUTION: Although a safety hinge is installed, be careful when opening and closing the lid to avoid injury to small
children.
Tools You Will Need
- Standard Phillips Head Screwdriver. CAUTION: It is highly recommended that you not use power tools or electric
screwdrivers as screws should not be over-tightened.
Care Instructions:
- We recommend this item be wiped down with a non-bleach wipe. If your toy bench includes cushions, we
recommend that these be dry-cleaned only.
Fainting Couch Assembly Instructions
ADULT ASSEMBLY REQUIRED.
SMALL PARTS AND SHARP POINTS MAY BE PRESENT PRIOR TO ASSEMBLY.
KEEP OUT OF BABY’S REACH.
WARNING:


