OSD Adjust ent Lock
T is function prevents OSD options from being c anged by mistake.
All Menu Table items except “BRIGHTNESS” will be locked.
a) Press t e “ ” and “-” buttons
simultaneously to bring up t e
“CONTROL LOCK” screen. Pressing
t e “+” button at t is time will
lock t e OSD menu. Pressing t e
“-” button at t is time will unlock
t e OSD if previously locked.
b) W en t e OSD menu is locked, any
attempt to modify display settings
(except brig tness) will fail. A
monitor t at is locked will display
a “LOCKED” message in t e upper
rig t corner of t e screen indicat-
ing t at t e OSD is locked.
c) To unlock t e OSD, press t e “ ”
and “-” buttons simultaneously
to bring up t e “CONTROL LOCK”
screen. Press t e “-” button to
unlock t e OSD. T e “LOCKED”
message will disappear automati-
cally w en t e OSD is unlocked.
Menu Table
How to Use the OSD (On Screen Display)
OSD functions allow t e user to easily adjust t e display to t e desired
quality. T e OSD menu includes a main menu and a sub-menu.
Structure of the OSD Menu
Adjusting the Display
T ere are two ways to adjust t e monitor’s screen; i.e. auto adjustment
and manual adjustment.
Auto adjustment
1. Power ON t e LCD monitor and
computer.
2. Make sure t at your LCD monitor is
not “CONTROL-LOCKED” by pressing
“ ” and “-” simultaneously.
3. Press “-” to unlock. T e “CONTROL
LOCK” screen will disappear automati-
cally or you may press “EXIT” to exit
from t e screen.
4. Press eit er t e “ ” or “ ” to pop-up
t e OSD screen.
5. Scroll t roug t e on screen icons by
pressing t e “ ” button in order to
reac t e “AUTO SETUP” sub-menu
item.
6. Press t e “+” button w ile “AUTO
SETUP” is ig lig ted.
7. T e auto adjustment will started. “AUTO SETUP” will be displayed during
auto adjustment. It takes a few seconds to finis adjustment.
Manual adjust ent
a) Power ON t e LCD monitor and computer.
b) Make manual adjustments as needed to t e menu table items listed below
utilizing t e OSD control buttons.
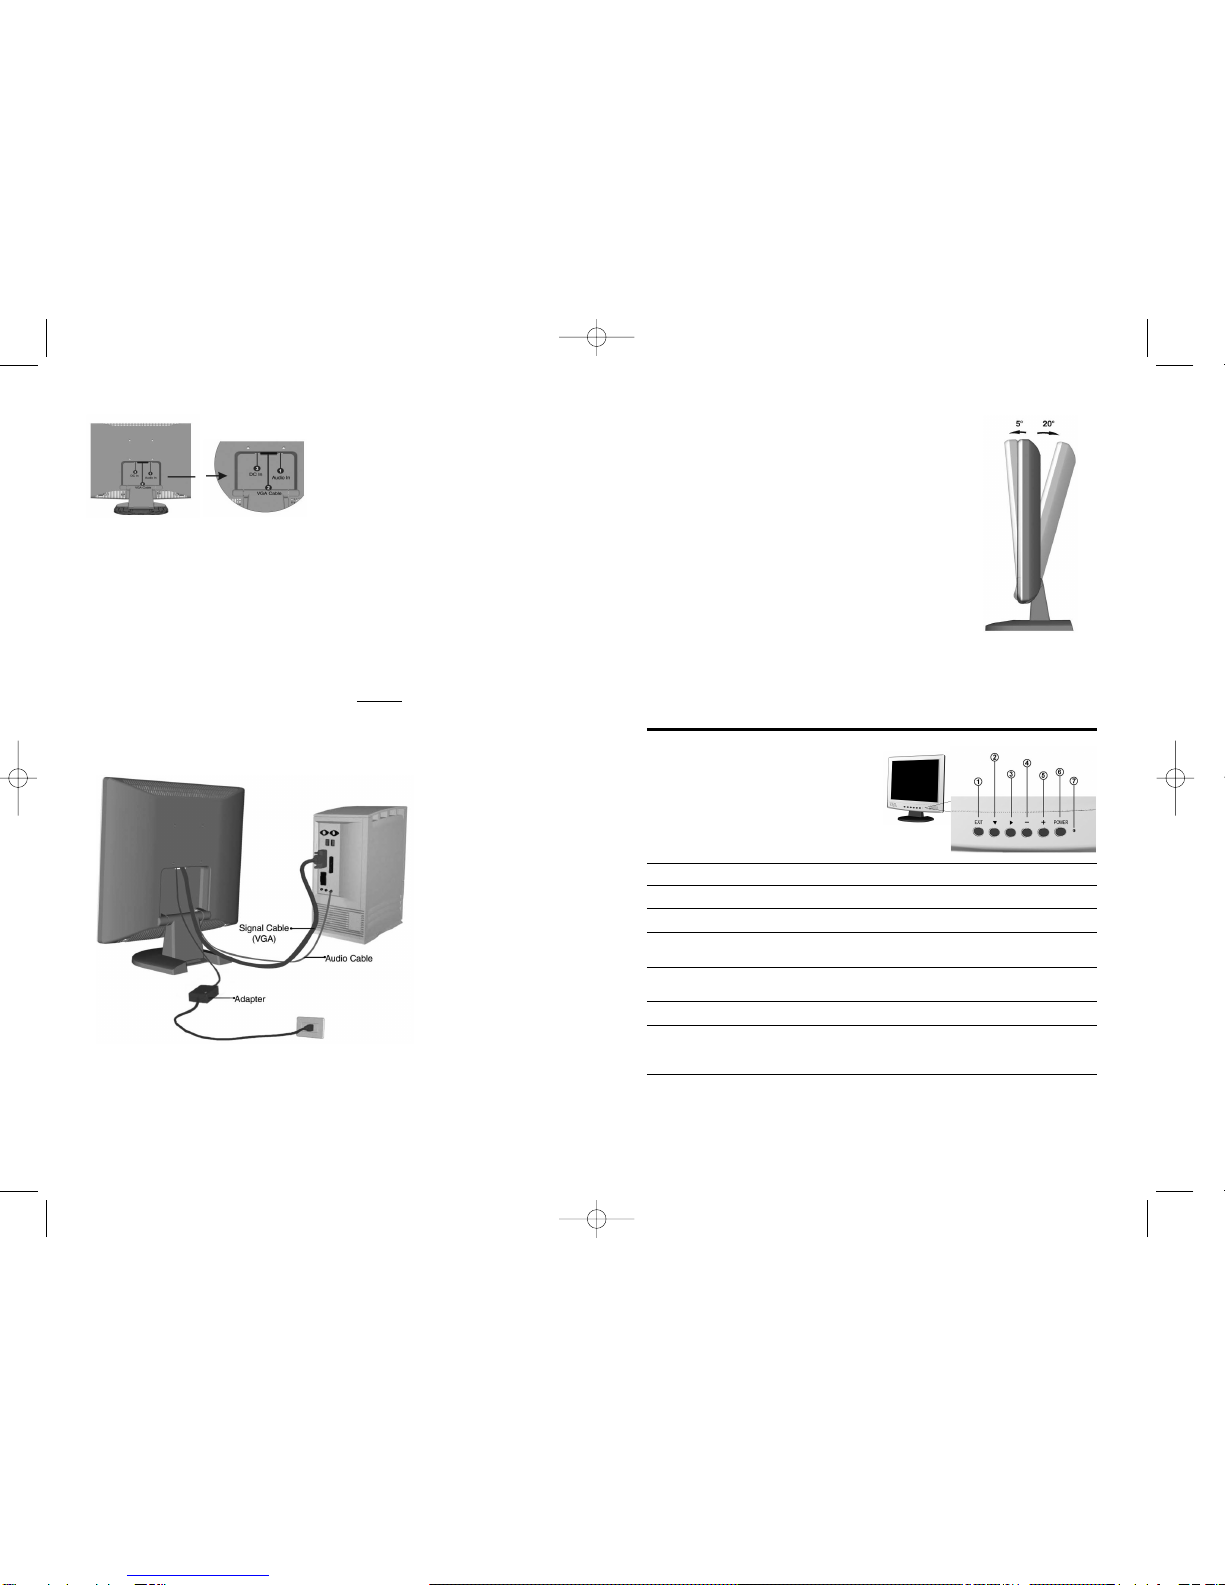
Operating Procedure
1. Power on t e LCD monitor.
2. Press t e “ ” or “ ” buttons
to pop up OSD menu.
3. Press t e “ ” button to select
main menu items.
4. Press t e “ ” button to select
sub menu items.
5. Press t e “+” and “-” buttons
to adjust settings.
Main Menu Sub Menu Function Name Function
BRIGHTNESS Adjusts t e level of brig tness and darkness.
CONTRAST Adjusts t e RGB color pattern set of t e contrast.
BL BLACK LEVEL Adjusts t e level of darkness t at composes black.
VOLUME (optional) Adjusts t e volume of t e built-in speakers.
CLOCK Adjusts t e number of pixels from t e source video.
CLOCK PHASE Adjusts t e p ase relative to video Hsync signal.
HORIZONTAL
POSITION Moves t e screen orizontally (left/rig t).
VERTICAL
POSITION Moves t e screen vertically (up/down).
AUTO SETUP To auto adjust press t e “+” button.
AUTO ADJUST Automatically adjusts t e clock, p ase, H/V position
values for t e most optimal settings.
ALL RESET Return to factory preset values.
OSD POSITION C anges t e OSD position.
POWER SAVE Power management function.
LANGUAGE Press “+” and “-” to c oose OSD language.
DISPLAY MODE “-” Represents t e Text mode.
“+” Represents t e Grap ic mode.
COLOR Standard: Factory preset color.
Custom: Preferred color is adjusted.
76