and around with your fingers to assure both battens are rotated correctly. They should be mirrors
of each other in form.
Finally, connect the front line forward of the cockpit, either as far forward as you can reach, or to
the bow. Remember if you tie it off at the bow you might not be able to reach that far up to untie
it if needed.
You can now fine-tune your bimini shape using both the stabilizing lines and the front tie-down
line. Simply sit in the boat and check for fit. You will want the bimini level above your head.
The leveling can be done by alternately slacking and taking up on the stabilizer lines. The height
of the bimini can also be controlled to some extend by the front tie down line tension and where
you decide to terminate the front tie down line. Play with different attachment locations to find
the best fit for you and your kayak.
For mounting on SOT’s, fishing kayaks and inflatables, your mounting options increase as you
will usually have more connections points or locations. The process is similar as described
above; lay the bimini down behind the cockpit with the legs running alongside the seat location,
connect the ends of the legs to the boat using the strap or buckle ties, then connect the rear and
stabilizing lines behind the seat.
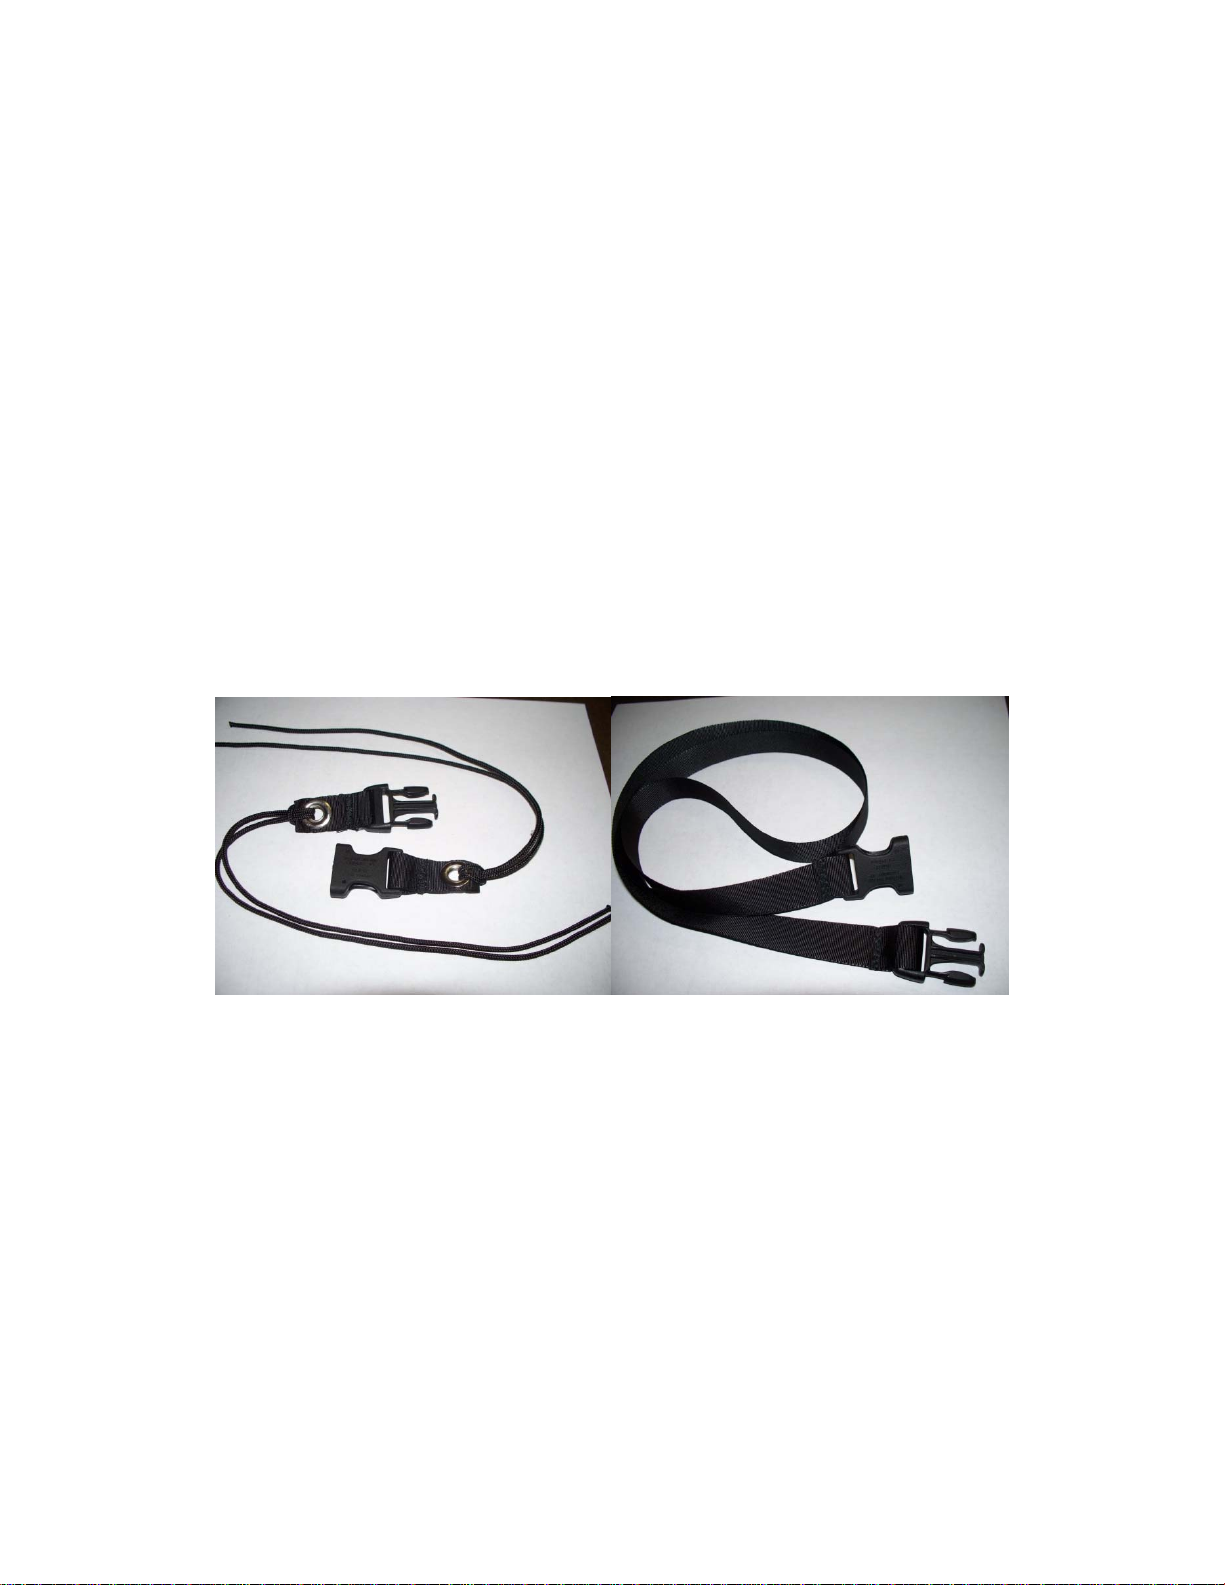
Above are the two interchangeable connecting hardware for mounting the front legs to the boat.
There is also an extra set of loops have been sewn into the legs of the bimini to increase your
mounting options. Feel free to move your mounting lines around to get the best fit and most
stabile mount on your boat.
Folding and Coiling – If you choose to store your bimini folded and coiled and inside your mesh
bag, you need to learn how to properly coil the bimini. Incorrect coiling can leave you with an
overlarge package and can permanently deform the structure and leave you with a deformation in
the framework.
To fold, connect the legs of the bimini together using the buckles. Put the legs on the ground and
grab the bimini at the 10:00 and 2:00 o’clock positions.