manuals.online logo
Brands
  1. Home
  2. •
  3. Brands
  4. •
  5. Kleton
  6. •
  7. Indoor Furnishing
  8. •
  9. Kleton fn468 User manual

Kleton fn468 User manual

GEAR LOCKER VENTED W/O DOOR
Assembly Instructions
IDENTIFY PARTS
Remove unassembled locker parts from the packaging. Next, locate and identify each part
based on the images show below:
START ASSEMBLING
1. Gently bolt the left and right side panels to the inside of the back panel flange.
TIP: Ensure that the bolts are installed on the outside of locker and
nuts are secured on the inside of the locker.
(1) Bottom Shelf
(1) Front
Frame Panel
Left Side Panel
Right Side Panel
2. Bolt the tamper-proof screw on the
inside of the locker. Only the screw
heads should be visible from the outside
of the locker.
The left and right side panels
must be placed inside the back
panel flanges.
Top holes are 1/2" at the top
of each panel shown.
(1) Back (2) Side
Panels
(1) Top
Panel
(1) Coat Rod
(2) Brackets
(1) Shelf
3. Slightly bolt the top/bottom panels,
shelf, and coat rod inside the side and
back panel.
4. After the top and bottom panels
have been attached, proceed to bolt
the front frame* on the outside of
the left, right and bottom panels.
1. Slightly bolt security box side to top panel
and shelf.
2. Open door to door frame assembly and
bolt the frame to locker top, side,
and shelves.
3. Bolt door pull (or lock) to door.
4. Ensure alignment of all parts and tighten
loose bolts.
NOTE: Top and bottom panels have
two (2) round, pre-drilled holes that can
be found on the back flange and are
designed to bolt to the back panel.
* Leave out bottom bolts of front frame
if installing foot locker.
Assembly of Optional Security Box (if applicable)
1. Slightly bolt side seat supports to side
panels with the seat support slot in the front.
2. Insert back flange of front foot footlocker
panel into slots of side seat supports and
loosely bolt in place.
3. Loosely bolt hinged seat to side
seat supports.
4. Ensure alignment of all parts and tighten
loose bolts.
1. Place locker in the upright position and make
sure locker is level.
2. Tighten all bolts.
3. To instill proper safety measures, we highly advise
anchoring the locker to the floor or wall to avoid injury
or theft.
Assembly of Optional Foot Locker
Insert Front Door Frame

This manual suits for next models

3

Other Kleton Indoor Furnishing manuals

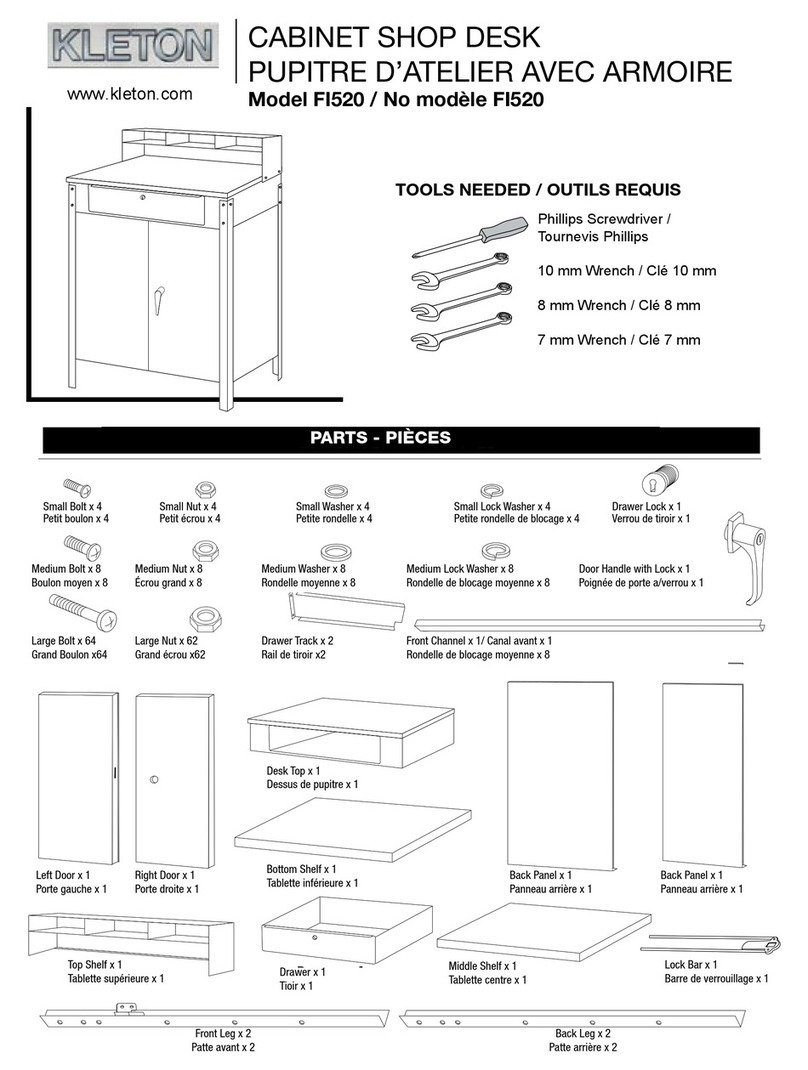
Kleton FI520 User manual

Kleton

Kleton FI520 User manual

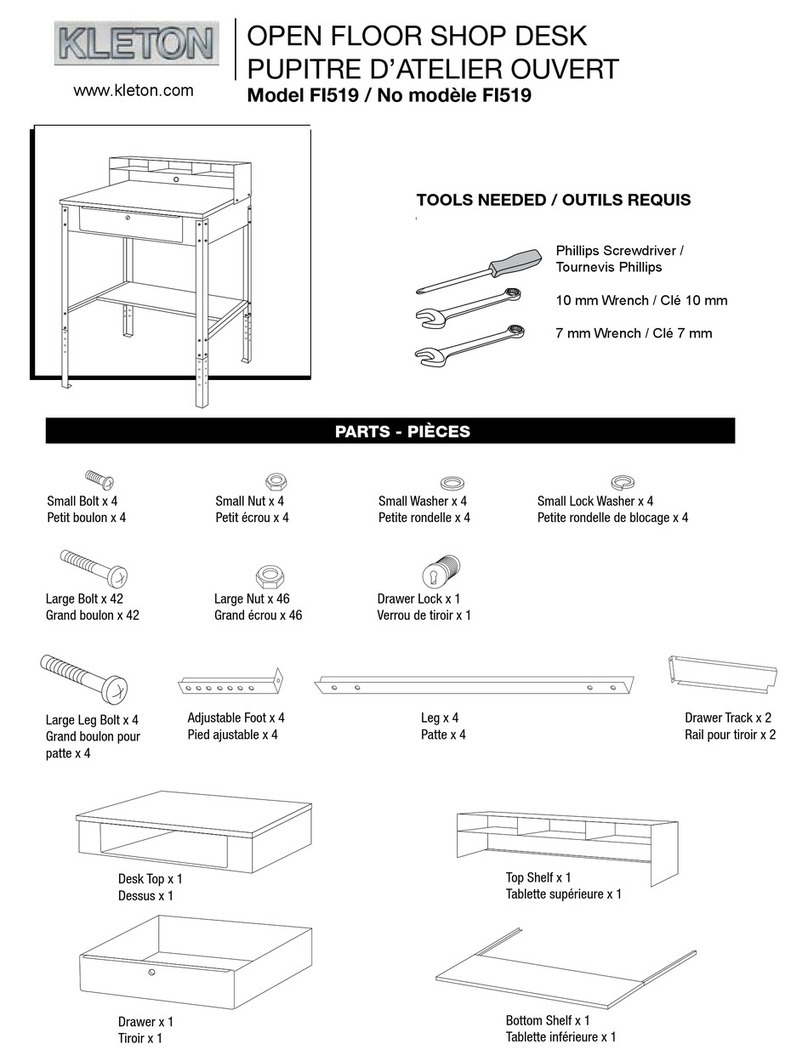
Kleton FI519 User manual

Kleton

Kleton FI519 User manual

Popular Indoor Furnishing manuals by other brands

Rev-A-Shelf 448TP instruction sheet

Rev-A-Shelf

Rev-A-Shelf 448TP instruction sheet

Costway 24309175 user manual

Costway

Costway 24309175 user manual

Vivo DESK-V000VC instruction manual

Vivo

Vivo DESK-V000VC instruction manual

Trendwood 4522/4523 Laguna quick start guide

Trendwood

Trendwood 4522/4523 Laguna quick start guide

Pfister Johann Jakob Valsa 29205 manual

Pfister

Pfister Johann Jakob Valsa 29205 manual

Linon 02564MTL-01-KD-U manual

Linon

Linon 02564MTL-01-KD-U manual

Exclusive Heritage CL-10048S-WMTP installation guide

Exclusive Heritage

Exclusive Heritage CL-10048S-WMTP installation guide

Allsteel Terrace DNA Assembly instructions

Allsteel

Allsteel Terrace DNA Assembly instructions

Furniture of America CM7966-T Assembly instructions

Furniture of America

Furniture of America CM7966-T Assembly instructions

Kring DURV812 Assembling Instruction

Kring

Kring DURV812 Assembling Instruction

BLUM Aventos HK-S Assembly instructions

BLUM

BLUM Aventos HK-S Assembly instructions

Vinsetto 838-396V80 manual

Vinsetto

Vinsetto 838-396V80 manual

JR Home IF-TB257 Assembly instructions

JR Home

JR Home IF-TB257 Assembly instructions

Innostyle GO 30 15 WW 01 Assembly instructions

Innostyle

Innostyle GO 30 15 WW 01 Assembly instructions

Alice's Home BOHEME IBOBESIDRAWX2 manual

Alice's Home

Alice's Home BOHEME IBOBESIDRAWX2 manual

Otto 54635367 manual

Otto

Otto 54635367 manual

Style selections Barn Door Vanity WSL48BHV manual

Style selections

Style selections Barn Door Vanity WSL48BHV manual

OSP Designs MD2542 Assembly instructions

OSP Designs

OSP Designs MD2542 Assembly instructions

manuals.online logo
manuals.online logoBrands
  • About & Mission
  • Contact us
  • Privacy Policy
  • Terms and Conditions

Copyright 2025 Manuals.Online. All Rights Reserved.