SH-6620-3 User Guide SH-6620-3 User Guide
4
3
Figure 2 shows how to assemble rack cable support then screw it to ------------------------ Operation
the back and inside the rack cabinet vertical post (optional).
DISPLAY OSD (On-Screen-Display) Operation
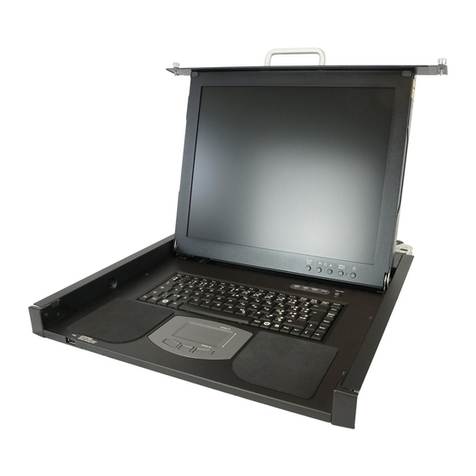
There are five push buttons “AUTO”, “MENU”, “+”, ”-“, “LCD-I/0” and
one “POWER” LED on the keyboard. When the control center is
power on, the LED is bright. When the display is power on, the LED
is green. When the display is power off, the LED is red. If you want to
adjust the display, first press “MENU” button. Use “+” or “-“ selecting
which function you want. Then press “MENU” to work out. If you
press the button “AUTO”, the display will work out for AUTO
configure.
When you put down the display, the display is off after 3~5Second.
Oppositely the display is on after 3~5 Second. If the display is on, it
will be off when you press the “LCD-I/0” after 3~5 Second. Oppositely
the display will be on 3~5 Second.
Touch Pad
There are two function buttons on the Touch Pad (function similar
with mouse).
Figure 2: Assembling rack cable support
You can touch the Touch Pad twice continually instead of using
“enter” button.
Then, keyboard/mouse/monitor cables can be routed over the cable
support. You can use plastic cable ties to bundle and label the
cables through the rack cable support holes for easy identification.
If you want to pull something, you can touch the Touch Pad twice
continually. But your hand can’t leave the Touch Pad at the second
time. You have to touch the Touch Pad and move your finger until you
pull something to the place that you want.


