QSG_SWT-G0803MG 08/12/2019 PAGE 9
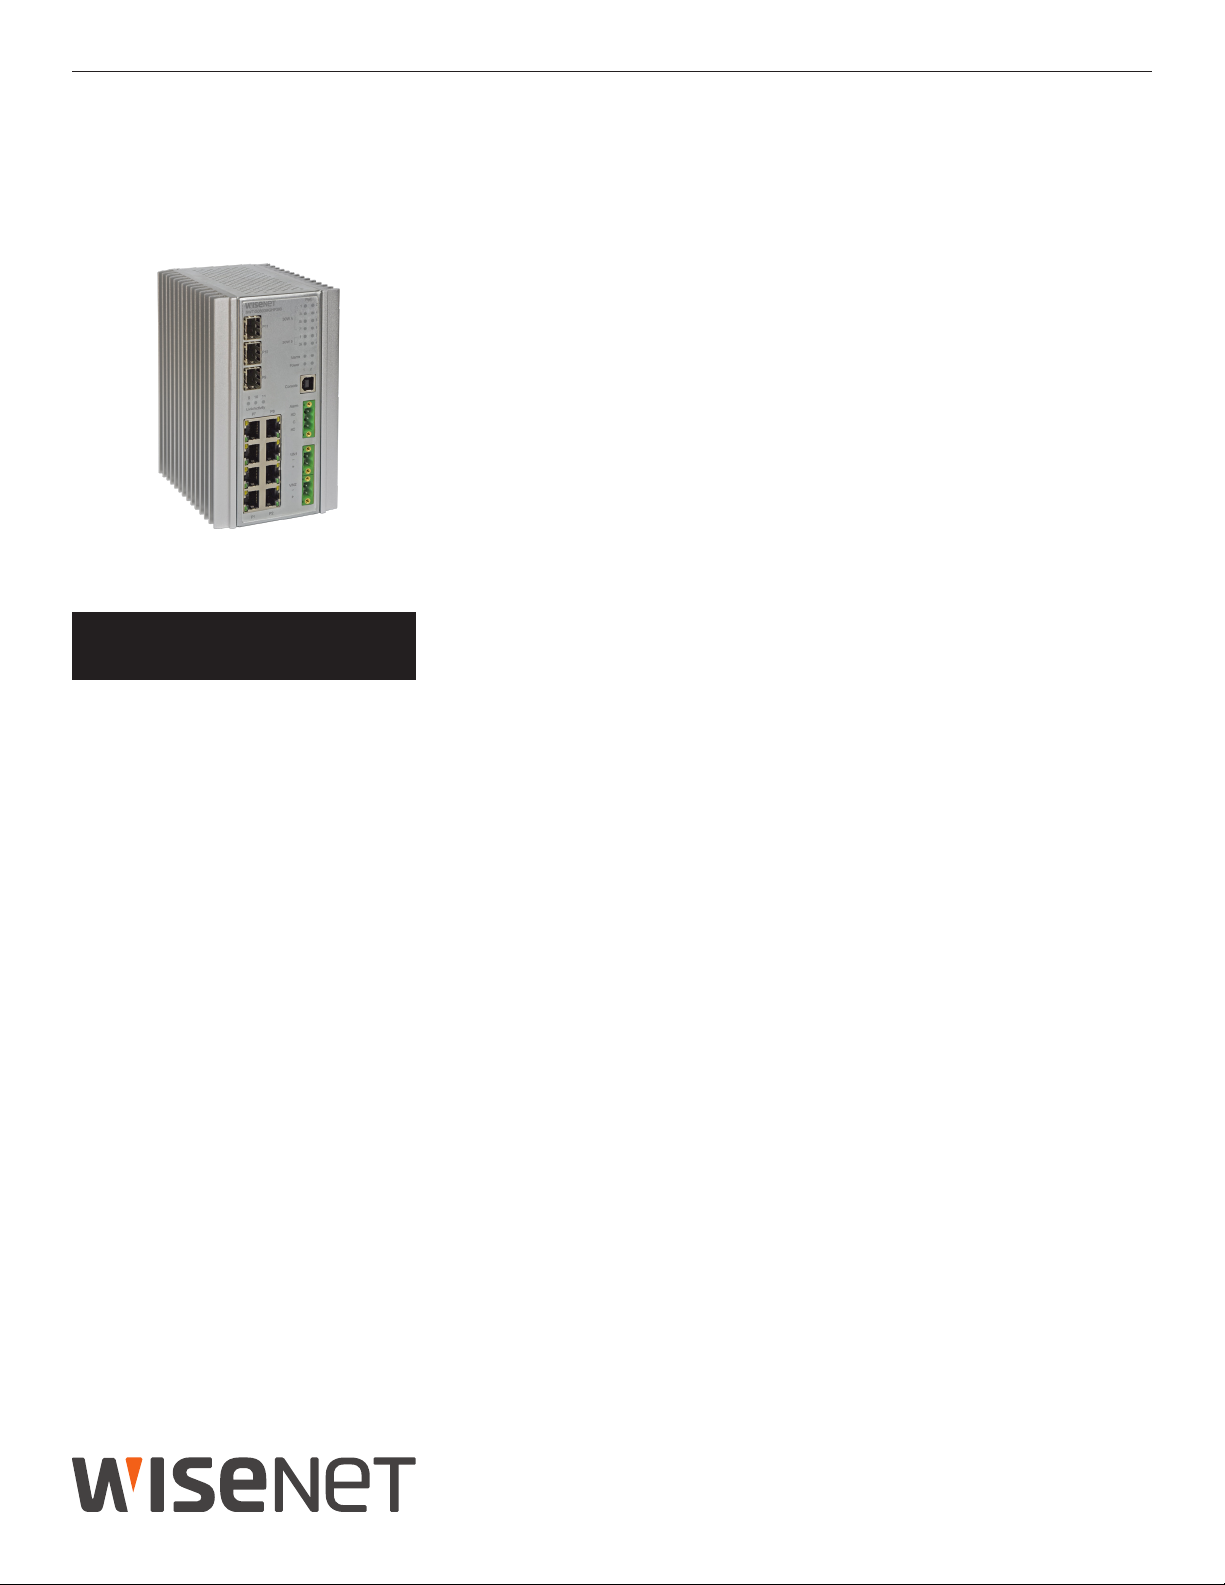
QUICK START GUIDE SWT-G0803MG SERIES
Power Supply
For SWT-G0803MGHP240 Model, Power Supply must be 44 to 57 VDC @ 255W max.
IMPORTANT SAFEGUARDS:
A) Elevated Operating Ambient - If installed in a closed or multi-unit rack assembly, the operating
ambient temperature of the rack environment may be greater than room ambient. Therefore,
consideration should be given to installing the equipment in an environment compatible with
the maximum ambient temperature (Tma) specified by the manufacturer.
B) Reduced Air Flow - Installation of the equipment in a rack should be such that the amount of air
flow required for safe operation of the equipment is not compromised.
Front Panel LEDs
LED Color Status Description
Alarm Red On Alarm Fault Status has been triggered
Power 1 Alarm Green On Power Input on VIN1 terminal block Input
Red On Power lost to VIN1 terminal block
Power 2 Alarm Green On Power Input on VIN1 terminal block Input
Red On Power lost to VIN2 terminal block
PoE (Power over Ethernet)
30W A Green On MODE A PoE is being supplied on indicated RJ-45 port
30W B Green On MODE B PoE is being supplied on indicated RJ-45 port
Gigabit Ethernet ports
Link Green On Port in Full Duplex mode
Activity Amber Blinking Data transmitted
Gigabit SFP ports
Link/Activity Amber Blinking Data transmitted
SWT-G0803MGHP24060W PoE Model
Port 1 to 4 support both mode A and mode B PoE which is 60 W in total. When a greater than 30
W PoE supported device is connected to ports 1 to 4, both 30 W A and B Indicator LEDs will be
turned on to indicate the high-power application device is connected.