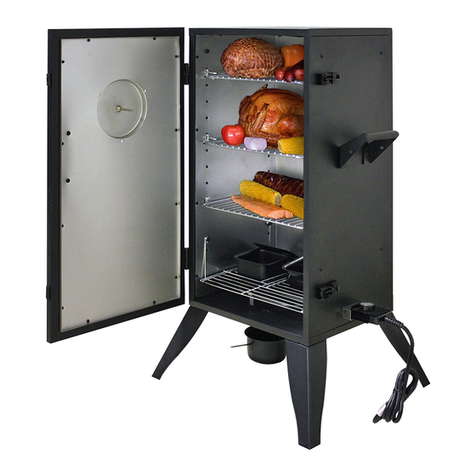
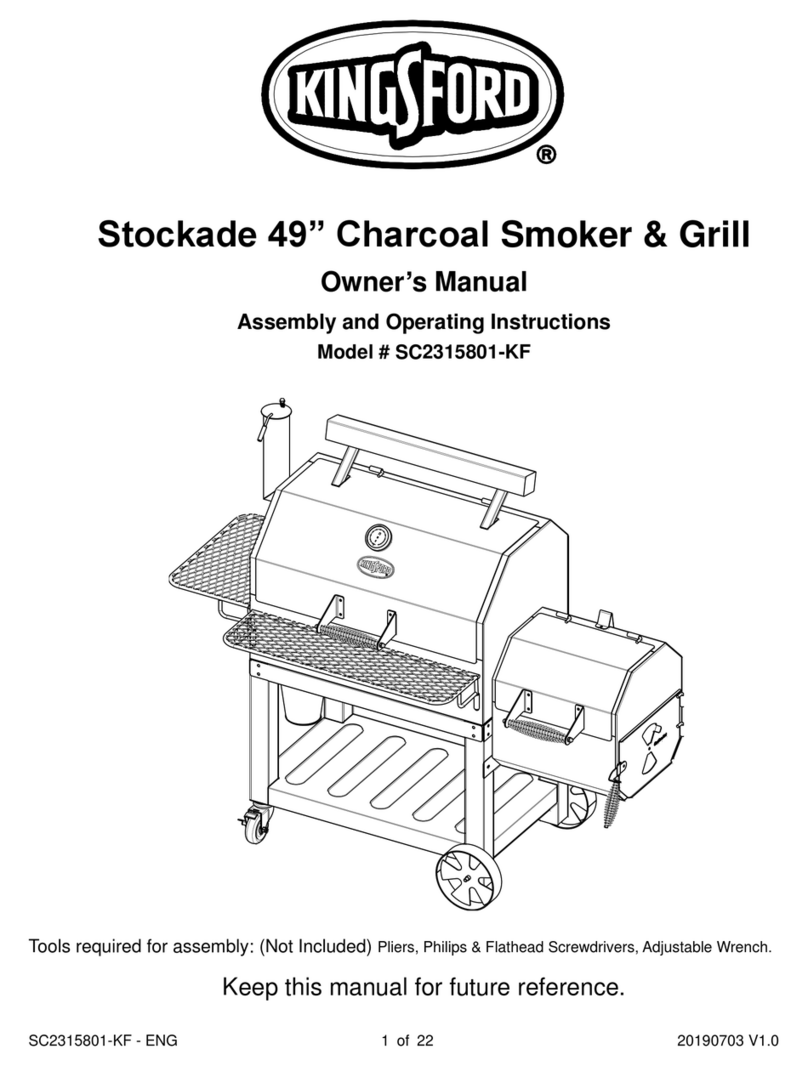
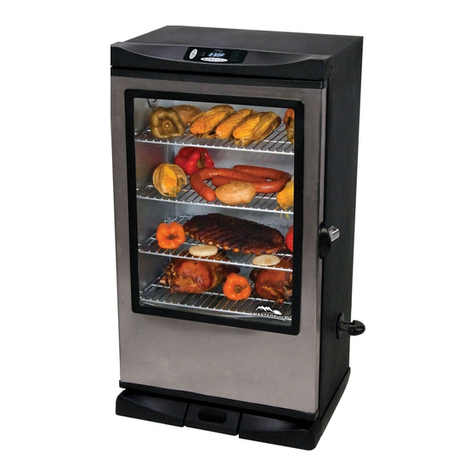
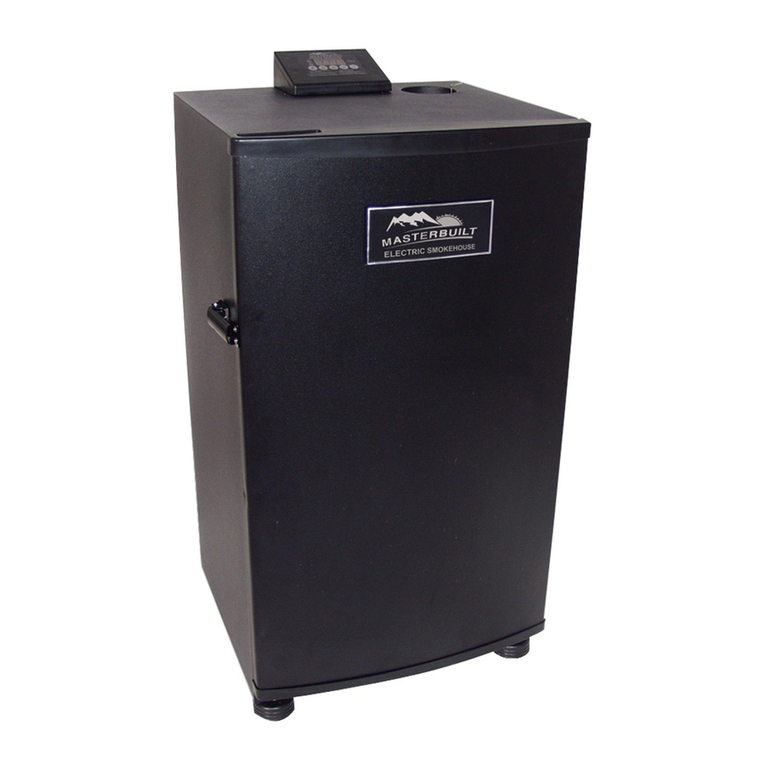
Woodland PK 50 Smoker 'N Roaster Quick guide

ATTENTION!!
DO NOT USE PELLETS OR CHIPS
DO NOT OPERATE THIS SMOKER ‘N ROASTER
WITHOUT READING THE SET UP AND
INSTRUCTION MANUAL COMPLETELY!
If you have any problems or questions on set up and start up, call
the manufacturer at 1-800-328-8313 and ask for Smoker Service
Support.
This Smoker ‘N Roaster is designed for smoking, cooking and
roasting meat. When you are operating your PK Smoker you must
follow these simple steps; failure to do so may result in a fire
hazard, spontaneous combustion or other types of harm.
1. WHEN SMOKING WITH THE PK SMOKER ‘N
ROASTER, ALWAYS ENSURE THAT YOUR HEAT
SWITCH IS IN THE DOWN POSITION (INDICATING
625 WATTS) AND THAT YOUR DAMPERS ARE 2/3RD
CLOSED.
2. NEVER OPEN THE DOOR WHEN HEAVY SMOKE
APPEARS! WAIT UNTIL SMOKE IS NOT VISIBLE
TO OPEN THE SMOKER!
3. DO NOT PLACE THE SMOKER ‘N ROASTER ON
ANY TYPE OF COMBUSTABLE MATERIAL!
4. ONLY USE FINE SAWDUST IN PK SMOKER.
MOISTEN THE SAWDUST AND THEN FUNNEL THE
SAWDUST TO THE OUTSIDE OF THE PAN. OPEN
DAMPERS 2/3RD FOR THIS TYPE OF SMOKING.
REV. 12/2019

When you first receive your PK Smoker ‘N Roaster you
must complete the following prior to use:
1. Check for any damages or shipping issues that may
have occurred during the transportation of your
smokehouse.
2. Install the 4 casters (included) prior to use.
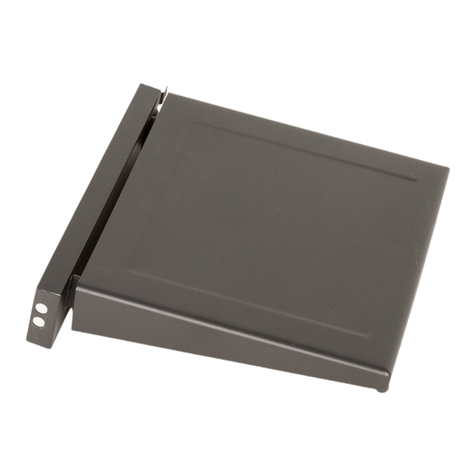
3. Install the burner drip pan (included) before use.
See figures 1 and 2 for reference.
4. Install S/S stick and shelf holders on the inside
walls (included).
5. Install the S/S product drip pan (included). The
drip pan is formed with (2) 1” tabs on one side; the
tabs must always be put to the back of the smoker.
This will ensure proper airflow and even cooking.
You should also line the drip pan with aluminum
foil and change after each use for easy clean up.
6. Install product screens.

BURNER DRIP PAN INSTALLATION
•Always unplug your smoker first, then lift front of burner
and install the burner drip pan
Figure 1

BURNER DRIP PAN INSTALLED
Figure 2

PK’s SMOKER, CABELA’S PRO 50 & PRO 100
INSTRUCTION AND RECIPE MANUAL
Manufactured by:
Woodland Manufacturing, Inc.
Pro Smoker ‘N Roaster
P.O. Box 278
Iron Ridge, WI 53035
800-328-8313
You have just purchased one of the finest smokers available today.
Please follow the instructions in this book when operating your
new smoker.
Model No. _______________________
Serial No. _______________________
Mfg. Date _______________________
Volts _______________________
Amps _______________________

INDEX
Specifications...................................................................................1
Installation and Preparation .............................................................1
General Smoking Instructions..........................................................1
Safety Precautions............................................................................2
Operating your Smoker Control.......................................................3
Special Features...............................................................................4
Outstanding Features .......................................................................5
Cleaning & Care ..............................................................................6
Cleaning Record...............................................................................7
Trouble Shooting .............................................................................8
Warranty ..........................................................................................9
Wiring Diagram.......................................................................50 PP
Wiring Diagram................................................................. 50 & 100
Replacement Parts..........................................................................11
Recipe Index ..................................................................................12
Recipes........................................................................... 13 thru 38

SPECIFICATIONS
The PK 50 & Pro 50 will hold:
(1) –12 to 15 lb. Ham
(25) –2 lb. Summer Sausages
15 –20 lbs. Fish (Cut into chunks)
The PK 100 & Pro 100 will hold:
(2) –12 to 15 lb. Hams
(25) –3 ½ lb. Summer Sausages
30 –40 lbs. Fish (Cut into chunks)
Installation and Preparation
1. Always set smokers on a sturdy, level surface and ONLY in a
well ventilated area.
2. Place all racks inside and plug in cord.
3. Turn temperature control to 100˚ F.
4. Fill sawdust pan 1/3 full of sawdust and place on smoke burner.
Turn temperature to 150 ˚ F.
5. Open damper half way during the break-in period.
6. After 3 hours, turn the temperature control off –your smoker is
now ready for use.
7. Always close dampers when not using smoker.
8. If an extension cord is needed, use only 14-3 wire cord up to 25
feet, and 12-3 wire cord from 25 –50 feet, and use only a
grounded outlet.
9. If you want to extend your exhaust on your Pro 50 or Pro 100,
use 3” galvanized stove pipe. Cut the crimped end off of one
piece and set that on top of exhaust pipe and tape seam together
with aluminum foil tape. Then insert the next stove pipe with
crimped end into top of the first pipe that you put on.
GENERAL SMOKING INSTRUCTIONS
Drying Dampers should be wide open
Smoking Dampers should be 2/3 closed
Cooking Dampers should be closed
1

THE FOLLOWING SAFETY PRECAUTIONS
SHOULD BE OBSERVED WHEN USING YOUR
SMOKER
READ ALL INSTRUCTIONS CAREFULLY
1. Use properly grounded outlets –be sure to use 3-wire plugs and
3-wire grounded receptacles.
2. Do not touch HOT accessories –use hot pads or a pair of gloves.
3. Use your smoker ONLY for what it is intended.
4. Do not move your smoker when it is in use.
5. Do not use attachments or accessories not recommended by
manufacturer.
6. Other than cleaning your smoker, servicing of any kind should
be performed by authorized service technicians ONLY.
7. Before calling for service, be sure you have power to your
smokehouse.
8. Always unplug your smoker when not in use or during
examination.
9. Be sure to replace shelves and accessories after cleaning to
discourage children from entering your smoker.
10. Do not open main door when sawdust is smoking.
11. Always empty sawdust ash in a fire-proof container.
12. DO NOT USE ANY OTHER SUBSTANCE FOR
SMOKING –USE FINE MAPLE, HICKORY, APPLE OR
CHERRY SAWDUST.
2

BULB & CAPILLARY CONTROLLER
Turn temperature control knob to desired temperature.
HOW TO OPERATE YOUR DIGITAL
CONTROLLER
1.) TURN THE MAIN SMOKEHOUSE TOGGLE SWITCH TO
THE “ON”POSITION.
2.) PRESS THE SET BUTTON ONCE AND “SP” WILL APPEAR
ON THE DISPLAY.
3.) PRESS THE SET BUTTON AGAIN AND THE VALUE ON
THE DISPLAY CAN NOW BE CHANGED WITH THE UP
AND DOWN ARROWS.
4.) ONCE THE CONTROLLER IS SET TO DESIRED
TEMPERATURE PRESS THE SET BUTTON TO ENTER
THE NEW VALUE.
5.) PRESS SET AND DOWN AT THE SAME TIME TO EXIT
PROGRAMMING OR WAIT ONE MINUTE AND THE
DISPLAY WILL AUTOMATICALLY EXIT PROGRAM
MODE.
While the smoker is heating up, the actual smoker temperature is
displayed. Your controller comes pre-programmed with an operating
temperature of 60-250˚ F.
In case of an alarm error, the following messages can be shown:
-- = short circuit probe error
Er = memory error
Oo = open probe error
3

FEATURES
The smoker can be used for all types of smoking, such as poultry, ham,
sausage, fish, bacon, beef jerky, hot sticks and more.
ROASTING
You will be able to roast such things as prime rib, baby back ribs,
poultry, pork loins and many more.
Temperature settings for
•Roast Beef: 200 to 250˚ F
•Pork: 225 to 250˚ F.
Place temperature probe in the center of meat and roast to desired
temperature.
4

OUTSTANDING FEATURES
1. This smoker has a stainless steel interior and a painted or
stainless steel exterior. It is currently available in an all stainless
steel (inside and out) unit.
2. Stainless steel sawdust pan.
3. Chrome wire racks (20 lb. capacity).
4. Safety door latches.
5. High temperature insulation.
6. High quality gasket around door for smoke-tight, consistent
operation.
7. Complete instruction book and recipe guides.
8. Automatic temperature control 60-250˚ F for a professional job
every time.
9. DUAL WATTAGE SWITCH–This switch should be in the
DOWN/625 WATT position during smoking. Move the
switch to the UP/1250 WATTS position when finishing
cooking your product to your desired internal temperature
and also when roasting. The dual wattage switch controls the
rings on the burner. When in the DOWN/625 WATT
position only the center rings are working and the unit uses
less power. When the switch is UP/1250 WATTS, all rings
are heating and the unit is using full power. The thermostat
controls the temperature of the burner whether the dual
wattage switch is in the DOWN/625 WATT or UP/1250
WATT position.
5

CLEANING AND CARE
1. Line the entire drip pan with aluminum foil and discard after
each use.
2. Before using the shelves, spray them with Pam or any non-stick
spray.
3. Do not clean interior walls completely –only remove the loose
scale. The smoke film on the walls will improve the product
flavor and will not affect the performance of the smoker.
4. After each use allow the smoker to cool completely. Remove the
shelves and the drip pan and clean with hot, soapy water. Use
soap-filled steel wool pads to remove baked on grease and stains.
Rinse, dry and store shelves and pan inside the smoker.
CAUTION: Do not use excessive amounts of water in the interior of the
smoker. If so, dry out the interior thoroughly before operating.
NOTE: If your smoker has a door gasket, keep it oiled with mineral oil
to prevent gasket form sticking.
6

CLEANING RECORD
DATE
STICKS
SCREENS
DRIP
PAN
INSIDE
SMOKER
BY
WHO
7

TROUBLE SHOOTING
NOTE: Always unplug your smoker before
making any repairs.
PROBLEM
SOLUTION
SMOKE/HEAT BURNER DOES
NOT COME ON
•Check if smoker is plugged
in.
•Check outlet for power.
•Check fuses to power supply.
If blown, replace - if fuse
blows again, check for
shorted burner or wires.
THERMOSTAT IS ON BUT
BURNER DOES NOT HEAT
•Wire connections are bad or
burner is shorted out.
•Repair wiring or replace
burner.
TEMPERATURE CONTROL WILL
NOT TURN BURNER OFF
•Check for shorted wiring or
burner.
•If OK, replace temperature
control.
DOOR LEAKS SMOKE AT DOOR
EDGES
•If gasket is bad, replace.
•Repairs should be made by trained personnel only.
8

WARRANTY
The performance, workmanship and materials in the cabinet are
unconditionally guaranteed for one (1) year when used for the purpose
and under the conditions for which designed.
The manufacturer will replace any part found to be defective (upon
examination by manufacturer) at no charge when such part is returned to
manufacturer with transportation prepaid.
ALL ELECTRICAL PARTS ARE GUARANTEED FOR
NINETY (90) DAYS
All warranties are void if smoker or parts are damaged by accident or
misuse.
The description and specifications contained in this literature were in
effect at the time it was approved for printing.
The company reserves the right to change specifications or designs
without notice and without incurring obligations.
For all warranty items contact:
Woodland Manufacturing Inc.
120 S Main St
Iron Ridge, WI 53035
Email: info@pro-smoker.com
Phone: 800-328-8313
Warranty registration must be filled out and sent to manufacturer for
validation of warranty. The warranty form is enclosed in the back of this
manual. Please remit as soon as possible.
9

10

REPLACEMENT PARTS
ITEM #
DESCRIPTION
04-0246
Digital Temperature Switch TS2-010
04-0247
Probe for Digital Temperature Switch (2-wire, 5’ long)
04-0124
Temperature Control 60 –250 ˚ 30 AMP, 250 Volt
04-0600
Cord End 14-3 x 8 ft.
04-0601
Cord End 16-3 x 6ft
04-0144
Temperature Control Knob 60-250◦
04-0145
Temperature Control Bezel
04-0287
Red Neon Indicator Light, 125 Volt
04-0285
Fuse Holder w/ Fuse Cap, 30 Amp, 250 Volt
04-0288
Fuse –15 Amp Ceramic Hi-Temp, 250 Volt
04-0253
Toggle Switch Single-Pole / Single-Throw 10 Amp, 250 Volt
04-0283
Draw Latch (PK)
04-0135
Door Gasket –½” x ¾” Black / Skinned / Neoprene
04-0136
Gasket Adhesive
04-0271
Silicone Sealant - Aluminum color (USDA/FDA Approved)
04-0181
Chrome Product Screen/Shelf (16-1/2” x 17-1/2”)
04-0289
Stick & Shelf Holder S/S (2 pieces)
04-0290
Drip Pan w/ Holding Tabs
04-0154
Heavy Weight 7-1/2” Sawdust Pan S/S
04-0142
Smoke/Heat Burner, 1250 Watt, 120 Volt
04-0282
Smoke/Heat Burner, 1100 Watt, 120 Volt
04-0602
4” Caster 3/8” Threaded Stud Mount (Set of 4)
04-0127
2-Wire Hi-Temp Wiring Harness (5’)
04-0140
Burner Support Ring
04-0139
Burner Drip Pan
04-0284
Burner Holder S/S
04-0184
4” Caster ½” Threaded Stud Mount (set of 4)
04-0291
Ceramic Fiber Wrap Hi-Temp (3” wide)
04-0254
3-wire Hi-Temp Wiring Harness (6’)
11

RECIPES
Smoked Polish Sausage (Kielbasa)................................................................... 13
Wieners.............................................................................................................. 14
Smoked Fish ...................................................................................................... 15
Smoked Bacon................................................................................................... 16
Bologna (Large or Ring)................................................................................... 17
Smoked Summer Sausage (Country Smoked Without Garlic) ......................... 18
Smoked Hams (Picnics).................................................................................... 19
Smoked Pepperoni Sausage............................................................................... 20
Smoked Venison Sausage.................................................................................. 21
Smoked Country Poultry.................................................................................... 22
Fresh Bratwurst.................................................................................................. 23
Fresh Polish
Sausage.........................................................................................……….......... 23
Fresh Italian Sausage (Sweet)........................................................................... 24
Fresh Italian or Pizza Sausage
(Hot)....................................................................……….. ................................. 24
Fresh Pork Sausage (Hot) ................................................................................. 25
Fresh Pork Sausage............................................................................................ 25
Meat Loaf........................................................................................................... 26
Beef Jerky (Brine Method - Mix Your Own Brine).......................................... 27
Fish Jerky........................................................................................................... 28
MIX YOUR OWN SEASONING --.....................................................................
Country Style Summer Sausage......................................................................... 29
Smoked Salmon, Mackerel or Carp ................................................................... 30
Country Smoked Pepperoni Sticks (Beer Sticks).............................................. 31
Great Venison Sausage ...................................................................................... 32
Country Style Mettwurst.................................................................................... 33
Country Smoked Polish Sausage ....................................................................... 34
Home Smoked Ham........................................................................................... 35
BBQ Ribs (Full Rack or Country Ribs)............................................................ 35
Our Very Own Special Barbeque
Sauce............................................................................ ..................................... .36
BBQ Chicken..................................................................................................... 36
Pork Chops (Stuffed or Regular) ...................................................................... 37
Brats, Polish or Italian Sausages........................................................................ 37
Roast Chicken (Whole Birds)........................................................................... 38
Roast Chicken (Halves) .................................................................................... 38
Prime Rib........................................................................................................... 38
Baked Potato..................................................................................................... 38
12

SMOKED POLISH SAUSAGE (KIELBASA)
SUGGESTED INGREDIENTS - 25 LB. BATCH
25 Lb. Lean Pork Trims (85% Lean)
2 to 3 Cups Distilled Water
1 package Polish Sausage Seasoning & Cure
Procedure:
Grind all meat through 3/8” plate. Regrind through 1/8” plate. Mix maple
cure with water and mix into meat. Add seasoning and mix for 4-6
minutes until meat is tacky. Add water and stuff into 32-35mm or 38-
42mm hog casings.
Smoking Procedure:
Preheat smoker to 100 degrees F.
Place product on smoke sticks (no pieces touching) - insert temperature
probe in the middle of one link.
Run for 1 hour with damper wide open. This is the drying time.
Place 2/3 pan of sawdust (moistened) on burner; set top damper 1/8
open, bottom damper ¾ open. Increase temperature to 170 degrees F.
Run at this temperature until internal temperature reaches 155 degrees.
Turn off thermostat and cool down to 100 degrees F. Place in cold water
for 20-30 minutes. Place in cooler.
13

WIENERS
SUGGESTED INGREDIENTS - 25 LB. BATCH
15 lbs. Lean Beef Trims (90% Lean)
10 lbs. Regular Pork Trims (85% Lean)
2 to 3 Cups of Distilled Water
1 Package of Wiener Seasoning & Cure
Procedure:
Grind all products through 3/8” plate. Regrind through 3/32” plate. Add
cure to ½ the water and add to meat and mix. Add seasoning, mix with ½
the water and add to meat. Mix for 4-6 minutes or until meat is tacky.
Stuff into 24-26mm sheep casings.
Smoking Procedure:
Preheat smoker to 130 degrees F.
Hang wieners on smoke sticks (Do not have any pieces touching).
Insert temperature probe to center of one link.
Run with dampers wide open for 1 hour. This is the drying time.
Place 1/4 pan of sawdust (moistened) on burner and increase temperature
to 190 degrees F.
Set top damper 1/8 open, bottom damper ¾ open.
Cook until you reach 155 degrees F internal temperature. It should take
about 2-2 ½ hours after drying.
Immediately place in a cold water bath for 20 minutes until internal
temperature reaches 100-110 degrees F.
Then dry at room temperature.
14
This manual suits for next models
3
Table of contents