manuals.online logo
Brands
  1. Home
  2. •
  3. Brands
  4. •
  5. Wouxun
  6. •
  7. Two-way Radio
  8. •
  9. Wouxun KG-UV6D User manual

Wouxun KG-UV6D User manual

Other manuals for KG-UV6D

2

Other Wouxun Two-way Radio manuals

Wouxun kg-689e User manual

Wouxun

Wouxun kg-689e User manual

Wouxun KG-935G User manual

Wouxun

Wouxun KG-935G User manual

Wouxun KG-UV9PX User manual

Wouxun

Wouxun KG-UV9PX User manual

Wouxun KG-UVD1P Upgrade Version User manual

Wouxun

Wouxun KG-UVD1P Upgrade Version User manual

Wouxun uvd1p User manual

Wouxun

Wouxun uvd1p User manual

Wouxun KG-UV8D User manual

Wouxun

Wouxun KG-UV8D User manual
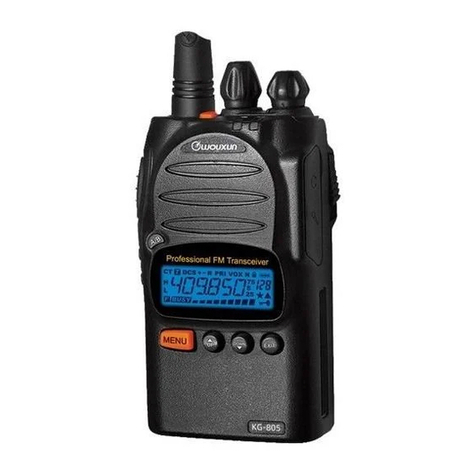
Wouxun KG-819 User manual

Wouxun

Wouxun KG-819 User manual

Wouxun KG-UVD1P Upgrade Version User manual

Wouxun

Wouxun KG-UVD1P Upgrade Version User manual

Wouxun KG-UVD1 User manual

Wouxun

Wouxun KG-UVD1 User manual

Wouxun KG-UVD1 User manual

Wouxun

Wouxun KG-UVD1 User manual

Wouxun kg-689e User manual

Wouxun

Wouxun kg-689e User manual

Wouxun KG-UV6X User manual

Wouxun

Wouxun KG-UV6X User manual

Wouxun KG-UV9D User manual

Wouxun

Wouxun KG-UV9D User manual

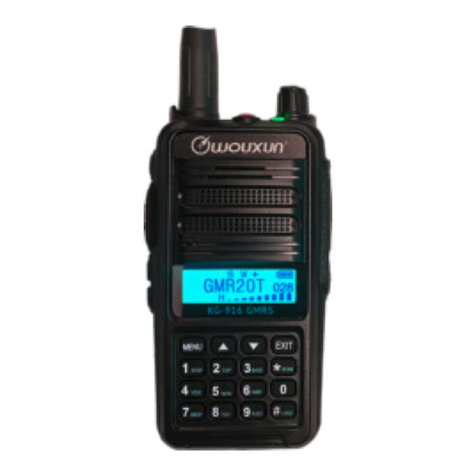
Wouxun KG-916 GMRS User manual

Wouxun

Wouxun KG-916 GMRS User manual

Wouxun KG-699E series User manual

Wouxun

Wouxun KG-699E series User manual

Wouxun KG-UVA1X User manual

Wouxun

Wouxun KG-UVA1X User manual

Wouxun KG-805G User manual

Wouxun

Wouxun KG-805G User manual
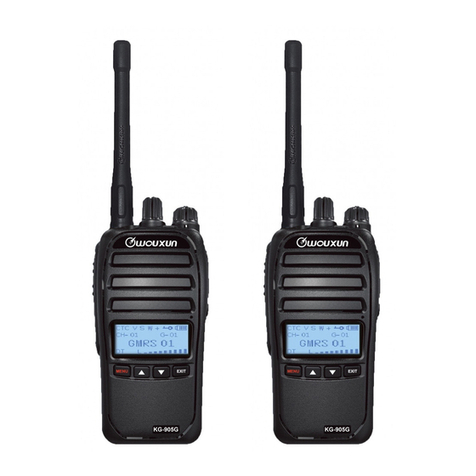
Wouxun KG-905G User manual

Wouxun

Wouxun KG-905G User manual
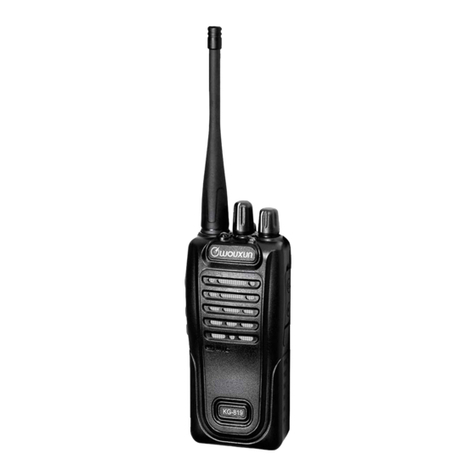
Wouxun KG-UV9G Installation and operating instructions

Wouxun

Wouxun KG-UV9G Installation and operating instructions

Wouxun KG-UV9G PRO GMRS User manual

Wouxun

Wouxun KG-UV9G PRO GMRS User manual

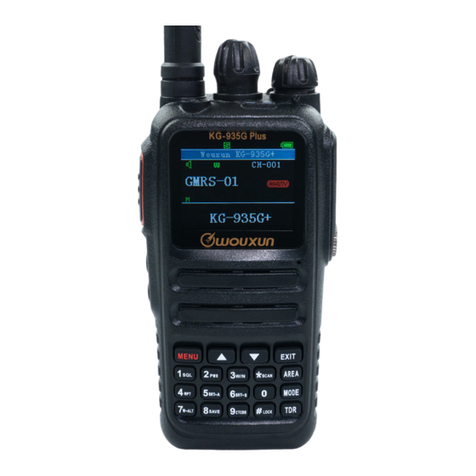
Wouxun KG-935G Plus User manual

Wouxun

Wouxun KG-935G Plus User manual

Wouxun KG-UV9GX GMRS User manual

Wouxun

Wouxun KG-UV9GX GMRS User manual
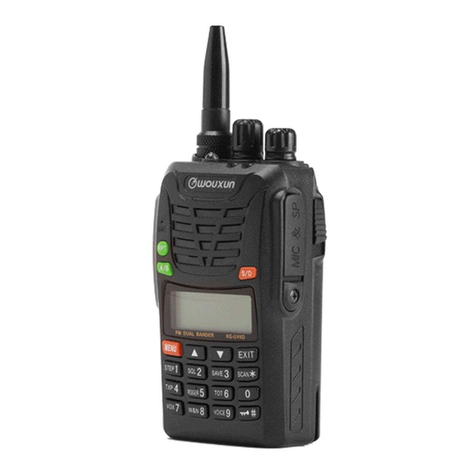
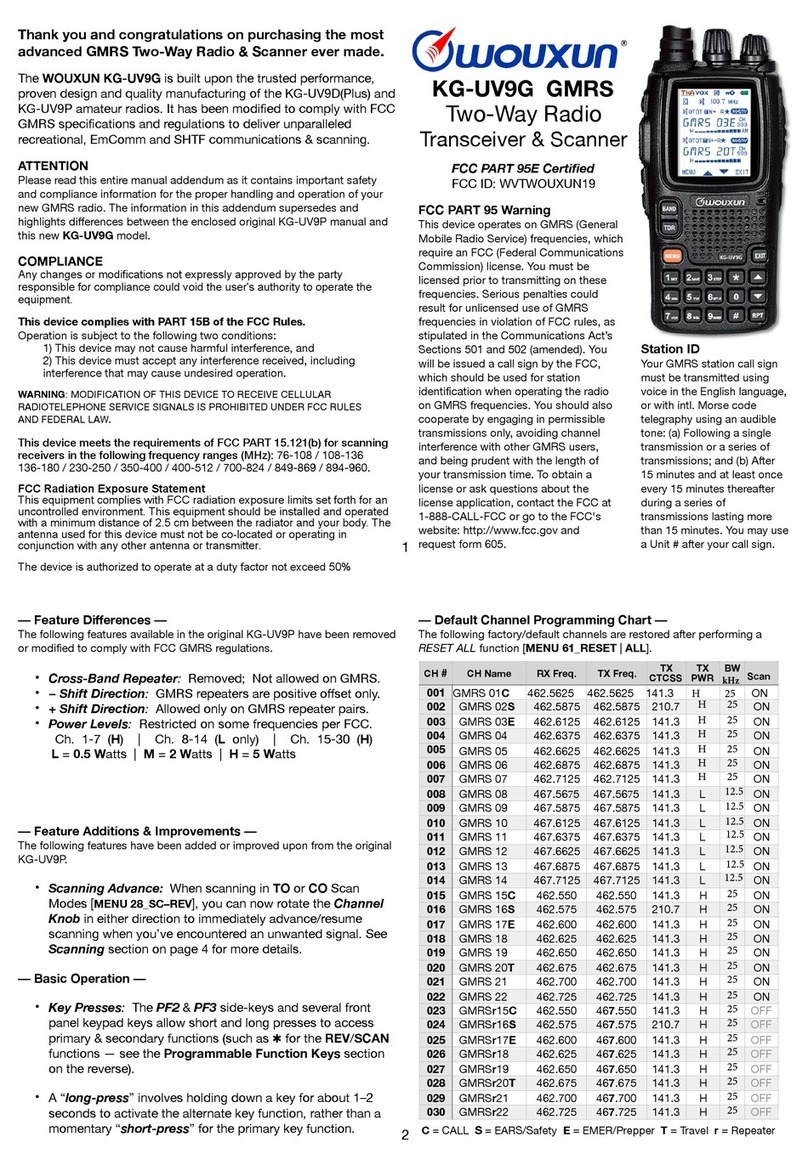
Wouxun KG-UV9G User manual

Wouxun

Wouxun KG-UV9G User manual

Popular Two-way Radio manuals by other brands

West Marine VHF85 owner's manual

West Marine

West Marine VHF85 owner's manual

Motorola T7100 Series user guide

Motorola

Motorola T7100 Series user guide

Motorola TLKR T40 user manual

Motorola

Motorola TLKR T40 user manual

DNT Space100 owner's guide

DNT

DNT Space100 owner's guide

Midland 70-1526A/B Service manual

Midland

Midland 70-1526A/B Service manual

HYT TC700 Service manual

HYT

HYT TC700 Service manual

Legacy ProLine Series operating instructions

Legacy

Legacy ProLine Series operating instructions

Evolveo FreeTalk XM2-2 manual

Evolveo

Evolveo FreeTalk XM2-2 manual

AWC AWR1688+ manual

AWC

AWC AWR1688+ manual

Motorola XT665d quick start guide

Motorola

Motorola XT665d quick start guide

Cobra 2-Way Radio operating instructions

Cobra

Cobra 2-Way Radio operating instructions

Klutch KR-400 user manual

Klutch

Klutch KR-400 user manual

Garmin Rino 655t owner's manual

Garmin

Garmin Rino 655t owner's manual

Midland MXT275J manual

Midland

Midland MXT275J manual

Motorola DTR410 - On-Site Digital Radio Feature

Motorola

Motorola DTR410 - On-Site Digital Radio Feature

Cobra CXT645 owner's manual

Cobra

Cobra CXT645 owner's manual

Tait TM9100 user guide

Tait

Tait TM9100 user guide

Yaesu FT-65R instruction manual

Yaesu

Yaesu FT-65R instruction manual

manuals.online logo
manuals.online logoBrands
  • About & Mission
  • Contact us
  • Privacy Policy
  • Terms and Conditions

Copyright 2025 Manuals.Online. All Rights Reserved.

Thanks
for
buying
the
@wouxun
transceiver.
This
transceiver
offers
latest
design,
enhanced
features,
solid
performances
and
easy
accessibility.
We
believe
you
will
be
pleased
with
the
high
quality
and
reliable
features
for
all
your
communication
needs.
READ
THIS
IMPORTANT
INFORMATION
ON
THE
SAFE
AND
EFFICIENT
OPERATION
BEFORE
USING
@wouxun
PORTABLE
TRANSCEIVER.
This
manual
is
ONLY
suitable
for
KG-UV6D.
User
Safety,
Training,
and
General
Information
READ
THIS
IMPORTANT
INFORMATION
ON
SAFE
AND
EFFICIENT
OPERATION
BEFORE
USING
YOUR
@wouxun
PORTABLE
TWO-WAY
RADIO.
Compliance
with
RF
Energy
Exposure
Standards
Your
@LUOUXUD
two-way
radio
is
designed
and
tested
to
comply
with
a
number
of
national
and
international
standards
and
guidelines
(listed
below)
regarding
human
exposure
to
radio
frequency
electromagnetic
energy.
This
radio
complies
with
the
IEEE
(FCC)
and
lCNlRP
exposure
limits
for
occupational/controlled
RF
exposure
environment
at
duty
cycles
of
up
to
50%
talk-50%
listen
and
should
be
used
for
occupational
use
only.
In
terms
of
measuring
RF
energy
for
compliance
with
the
FCC
exposure
guidelines,
your
radio
radiates
measurable
RF
energy
only
while
it
is
transmitting
(during
talking),
not
when
it
is
receiving
(listening)
or
in
standby
mode.
))
The
approved
batteries
supplied
with
this
radio
are
rated
for
a
5-5-90
duty
cycle
(5%
talk-5%
listen-90%
standby),
even
though
this
radio
complies
with
the
FCC
occupational
RF
exposure
limits
at
duty
cycles
of
up
to
50%
talk.
Your
@wouxun
two-way
radio
Complies
with
the
following
of
RF
energy
exposure
standards
and
guidelines:
0
United
States
Federal
Communications
Commission,
Code
of
Federal
Regulations;
47CFR
part
2
sub-
partJ
0
American
National
Standards
Institute
(ANSI)/Institute
of
Electrical
and
Electronic
Engineers
(IEEE)
C95.
1-1992
0
Institute
of
Electrical
and
Electronic
Engineers
(IEEE)
C95.
1-1999
Edition
-
International
Commission
on
Non-Ionizing
Radiation
Protection
(ICNIRP)
1998
Operational
Instructions
and
Training
Guidelines
To
ensure
optimal
performance
and
compliance
with
the
occupational/controlled
environment
RF
energy
exposure
limits
in
the
above
standards
and
guidelines,
users
should
transmit
no
more
than
50%
of
the
time
and
always
adhere
to
the
following
procedures:
Transmit
and
Receive
To
transmit
(talk),
push
the
Push—To-Talk
(PTT)
button;
to
receive,
release
the
PTT
button.
Hand-held
radio
operation
Hold
the
radio
in
a
vertical
position
with
the
microphone
5
cm
away
from
the
lips
and
let
the
antenna
farther
away
from
your
head.
Body-worn
operation
Always
place
the
radio
in
an
@UJOUXUI)
approved
clip,
holder,
holster,
case,
or
body
harness
for
this
product.
Use
of
non-
®UJOUXUD
-approved
accessories
may
exceed
FCC
RF
exposure
guidelines.
Antennas
&
Batteries
0
Use
only
@UIOUXUD
approved,
supplied
antenna
or
@wouxun
approved
replacement
antenna.
0
Unauthorized
antennas,
modifications,
or
attachments
could
damage
the
radio
and
may
violate
FCC
regulations.
0
Use
only
@wouxun
approved,
supplied
batteries
or
@wouxun
approved
replacement
batteries.
0
Use
of
non-
@wouxun
-approved
batteries
may
exceed
FCC
RF
exposure
guidelines.
Approved
Accessories
For
a
list
of
@LUOUXUH
approved
accessories,see
the
accessories
page
of
this
user
manual
or
visit
the
following
website
which
lists
approved
accessories:http://www.wouxun.com
Notices
to
the
User
-
Government
law
prohibits
the
operation
of
unlicensed
radio
transmitters
within
the
territories
under
government
control.
°
Illegal
operation
is
punishable
by
fine
or
imprisonment
or
both.
-
Refer
service
to
qualified
technicians
only.
))
It
is
important
that
the
operator
is
aware
of
and
understand
hazards
common
to
the
operation
of
any
transceiver.
Explosive
environment
(such
as
gases,
dust,
fumes,
etc).
Turn
off
your
transceiver
while
talking
on
fuel,
or
parking
in
gasoline
servive
stations.
>>
If
you
require
this
machine
to
be
developed
or
get
some
changes,
pleased
contact
with
@UJOUXUD
or
your
@wouxun
dealer.
FCC
Caution:
This
equipment
has
been
testen
and
found
to
comply
with
the
part
90
of
the
FCC
Rules.
These
limits
are
designed
to
provide
reasonable
protection
against
harmful
interference
in
a
residential
installation.
This
equipent
generates,
uses
and
can
radiate
radio
frequency
energy
and,
If
the
equipment
is
not
installed
and
used
in
accordance
with
the
instructions,
it
may
cause
harmful
interference
to
radio
communicationgs.
However,
there
is
no
guarantee
that
interference
will
not
occur
in
a
particlar
installation.
If
this
equipment
does
carse
harmful
interference
to
radio
or
television
reception,
which
can
be
determined
by
turning
the
equipment
off
and
on,
the
user
is
encouraged
to
try
to
correct
the
interference
by
one
or
more
of
the
following.
Measures:
°
Reorient
or
relocate
the
receiving
antenna.
°
Increase
the
separation
between
the
equipment
and
receiver.
0
Connect
the
equipment
into
an
outlet
on
a
circuit
different
from
that
to
which
the
receiver
is
connected.
°
Consult
the
dealer
or
an
experienced
radio/TV
technician
for
help.
FCC
Licensing
Requirements
Your
radio
must
be
properly
licensed
Federal
Communications
Commission
prior
to
use.
Your
@wouxun
Wireless
dealer
can
assist
you
in
meeting
these
requirements.
Your
dealer
will
program
each
radio
with
your
authorized
frequencies,
signaling
codes,
etc.,
and
will
be
there
to
meet
your
communications
needs
as
your
system
expands.
Precautions
Only
qualified
technicians
are
allowed
to
maintain
this
product.
Do
not
use
the
radio
or
charge
a
battery
in
explosive
areas
such
as
coal
gas,
dust,
steam,
etc.
Switch
OFF
the
radio
while
refueling
or
parking
at
a
gas
station.
Do
not
modify
or
adjust
this
radio
without
permission.
Do
not
expose
the
radio
to
direct
sunlight
over
a
long
time,
nor
place
it
close
to
heat
source.
Do
not
place
the
radio
in
excessively
dusty,
humid
areas,
nor
on
unstable
surfaces.
Safety:
It
is
important
that
the
operator
is
aware
of
and
understands
hazards
common
to
the
operation
of
any
radio.
This
device
complies
with
Part
15
of
the
FCC
Rules.
Operation
is
subject
to
the
following
two
conditions:
(I)
this
device
may
not
cause
harmful
interference,
and
(2)
this
device
must
accept
any
interference
received,
including
interference
that
may
cause
undesired
operation.
Warning
A
)>
MODIFICATION
OF
THIS
DEVICE
TO
RECEIVE
CELLULAR
RADIOTELEPHONE
SERVICE
SIGNALS
IS
PROHIBITED
UNDER
FCC
RULES
AND
FEDERAL
LAW.
CE
Caution:
Hereby,
@LUOUXUD
declares
that
this
Two-way
radio
is
in
compliance
with
the
essential
requirements
and
other
relevant
provisions
of
Directive
1999/5/EC.
A
copy
of
the
DOC
may
be
obtained
through
the
following
address.
Address:
No.928
Nanhuan
Road,
Jiangnan
High
Technology
Industry
Park,
Quanzhou,
Fujian
362000,
China
Contents
Unpacking
and
Checking
the
Equipment
01
Supplied
Accessories
0
1
Description
of
Functions
02-03
Getting
Started
04-08
LCD
Display
04
Description
of
Transceiver
05-08
Shortcut
Operation
Sheet
09-12
How
to
Operate
13-52
Active/Inactive
MENU
Function
13-14
Step
Frequency
(SETP)
------
MENU
1
14
Squelch
Level
(SOL-LE)
------
MENU
2
15
Power
Saver
Mode
(SAVE)
------
MENU
3
15-16
Transmitting
Power
Selection
(TXP)
------
MENU
4
16
Begin/End
Transmitting
Prompt
(ROGER)
------
MENU
5
17
Time-out
Timer
(TOT)
------
MENU
6 17
VOX
(VOX)
------
MENU
7
18
Bandwidth
Selection
(WN)
------
MENU
8
18
Voice
Guide
(VOICE)
------
MENU
9
Transmitting
Overtime
Alarm
(TOA)
------
MENU
10
Beep
Prompt
Function
(BEEP)
------
MENU
1
1
Power-on
Message
(PONMSG)
------
MENU
12
Busy
Channel
Lockout
(BCL)
------
MENU
13
Keypad
Lock
(AUTOLK)
------
MENU
14
Receiving
CTCSS
(R-CTC)
------
MENU
15
Transmitting
CTCSS
(T-CTC)
------
MENU
16
Receiving
DCS
(R-DCS)
------
MENU
17
Transmitting
DCS
(T-DCS)
------
MENU
18
Scan
Mode
(SC-REV)
------
MENU
19
Scan/Lamp/SOS-CH/FM
Radio
on
Side
Key
1
(PF
1)
------
MENU
20
Working
Mode/RPT/Stopwatch
Timer/Lamp/Alarm
(PF2)
------
MENU
21
Working
Mode
Switch
(CH-MDF)
------
MENU
22
Auto
Backlight
(ABR)
------
MENU
23
Offset
Frequency
(OFF-SET)
------
MENU
24
Frequency
Shift
Direction
(SFT-D)
------
MENU
25
Stopwatch
Timer
(SECOND)
------
MENU
26
19
19
20
20-21
21
22
22-23
23
23-24
24
24-25
25-28
29-32
32-34
34
35
35-36
36-37
Channel
Name
Edit
(CHNAME)
------
MENU
27
Channel
Memory
(MEM-CH)
------
MENU
28
Channel
Delete
(DEL-CH)
------
MENU
29
37-38
38-39
39
Reset
(RESET)
------
MENU
30
SOS
Band
Selection
(SOS-CH)
------
MENU
31
40-41
42
CTCSS/DCS
Scan
(SCN
CD)
------
MENU
32
DTMF
Encoding
42-43
44
ANI
ID
Code
Edit/Transmit/Transmitting
Delay
Time
&
DTMF
Sidetone
Priority
Scan
44-45
46
Reverse
Frequency
46
Channel
Mode
Operation
47
47
Low
Voltage
Prompt
Transmitting
Overtime
Prompt
47
Adding
Scanning
Channel
47
Wire-clone
Function
Working
with
Repeater
How
to
Use
the
Intelligent
Charger
48
48-51
51
Programming
Guide
52
Trouble
Shooting
53-54
Technical
Parameter
55-57
Appendix
1
(CTCSS)
55
Appendix
2
(DCS)
56-57
Technical
Specification
58
Optional
Accessories
59
Announcement
50
Unpacking
and
Checking
the
Equipment
Carefully
unpack
the
transceiver.
We
recommend
that
you
identify
the
items
in
the
following
table
before
discarding
the
packing
material.
If
any
item
are
missing
or
has
been
damaged
during
shipment,
please
notify
your
@wouxun
dealer.
Supplied
Accessories
Transceiver
High
gain
antenna
Li-ion
batterypack
intelligent
charger
(fix.
Q
@wouxuu
Beltclip
Handstrap
User's
manual
Warranty
card
k J
01
Description
of
Functions
1.
2.
9°N¢PTJ>PU
.9
’l
’l
’l
’l
’l
’l
’l
O
’l.
2.
3.
4.
5.
6.
7.
2
Dual
Band,
Dual
Frequency,
Dual
Display
and
Dual
Standby
Frequency
Range
(suitable
for
different
countries
or
areas):
136-174MHZ
&
216-280I\/\Hz
(RX
/
TX),
136-174IVl
&
350-47OI\/\Hz
(RX
/
TX),
136-174MHZ
&
400-480I\/\Hz
(RX
/
TX),
’l36-’l74I\/\Hz
&
420-520I\/\Hz
(RX
/
TX),
’l44-146MHZ
&
430-44OI\/\Hz
(RX
/
TX),
’l44-’l48l\/\Hz
&
222-225l\/\Hz
(RX
/
TX),
66-88I\/\Hz
&
136-174I\/\Hz
(RX
/
TX),
66-88I\/\Hz
&
400-480I\/\Hz
(RX
/
TX).
Working
l\/\ode:
U-V,
V-V
or
U-U
selectable
Channel
setting:
VHF
TX
&
UHF
RX
or
UHF
TX
&
VHF
RX
selectable
DTl\/\F
encoding
Digital
FM
Radio
(76-108l\/\Hz)
CTCSS/DCS
scan
Output
power:
VHF(5W/4W)/UHF(4W/’IW)
199
memory
channels
.
VOX
Stopwatch
timer
function
105
groups
DCS
and
50
groups
CTCSS
Voice
guide
SOS
Function
Wide/Narrow
bandwidth
selection
(25KHz/
12.5KH2)
Multi-display
modes
(channel
number/
channel
frequency/
channel
name
selectable)
Reverse
frequency
I8.
I9.
20.
2
I.
22.
23.
24.
25.
26.
27.
28.
29.
30.
3!.
32.
33.
34.
35.
36.
37.
38.
Multi-functional
scan
modes
Priority
scan
function
Bright
flashlight
illumination
Frequency
steps
selectable
(2.5/5/625/10/12.5/25/50/1OOKH2)
High/Low
power
changeable
when
transmitting
1700mAh
High
capacity
Li-ion
batterypack
Intelligent
charger
Offset
frequency
setting
(O-69.975l\/\Hz)
Frequency
shift
direction
setting
Busy
channel
lockout
Power-on
message
display
(Battery-V/Full
Screen/Other
Characters)
Low
voltage
prompt
Begin/End
transmitting
prompt
Transmitting
overtime
prompt
Keypad
lock
(Auto
/
Manual)
Adding
scanning
channel
Programmable
by
computer
Wire-clone
function
Menu/Channel
reset
1750Hz
burst
tone
IP55
waterproof
03
Getting
Started
LCD
Display
There
are
various
indicators
displaying
on
the
screen
when
powering
on.
Please
refer
the
below
table
to
learn
what
the
indicators
stand
for
accordingly.
Reverse
frequency
Dual
Standby
Split
(negative)
VOX
Function
Split
(positive)
DCS
I
\
CTCSS
r
cr
DCS
+
—
RTDR
voxs
N
.2.
—
»
'5
=5
=---
5:5
'
-=
=---
75
”IOU
Arrow
indicating
the
'
=
-'
-
5
250-"..—
master
frequency
Indicator
for
sub
frequency
receiving
Bandwidth
indicator
_
Battery
capacity
indicator
_
Menu
Order/Channel
Order
_
Menu
Order/Channel
Order
High/Low
powertransmission
HL
___—-----
111-0J
BCL
indicator
l
Note:
—
Keypad
Lock
cl.“|
Full
Battery
Capacity
Indicator
:l:|
Exhausted
Battery
Capacity
Indicator
El
\‘I
:|
‘|
Low
Battery
Capacity
indicator
-----....
Receiving
signal
meter
04
Description
of
Transceiver
Flashlight
_|
Antenna
Rotary
Encoder
Power
Switch/Volume
Control
Receiving
Light
Transmitting
Light
‘U’
Multifunctional
Key
A/
B
Switch
Key
on
Master
Single/Dual
Band
Switch
Key
Frequency
Screen/LCD
Display
$—
'—
*
7
I
A
»
.E:
=
l_l'.!
Ii
.
{S‘S’
HL
__———----
m—o
FM
DUAL
BANDER
KG-UV6D
Function
Key
Exit
Key
Reverse
Frequency/Scan
Key
Number
Key
‘E
T‘"
,
Lock/
Stopwatch
Timer
Key
Up/Down
Key
\
Note:
Quickly
switch
the
working
mode
(“1513+
@)
Quickly
reboot
the
transceiver
(m
+
@
)
05
Getting
Started
06
PTT
(Push-To-Talk)
Key
Side
Key
1:
Scan/Lamp
SOS-CH/Radio
A
Speaker/
Microphone
Jacks
MIC
&
SP
Batterypack
Latch
Side
Key
2:
Monitor
(long
press)
/
Flashlight
(short
press)
@
\XXX
Quick
Search
Short
Press
u
or
D
key
to
search
the
desired
function/parameter
during
your
setting,
while
long
press
to
quick
search.
Single/Dual
Band
Switch
Press
a
Single
Band
--------------
Dual
Band
Quick
Reboot
the
Transceiver
In
standby,
press
m
+
M
,
then
LCD
displays
transceiver
re-starts.
.
Press
m
to
confirm,
and
then
the
Working
Mode
Switch
In
standby,
press
m
+
a
to
switch
between
Channel/Memory
and
Frequency/VFO
working
mode.
A/B
Switch
Key
on
Master
Frequency
Press
m
to
select
the
master
frequency.
The
frequency
with
arrowhead
icon
is
the
master
frequency,
while
the
other
frequency
without
arrowhead
icon
is
the
sub
frequency.
The
transceiver
can
transmit
and
receive
in
the
master
frequency,
but
ONLY
receives
in
the
sub
frequency.
When
it
is
receiving
in
the
sub
frequency,
there
shows
”S"
on
the
screen.
07