Chapter 2 Safety informationChapter 2 Safety information
We assume no liability for damage occurred as a result of improper
use or damage resulting from the failure to comply with the safety
instructions, improper operation and handling. Under such circum-
stances, all claims under warranty will become void.
We assume no liability for consequential damage!
We assume no liability for personal or property damage resulting
from the failure to comply with the safety instructions, improper
operation and handling. Under such circumstances, all claims under
warranty will become void. Complying with the essential require-
ments of the European health, safety and environmental protection
legislation (CE), any unauthorized modication and/or change on
the device is prohibited and will void the warranty and all warranty
claims.
› This device is not a toy and is not intended for children. Keep it away
from children at all times to avoid possible injury, as they can not
judge the risk of danger when handling electrical devices. Further-
more, this product contains small parts that could be swallowed.
› This device should never come in contact with water or moisture!
Condensation can build up suddenly, when this device is brought
from a colder into a warmer area (e.g. when transporting). Should
this happen, allow the device to warm up to room temperature
rst before using. Care should be taken that liquids do not come in
contact with the interior, this is why containers containing liquids,
e.g. buckets, vases or plants should never be placed anywhere near
this product. This can not only damage the device, but also become
a re hazard.
Safety information
› Never place any sources of re on top of or near the device (e.g.
lighted candle).
› Operate this device in a moderate climate and never expose to ex-
treme temperatures, such as high humidity.
› Do not bend or place any heavy objects on the cable.
› Never leave packaging material lying around unsupervised. For
children it could become a hazardous toy and lead to serious injury.
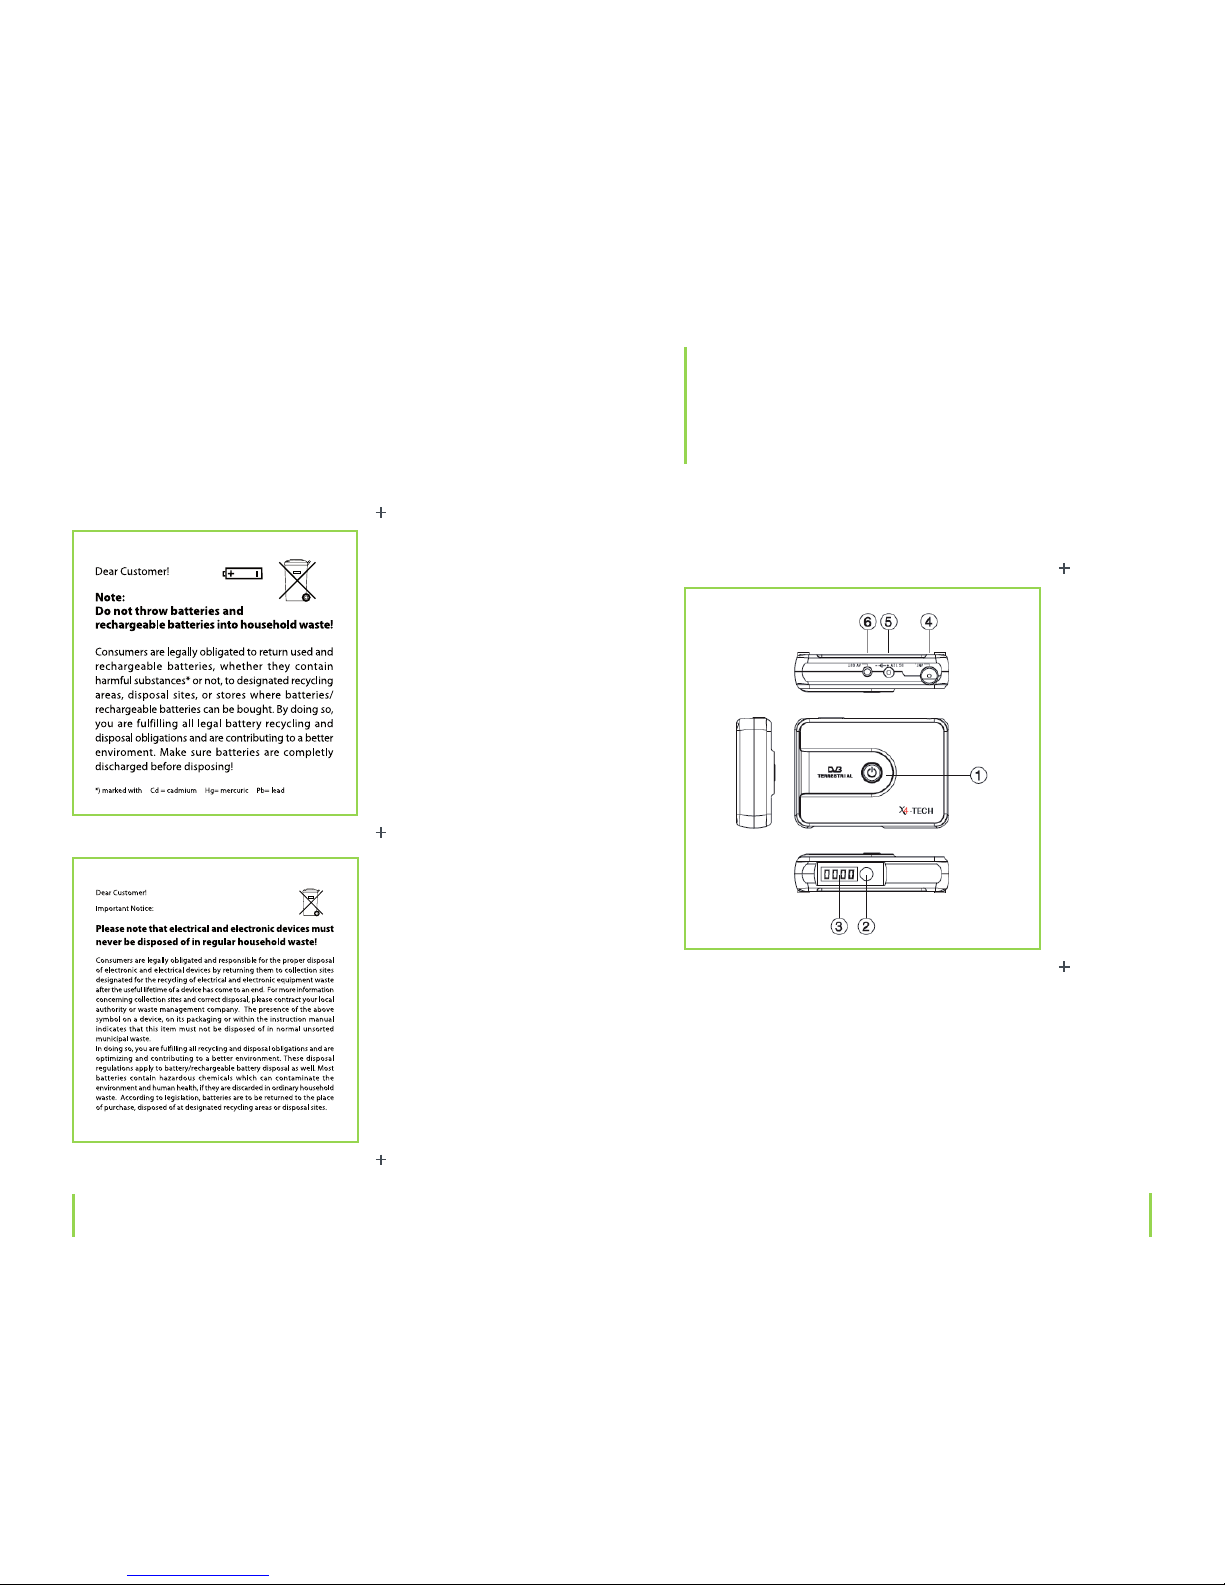
Maintenance, cleaning and disposal
This is a maintenance-free product and should never be opened or
disassembled. Any repairs are to be looked after by qualied service
personnel or a specialty workshop. Otherwise, there is the possible
risk of destroying/damaging this product. This will forfeit the opera-
ting license (CE) and warranty/all warranty claims. Use a soft, clean,
dry and fuzz-free cloth to clean.
Never use any chemical cleaning agents; the plastic housing and any
markings/labels found on the device could become damaged. Dust
can be easily removed with a clean and soft brush or with a vacuum
cleaner.
2