2
1. INTRODUCTION
1.1. SAFETY
1.1.1. Before beginning the tank installation, read through the
entire Installation Manual and Operating Guidelines
(subsequently referred to as “Installation Manual” . It is the
responsibility of the owner, installer and operator to follow all
requirements contained in this Installation Manual and comply
with all federal, state and local safety regulations that may apply
to tank installations and operations.
1.1.2. No instructions or procedures presented in this Installation
Manual should be interpreted so as to put at risk any person’s
health or safety, or to harm any property or the environment.
1.1.3. The following definitions will serve as a guide when
reading the Installation Manual:
Indicates an imminently hazardous situation, which, if not
avoided, will result in death or serious injury.
Indicates a potentially hazardous situation, which, if not
avoided, could result in death or serious injury.
Indicates a potentially hazardous situation, which, if not
avoided, may result in minor or moderate injury.
A Caution without the safety alert symbol indicates a
potentially hazardous situation, which, if not avoided, may
result in property damage.
1.1.4. Keep this Installation Manual available at the installation
site to refer to safety procedures as needed.
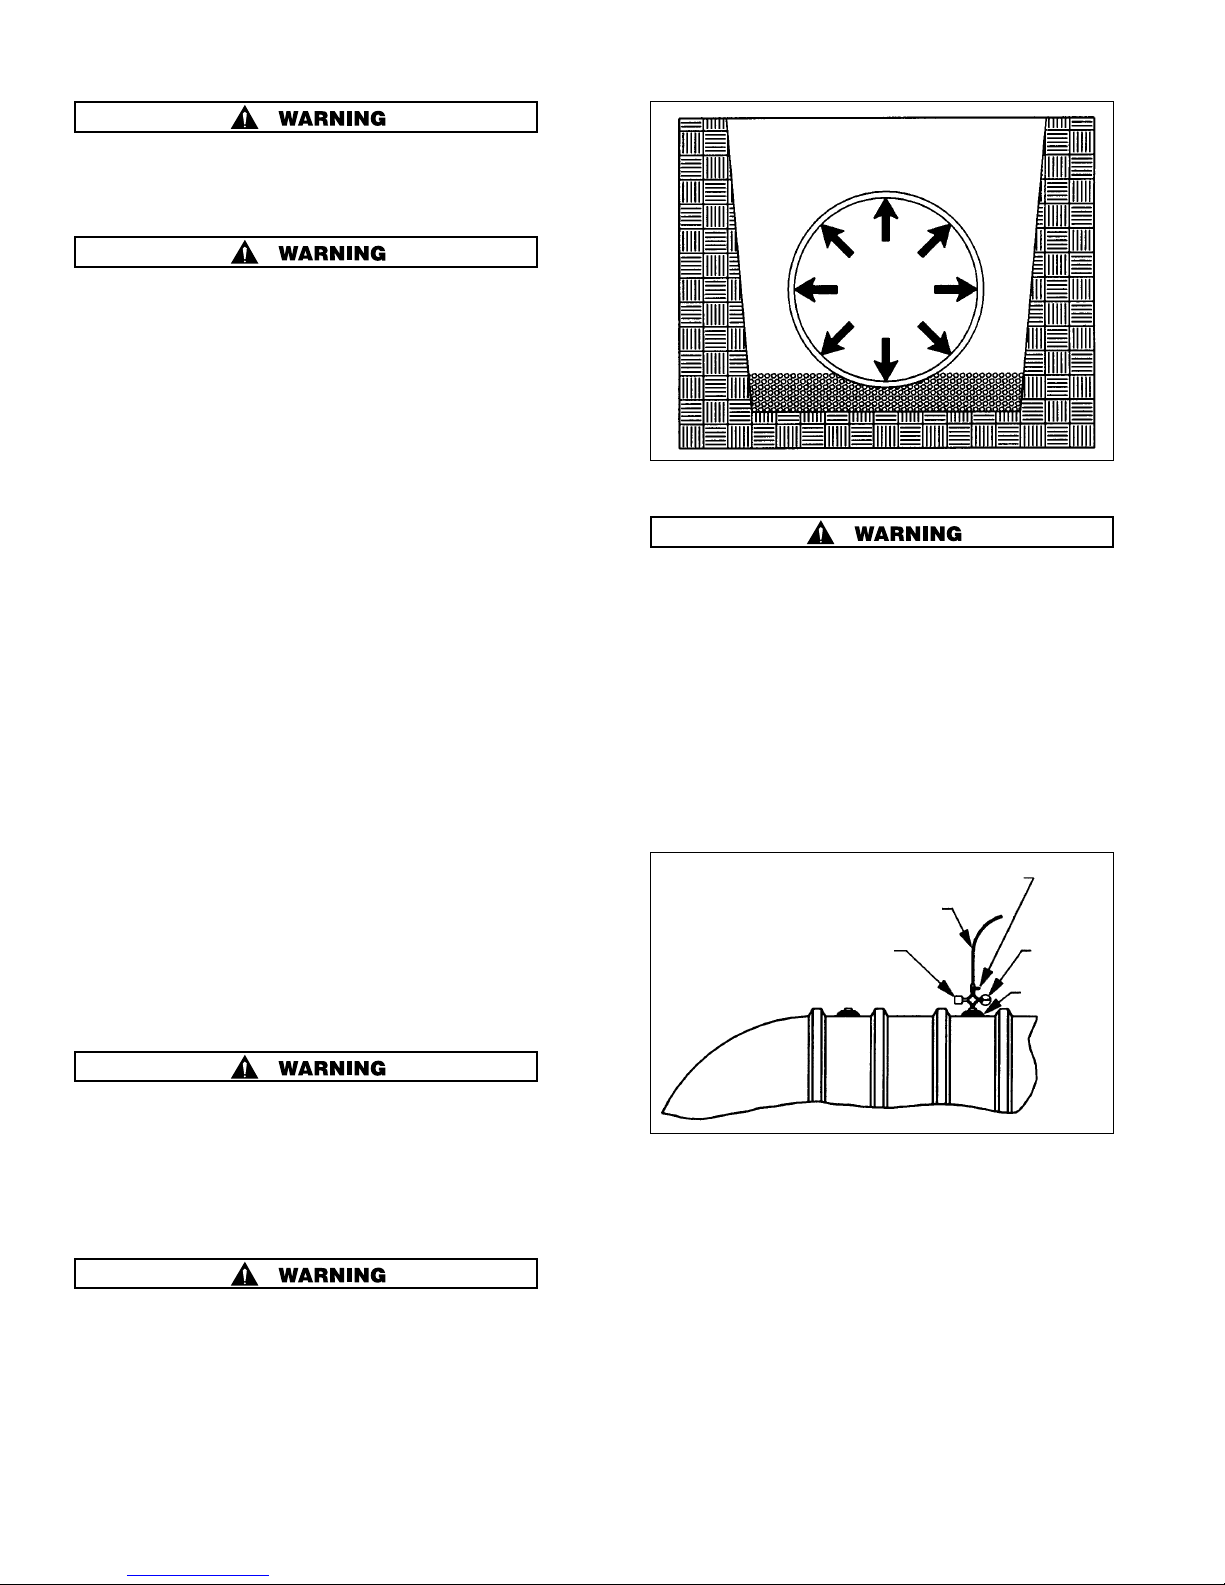
Follow O HA regulations for tank excavations. Collapse of
excavation walls could result in death or serious injury.
1.1.5. Working in and around excavations is dangerous. The
Occupational Safety and Health Administration (OSHA has
specific requirements that must be followed. Prior to beginning
work at the site, the installer must obtain a copy of OSHA’s
Standard, Part 1926, Subpart P(Excavations , 650-652. A copy
of this standard is available free of charge at OSHA’s Website:
www.osha.gov.
Read all instructions and operating guidelines before installation.
To Installer: Before installation, read Installation Manual and Operating Guidelines. After installation,
give Installation Manual and Operating Guidelines to owner.
To Owner: After installation, retain Installation Manual and Operating Guidelines for future reference to
operating guidelines.
1.1.6. Careless activity or reckless operation of equipment can
cause death, serious injury or property damage.
1.2. GENERAL
1.2.1. It is important to follow the procedures and instructions in
this manual in order to safely and properly install a Xerxes
underground storage tank and accessories. Failure to follow
these instructions will void the tank warranty and may cause
tank failure, serious personal injury or property damage.
1.2.2. The Xerxes warranty applies only to a tank installed
according to these instructions. Since Xerxes does not control
the parameters of any installation, Xerxes’ sole responsibility in
any installation is that presented in our warranty.
1.2.3. It is the responsibility of the owner and operator to always
follow the operating guidelines set forth in Xerxes’ applicable
warranty and Section 18 of this Installation Manual. A Xerxes
warranty is found in each product brochure or is available upon
request from the UST coordinator at the Xerxes plant nearest
you. It is the responsibility of the owner to retain this Installation
Manual for future reference to operating guidelines.
1.2.4. Use the Tank Installation Checklist (included in this
manual for all single-wall tanks (SWT , double-wall tanks
(DWT , oil/water separators (OWS and multicompartment tanks
(MCT as the installation proceeds. Retain a copy of the
completed Tank Installation Checklist, and any correspondence,
certification, etc., related to the tank. Each tank requires a
separate Tank Installation Checklist. Consult your Xerxes
representative or distributor if additional Tank Installation
Checklist forms are needed.
1.2.5. The tank owner and/or installing contractor should retain a
copy of the Tank Installation Checklist to facilitate any warranty
claim.
1.2.6. Comply with all applicable regulations and standards,
such as:
• federal, state and local construction, health, safety and
environmental codes;
• National Fire Protection Association standards (for example,
NFPA 30, 30A and 31 ;
• industry standard practices (for example, PEI RP100, API
RP1615 ;
• EPA reference materials (for example, “Doing It Right” .
1.2.7. For additional information, contact your state, county and
city storage-tank authorities, including health, fire or building
departments, and environmental agencies. All work must be
performed according to standard industry practices and OSHA
regulations.