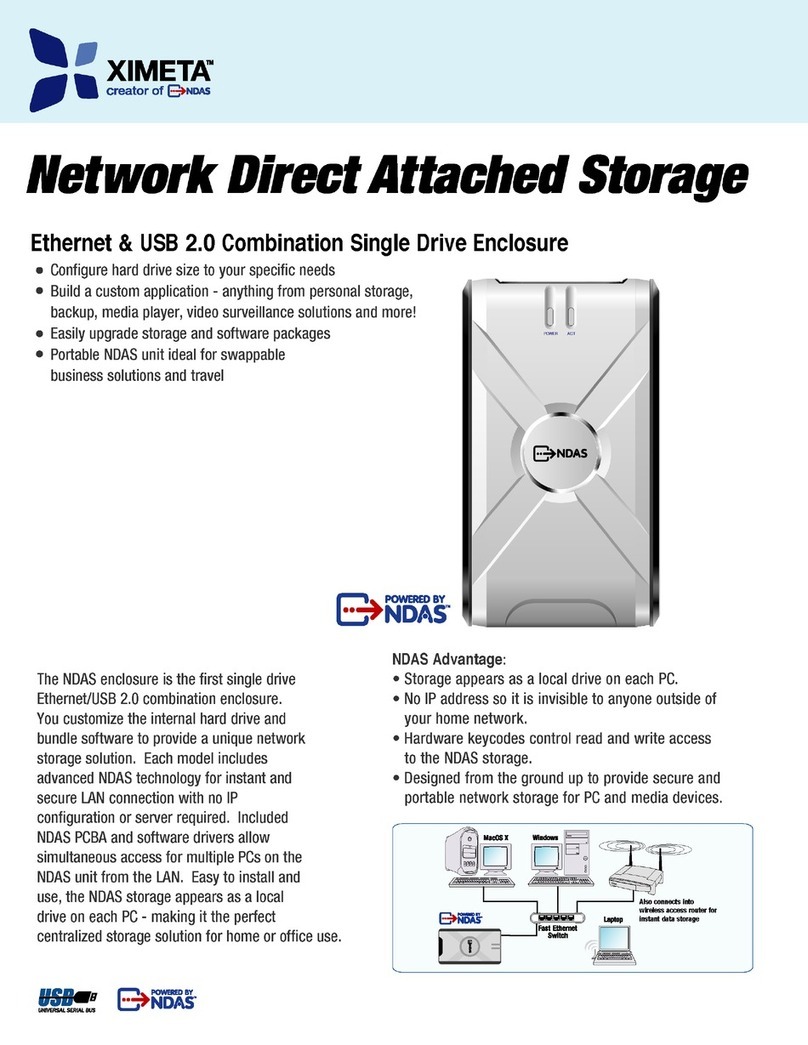
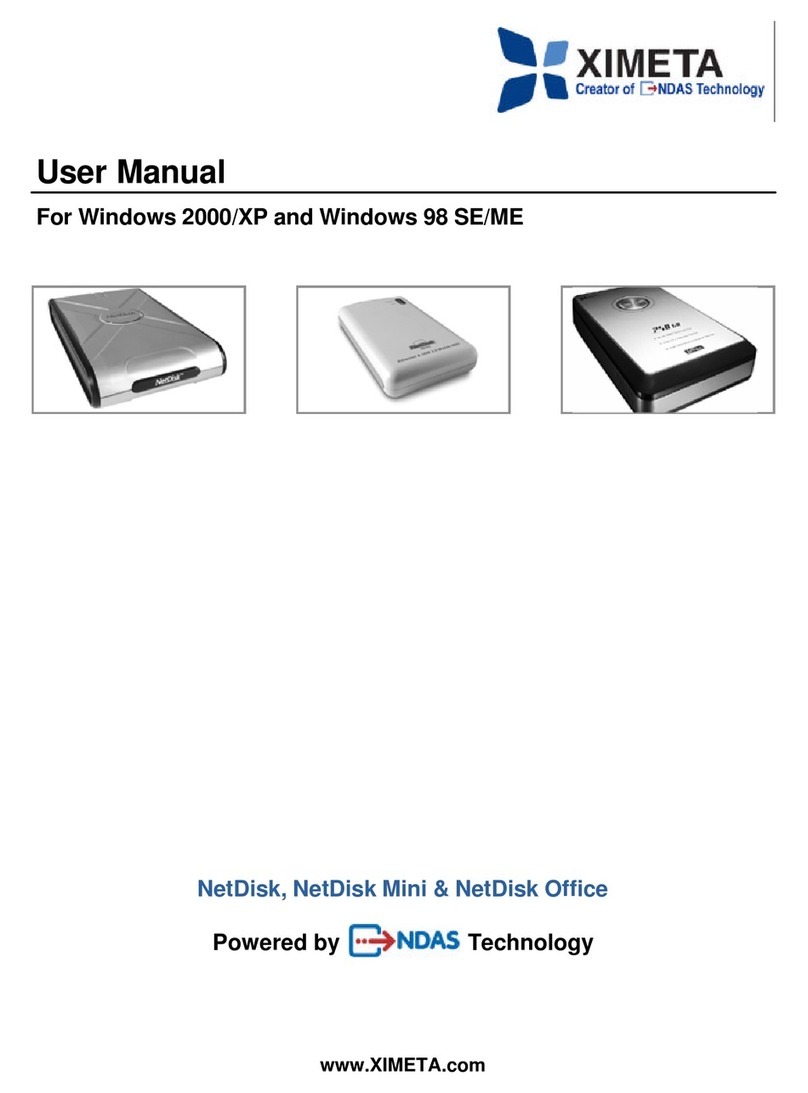
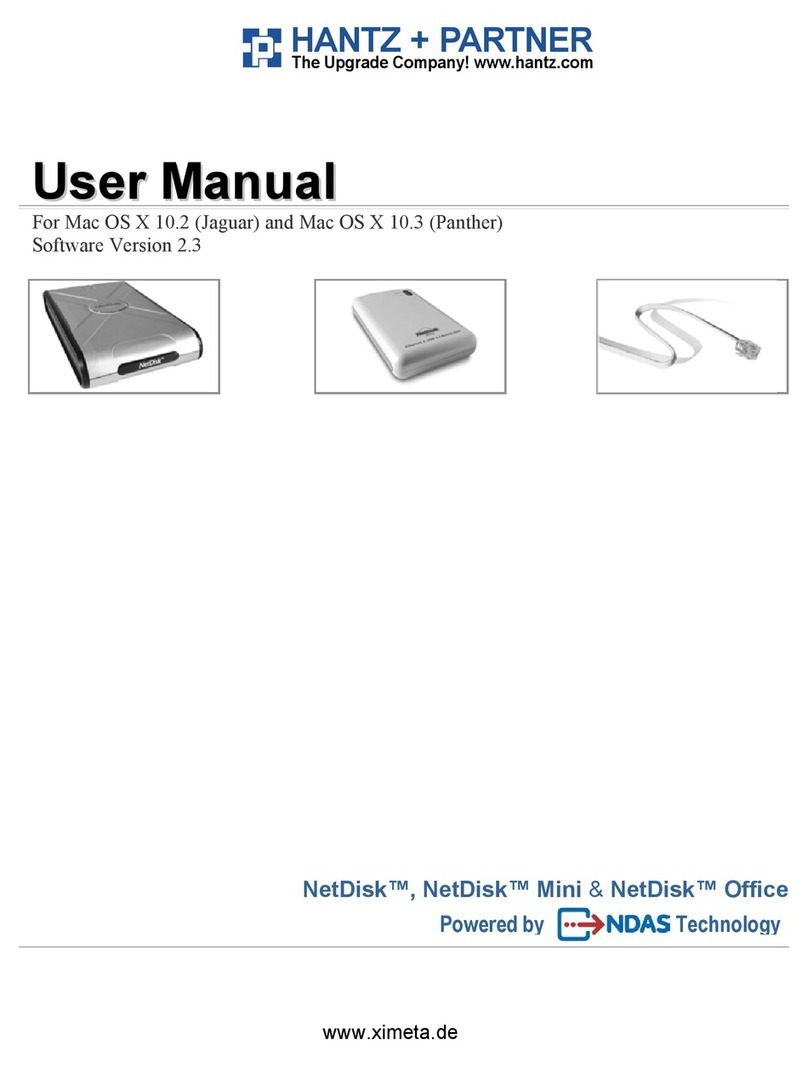
Ximeta NetDisk Mini MNC10-40 User manual

www.XIMETA.com
NetDisk User Manual
NetDisk User Manual
Mac OS X 10.3 (Panther)
Powered by Technology
NetDisk, NetDisk Mini & NetDisk Office

NetDisk®User Manual Network Direct Attached Storage / NDAS®
XIMETA, Inc 2www.XIMETA.com
XIMETA, Inc.
15251 Alton Parkway
Irvine, CA 92618
United States of America
(949) 753-7900
Software Release Statement
NetDisk User Manual for Mac OS X 10.3, Software Version 1, Released 2004, Made in the
U.S.A.
Trademark Statement
NetDisk®, NDAS® and XIMETA™ are trademarks of XIMETA, Inc., registered in the U.S.A
and other countries. All other trademarks are the property of their respective owners.
Copyright Statement
Copyright © 2003 –2004 XIMETA, Inc. All rights reserved world. Reproduction, translation,
transformation or adaptation in any manner without prior written permission of XIMETA, Inc.
is strictly prohibited.
License Statement
The software described in this document is furnished under a license agreement. The soft-
ware may be used only in accordance with the terms of the license agreement
Warranty Statement
XIMETA, Inc. reserves the right to revise this publication and to make changes to the content
hereof without the obligation of XIMETA, Inc. to notify any person of such revision or
changes. XIMETA, Inc. provides this publication “as is” without warranty of any kind, either
express or implied, including but not limited to the implied warranties of merchantability or
fitness for a particular purpose.

NetDisk®User Manual Network Direct Attached Storage / NDAS®
XIMETA, Inc 3www.XIMETA.com
Table of Contents
1Introduction ·····················································································································4
1.1 User Manual ·········································································································4
1.2 NetDisk / NetDisk Mini / NetDisk Office Models Covered By This User Manual ……… 4
1.3 Package Contents ·································································································4
1.4 System Requirements ···························································································5
1.5 NetDisk Setup Overview ·······················································································5
2Cable Installation ·············································································································6
2.1 NDAS Mode ··········································································································6
2.2 USB Mode ············································································································7
3NetDisk Software Installation ··························································································8
4Add / Register NetDisk ··································································································· 11
5Using NetDisk Admin ······································································································ 12
6Using NetDisk ················································································································· 13
6.1 Read Only and Read / Write Mode ······································································· 13
6.2 Changing Read Only or Read / Write Mode ··························································· 13
7Using NetDisk in a Mixed Environment ·········································································· 15
7.1 Mixed Environment with Mac and Windows ···························································· 15
8Uninstalling NetDisk ······································································································· 16
9 FAQ ···························································································································· 17
10 Regulatory Statements ·································································································· 18
11 Product Warranty ·········································································································· 19
12 Additional Information and Assistance ········································································· 23

NetDisk®User Manual Network Direct Attached Storage / NDAS®
XIMETA, Inc 4www.XIMETA.com
Chapter 1 Introduction
Congratulations on your purchase of NetDisk / NetDisk Mini / NetDisk Office.
-Network storage via Ethernet made possible through NDAS technology!
1.1 User Manual
This User Manual is intended to help you install the NetDisk product(s) quickly and easily onto
your Personal Computer or Ethernet Network and begin using it immediately.
1.2 NetDisk / NetDisk Mini / NetDisk Office Models Covered By This User Manual
1.3 Package Contents
The following items are included in the NetDisk / NetDisk Mini / NetDisk Office packages:
NetDisk
•NDU10-80
•NDU10-120
•NDU10-160
•NDU10-250
•NDC10-80
•NDC10-120
•NDC10-160
•NDC10-250
NetDisk Mini
•MNU10-40
•MNU10-80
•MNC10-40
•MNC10-80
NetDisk Office
•NOU10-120
•NOC10-120
NetDisk NetDisk Mini NetDisk Office
or or
Software Installation CD
Ethernet Cable
USB Cable
Power Adapter and Power Cord

NetDisk®User Manual Network Direct Attached Storage / NDAS®
XIMETA, Inc 5www.XIMETA.com
1.4 System Requirements
Mac® OS X
•Mac OS X 10.3 or greater
•128 MB RAM (256 MB recommended)
•USB 1.1 Port (USB 2.0 recommended)
•CD-ROM drive for installation
•100Base-T full duplex switch for NDAS mode (for NetDisk and NetDisk Mini Only)
1.5 NetDisk Setup Overview
NDAS Mode
In NDAS Mode, NetDisk / NetDisk Mini / NetDisk office is directly attached to a 100MBps /
Full Duplex Fast Ethernet Switch or Wireless Access Point (Wireless Access Point applies
to NetDisk and NetDisk Mini only). Each user on the network can use NetDisk / NetDisk
Mini / NetDisk Office as if it was a local disk drive.
NetDisk / NetDisk Mini NetDisk Office
USB 2.0 Mode
In USB 2.0 Mode, NetDisk / NetDisk Mini / NetDisk Office is directly attached to a com-
puter’s USB Port.
NetDisk / NetDisk Mini NetDisk Office

NetDisk®User Manual Network Direct Attached Storage / NDAS®
XIMETA, Inc 6www.XIMETA.com
Chapter 2 Cable Installation
Warning
•Do not connect USB cable and Ethernet cable at the same time.
2.1 NDAS Mode
NetDisk and NetDisk Mini
1. If your NetDisk has dip switches on the rear panel, flip both dip switches down.
2. Connect the included Ethernet cable from the Ethernet port on NetDisk to a switch
(100 Base-T).
Wireless users: Connect NetDisk to your wireless router or access point
with included Ethernet cable.
3. Make sure the power connector is firmly attached to the NetDisk and connect the
power adapter to a power source.
4. If your NetDisk has an On/Off switch, slide the On/Off Switch to ON position.
NetDisk Office
1. Connect your Local Area Network (LAN) cable to one of the eight NetDisk Office
Switch ports. This connection provides network access from your LAN or router to
the NetDisk Office.
2. Connect the included Ethernet cable from one of the Switch ports on NetDisk Of-
fice to your computer.
Wireless users: Connect NetDisk to your wireless router or access point
with included Ethernet cable.
2. Make sure the power connector is firmly attached to the NetDisk and connect the
power adapter to a power source.
4. Slide the On/Off Switch to ON position.

NetDisk®User Manual Network Direct Attached Storage / NDAS®
XIMETA, Inc 7www.XIMETA.com
2.2 USB Mode
NetDisk and NetDisk Office
1. If your NetDisk has dip switches on the rear panel, flip both dip switches up.
2. Connect the included USB cable from USB port on NetDisk to your computer’s
USB port.
3. Make sure the power connector is connected firmly to the NetDisk and connect the
power adaptor to a power source.
4. If your NetDisk has an On/Off switch, slide the On/Off Switch to ON position.
NetDisk Mini
Without external power
1. Connect the included USB cable from the USB port on NetDisk Mini to your
computer’s USB port(s). To ensure continuous power flow please connect
both connectors with your host computer.
2. Slide the On/Off switch to OFF position.
With external power
1. Connect the included USB cable from the USB port on NetDisk Mini to your
computer’s USB port(s). Only one cable is required to be connected with your
host computer when using an external power source. It does not matter which
connector you choose to connect.
2. Slide the On/Off switch to ON position.

NetDisk®User Manual Network Direct Attached Storage / NDAS®
XIMETA, Inc 8www.XIMETA.com
Chapter 3 NetDisk Software Installation
Installation of NetDisk software is simple and easy. Insert the included “NetDisk Installation
CD” into your CD-ROM Drive. Easy-to-follow instructions will guide you through the installa-
tion.
Step 1
Authenticate
♦Enter Admin Name and Password.
Then click OK.
Step 2
Welcome to the NetDisk Installer
♦Click Continue.
Step 3
Important Information
♦Click Continue.

NetDisk®User Manual Network Direct Attached Storage / NDAS®
XIMETA, Inc 9www.XIMETA.com
Step 4
Software License Agreement
♦Click Continue.
♦If you want to continue installation
please click Agree. Otherwiseclick
Disagree.
Step 5
Select a Destination
♦Click Continue.
Step 6
Easy Install
♦ClickUpgrade.

NetDisk®User Manual Network Direct Attached Storage / NDAS®
XIMETA, Inc 10 www.XIMETA.com
Step 7
Install Software
♦When software successfully finishes
install, click Close.
Step 8
Restart your computer.
NOTE: Once NetDisk software is installed, NetDisk needs to be Added / Registered to your
computer before you can start using NetDisk.

NetDisk®User Manual Network Direct Attached Storage / NDAS®
XIMETA, Inc 11 www.XIMETA.com
Chapter 4 Add / Register NetDisk
1. Double click Macintosh HD icon on the desktop.
2. Double click Applications folder.
3. Double clickNDAdmin icon.
4. NetDiskAdmin window will appear.
♦Enter NetDisk ID and Write Key.
♦ClickAdd.
♦Added NetDisk will be displayed in NetDisk
IDs window.
NOTE: To add a new NetDisk, repeat the Add / Register a NetDisk steps.

NetDisk®User Manual Network Direct Attached Storage / NDAS®
XIMETA, Inc 12 www.XIMETA.com
Chapter 5 Using NetDisk Admin
To Get NetDiskAdmin
♦Double clickMacintosh HD icon on
your desktop.
♦Double click Applications folder.
♦Double clickNetDiskAdmin icon.
♦NetDiskAdmin window will appear.
NetDiskAdmin has six functions:
♦Add -Add / Register a NetDisk to your computer.
♦Delete -Delete a NetDisk from your computer.
♦Disable -Disable Reading and Writing to NetDisk.
♦Enable RW-Enable NetDisk into Read/Write Mode.
♦Enable RO -Enable NetDisk into Read Only Mode.
♦Quit -End NetDiskAdmin.
NetDisk IDs Window
♦Displays all the NetDisk that are registered in the computer.
Configuration Window
♦Displays NetDisk status user wants to achieve for that NetDisk.
Status Window
♦Displays current status of NetDisk.

NetDisk®User Manual Network Direct Attached Storage / NDAS®
XIMETA, Inc 13 www.XIMETA.com
Chapter 6 Using NetDisk
Now that you have successfully installed NetDisk, it’s time to familiarize yourself on using the
NetDisk. NetDisk can be found on the desktop.
Here are few uses for NetDisk.
♦You can use NetDisk like any other hard drive on your system.
♦Drag and drop files into NetDisk.
♦Copy and paste data to NetDisk.
♦Make and delete folders.
♦Share files and folders.
♦Backup files to NetDisk.
6.1 Read Only and Read / Write Mode
NetDisk provides users with two basic functions; Read Only and Read / Write.
6.2 Changing Read Only or Read/Write Mode
If NetDiskAdmin window is not already opened, double click Macintosh HD icon on your
desktop, double click Applications folder and double clickNetDiskAdmin icon.
Read Only Mode
♦Any number of users or applications
can read from a NetDisk.
Read/Write Mode
♦Only one user or application can write to
a specific NetDisk at a time.
♦No other users or applications can write
to NetDisk until Read / Write Access is
transferred.

NetDisk®User Manual Network Direct Attached Storage / NDAS®
XIMETA, Inc 14 www.XIMETA.com
NOTE:
♦If no other users or applications are using Read / Write Access, both Configuration
and Status will change to Read / Write. Otherwise, the Configuration will change to
Read / Write and Status will stay as Read Only.
♦Until both the Configuration and Status display Read / Write, NetDisk is still in Read
Only Mode. Status of NetDisk will changed to Read / Write only after Read / Write
Access is transferred.
♦Once both Configuration and Status displaysRead / Write, NetDisk is in Read /
Write Mode.
Changing to Read Only Mode:
♦Select a NetDisk from NetDisk
IDs window.
♦Click Enable RO button.
♦Both Configuration and Status
will change to Read Only.
♦Now NetDisk is in Read Only
Mode.
Changing to Read / Write Mode:
♦Select a NetDisk from NetDisk IDs
window.
♦Click Enable RW button.
♦If Write Keywas not entered during
registration, a warning window will
appear.
♦Close the warning window.
♦Fill in the Write Key.
♦Click Enable RW button.

NetDisk®User Manual Network Direct Attached Storage / NDAS®
XIMETA, Inc 15 www.XIMETA.com
Chapter 7 Using NetDisk in a Mixed Environment
7.1 Mixed Environment with Mac and Windows:
•All computers and NetDisk must be on the same LAN.
•NetDisk must be connected via Ethernet or Wireless Access Point.
•To share NetDisk each computer on the network must install the corresponding
NetDisk Driver.
♦On Windows XP/2000, install NetDisk driver v2.4 (do not use 3.x.x).
♦On Windows 98 SE/ME, install NetDisk Driver 1.x.
♦On Mac OSX, install NetDisk driver 1.0.x
•NetDisk must be registered onto each computer.
•Write access is assigned to one user at a time and is passed from one user to an-
other.
NOTE: NetDisk is preformatted in NTFS. In order to use NetDisk in mixed environments,
NetDisk must be formatted in FAT32. NTFS is not a compatible file system format
with Mac and Windows 98SE, thus your computers on these OS will not recognize
NetDisk. You can use a third party format utility to choose the file format your
NetDisk is formatted in.

NetDisk®User Manual Network Direct Attached Storage / NDAS®
XIMETA, Inc 16 www.XIMETA.com
Chapter 8 Uninstall NetDisk
Insert the included “NDAS Installation CD” into your CD-ROM Drive and go to MAC\SETUP.
There you will find NetDisk Uninstaller.
Step 1 ♦Start the Uninstaller by double clicking NetDisk Uninstaller.
Step 2
Authenticate
♦Enter Admin Name and Password.
Then click OK.
Step 3
♦Click Uninstall.
Step 4
♦NetDisk has been successfully unin-
stalled. Click Quit.

NetDisk®User Manual Network Direct Attached Storage / NDAS®
XIMETA, Inc 17 www.XIMETA.com
Chapter 9 FAQ
For the most recent list of FAQs, please visit http://www.ximeta.com
1. How do I disconnect NetDisk?
To disconnect NetDisk, we always recommend using the Eject option. If you CRTL+click on
the NetDisk on your Desktop, then you will be given an option to Eject the NetDisk. After
that, you can go into NetDisk Admin and Disable your NetDisk.
If you are using USB, then Ejecting the NetDisk is all that is needed.
2. I have installed the Mac Drivers and NetDisk will not Enable.
Make sure you have the latest drivers, available at www.XIMETA.com
Please check the following:
Verify that your cables are plugged in correctly and that you have a link on the switch
where NetDisk is plugged into.
Make sure that it is formatted to a file system that your Mac can recognize.
When plugged in via NDAS (Ethernet), please try enabling Read Only mode and reboot
your Mac. It should show up on your desktop as a Hard Drive.
Try plugging it in via USB to see if it is recognized. If that works, then try reinstalling the
NetDisk software.
If it still does not mount, then try formatting the NetDisk again via USB and retry Enabling
the drive.
3. How should I format NetDisk?
It is recommended to format NetDisk to Mac OS Extended format. If you also have a Win-
dows computer as well, and would like to use it between the two, then you must format it to
FAT32 for it to be recognized on both computers. You may need a 3rd party partitioning util-
ity to format the entire drive to FAT32.

NetDisk®User Manual Network Direct Attached Storage / NDAS®
XIMETA, Inc 18 www.XIMETA.com
Chapter 10 Regulatory Statements
United States (FCC)
The computer equipment described in this manual generates and uses radio frequency (RF)
energy. If the equipment is not installed and operated in strict accordance with the manufac-
turer's instructions, interference to radio and television reception might result.
This equipment complies with Part 15 of the FCC Rules. Operation is subject to the following
conditions: (1) This device may not cause harmful interference, and (2) this device must accept
any interference received, including interference that may cause undesired operation.
Part 15, Class B, of the FCC Rules, is designed to provide reasonable protection against radio
and television interference in a residential installation. Although the equipment has been
tested and found to comply with the allowed RF emission limits, as specified in the above cited
Rules, there is no guarantee that interference will not occur in a particular installation. Interfer-
ence can be determined by turning the equipment off and on while monitoring radio or televi-
sion reception. The user may be able to eliminate any interference by implementing one or
more of the following measures:
♦Reorient the affected device and/or its receiving antenna.
♦Increase the distance between the affected device and the computer equipment.
♦Plug the computer and its peripherals into a different branch circuit from that used by the
affected device.
If necessary, consult an experienced radio/television technician for additional suggestions.

NetDisk®User Manual Network Direct Attached Storage / NDAS®
XIMETA, Inc 19 www.XIMETA.com
Chapter 11 Product Warranty
XIMETA, Inc. provides a warranty for its product only if the buyer originally purchased the product from:
XIMETA, or an authorized Reseller / Distributor.
Limited Hardware Warranty: XIMETA warrants that the hardware portion of the XIMETA products ("Hardware")
described below will be free from material defects in workmanship and materials from the date of original retail
purchase of the Hardware, for the period set forth (“Warranty Period”).
Limited Warranty for the Product(s) is defined as follows:
Hardware (NetDisk unit, excluding power supplies)
XIMETA’s sole obligation shall be to repair or replace the defective device at no charge to the original owner.
Such repair or replacement will be rendered by XIMETA at an Authorized XIMETA Service Office. The replace-
ment Hardware need not be new or of an identical make, model or part; XIMETA may in its discretion replace the
defective hardware (or any part thereof) with any reconditioned product that XIMETA reasonably determines is
substantially equivalent (or superior) in all material respects to the defective Hardware. The Warranty Period shall
extend for an additional ninety (90) days after any repaired or replaced Hardware is delivered. If a material defect
is incapable of correction, or if XIMETA determines in its sole discretion that it is not practical to repair or replace
the defective Hardware, the price paid by the original purchaser for the defective Hardware will be refunded by
XIMETA upon receipt of the defective Hardware. All Hardware (or any part thereof) that is replaced by XIMETA, or
for which the purchase price is refunded, shall become the property of XIMETA upon replacement or refund.
Limited Software Warranty: XIMETA warrants that the software portion of the product (“Software”) will substantially
conform to XIMETA's then current functional specification for the Software, as set forth in the applicable documen-
tation, from the date of original delivery of the Software for a period of ninety (90) days (“Warranty Period”), only if
the Software is properly installed on approved hardware and operated as contemplated in its documentation. XI-
META further warrants that, during the Warranty Period, the magnetic media on which XIMETA delivers the Soft-
ware will be free of physical defects. XIMETA’s sole obligation shall be to replace the non-conforming Software (or
defective media) with Software that substantially conforms to XIMETA’s functional specifications for the Software.
Except as otherwise agreed by XIMETA in writing, the replacement Software is delivered. If a material non-
conformance is incapable of correction, or if XIMETA determines in its sole discretion that it is not practical to re-
place the non-conforming Software, the price paid by the original license for the non-conforming Software will be
refunded by XIMETA; provided that the non-conforming Software (and all copies thereof) is first returned to XI-
META. The license granted respecting any Software for which a refund is given automatically terminates.
What You Must Do For Warranty Service:
Registration is conducted via a link on our Website (http://www.XIMETA.com). Each product purchased must be
individually registered for warranty service within ninety (90) days after it is purchased and/or licensed.
FAILURE TO PROPERLY TO REGISTER MAY AFFECT THE WARRANTY FOR THE PRODUCT.
Submitting a Claim:
Any claim under this limited warranty must be submitted in writing before the end of the
Warranty Period to an Authorized XIMETA Service Office.
The customer must submit as part of the claim a written description of the Hardware defect or Software nonconfor-
mance in sufficient detail to allow XIMETA to confirm the same.

NetDisk®User Manual Network Direct Attached Storage / NDAS®
XIMETA, Inc 20 www.XIMETA.com
The original product owner must obtain a Return Material Authorization (RMA) number from the Authorized XI-
META Service Office and if requested, provide written proof of purchase of the product (such as a copy of the date
purchase invoice for the product) before the warranty service is provided.
After an RMA number is issued, the defective product must be packaged securely in the original or other suitable
shipping package to ensure that it will not be damaged in transit, and the RMA number must be prominently
marked on the outside of the package.
The customer is responsible for all shipping charges to and from XIMETA (No CODs allowed). Products sent COD
will become the property of XIMETA Inc. Products should be fully insured by the customer and shipped to:
XIMETA, Inc.
15251 Alton Parkway
Irvine, CA 92618
XIMETA may reject or return any product that is not packaged and shipped in strict compliance with the foregoing
requirements, or for which an RMA number is not visible from the outside of the package. The product owner
agrees to pay XIMETA's reasonable handling and return shipping charges for any product that is not packaged and
shipped in accordance with the foregoing requirements, or that is determined by XIMETA not to be defective or
non-conforming.
What is not covered:
This limited warranty provided by XIMETA does not cover: Products that have been subject to abuse, accident,
alteration, modification, tampering, negligence, misuse, faulty installation, lack of reasonable care, repair or service
in any way that is not contemplated in the documentation for the product, or if the model or serial number has been
altered, tempered with, defaced or removed; Initial installation, installation and removal of the product for repair,
and shipping costs; Operational adjustments covered in the operating manual for the product, and normal mainte-
nance; Damage that occurs in shipment, failures due to power surge, and cosmetic damage; and Any hardware,
software, firmware or other products or services provided by anyone other than XIMETA.
Disclaimer of Other Warranties:
EXCEPT FOR THE 1-YEAR LIMITED WARRANTY SPECIFIED HEREIN, THE PRODUCT IS PROVIDED "AS-IS"
WITHOUT ANY WARRANTY OF ANY KIND INCLUDING, WITHOUT LIMITATION, ANY WARRANTY OF MER-
CHANTABILITY, FITNESS FOR A PARTICULAR PURPOSE AND NON-INFRINGEMENT. IF ANY IMPLIED
WARRANTY CANNOT BE DISCLAIMED IN ANY TERRITORY WHERE A PRODUCT IS SOLD, THE DURATION
OF SUCH IMPLIED WARRANTY SHALL BE LIMITED TO NINETY (90) DAYS. EXCEPT AS EXPRESSLY COV-
ERED UNDER THE LIMITED WARRANTY PROVIDED HEREIN, THE ENTIRE RISK AS TO THE QUALITY, SE-
LECTION AND PERFORMANCE OF THE PRODUCT IS WITH THE PURCHASER OF THE PRODUCT.
Limitation of Liability:
TO THE MAXIMUM EXTENT PERMITTED BY LAW. XIMETA IS NOT LIABLE UNDER ANY CONTRACT, NEGLI-
GENCE, STRICT LIABILITY OR OTHER LEGAL OR EQUITABLE THEORY FOR ANY LOSS OF USE OF THE
PRODUCT, INCONVENIENCE OR DAMAGES OF ANY CHARACTER, WHETHER DIRECT, SPECIAL, INCIDEN-
TAL OR CONSEQUENTIAL (INCLUDING, BUT NOT LIMITED TO, DAMAGES FOR LOSS OF GOODWILL,
WORK STOPPAGE, COMPUTER FAILURE OR MALFUNCTION, LOSS OF INFORMATION OR DATA CON-
TAINED IN, STORED ON, OR INTEGRATED WITH ANY PRODUCT RETURNED TO XIMETA FOR WARRANTY
SERVICE) RESULTING FROM THE USE OF THE PRODUCT, RELATING TO WARRANTY SERVICE, OR ARIS-
ING OUT OF ANY BREACH OF THIS LIMITED WARRANTY, EVEN IF XIMETA HAS BEEN ADVISED OF THE
POSSIBILITY OF SUCH DAMAGES. THE SOLE REMEDY FOR A BREACH OF THE FOREGOING LIMITED
WARRANTY IS REPAIR, REPLACEMENT OR REFUND OF THE DEFECTIVE OR NON-CONFORMING PROD-
UCT.
Other manuals for NetDisk Mini MNC10-40
1
This manual suits for next models
13
Table of contents
Other Ximeta Network Hardware manuals