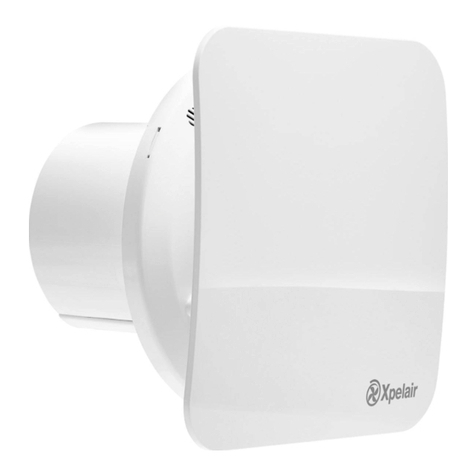
Positionofthe fan
The fan mustbe installed sothat it is morethan2.3mabove floor level.
The fan can be fixed in different orientationsto suit specific applications; intake, suspended,extract or standing.A
The fan can be mountedto a suitablystrongwallorroof member.
Positionofair outlet
Atleast 0.5m away from an open door or window,orthe inletof another ventilation device.
Installing the fan and isolating switch
1. Check that the electrical rating shown on the fan matches themains supply.
2. Isolate the mains supply.
3. Layincablefromthe double pole isolating switch to the fan location (via the speed controller if fitted).
4. Check that there are no buried pipes or cables (e.g. gas, water, electricity) behind the double pole isolating switch
location.
5. Layinthe cable from the double pole isolating switchto the electricalsupply.
6. Make the connections within thedoublepoleisolating switch C.
Warning: Do not make any connections to the electrical supply at this stage. All installations and wiring must
conform to current I.E.E regulations (UK), local or appropriate regulations (other countries).
For Australia only:
These models are permanently connected tothe mainssupply and operation iscontrolled by aremoteswitch. They should
be directlywiredto thesupply through an approved 10A wall mounted surface switchinaccordance with the wiringrules.
Children mustbe supervised to ensure that they do not playwith the appliance.
Installing the ducting
1. Install ducting to connect the fanto the air intakeandto theoutlet. Ifthe ducting is suspended, ensurethat it is
adequately supported.
2. Fitintakeandoutlet grilles as required.
3. If installing in a position where condensation islikely torunback towards the fan, installa condensation trap as near
to the fanas possible.
Mounting the fan
1. Mount the fan, ensuring that the arrowmarked on the side of the fanpoints towards thedirection of airflow.
2. Screw theplastic mounting bracket to the wall in the desiredposition. Attach themetal bracket to the XIDPto suit
thespecific orientation Ausing two of the casing screws to holdthe bracket inplace. Slidethe metal bracket intothe
plastic bracketto hold in place B1.Once the two brackets are placed together,there isa clip that holdsthe metal
bracket inplace.If theXIDP fan needs tobe removed, just pullthe clip on the underside ofthe plastic bracketand
lift the fan fromitsmountB2.
3. Alternatively,just use the metal bracketsupplied, however, ensure the fan issupported adequately.
4. Attach theductingto the lip ateitherend of thefan. If using flexible ducting, fitthe ducting over each lip and secure
it with worm driveclips.
If using rigid ducting, butt the ducting up to each end of the fan and hold it in place with solidduct fasteners.
Wiring the fan
1. Make sure the mains supply is isolated
2. Unscrew theterminalboxcoverandremove it.
3. Slide themainscable through the cordgrip a shortdistance, but enough to make the terminations.
4. Connectthe wires to theterminalblocks as shown in Censuring theblocksare positionedover the locatingpins D1.
5. Tightenthe screw in the cordgripto secure the cable.
6. If installing the fan with acontroller, refer to thewiring instructionssupplied with thecontroller.
7. Place thecapacitoroverthe topofthe terminal blocks D2.
8. Replace the terminal box cover and fastenthe retaining screws, ensuringthe coveris completelysealed over the
terminal box,enclosing all thewires, but not trappingany.
9. Reconnect the electrical supply.
Operating the fan
To turn the fan on or off,use the double pole isolatingswitch. If the fan is installed with a speed controller,refer to the
instructions supplied withthe controller.
Looking after the fan
Xpelair offer full maintenanceandservicefacilities to cover allrequirements. Please contactTechnicalServices.
A
B1 B2
Model øA
mm øB
mm C
mm D
mm Weight
Kg

