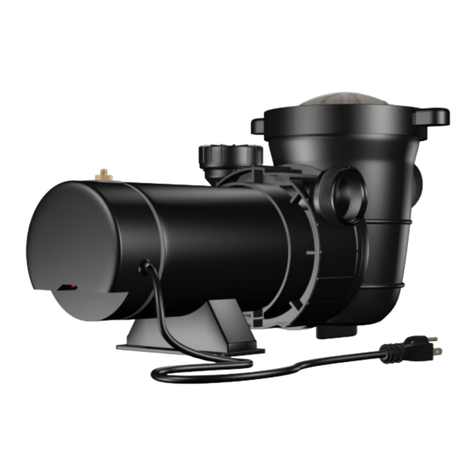
Xtreme Power 75165 User manual

WATER REMOVAL POOL COVER PUMP
SAVE THIS MANUAL: KEEP THIS MANUAL FOR SAFETY WARNINGS, PRECAUTIONS, ASSEMBLY,
OPERATING, INSPECTION, MAINTENANCE AND CLEANING PROCEDURES. WRITE THE PRODUCT’S
SERIAL NUMBER ON THE BACK OF THE MANUAL NEAR THE ASSEMBLY DIAGRAM (OR MONTH
AND YEAR OF PURCHASE IF PRODUCT HAS NO NUMBER)
OWNER’S MANUAL AND SAFETY INSTRUCTIONS
ITEM: 75165
FOR QUESTIONS PLEASE CALL OUR CUSTOMER SUPPORT: 909.628.0880 MON-FRI 9AM TO 3PM PST

IMPORTANT SAFETY INFORMATION
1
GENERAL SAFETY WARNINGS
The warnings, precautions, and instructions discussed in this instruction manual cannot cover all possible
conditions and situations that may occur. It must be understood by the operator that common sense and
caution are factors which cannot be built into this product, but must be supplied by the operator. Read
carefully and understand all ASSEMBLY AND OPERATION INSTRUCTIONS before operating. Failure to
follow the safety rules and other basic safety precautions may result in serious personal injury.
DO NOT use if unit is damaged in any way.
WARNING: To reduce the risk of injury, children are not allowed to use this product unless they are under
close supervision at all times
WARNING: There is a risk of electric shock. Connect only to grounded sockets protected by ground fault
circuit breakers (GFCI). If you are unable to verify that the
WARNING: To reduce the risk of electric shock, please replace the damaged power cord immediately.
WARNING: To reduce the risk of electric shock, do not use an extension cord to connect the pump to
the power supply. Do not use this pump to deliver chemicals or corrosive liquids which may damage the
integrity of the housing and cause an electrical short circuit. This pump is used only with water. Do not use
this pump to deliver gasoline or other low-ignition liquids, which may cause explosion or re.
WARNING: Do not allow this pump to idle. Running this pump without water may damage the integrity of
the housing and cause an electrical short circuit
WARNING: The pump and surrounding area may be covered with water. When standing on a wet surface,
do not plug or unplug the equipment. If necessary, please disconnect the circuit breaker panel or have a
certied electrician disconnect it before attempting to repair it, which can cause severe or fatal shocks if
proper procedures are not followed.
WARNING: When freezing conditions cause water to freeze, remove the pump. Chilled water can cause
pump and switch housings to break and cause electrical short circuits.
SAVE THESE WARNINGS

INSTALLATION
2
During the rainy season, check every day to make sure that the pump is working normally. During high
winds make sure the power cord is not pulled over the cover, and that the pump is still upright, as well as the
discharge hose is in the appropriate position. If you are away from home for an extended period of time, ask
someone to check the pump on a regular basis to make sure everything work properly. When the pump is
upright the water around the oat rises and the oat mechanism is activated. when the water level is about
2 “- 3” deep, the switch starts the pump. Keep the pump running until the water level is about 0.50”-1.50”
deep. NOTE: If the temperature is close to the freezing point it may lead to the opening height up to 4” and
the closing height up to 2”. Before servicing the pump, disconnect it from the electrical equipment, unplug the
power cord, or close the disconnect box. Pump motor housing is completely sealed, no need for maintenance.
The motor is of continuous operation type, equipped with automatic thermal overload protection device.
Routing maintenance
Keep the pump clean and in good condition at all times. If the oat is stuck, remove the oat access cover
at the bottom of the pump. As shown on the cover, turn in the direction of the open arrow and remove the
cover. Clean as needed, then reinstall the access cover. The pump has an internal vent to prevent air lock.
According to gure 1 and the following steps, the vents will become clogged and need to be cleaned
regularly.
1. Disconnect pump power from electrical equipment.
2. Loosen and remove the screws from the blue cover.
3. Remove the outer cover
4. Clean the vent
5. Reinstall the cover and screws.
6. Reconnect the pump to the electrical equipment.
1. Be certain electrical outlet to be used meets the requirements of the National Electrical code, as well
as local electrical codes, including grounding, and GFCI protection. Also verify that outlet is properly
sized and located for this pump. Your installation may require a certied electrician, or plumber. See
ELECTRICAL section.
2. Connect a garden hose to the hose adaptor, or use a 1” nipple and exible PVC tubing secured to the
pump discharge. NOTE: If exible 1” PVC tubing is used, secure the free end so that it cannot blow back
onto the pool cover in high wind.
3. Gently lower the pump onto the pool cover by holding onto the garden hose. Do not pull the
power cord plug onto the pool cover. Use rope and a garden hose to position pump onto the pool cover.
Two people should position the pump, with the rst person holding the electrical cord plug and the second
person positioning the pump at the desired location on the pool cover.
5. Once the pump is in position and proper electrical connections have been made, it is ready for testing.
WARNING: Always disconnect the electrical power before touching the pump, discharge, or electrical
plug when water is present in the area. Failure to do so can result in serious bodily injury and/or
property damage. Always connect the pump to a grounded receptacle. See SAFETY GUIDELINES.

3
INSTALLATION
TECHNICAL SPECIFICATIONS

4
OF NOTE
THE MANUFACTURER AND/OR DISTRIBUTOR HAS PROVIDED THE PARTS LIST AND ASSEMBLY
DIAGRAM IN THIS MANUAL AS A REFERENCE TOOL ONLY. NEITHER THE MANUFACTURER OR
DISTRIBUTOR MAKES ANY REPRESENTATION OR WARRANTY OF ANY KIND TO THE BUYER THAT
HE OR SHE IS QUALIFIED TO MAKE ANY REPAIRS TO THE PRODUCT, OR THAT HE OR SHE IS
QUALIFIED TO REPLACE ANY PARTS OF THE PRODUCT. IN FACT, THE MANUFACTURER AND/OR
DISTRIBUTOR EXPRESSLY STATES THAT ALL REPAIRS AND PARTS REPLACEMENTS SHOULD BE
UNDERTAKEN BY CERTIFIED AND LICENSED TECHNICIANS, AND NOT BY THE BUYER. THE BUYER
ASSUMES ALL RISK AND LIABILITY ARISING OUT OF HIS OR HER REPAIRS TO THE ORIGINAL
PRODUCT OR REPLACEMENT PARTS THERETO, OR ARISING OUT OF HIS OR HER INSTALLATION
OF REPLACEMENT PARTS THERETO.
Record Product’s Serial Number Here:
Note: If product has no serial number, record month and year of purchase instead.
Note: Some parts are listed and shown for illustration purposes only and are not available individually
as replacement parts.
PLEASE READ THE FOLLOWING CAREFULLY
PRODUCT MADE IN CHINA
Table of contents
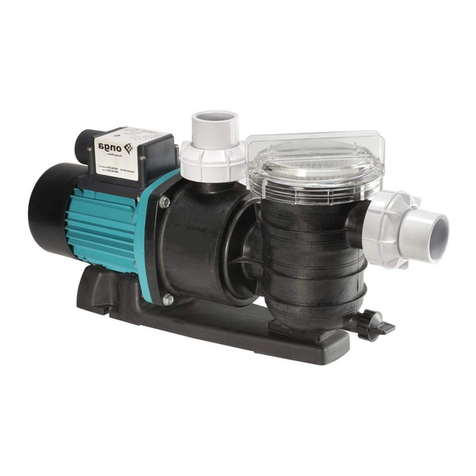
Other Xtreme Power Swimming Pool Pump manuals
Popular Swimming Pool Pump manuals by other brands
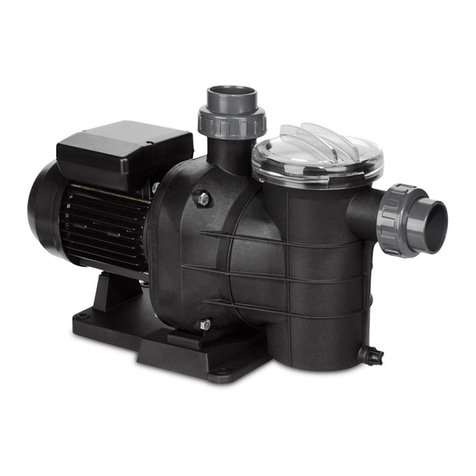
IML
IML AMERICA SA Series Installation and maintenance manual

Davey
Davey WHISPER Series Installation and operating instructions
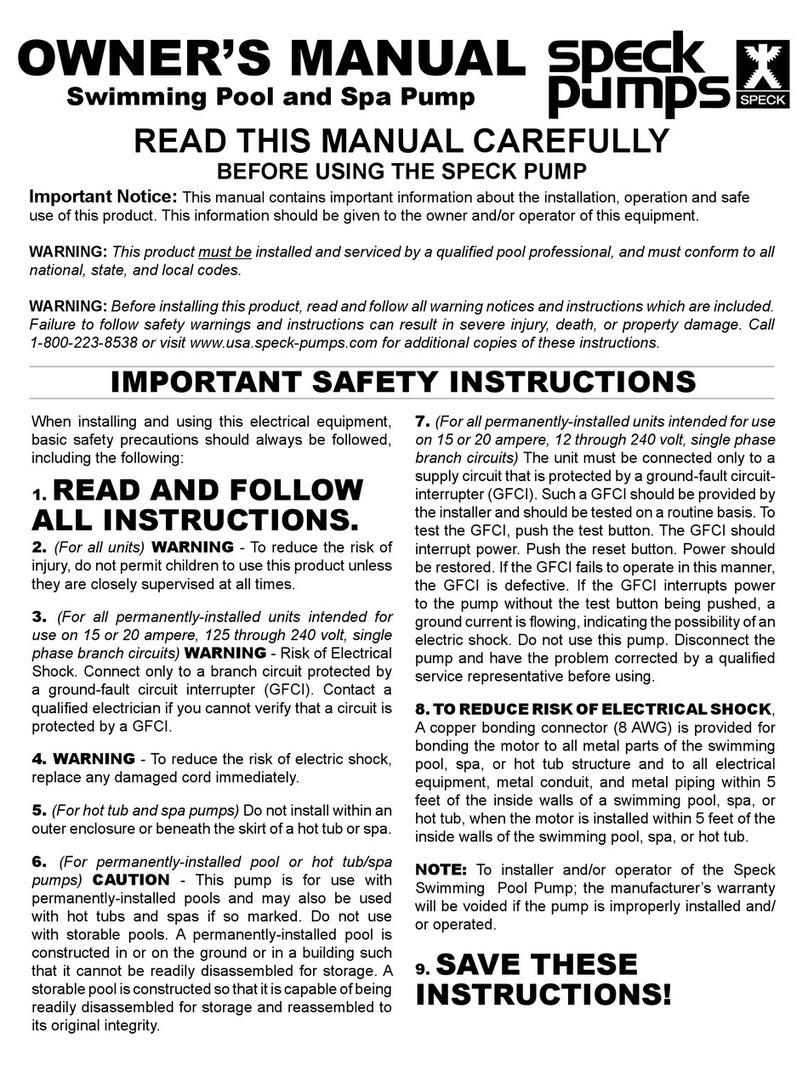
Speck
Speck Swimming pool and SPA Pump owner's manual
Intex
Intex DP30110 owner's manual
Astral Pool
Astral Pool VICTORIA DUAL SPEED manual
HeatPumps4Pools
HeatPumps4Pools LCSPC-40 Installation and Maintenance
