manuals.online logo
Brands
  1. Home
  2. •
  3. Brands
  4. •
  5. Yard force
  6. •
  7. Trimmer
  8. •
  9. Yard force 60vRX User manual

Yard force 60vRX User manual

13
To Increase Line Length
1. The line trimmer comes with a full line pool.
2. The line will wear in use and you will need to
feed out new line .
3. The cutting bump head allows the operator to
release more line without stopping the motor.
As line becomes frayed or worn, additional
line can be released by tapping the bump
knob on the ground while operating the
line trimmer.
NOTE: For a good cutting performance. Cut high
grass in stages. Starting from the tip.
Special notice for line trimmer use
1. For best results, do not cut wet grass
because it tends to stick to the cutting head
and guard, prevents proper discharge of
grass trimmings, and could cause you to slip
and fall.
2. Pay special attention when performing the
work close to trees and bushes. The cutting
head could damage sensitive bark, and
damage fence posts.
Removing/replacing the cutting bump head
WARNING: Before performing any
assembly, always ensure that the battery pack
has been removed.
If the nylon cutting line is broken and the nylon
spool needs replacing.
WARNING: wearing working gloves when
doing any replacements.
Note! Alway use Yard Force branded service
replacement parts - to prevent voiding your
warranty.
1. Line up the safety spacer hole up with the
hole on the side of guard. (See Fig. 9)
2. Place a small screw driver or metal rod in the
spacer hole. (See Fig. 10)
3. Rotate the head clockwise to loosen and
remove.
4. Reverse steps 1 - 3 to reinstall the same
cutting bump head.
5. Make sure that the cutting head is securely
located.
Removing /replacing trimmer line
1. Press two release tabs simultaneously on the
cutting bump head and pull the spool cover
out. (See Fig.11)
2. Remove the spool from the spool retainer,
keep the spring in position. (See Fig.12).
Clean any remaining line, dirt and debris,
replace the spool if damaged.
3. Take approximately 16 ft. of 0.095” diameter
line and insert the midpoint into the slot
bottom in the central rim of the spool. (See
Fig.13 &14)
4. Wrap the line evenly and rmly around
the spool as per the arrowhead direction
(clockwise when tap button towards you) on
both grooves.
5. Position the lines in the guide slots with 3~5
inch line left.
6. Insert the ends of the lines through the line
exit holes in the side of spool container.
7. Place the spool back into the spool container,
make sure the spring is in position.
8. Reinstall the spool cover back and push it
until cover snaps into place.
STORING AND MAINTENANCE
WARNING !
Before performing any repair work, always
remove the battery pack and wait until the cutting
line has come to a standstill!
1. Do not spray the line trimmer with water.
Ingress of water may destroy the battery
pack and the electric motor.
2. Clean the unit with a cloth, hand brush, etc.
3. Keep all nuts, bolts and screws tight to
be sure the equipment is in safe working
condition;
4. Replace worn or damaged parts for safety.
Storage:
Clean the exterior of the machine thoroughly
using as of brush and cloth, Do not use water,
solvents or polishes.
Store the machine in a dry place. Do not place
other objects on top of the machine.
Transport
Use the original packaging to ship whenever
possible.
14
TROUBLE SHOOTING
WARNING !
Before performing any repair work, always ensure that the battery pack/safety key has been removed
and wait until the cutting head has stopped completely and the tool has cooled down.
WARNING !
Always wear heavy duty gloves when adjusting or cleaning, especially when handling sharp objects.
Fault/malfunction Cause Remedy
Product does not start Battery discharged? Remove and recharge the battery.
The battery is not correctly located. Remove the battery and re-install into
the product, check that it is securely
locked in place.
Device defective? Contact service partner.
Safety lock not depressed prior to
starting.
Restart machine by rstly depressing
the lock button and then depressing the
switch trigger.
Motor overload protection activated. Wait 10 mins and then restart the ma-
chine.
The tool is vibrating The guard is not tted -resulting in
too much line be extended.
Remove the battery pack and t the
guard.
Bigger diameter cutting line being
used.
Use correct cutting line dia --0.095"
(0.080" Compatible).
The cutting head is bound up with
grass.
Remove the battery pack and clean
grass from the cutting head.
The trimmer will not ad-
vance line
The spool is empty or there is NOT
enough line on the spool.
STOP the trimmer – remove the battery
pack and reload the spool with correct
size /length of line.
The line on the cutting head spool is
twisted /tangled on the spool.
STOP the trimmer -remove the battery
pack and check the spool line.
Trimmer head is dirty. STOP the trimmer -remove the battery
pack and clean the cutting head.
Grass wrapped around
cutting head
Cutting too tall grass in one pass. Recommend to cut smaller amounts of
grass height -starting from the top and
working downwards.
Line is not cutting Trimmer guard blade is worn. Sharpen blade OR replace with New
blade.
16
and cause a re or explosion.
4. Always unplug the charger when not in use
and store in a dry and secure place.
5. Avoid charging or storing your battery in
temperatures below 41°F(5°C) and above
113°F(45°C).
6. After use, allow the battery to pack to cool
down for approximately 30 minutes before
attempting to recharge.
MAINTENANCE AND STORAGE
WARNING !
Before performing any maintenance or cleaning
work, always ensure that the battery pack/safety
key has been removed and wait until the blade
has stopped completely and the tool has cooled
down.
Cleaning
Cleaning the product
– Use a soft brush to remove any accumulated
dust and debris. Wear safety glasses to
protect your eyes whilst cleaning.
– Wipe down the product enclosure with a
slightly damp cloth. Do not spray the unit
with water. Ingress of water may destroy the
switch unit and the electric motor.
Maintenance
NOTE: Always wear gardening gloves when
handling or working near the sharp blades.
1) Keep all nuts, bolts and screws tight to be
sure that the machine is in safe working
condition.
2) Check the grass bag frequently for wear or
deterioration.
3) Examine the machine and replace worn or
damaged parts for safety.
Removing/Installing the blade (See Fig. 22 &
Fig. 23)
1. Using a wrench of correct size locate on the
blade bolt nut.
2. Wearing heavy gloves hold the blade xed
and turn the wrench anti-clockwise and
remove the bolt.
3. Fitting the replacement blade correctly with
marking facing up and align pegs correctly
then t the bolt and retighten the bolt securely
to torque 15- 23 ft. lb.
WARNING !
Replace or re-sharpen the mowing blade at
the end of the mowing season. Always have
the mowing blade re-sharpened or replaced
by a customer service center (measurement
of imbalance).
Unbalanced blades will cause the lawn
mower to vibrate violently-risk of accident!
Battery Maintenance:
Use the following procedures to enable optimum
usage of the battery:
1. Protect the battery against moisture and
water.
2. Store the battery only with in a temperature
range from 31 ˚F to 113 ˚F. As an example,
do not leave the battery in the lawn mower in
direct sunlight.
3. Clean the battery occasionally with a soft,
clean and dry brush.
4. If you do not use the product for a long time,
please charge and discharge the battery pack
once every 6 months.
Storage and transport
After cleaning the unit thoroughly, store it in a dry
room and allow the motor to cool down.
1. Release the Handle Quick release levers,
and fold the handles down.
2. Position the lower handle lock pin into the
mower bracket. Lock the handles in place by
closing the quick release handle.
3. The machine only can be stored at.
NOTE:
Remove the safety key and battery packs. Ensure
cables are not trapped when folding/unfolding the
handle.
Transport
Use the original packaging to ship whenever
possible.
17
TROUBLE SHOOTING
WARNING !
Before performing any repair work, always ensure that the battery pack/safety key has been removed
and wait until the blade has stopped completely and the tool has cooled down .
WARNING !
Always wear heavy duty gloves when adjusting or cleaning ,especially when handling sharp objects.
Fault/malfunction Cause Remedy
Mower fails to start Safety key is not inserted Insert safety key
Battery is not correctly inserted Remove the battery and reinsert
Mower standing in high grass Start motor on shorter grass or already
mowed area ;change cutting height if
necessary
The mower housing is clogged Clean housing so that the blade can
move freely
Battery has no power check and recharge battery
Mower stops working /
loses power
Cutting height is improper Adjust the cutting height
Discharge chute/ housing is blocked Clean the discharge chute/ housing
Cutting blade is worn or damaged Replace with New blade from dealer
service centre
Battery performance decreasing
Mower Overloaded -Red light
displayed switch box
Check the battery performance and
charge it if necessary
Wait until reset occurs – Green light
displayed on switchbox
Grass bag is not lled
su󰀩ciently
Cutting height is too Low Adjust and increase cutting height
The lawn / grass is wet Allow the lawn to dry
Discharge chute/ housing is blocked Clean the discharge chute/ housing
Underside of the mower deck is
clogged.
Clean the underside of the mower deck
Cutting blade is worn or damaged. Replace it by the customer service
center
Mower vibrating at high-
er speed
Cutting blade is unbalanced Balance the blade by grinding each
cutting edge equality
Blade is Loosened /incorrectly tted Tighten the blade bolt
Mower does not mulch
properly
Cutting height set to low
Deck has wet grass on underside of
deck
Adjust cutting height
Clean underside of deck and wait until
grass is dry
Mower cuts unevenly The blade is damaged
Blade is assembled incorrectly
Sharpen the blade or replace
Re-assemble blade correctly

Other Yard force Trimmer manuals

Yard force LH C45W User manual

Yard force

Yard force LH C45W User manual

Yard force HT04 User manual

Yard force

Yard force HT04 User manual

Yard force LT C25B User manual

Yard force

Yard force LT C25B User manual

Yard force LH G40 Operation instructions

Yard force

Yard force LH G40 Operation instructions

Yard force LH C50 User manual

Yard force

Yard force LH C50 User manual

Yard force LH C45 User manual

Yard force

Yard force LH C45 User manual

Yard force iFlex LH F35 User manual

Yard force

Yard force iFlex LH F35 User manual

Yard force LH C41A User manual

Yard force

Yard force LH C41A User manual

Yard force YF22-HWT User manual

Yard force

Yard force YF22-HWT User manual

Yard force YF60VRX18-LT User manual

Yard force

Yard force YF60VRX18-LT User manual

Yard force Y4GT A40 D001 User manual

Yard force

Yard force Y4GT A40 D001 User manual

Yard force Y0E-SP02-3340 User manual

Yard force

Yard force Y0E-SP02-3340 User manual

Yard force Y0LTX18TB00 User manual

Yard force

Yard force Y0LTX18TB00 User manual

Yard force iFlex LT F23 User manual

Yard force

Yard force iFlex LT F23 User manual

Yard force LT G33A User manual

Yard force

Yard force LT G33A User manual

Yard force GDHT3620B Operation instructions

Yard force

Yard force GDHT3620B Operation instructions

Yard force LH G51A User manual

Yard force

Yard force LH G51A User manual

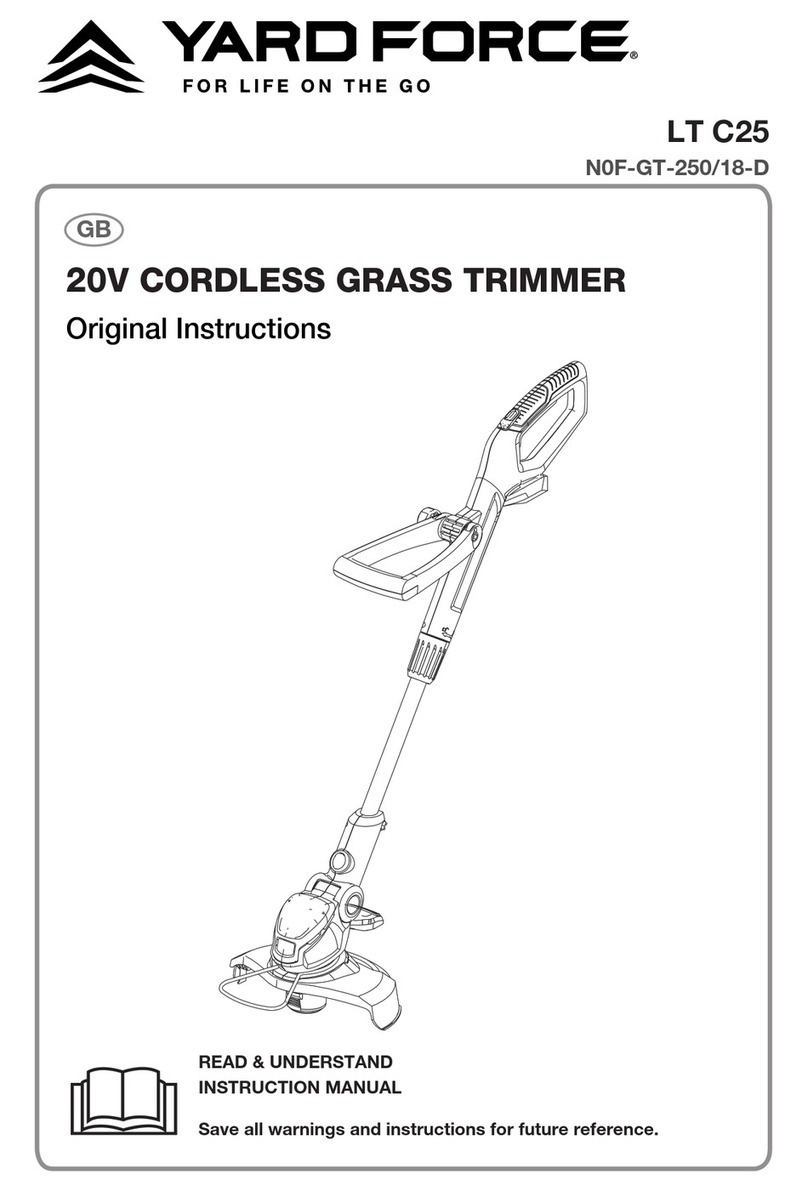
Yard force N0F-GT-250/18-D User manual

Yard force

Yard force N0F-GT-250/18-D User manual

Yard force LH G60 User manual

Yard force

Yard force LH G60 User manual

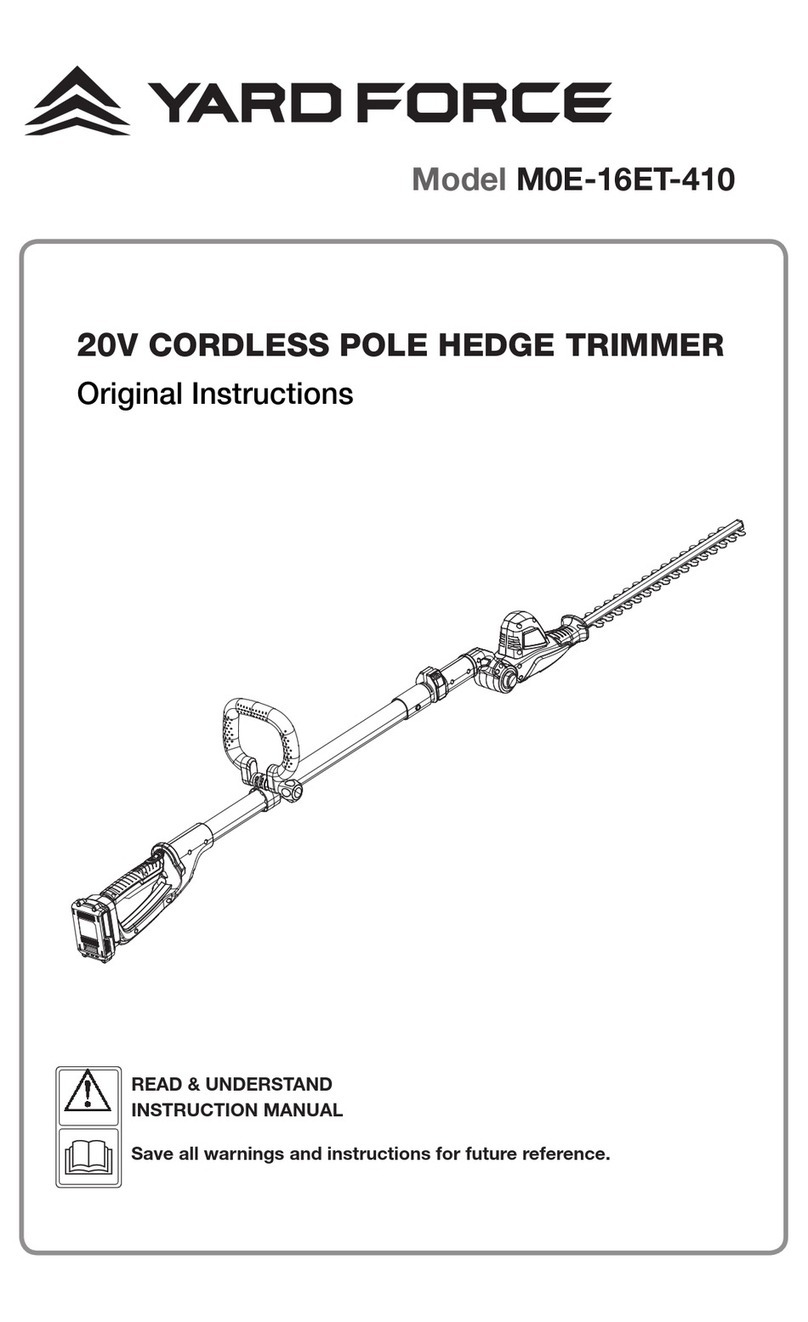
Yard force M0E-16ET-410 User manual

Yard force

Yard force M0E-16ET-410 User manual

Yard force LT C25W User manual

Yard force

Yard force LT C25W User manual

Yard force LT G33 User manual

Yard force

Yard force LT G33 User manual

Yard force LT C25 User manual

Yard force

Yard force LT C25 User manual

Yard force LH G60W User manual

Yard force

Yard force LH G60W User manual

Popular Trimmer manuals by other brands

Challenge N1F-GT-220/250-C Original manual

Challenge

Challenge N1F-GT-220/250-C Original manual

Makita UH4570 instruction manual

Makita

Makita UH4570 instruction manual

Partner B 321/34cc instruction manual

Partner

Partner B 321/34cc instruction manual

Webb WEELT450 Operator's manual

Webb

Webb WEELT450 Operator's manual

Spear & Jackson GT350 instruction manual

Spear & Jackson

Spear & Jackson GT350 instruction manual

Twose TE480 Operator's manual

Twose

Twose TE480 Operator's manual

Yaros RT 2122 A operating instructions

Yaros

Yaros RT 2122 A operating instructions

Makita DUN501W instruction manual

Makita

Makita DUN501W instruction manual

Tanaka TCH 22EPAP Handling instructions

Tanaka

Tanaka TCH 22EPAP Handling instructions

GreenWorks 21362 owner's manual

GreenWorks

GreenWorks 21362 owner's manual

Husqvarna 26HS75 Operator's manual

Husqvarna

Husqvarna 26HS75 Operator's manual

Troy-Bilt AST TB75SS Operator's manual

Troy-Bilt

Troy-Bilt AST TB75SS Operator's manual

Homelite HLT26CD user manual

Homelite

Homelite HLT26CD user manual

EGO HTA2000 Operator's manual

EGO

EGO HTA2000 Operator's manual

Poulan Pro PPB350 instruction manual

Poulan Pro

Poulan Pro PPB350 instruction manual

Makita DUR368LZ instruction manual

Makita

Makita DUR368LZ instruction manual

Black & Decker LST400 instruction manual

Black & Decker

Black & Decker LST400 instruction manual

DeWalt XGST227CS Operator's manual

DeWalt

DeWalt XGST227CS Operator's manual

manuals.online logo
manuals.online logoBrands
  • About & Mission
  • Contact us
  • Privacy Policy
  • Terms and Conditions

Copyright 2025 Manuals.Online. All Rights Reserved.