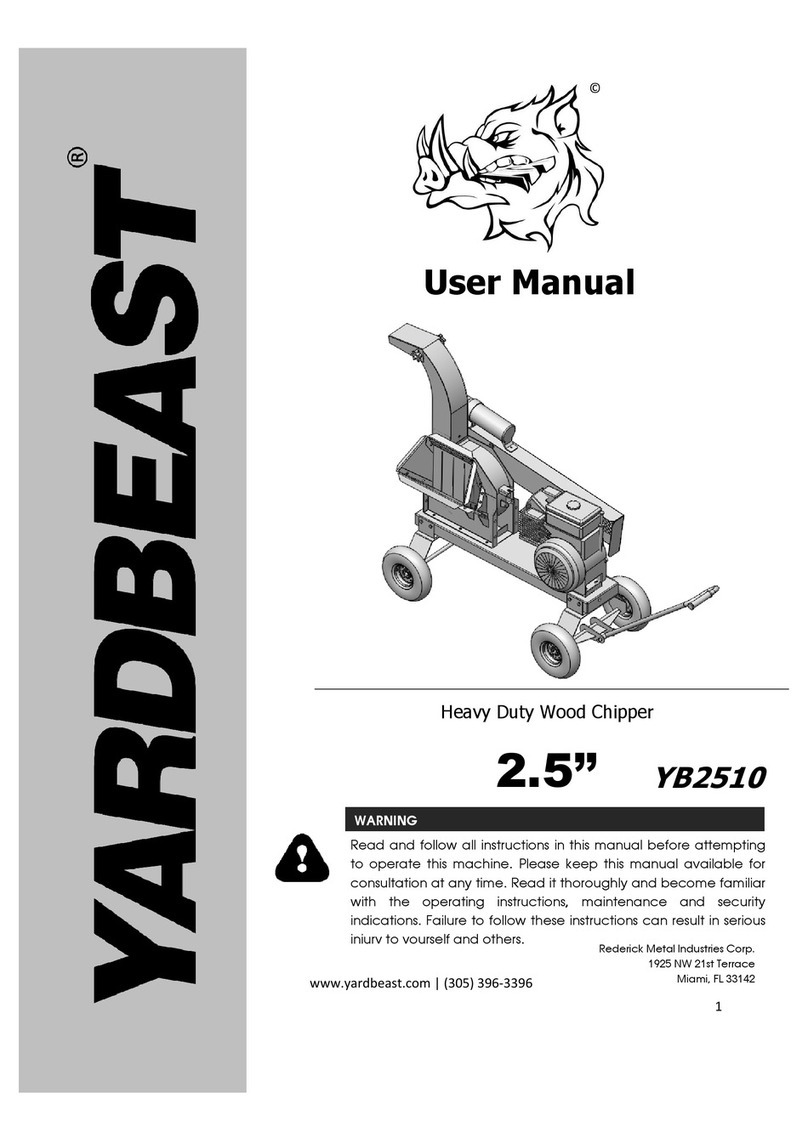
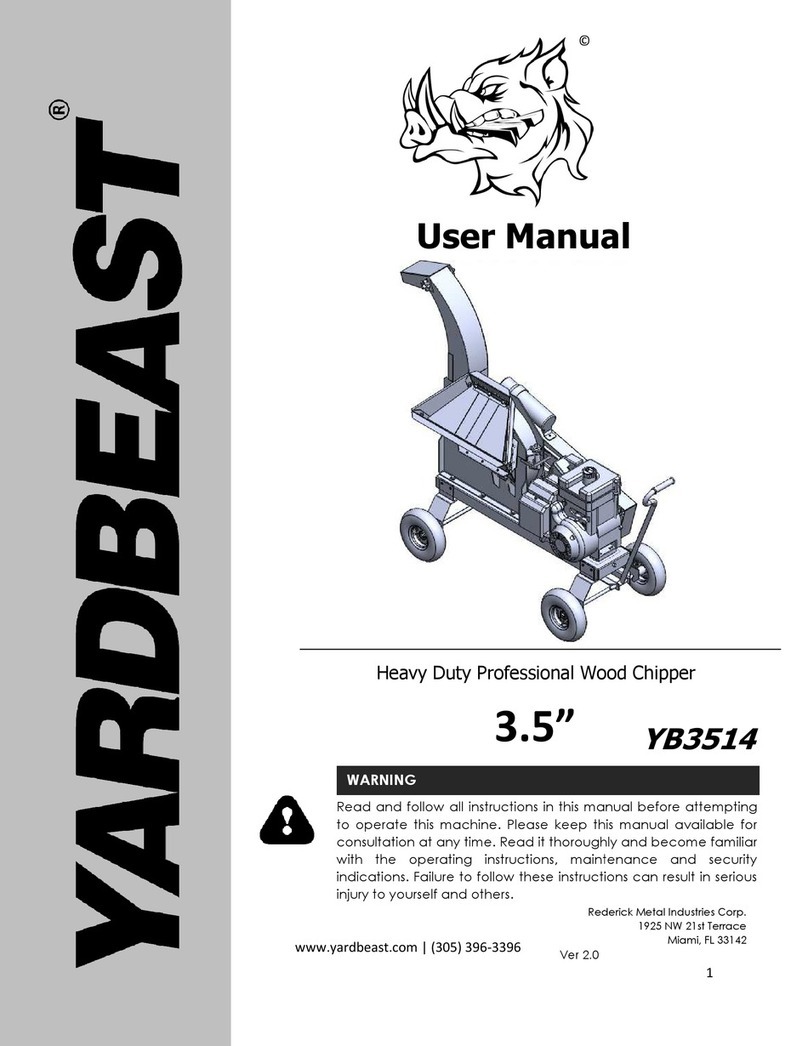
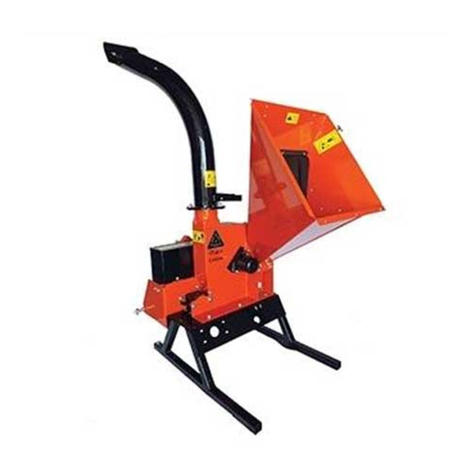
Yardbeast 3514 User manual

YARDBEAST CHIPPERS
3514
3.5” Heavy-Duty Wood Chipper
USER MANUAL
WARNING
Read and follow all instructions in this manual before operating the chipper. Please
keep this manual stowed inside the manual tube guard for quick access to
information. Read it thoroughly and make sure to understand the operating,
maintenance and security indications. Failure to follow these indications can result in
serious injury to yourself and others.
www.yardbeast.com | 305.396.3396 | 1925 NW 21st Terrace. Miami, FL 33142 |
1

FIRST AND FOREMOST..
THANK YOU!
We thank you so much for having purchased a wood chipper from Yardbeast. We are
continuously striving to design and craft high performance chippers that stand out from the rest;
to exceed the requirements put forth by customers like you. You can tell the difference of our
chipper by their weight and rigidity of its components. We’d like to think that is how a chipper
should be made.
We want you to have a great chipping experience from the start so please read carefully and
follow all the instructions in this manual before operating this wood chipper. This manual tells
you how to assemble, set up, operate and maintain this machine easily and safely. Make sure to
follow all recommended safety measures, and instruct any other person operating this chipper.
Failure to comply, could result in serious personal injury to the operators and others. All the
information contained in this manual refers to the latest product information available at the time
of printing. It is recommended that you review the manual frequently to familiarize yourself with
the unit, operation and its features.
We are developing and improving our equipment continuously through our continuous
improvement program (more than just a program, it's our philosophy
). This cycle starts with your
feedback, so if you have a problem, doubt, or find any information in this manual does not
match what is on your wood chipper, don't hesitate to contact us.
Your wood chipper is equipped with an engine; the engine manufacturer is responsible for all
matters related to the performance, power output, specifications, warranty and maintenance
information for it. Nonetheless, for any engine related questions we will be more than glad to
help you out, just ask. For more information read the Owner’s Manual/ Operator delivered by the
engine manufacturer. This is shipped in a separate package, together with this unit.
Are you on social media? please follow us through our different handles!
| @yardbeast
| @yardbeastOPE
| Yardbeast Chippers
2

Index
Important Safety Measures............4
Symbol Identification......................4
Facts about your Chipper................7
Train Yourself...................................8
Preparations Before Chipping.........9
Safe Handling of Fuel.......................9
Maintenance and Storage..............10
Assembly Instructions Chipper..........12
Assembly Instructions Trash Arm......17
Setting Up your Wood Chipper............18
Wood Chipper Good Practices............22
Chipper Operation...............................23
Maintenance........................................24
Servicing your Beast...........................27
Product Registration
Before you assemble and use your new wood chipper shredder, please locate the
information plate on the unit and record the information in the boxes located at the
bottom of this page. The plate is located in the lower left part of the machine on the
feed hopper side. If you have to request technical support via our website, phone
customer support, or a dealer/servicing dealer, you will need this information.
MODEL NUMBER _ _ _ _ SERIAL NUMBER _ _ _ _
Customer Support
In case you have issues assembling equipment or have any questions
its controls, operation or maintenance of the same, you can request assistance from
You can choose the options that are presented below:
Mail: 1925 NW 21 ST TERRACE, Miami, FL 33142
Phones (305)-396-3396
Web: www.yardbeast.com
Email: [email protected]
3

Important Safety Measures
This machine is designed to be used in compliance with safety regulations contained in
this manual. As with any type of motorized equipment, an error or negligence on the
part of the operator can cause serious injury.
This machine is capable of amputating fingers and hands; it also expels foreign objects
with great velocity that can cause damage to a person by facial and exposure.
In case of any emergency, attempt to shut off the engine and seek immediate help.
The presence of this symbol indicates that these are important safety
instructions that must be followed in order to avoid putting at risk your
personal safety and others. Read and follow all the instructions in this
manual before using this chipper.
When you see this symbol
Keep Warnings in MIND.
Symbol Identification
It is important that you understand all the safety symbols displayed on the machine.
These denote specific understanding of the different safety requirements you must
4

comply with as well as specific safety instructions that will ensure a safe operation of
the chipper.
This sticker is in place to let you know the
chips come out of the discharge flying at
very high speed.
This decal lets you know that the engine
emits chemicals that can cause cancer
and reproductive harm. This sticker is
mandatory by the State of California.
It is very important you must wear eye
protection at all times when using the
chipper. Debris at feeding point may
kickback at high speeds.
This sticker is placed to highlight and
warn against blade contact points such
as ‘Blade change areas’ and other gaps
where fingers and extremities can be
introduced.
5

This sticker highlights areas where you
can get in contact with the power
transmission belts, pulleys and other
rotating elements. Only access these
areas when the chipper is at a complete
stop and the engine has been cleared out
to be completely turned off.
This sticker informs you of the
responsibility as an operator to read the
manual before engaging with the chipper.
Reading the manual is necessary to
assess your safety requirements and
risks associated with the operation of
such a machine.
This sticker informs you that you should
only open the top frame when the chipper
is fully stopped (and engine turned off).
And that you have waited some time to
allow the muffler guard to cool off as it
may cause burns.
When operating this chipper you must
use Ear protection, Eye protection, and
gloves. Sticker based on ISO
requirements.
These red stripes are used on feeding
hoppers to alert the operator he is in
proximity with the openings in direct
contact with the rotor.
Important facts about your chipper :
6

Use protection equipment.
104 dB
Keep bystanders at
30 feet
from chipper.
Inspect blades
before
each use.
Max. branch diameter.
3.5” (89mm)
Do not operate a chipper on
slopes without wheel
chocks.
Use recommended
blade-anvil tolerances.
7

Train yourself
1. Read, understand and comply with all instructions included in this manual and in
the machine before assembling and putting it into operation. Keep this manual in
the tube guard for future consultation, as well as for ordering spare parts.
2. Familiarize yourself with all of the controls. Please know how to stop the chipper
when it is operating and how to manipulate the controls quickly in case of
emergency.
3. Persons older than 16 years of age must read and understand the operating
instructions as well as the safety rules. No persons below 16 years of age should
operate a chipper.
4. Do not allow anyone to operate this machine without receiving proper operation
and safety instructions.
5. Do not start the chipper in closed spaces or in an area with poor ventilation. The
exhaust gases from the engine contain carbon monoxide, a lethal gas which is
odorless.
6. Use appropriate protective equipment in each operation. Avoid loose garments.
7. Don't put your hands close to the parts that are in motion or inside the feed
hopper -as indicated in the decals - when in operation. Be careful not to touch any
surface which is heated during the operation and remains as such for a period of
time after the wood chipper is turned off.
8. Stay away from the discharge; wood debris is expelled with great speed that can
produce facial or body damage.
9. Do not operate the chipper if the belt shroud is removed.
10.Keep bystanders away from the chipper while it is running. Do not allow the
presence of minors in the work area. Stop the machine if anyone enters the area.
11.Turn off the engine and disconnect the spark plug before servicing the
equipment.
8

Preparations before chipping
1. Carefully inspect the area where the equipment will be used.
2. Protect your eyes, always use safety glasses while operating this machine.
Otherwise, objects thrown that bounce can seriously injure your sight.
3. Use ear protection. This will protect you from the noise produced by the chipper
when you feed the material into the hopper.
4. Use work gloves with palm of leather, industrial grade rubber or industrial cotton
when you feed the material into the hopper. Before you turn on the machine,
check all bolts and accessories to ensure that the machine is in safe operating
condition. AVOID SLOPES | USE RECOMMENDED TOLERANCE
5. Perform a visual inspection of the machine in frequent intervals to check whether
the chipper has suffered any damage.
6. Maintain and replace the safety labels and instructions as necessary.
Safe Handling of Fuel
To avoid personal injury or property damage, be very careful when handling fuel. The
fuel that is used, -gasoline- is highly flammable and the vapors are explosive.
You can be seriously injured if fuel is spilled on yourself or your clothes which can
ignite. Wash your skin and change clothes immediately.
1. Use only containers approved for Gasoline.
2. Never fill containers inside a vehicle or truck. Always place containers on the
ground away from your vehicle before filling.
3. Keep the nozzle in contact with the edge of the entrance to the engine fuel tank
or container at all times until it is full at recommended engine manufacturer
specifications.
4. No smoking should take place. Turn off all cigarettes, cigars, pipes and other
sources of ignition.
5. Never refuel the engine indoors.
6. Never remove the gas cap or add fuel while the engine is hot or running . Allow
the engine to cool at least two minutes before re- fueling .
7. Never overfill the fuel tank . Fill the tank to no more than 1/ 2 inch below the base
of the neck of the thread to allow room for fuel expansion.
8. Place the fuel cap back on and tighten securely .
9. Clean up spilled fuel on the engine and equipment. Move the chipper to another
area. Wait 5 minutes before starting the engine.
9

Maintenance and Storage
1. Never tamper with the safety components recklessly . Check periodically that
they are functioning properly.
2. Make sure all screws, bolts , pins and cotter pins are in good condition to make
sure the machine is in safe operating condition . Also , visually inspect the
chipper to control if it is damaged and determine if repair is necessary.
3. Before cleaning, repairing or inspecting the chipper, stop the engine and check
that all moving parts have stopped.
4. Do not change the engine governor settings or overspeed the same . The
governor controls the maximum safe operating speed of the engine.
5. Maintain or replace safety and instruction labels as necessary.
6. Follow the instructions in this manual safely storing this machine off season.
7. Never store the chipper or fuel container in an enclosed space where there is
presence of flame, spark or pilot as water heaters, furnaces, clothes dryers
Etc.
8. Allow the chipper to cool at least 5 minutes before storing after shutting it down.
9. Always refer to the operator manual for proper instructions for off-season
storage.
10.If you need to empty the fuel tank, do it outside.
11.Observe your local rules for proper disposal laws and regulations for gas, fuel, oil
to protect the environment and natural resources.
10

FASTENER PREPARATION BEFORE
ASSEMBLY
HAND TOW
Fastener Package
6- Green Washers
1- Tow Pin (Black Color)
2- Tow Washers (Worn on the outside)
4- 3/16” x 1” Cotter Pin
8- 3/8” x 1” Gr5 Hex Bolt
8- 3/8” Lock Washer
8- 3/8” Flat Washer
8- 3/8” Hex Nut
CHIPPER
Fastener Package
2- Knobs assembly for discharge
8- 5/16” x 1” Gr2 Hex Bolts (Chute)
16- 5/16” Flat Washer
8- 5/16” Lock Washer
8- 5/16” Hex Nut
11

Assembly Instructions (Hand Tow Kit)
The Yardbeast usually arrives in two separate boxes. One is a crate where the
chipper is shipped, and the other is a cardboard box where the hand kit or ATV kit
is shipped.
Before putting together the chipper, we recommend having an extra person to
help with the assembly. We also recommend utilizing mechanical type gloves.
WARNING:
●Watch for sharp edges when disassembling package
components. We recommend utilizing mechanic type gloves with
neoprene to avoid cuts.
1. First you need to remove the metal cage from the crate. You need to use a
hex wrench or powered drill (better option) to unscrew.
2. Once the cage is loose, remove from the top with the help of another
person.
3. Remove the components as shown on the pic below
12

4. Lift the end of the chipper (chipper frame first) with the help of a piece of
4x2 wood (you can use another material or geometry, as long as it lifts the
chipper and is stable). Make sure the chipper is stable, and assemble the
rear wheel axle.
Fasteners Used Rear
Axle
On each side
2- 3/8” X 1 G5 Hex Bolts
2- 3/8” Flat Washer
2- 3/8” Lock Washer
2-3/8” Hex Nut
Tools Used
2- 9/16” Hex Wrench
Torque on Bolts 15 ft-lbs
5. Repeat the process on the other side. As shown in the picture below.
Fasteners Used Front
Axle
On each side
2- 3/8” X 1 G5 Hex Bolts
2- 3/8” Flat Washer
2- 3/8” Lock Washer
2-3/8” Hex Nut
Tools Used
2- 9/16” Hex Wrench
Torque on Bolts 15 ft-lbs
13

6. Place the wheels on the rear shaft and secure them with the flat washers
and cotter pin.
Fasteners Used on Rear Wheels
On each wheel:
1- Green Thick Washer
1- 3/16” x 1” Cotter Pin
Tools Used
1- Plier
1- Small Hammer if cotter pin fits a
little rough.
7. Remove the crate floor from the chipper, place something that can hold
the chipper at a height and allows for putting the wheels on the front shaft.
For illustration purposes we placed a 5 gal industrial grade bucket.
Fasteners Used on Front
Wheels
On each wheel:
1- Green Thick Washer
1- 3/16” x 1” Cotter Pin
Tools Used
1- Ind. Grade bucket or other
means of lift.
1- Plier
1- Small Hammer if the cotter
pin fits a little rough.
14

8. Assemble the feed chute and tighten.
Fasteners Used on Feed Chute
8- 5/16” X 1 G2 Hex Bolts
16- 5/16” Flat Washer (front
and back)
8- 5/16” Lock Washer
8- 5/16” Hex Nut
Tools Used:
2- 1/2” Hex Wrench
Torque on Bolts 10 ft-lbs
9. To assemble the discharge chute, open up the flanges as shown in the
picture, make sure to place a little grease on the base to make the
discharge rotate smoother.
Fasteners already come pre-
assembled on the discharge
base.
Tools Used:
2-9/16” Hex Wrench
15

10.When assembling the discharge chute, make sure the flange sits on top of
the discharge base. Before putting together make sure to rub grease on
the surface to improve the rotation. To adjust and eliminate play on the
discharge chute, tighten the 4 hex bolts, apply pressure until you are able
to rotate the chute but won’t budge.
Fasteners used on Discharge
chute:
2- Knobs with 3/8” bolts
2- 3/8” Flat Washers
Tools Used:
2- 9/16” Hex Wrench
Torque Used: To remove play
on the discharge chute apply
load to hex nut as desired as
long as you can rotate it.
11.To assemble the hand tow bar, make sure to insert a washer (green little
washers) on each side of the arm (inside and outside), secure with a
safety cotter pin. Remember at least one of the cotter pin legs must be
deformed to secure the assembly.
Fasteners used on the Tow
Bar:
1- Tow Pin
2- Green Thick Washers
(Outside)
2- Green Thin Washers
(Inside)
2- 3/16” x 1 Cotter pin
Tools Used
1- Small Hammer
1- Pliers
16

Assembly Instructions (Trash Arm)
At Yardbeast we developed something cool called a
Trash Arm. Sometimes if you are chipping in
confined spaces, or areas where you need to pick
up the chipped material after, you might want to
use the trash arm, a simple device designed to
carry a trash container up to 45 gallons or up to 110
lbs. of wood chips. This setup makes it incredibly
easier to carry around a trash container that would
otherwise be very hard to carry, particularly at long
distances. You may also adapt the trash arm to
carry around other stuff like a cooler, toolbox,
chainsaw, fuel container, etc!
17

Setting up your Wood Chipper
Read and follow all instructions in the manual for more information on this
matter.
Once you have finished putting together your wood
chipper, you must prepare the engine for the first
start. Locate the fuel cap on top of the engine and
remove it. You should fill the tank with approximately
2.5 liters of clean, fresh fuel. However, due to
changes in engine model used on the chipper please
confirm proper fuel tank capacity on the engine’s
own user manual.
After adding fuel, you must add oil. Please remember
to check the oil type and quantity according to engine
manufacturer specifications. Please refer to this
quick chart below. We recommend utilizing fully
synthetic oil for better performance. If you will be
utilizing the chipper in different seasons with
significant temperature variations, please make sure
to understand the chart below for specific oils better
suited to your requirements. Please check the engine
manual for oil quantity recommendations. After filling with oil please wait a few
seconds for oil to settle inside when measuring with the dipstick.
OIL TYPE RECOMMENDATIONS (KOHLER COMMAND PRO ENGINE CLASS)
18

Chipper Features and Controls
19

FEED CHUTE: A maximum of 3-1/2” diameter branches are allowed through the
chute. Always keep the debris rubber guard in place as wood pieces may
kickback from the inside.
WARNING: When operating the wood chipper, always use protective
safety equipment; the operation of this machine involves high speed
discharge and ricochet of wood debris.
IMPORTANT: Never attempt to force the chipping of branches with diameter
larger than 3-1/2”. By doing this you can damage the integrity of the equipment
and put your safety in jeopardy.
TOW BAR: The tow bar is used to manually taxi
the chipper to the working place. Try to pull from
the handle at an angle of 45 degrees to maintain
your comfort when towing. Don't modify this tow
bar to be pulled by another powered equipment.
ENGINE: Refer to the engine operation’s manual that came with your unit. located
inside the manual canister on the belt guard.
MANUAL CANISTER: Keep the chipper and engine’s operator manuals inside the
canister for any future reference. You can also store tools and replacement parts.
NECK DISCHARGE: Use the neck discharge deflector to adjust the distance of
discharge of the material to be cut. Adjust the rotation of the neck to orientate
the discharge flow. Always adjust the discharge BEFORE starting the chipper.
ANVIL: The anvil is originally positioned at 135/1000th of an inch (~3.4mm) from
the blade tip. If the wood is too dry, we recommend closing this gap a little more
(as long as the blade is holding a good edge). As the blade wears from operation
you may adjust this separation further back.
20
Table of contents
Other Yardbeast Chipper manuals
Popular Chipper manuals by other brands

Lumag
Lumag RAMBO-HC10 Operator's manual

Troy-Bilt
Troy-Bilt CS4265 Operator's manual

Northern Tool and Equipment
Northern Tool and Equipment Powerhorse 63388 owner's manual

Wallenstein
Wallenstein BXT52S Operator's manual

Billy Goat
Billy Goat THE TERMITE TKD502SP Operator owner's manual

PowerTek
PowerTek CV388-R Assembly manual