YARL TECHNOLOGIES PTY LTD 7
D G T A L
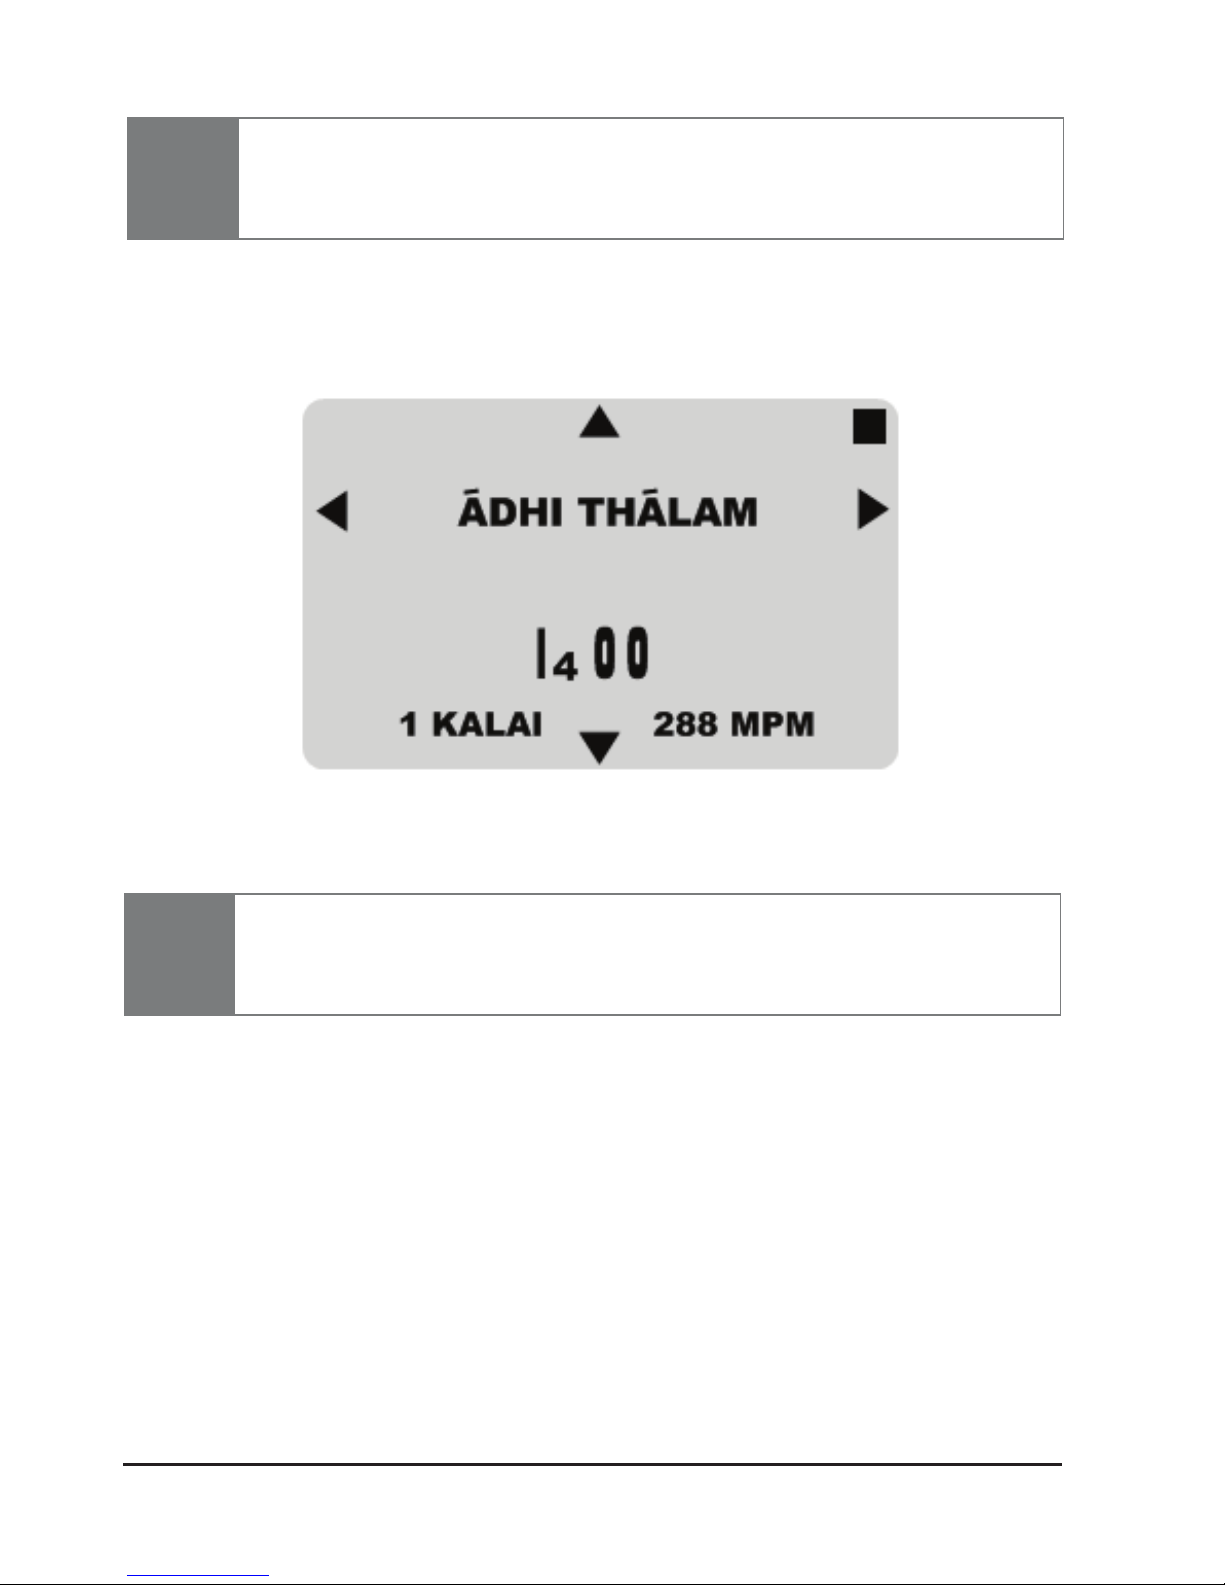
.2 ADJUSTING GATHI AND LAYAM
hile a THÃLAM is playing, the GATHI and the LAYAM can be adjusted usin
he arrow buttons introduced in the previous subsection: 6.1 Navigatio
se the ◄/►buttons to change the GATHI , as shown in Figure 6.2. Th
vailable selections are 1 KALAI, 2 KALAI
, 3 GATHI, 5 GATHI, 7 GATHI, 9 GATHI.
OTE: When playing CHÃPPU THÃLAM, GATHI is set to 1 KALAI and cannot be adjusted.
se the ▲/▼buttons to increase or decrease the LAYAM respectively, a
hown in Figure 6.2. The LAYAM
is displayed as MÃTHRA (beats) per minut
e
(MPM) available selections range from 120 MPM to 480 MPM.
Figure 6.2 Adjusting GATHI and LAYAM
OTE: When the unit is turned off, any adjustments made
to the GATHI and LAYAM will be lost an
hen the unit is turned
back on, the default GATHI
and LAYAM will be loaded instead. To customiz
he default settings for GATHI and LAYAM
, refer to subsection 6.3.5 Default Settings.
hile a THÃLAM is not playing, the user can navigate through the variou
HÃLAM selections. The diagram shown below illustrates how to navigate th
ain Menu using the ▲/▼buttons.
ne of the main features of the unit is that it offers the option of quick-selectin
of the most commonly used THÃLAM in Carnatic music. Another feature o
he unit is that it allows the user to select between 35 THÃLAM (of which ther
re 7 THÃLAM and 5 JÃTHI for each THÃLAM) and 6 CHÃPPU THÃLAM.
he menu item DEFAULT SETTINGS allows the user to change and store ne
alues to the default settings. Each of these menu items are described in th