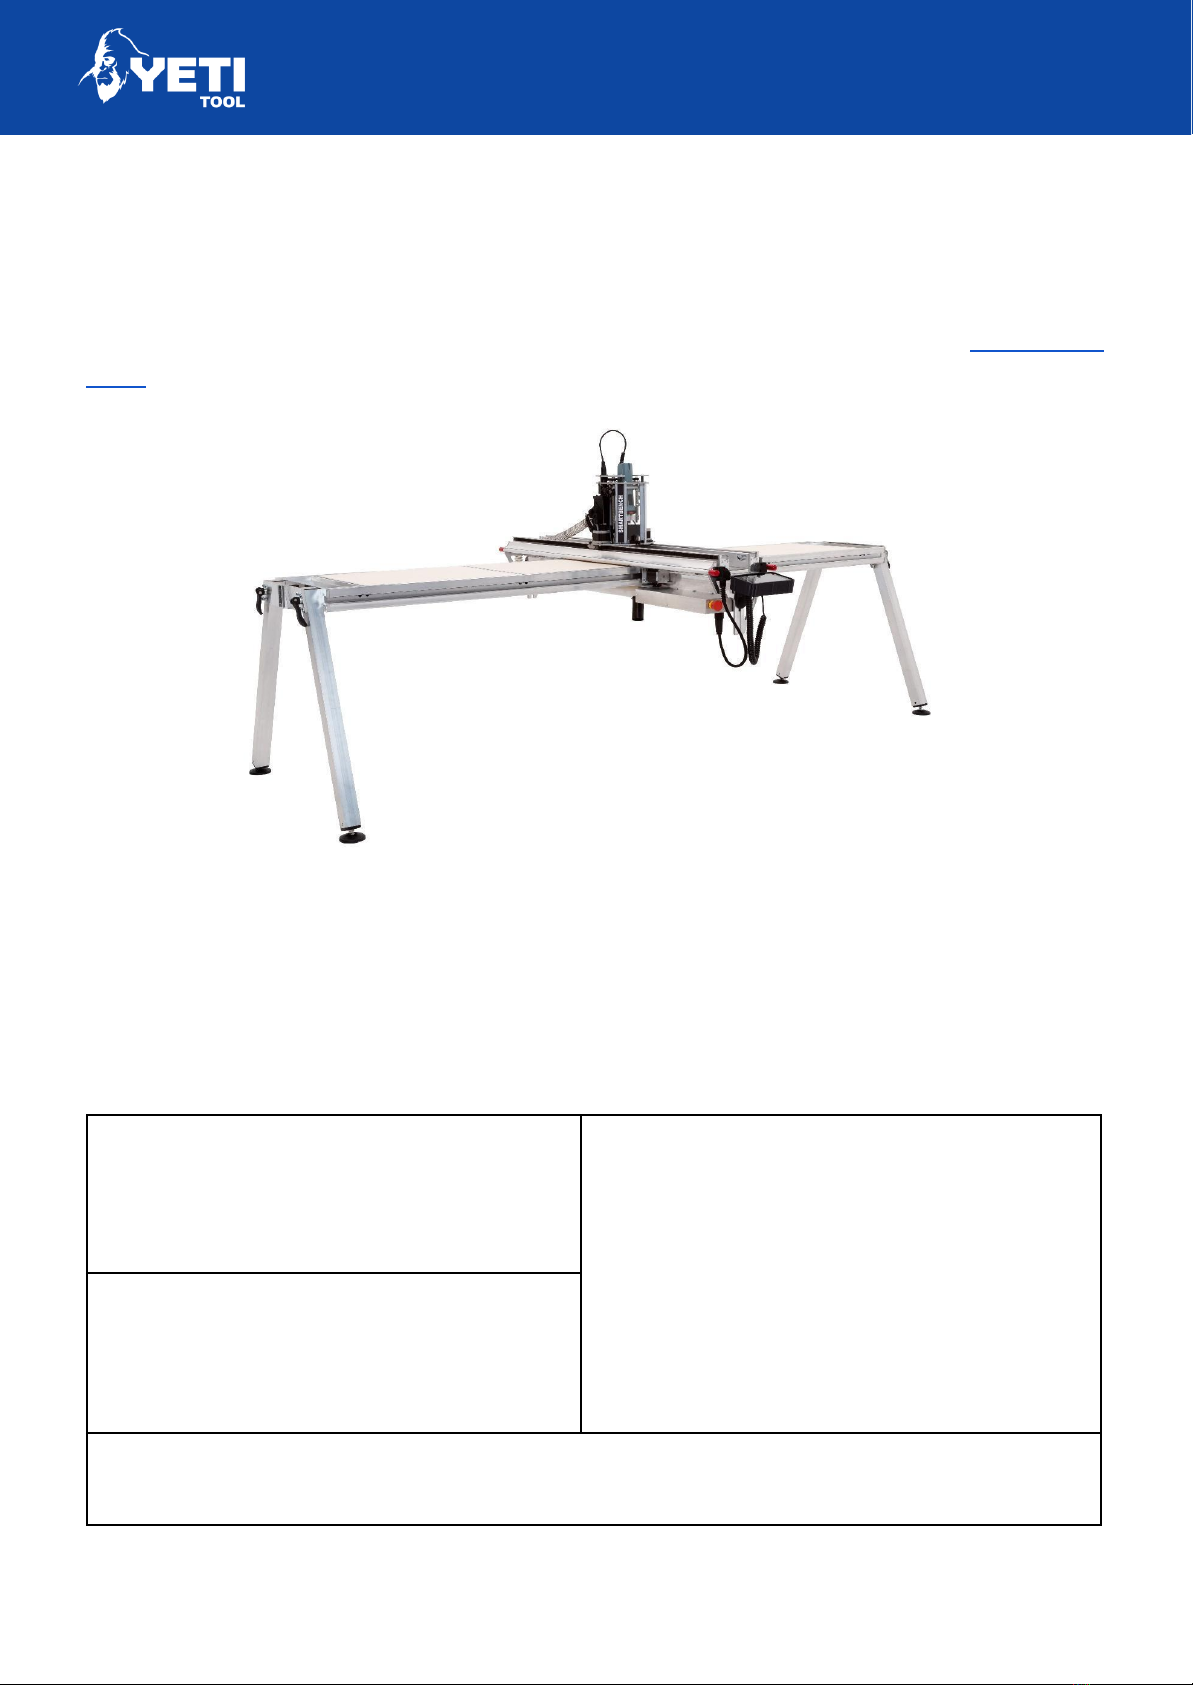
SMARTBENCH V1.3 – STANDARD, PRECISION AND PRECISIONPRO
UKCA Declaration of Conformity
Manufacturer:
Yeti Tool Ltd , Unit 12
Old Mill Road, Portishead,
Bristol, BS20 7BX, UK
21321, 21322, 21323, 21324, 21325, 21326, 21327, 21328, 21329, 21330, 21331, 21332,
21339
[230 Volts, 6 Amps] or [110 Volts, 12 Amps]
This declaration is issued under the sole responsibility of the product manufacturer. The object of the declaration
described above is in conformity with the relevant UK Statutory Instruments and their amendments: S.I. 2017 No.
1206 (The Radio Equipment Regulations 2017), S.I. 2008 No. 1597 (Machinery Regulations), S.I. 2012 No. 3032
(The Restriction of the Use of Certain Hazardous Substances in Electrical and Electronic Equipment Regulations
2012). We hereby declare that the product described above, to which this declaration of conformity refers to, is in
conformity with the essential requirements of the following designated standards:
Health & Safety
(RED article 3.1a)
EN 62368-1:2014
EN 60950-1:2006+A1:2010+A12:2011+A2:2013
EN 62311:2008
EN 62061:2005
EN ISO 19085-1:2017
ETSI EN 301 489-1 V2.1.1 (2017-02)
in accordance with the specific requirements of:
ETSI EN 301 489-17 V3.1.1 (2017-02)
EN 55032:2012/AC:2013 Class A
EN 55035:2017
EN 61000-3-2:2014
EN 61000-3-3:2013
Spectrum
(RED article 3.2)
ETSI EN 300 328 V2.1.1 (2016-11)
ETSI EN 301 893 V1.8.1 (2015-03)
The technical documentation for this product is available from the manufacturer. Signed for & on behalf of the
manufacturer, issued at the manufacturer’s address, 11th October 2022, by Ed Sells, Director.
Unit 12 Old Mill Road | Portishead | Bristol | BS20 7BX | UK 4