manuals.online logo
Brands
  1. Home
  2. •
  3. Brands
  4. •
  5. YLP
  6. •
  7. Headlamp
  8. •
  9. YLP Panda 4.0 Setup guide

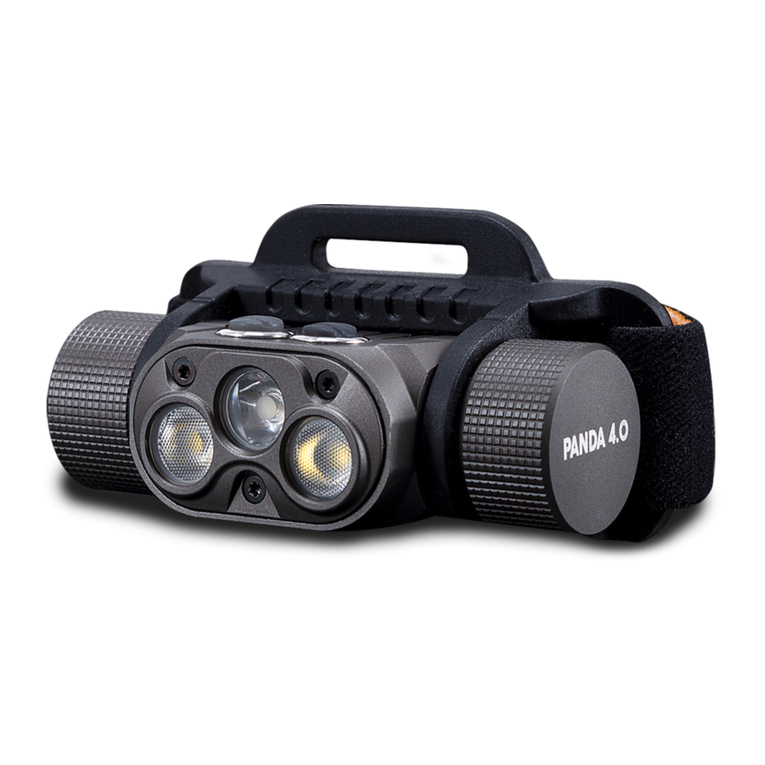
YLP Panda 4.0 Setup guide

ADVANCED UI #1
Features:
The options of ramping or discrete brightness
control (within Low-High range),
programmed button lock, button-LEDs
beacon, backlight in the gray button when
the headlamp is off, the possibility of
separate indication for the buttons.
* - hidden function.
Default settings: ramping ON, button-LEDs
beacon OFF, backlight in the gray button
ON, separate indication of the buttons OFF.
To activate the first advanced user interface
(UI 1), press any button 14 times. To switch
between three advanced user interfaces,
apply “5 clicks and hold”. The right button
switches to the next UI, the left button - to the
previous one.
Switching between interfaces will reset all
applied settings to default.
To return to basic user interface, press any
button 12 times.
ADVANCED MANUAL OF USER
INTERFACE SETTINGS
In addition to the basic user interface (UI), the
Panda 4.0 headlamp includes three
advanced user interfaces extending
functionality of the headlamp.
Basic UI
(default out of the box)
14
clicks
12
clicks
5 clicks +
hold
Advanced UI #1
Advanced UI #2
Advanced UI #3
5 clicks +
hold
5 clicks +hold
PANDA 4.0
1 cliсk On / Off On / Off
2 cliсks Turbo ТTurbo
Battery
level indic.
Battery
level indic.
Separate
indication of
the buttons
Separate
indication of
the buttons
4 cliсks
Left button
throw light
Right button
wide light
button-LEDs
beacon button-LEDs
beacon
5 cliсks
Switch
to UI 3
Switch
to UI 2
5 cliсks +
hold
*4 cliсks +
hold
Buttons
lock/unlock
Buttons
lock/unlock
6 cliсks
Ramping /
discrete
Ramping /
discrete
3 cliсks
Moonlight MoonlightHold
(from off)
Moonlight MoonlightHold
(from off)
ADVANCED UI #2
Features:
Full-range ramping, favorite modes enabling
userdefined choice of brightness, tactical
mode for the throw light, button-LEDs
beacon, backlight in the gray button,
separate indication of the buttons, the 6th
flash as an indication of the full battery,
adjustment of the interface timing,
programmed buttons lock.
Default settings: button-LEDs beacon ON,
backlight in the gray button ON, separate
indication of the buttons ON, tactical mode
OFF, adjustment of the favorite mode OFF.
1 cliсk On / Off On / Off
2 cliсks Turbo Turbo
Battery
level indic.
Battery
level indic.
Tactical
mode
Timing
settings
4 cliсks
Left button
throw light
Right button
wide light
3 cliсks Favorite mode Favorite mode
Button-LEDs
beacon Backlight in
the gray
button
5 cliсks
Switch
to UI 1
Switch
to UI 3
5 cliсks +
hold
4 cliсks +
hold
Step back Step back2 cliсks +
hold
Buttons
lock/unlock
Buttons
lock/unlock
6 cliсks
Favorite mode
adjusting
Favorite mode
adjusting
3 cliсks +
hold
Right button
Left buton
www.YLPlight.com
To cancel applied settings, click any button
12 times. The headlamp will be reset to
out-of-box settings.
Moonlight MoonlightHold
(from off)
1 cliсk On / Off On / Off
2 cliсks Turbo Turbo
Battery
level indic.
Battery
level indic.
Timing
settings
4 cliсks
Left button
throw light
Right button
wide light
3 cliсks Favorite mode Favorite mode
Button-LEDs
beacon Backlight in
the gray
button
5 cliсks
Switch
to UI 2
Switch
to UI 1
5 cliсks +
hold
*4 cliсks +
hold
Memory
On / Off
Memory
On / Off
*2 cliсks +
hold
Buttons
lock/unlock
Buttons
lock/unlock
6 cliсks
Favorite mode
adjusting
Favorite mode
adjusting
*3 cliсks +
hold
ADVANCED UI #3
Features:
The option of turning the memory off for
throw or/and wide light, favorite modes
(within Low-High range), button-LEDs
beacon with userdefined frequency,
backlight in the gray button, separate
indication of the buttons, the 6th flash as an
indication of the full battery, adjustment of
the interface timing, programmed buttons
lock.
* - hidden function
Default settings: Memory On, button-LEDs
beacon Off, backlight in the gray button Off,
beacon frequency doubling Off, separate
indication of the buttons Off, adjustment of
the favorite mode Off.
Beacon
frequency
doubling
GENERAL FEATURES OF ADVANCED
INTERFACES
Command indication
Confirmation of option activation /
unlocking: green flash of buttons + two
flashes of throw LED. Confirmation of option
deactivation / locking: red button flash + a
flash of throw LED.
Нidden functions
Advanced interfaces UI 1 and UI 3 include
hidden commands. To activate the mode of
hidden functions, turn on the power (screw
the cap) while pressing any button. After
applying the settings, unscrew the cap to exit
the hidden functions mode.
Separate and common settings
Most of the settings are applied separately
for throw or wide light. For example,
ramping / discrete regulation, modes
memory, brightness of the favorite mode,
can be applied separately for throw and
wide light.
Some settings are applied for the interface
generally: button locking, button-LEDs
beacon, interface timing.
Special aspects of smooth brightness
adjustment (ramping)
Brightness is gradually adjusted by holding
the button; the direction (brightness up or
down) is switched by releasing and fast (<1
sec) next holding the button. The
“click-and-hold” command can also be
used for changing the direction of the
adjustment.
Short click in one second after smooth
brightness regulation allows making a “step
back” for more precise adjustment (in fact,
click will be treated as a very short-term
hold). Short click after more than one second
turns the headlamp OFF.
If brightness reaches the maximum or the
minimum level for more than 1.5 sec, when
thebutton is released, the headlamp will
return to the brightness level used before the
smooth adjustment.
There are two speeds of smooth brightness
adjustment. General mode provides faster
ramping; favorite modes provide slower
ramping, allowing more precise brightness
adjustment.
Six-flash indication of full battery
In UI 2 and UI 3, the sixth flash indicates full
charge of the battery (> 4.1V).
Interface timing adjustment
UI 2 and UI 3 advanced interfaces allow the
user to change the timing of the UI, that is, to
increase or decrease the interface speed.
When the relevant command is applied, the
interface speed will be changing in a circle
(high -> low -> medium).
Other manuals for Panda 4.0

1

Other YLP Headlamp manuals

YLP PROFESSIONAL Series User manual

YLP

YLP PROFESSIONAL Series User manual

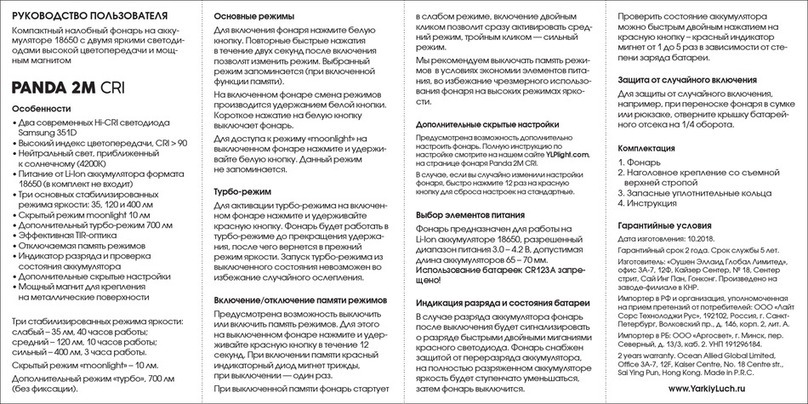
YLP PANDA 2M CRI User manual

YLP

YLP PANDA 2M CRI User manual

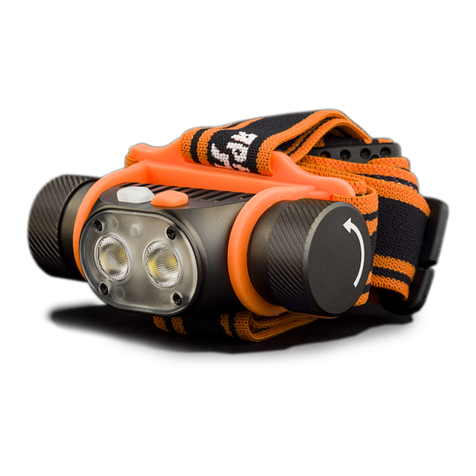
YLP Panda 4.0 User manual

YLP

YLP Panda 4.0 User manual

Popular Headlamp manuals by other brands

Petzl MYO RXP E87P quick guide

Petzl

Petzl MYO RXP E87P quick guide

WolfVision Visualizer VZ-5D instructions

WolfVision

WolfVision Visualizer VZ-5D instructions

Videx VLF-H065A user manual

Videx

Videx VLF-H065A user manual

MARELD HALO 1200 RE user manual

MARELD

MARELD HALO 1200 RE user manual

Schumacher Electric SL207R owner's manual

Schumacher Electric

Schumacher Electric SL207R owner's manual

Klein Tools 56062 instructions

Klein Tools

Klein Tools 56062 instructions

Lago Light BXR1.0 quick start guide

Lago Light

Lago Light BXR1.0 quick start guide

Acebeam H30 user manual

Acebeam

Acebeam H30 user manual

Pelican HeadsUp Lite 2690 LED instructions

Pelican

Pelican HeadsUp Lite 2690 LED instructions

Lupine BLIKA R manual

Lupine

Lupine BLIKA R manual

Raptor VISIONONE R00169 Product data sheet

Raptor

Raptor VISIONONE R00169 Product data sheet

STOOTS HEKLA 3 manual

STOOTS

STOOTS HEKLA 3 manual

Silva Spectra A Full version manual

Silva

Silva Spectra A Full version manual

Nitecore NU35 user manual

Nitecore

Nitecore NU35 user manual

Coleman BATTERYLOCK CXS+ 250 Instructions for use

Coleman

Coleman BATTERYLOCK CXS+ 250 Instructions for use

Petzl ZIPKA quick start guide

Petzl

Petzl ZIPKA quick start guide

Nitecore HC60 user manual

Nitecore

Nitecore HC60 user manual

VUNIVET EOS NEXT quick guide

VUNIVET

VUNIVET EOS NEXT quick guide

manuals.online logo
manuals.online logoBrands
  • About & Mission
  • Contact us
  • Privacy Policy
  • Terms and Conditions

Copyright 2025 Manuals.Online. All Rights Reserved.