Zenithink ZT-180 User manual

[键入文字]
Android 2.2
User Manual

[键入文字]
1
Directory---------------------------------------------1
1.Use statement------------------------------------2
2.Appearance Description-------------------------2
2.1 Overall structure---------------------------2
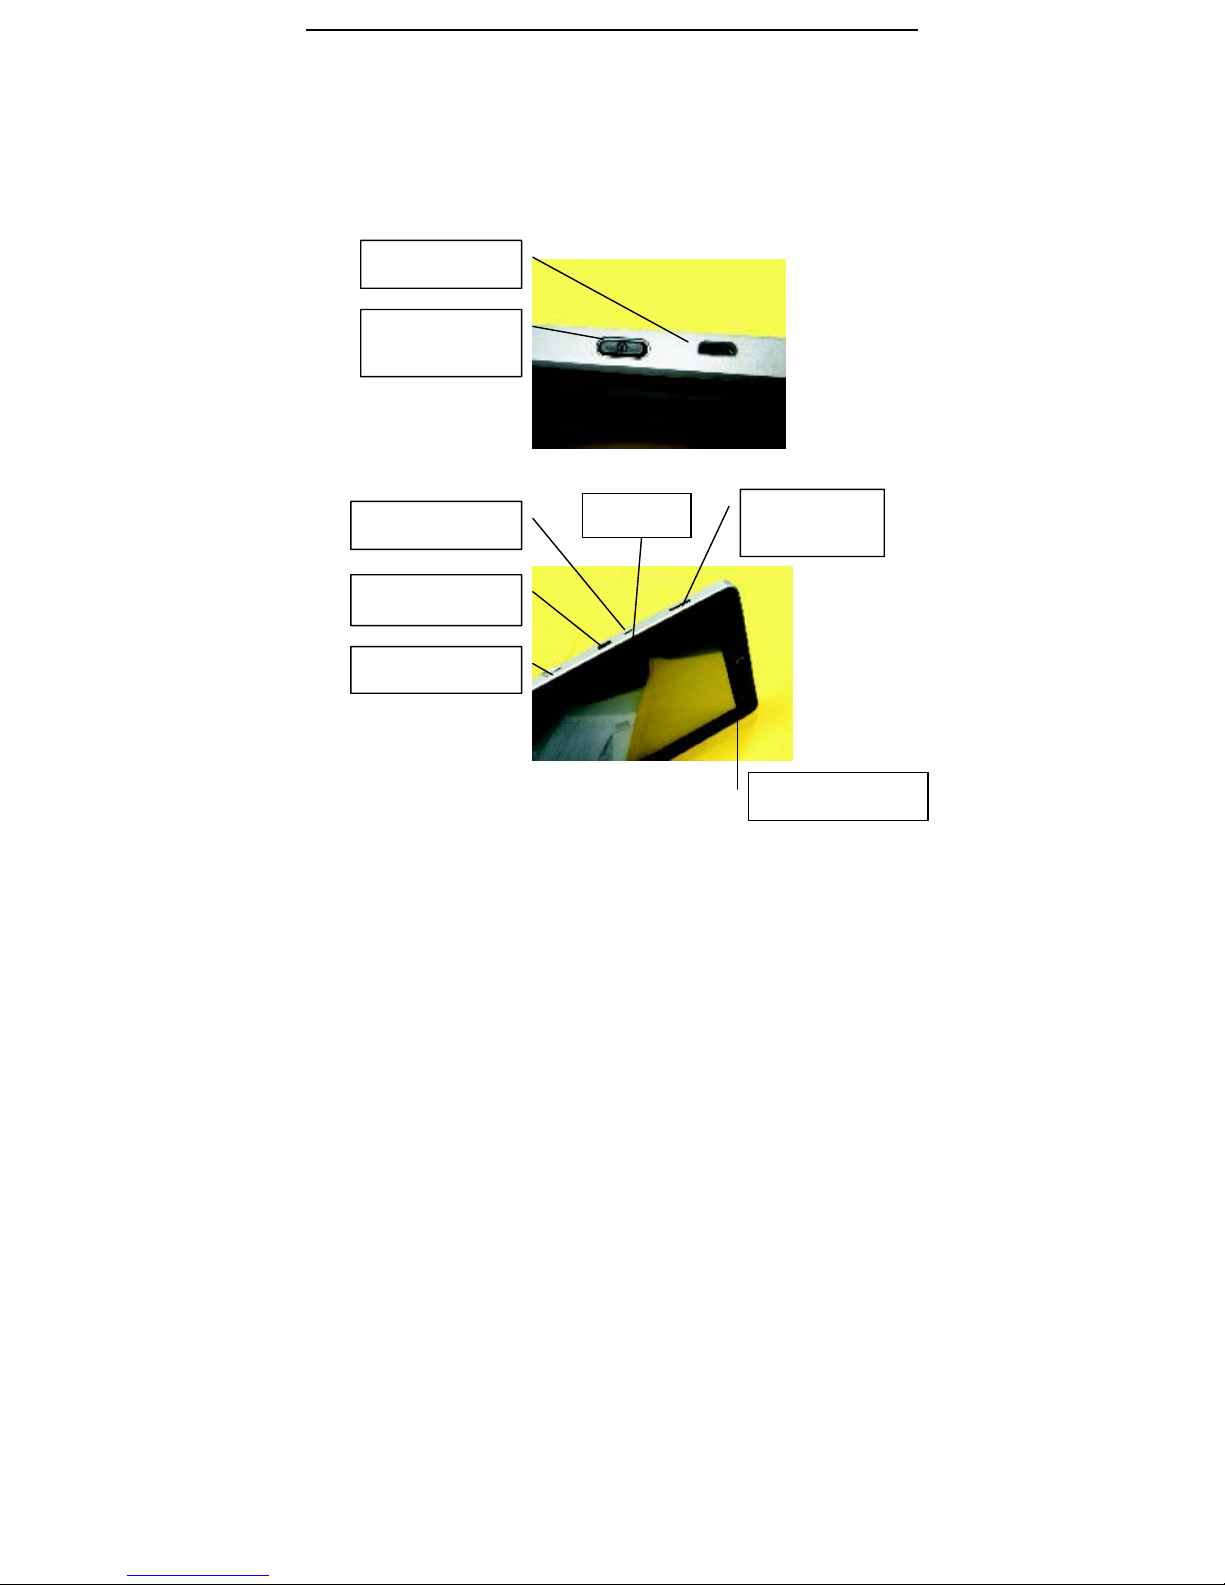
2.2 Button, and plug-ins----------------------3
3. The description of menu interface-----------5
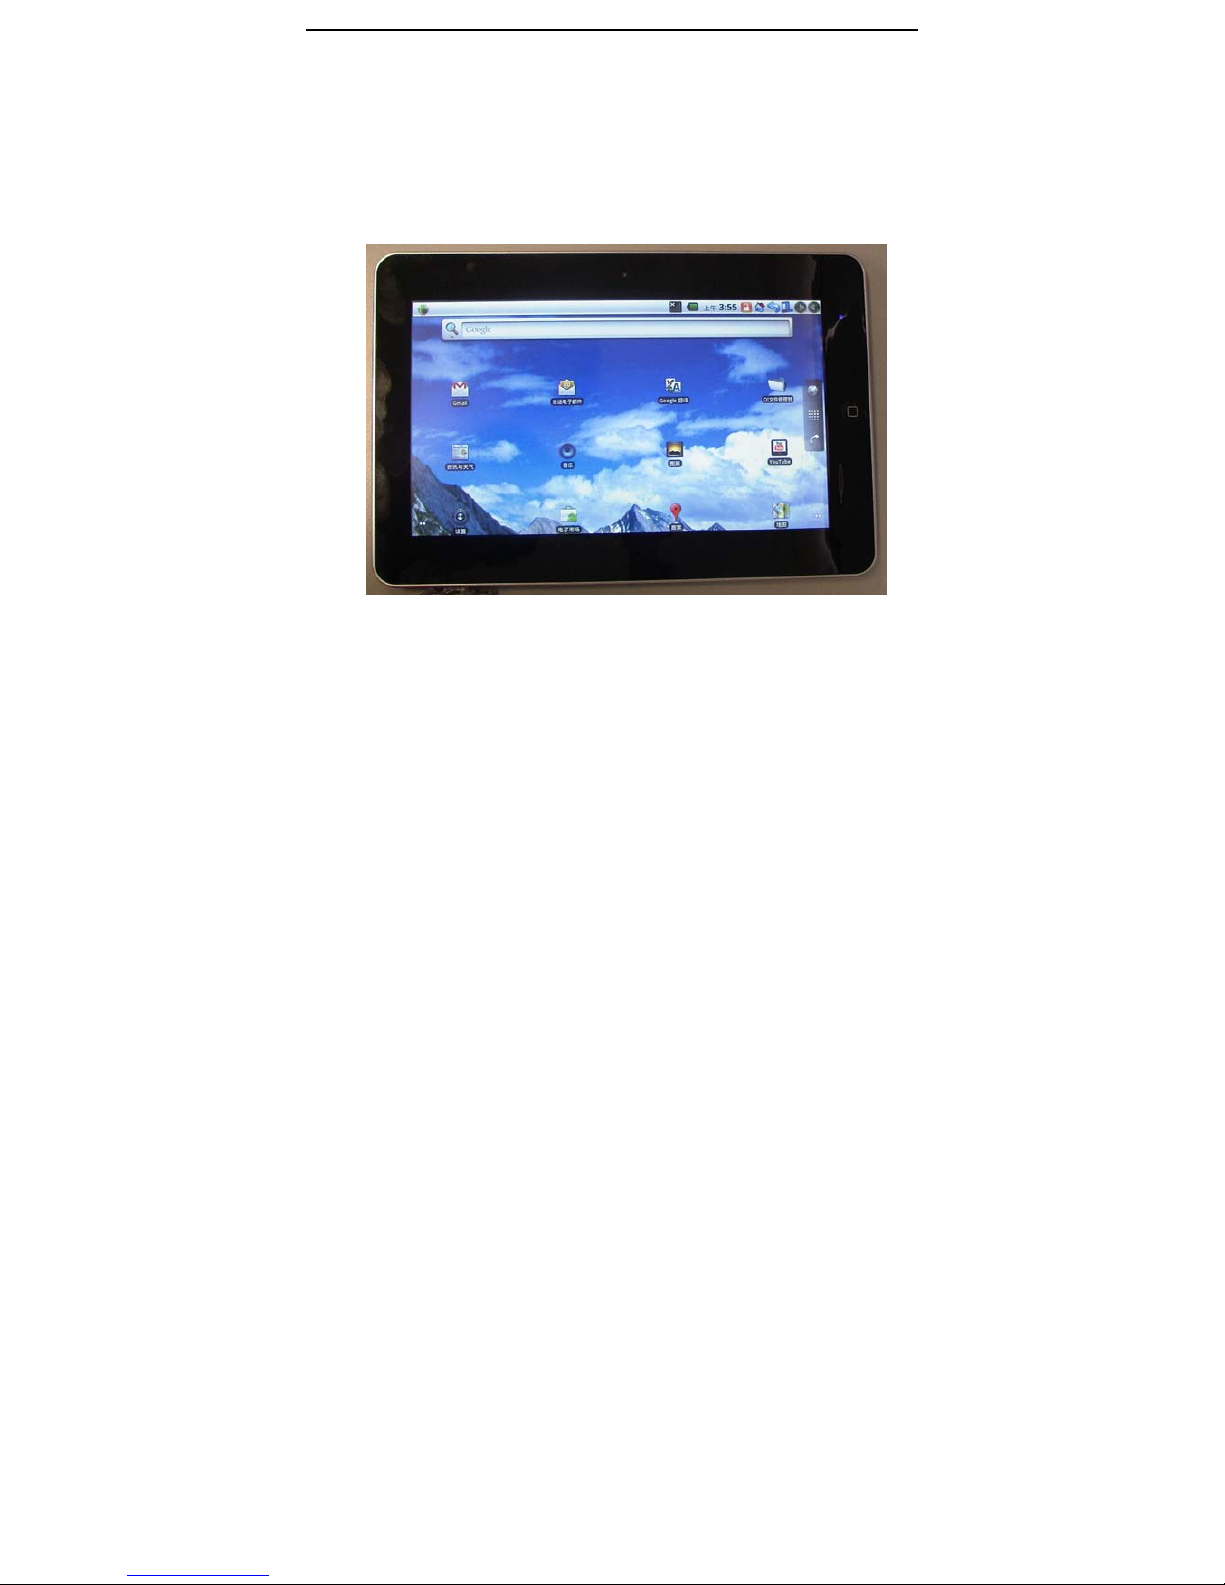
3.1 Desktop description-----------------------5
3.2 Status Bar Description -------------------5
4.Basic set of equipment -------------------------6
4.1 Wireless Control ---------------------------6
4.2 Sound and display-------------------------7
4.3 Security and location----------------------7
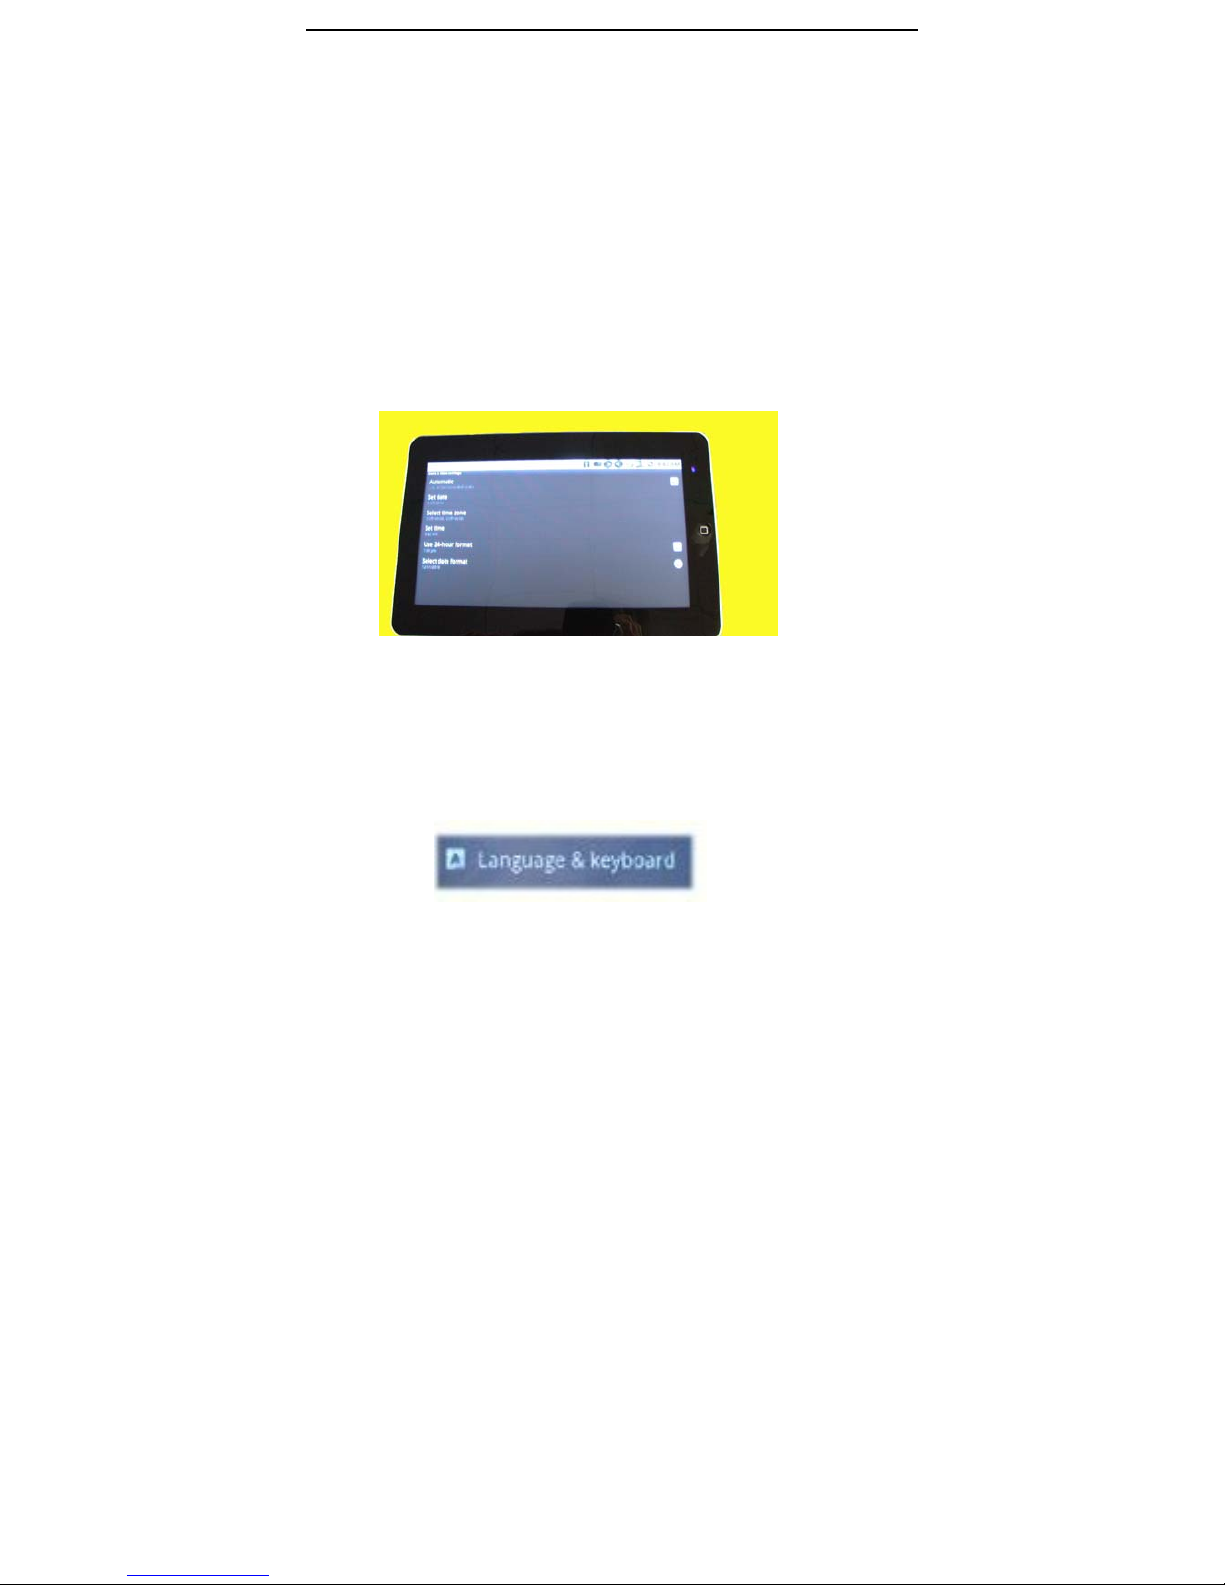
4.4 Date and time------------------------------8
4.5 Locate and text--------------------------8
4.6 Battery Charging---------------------------9
5. Software installation and management------9
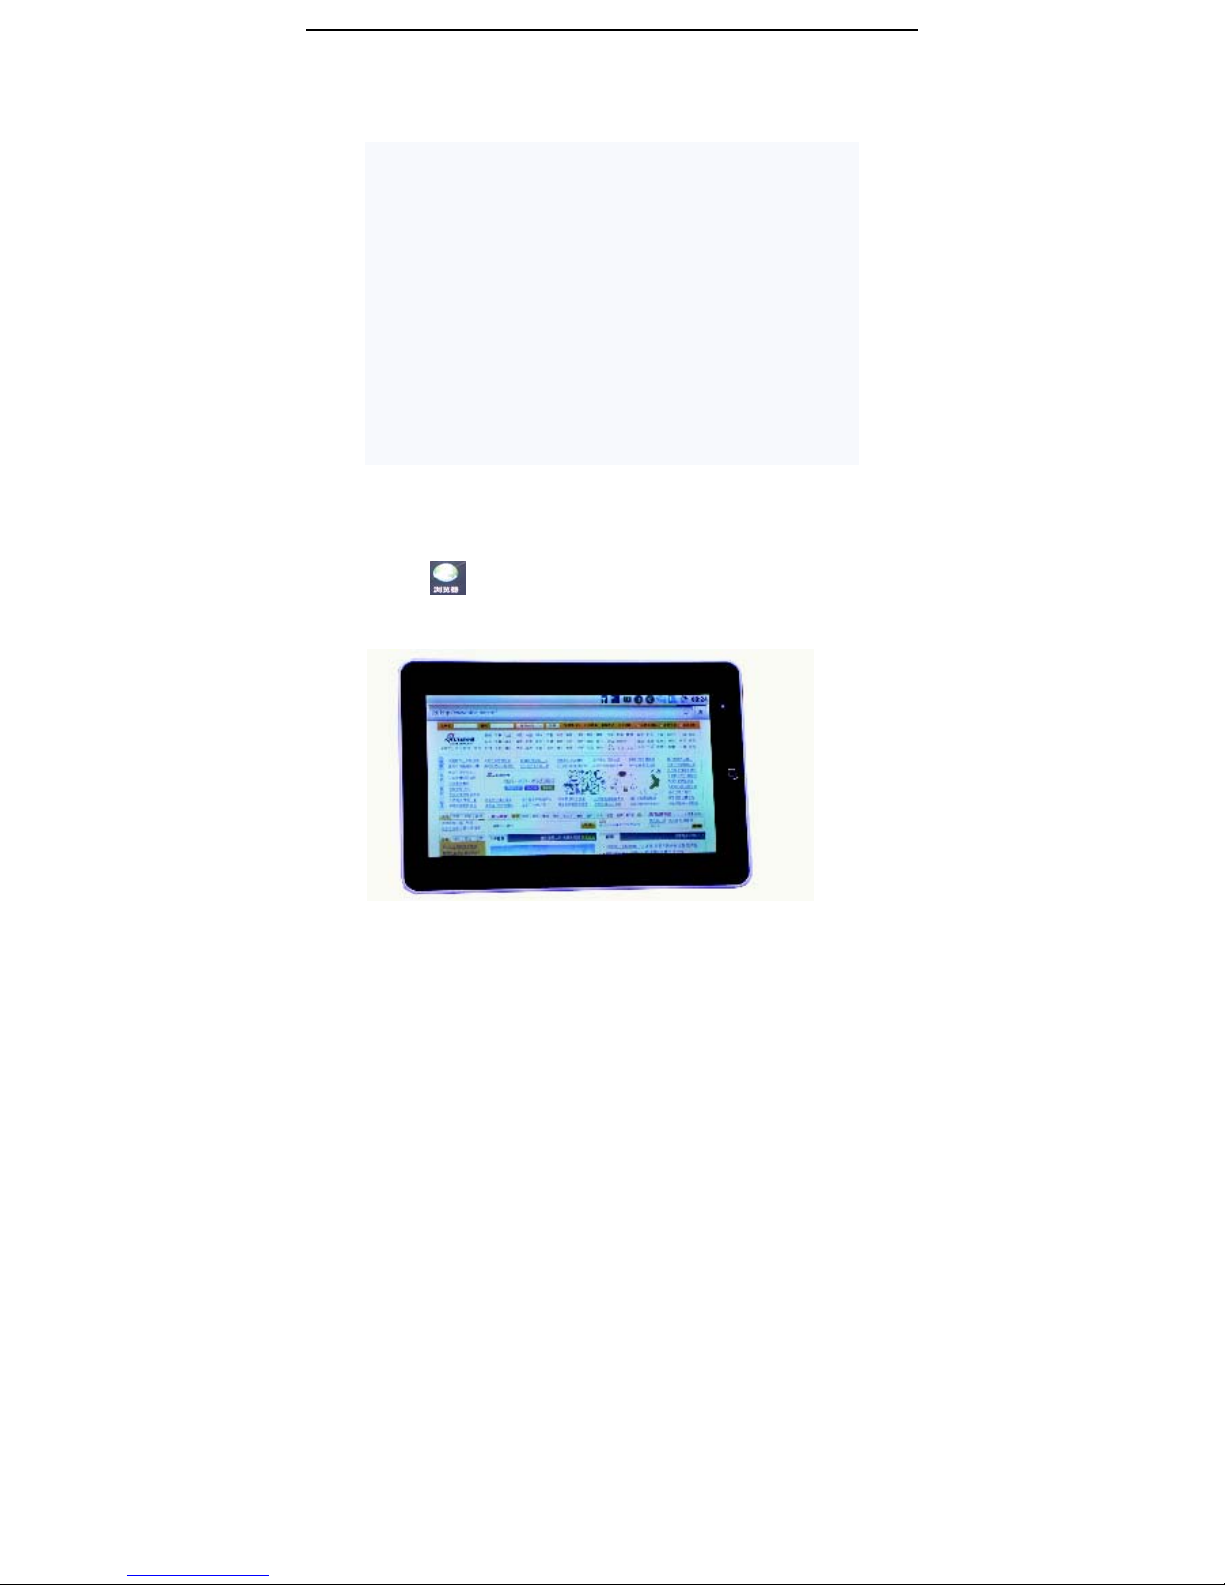
5.1 Browser-------------------------------------9
5.2 E-mail--------------------------------------10
5.3 Google Map ------------------------------10
5.4 Alarm clock -------------------------------11
5.5 build-in camera---------------------------11
5.6 high definition digital output------------11
6. O / I File Manager ----------------------------11
7.FAQ-----------------------------------------------12
7.1 Can not open the media player--------12
7.2 Screen flashing---------------------------12
7.3 Headphones can not hear sound------12
7.4 Can not copy the file---------------------12

[键入文字]
2
2. Appearance Description
2.1 Overall structure
1. Use statement
Statement: The company are committed to quality
innovation and continual improvement of software. If
the final version of products has any differences from
the description of the user guide , please subject to the
final product .Thank you.

[键入文字]
3
2.2 Button and plu
g
-ins
USB to Rj45
Power-on /off
button
TF slot
Power-on/off
USB to Rj45 Software
m
e
n
u
backspace key
Camera

[键入文字]
4
insert an external charger, then charge lamp
will come on;
When charge is completed,charge lamp will
come off;
Note: if system halted, please insert one
slender material into the reset key, then system will
shutdown
Charging port
OTG port
Earphone port
Reset
Charge lamp
Red:charging
Blue:system runing
HDMI port
USB
p
ort

[键入文字]
5
3.2 Status Bar Description
The status bar is located on the top of the screen
On the top of the screen, from left to right, it shows: WIFI
connect status, silent mode key , battery residual
Two Volume adjustment keys, return key, menu key, Home
key, Current time
3.The description of menu interface
3.1 Desktop description
Clicking the icon" ", you enter the menu interface
and choose the function which you need,
such as email

[键入文字]
6
click network notification.When the right icon shows“
“,it means device is scanning the available network.
The device will search automatically and add the nearby
wi-fi network which can be connected. click wireless
network port and then you can connect network.
4.Basic settings of e-pad devices
4.1 Wireless Control
Clicktheset-up" "inthemenu
page to enter set-up interface
WI-FI setting: set up and manage the notice of access
to the wireless. When The icon showed on the right
is “ " with gray color ,that means WIFI is in the
state of close

[键入文字]
7
Idle screen: There are six kinds of time interval for you
to choose: 15 seconds,30 seconds,1 minutes,2 minutes,10
minutes and 30 minutes.
4.3 Security and location
safety and location: set up my location and password
selections, Using of wireless network, you can check the
location of application by using wireless network
Visible password: it will show your password when you
typing them
4.2 Sound and display
silent mode: All sound will become silent except for media
and alarm
The Volume of media: Adjust the volume of media by
dragging Volume key to right or left
Direction: It will change the direction according to the
gravity when you rotate the MID
Cartoon: It will show cartoon when you open or close a
window
Brightness: Adjust the brightness of screen by dragging to
the right or left

[键入文字]
4.5 Locate and text
set up the locate (language and area),text entry and
automatic error correction
Select area: There are 54 kinds of languages to choose
4.4 Date and time
Date and time: set up date, time, time zone and format
Set up date and time: enter the interface of date setting
to set up the date and time
Select time zone: enter the interface of time zone to set
up the time zone
Set up time format: set up the display format of time
Choose date format: Choose different display format of
date

[键入文字]
9
4.6 Battery Charging
There is a built-in battery, when the battery level is low,
the system will recommend you to charge
Way to charge: One end of the adaptor connect to
power socket, the other to the power port of the device.
1, When the indicator light of charging is on , it means
device is charging.
When the indicator light turns to green, it means
battery is fully charged.
2, During the charging period, user can still use the Pc.
Note: In the boot of state, .it takes long time for
charging..
5. Software installation and management
5.1Browser
Click" "and openthefollowingwebpage
Start: enter website by inputting web address

[键入文字]
10
5.2 E-mail
Click E-mail icon” ” and enter the e-mail,
You can proceed as follows:
1、Set an e-mail account
2、Open a new e-mail
3、Send and receive e-mails
Note: Shortcut menu will popup when clicking the menu
button..
5.3 Google map
Click” ” and enter GoogleMap
--Click the zoom icons on the touch screen to zoom in and
zoom out images
--Drag touch screen, move the image up-and-down and
right-and-left
Click Menu :
--search: search maps by entering address
--Line: search drive circuit by entering starting and
finishing address
--Map mode: three modes to choose, map mode、satellite
mode and traffic mode.
--My position: Find out my current location by setting up
"My Location"
--more:more information about Google Map

[键入文字]
11
5.4 Alarm clock
Click " " and enter the alarm clock settings
Set up time: Enter the interface of time settings to set up
time.
Set up hour format: set up displaying format of time
Select the format of date: choose different format to show
date.
5.5 build-in camera
Autodyne or video chat, you can enjoy the happiness
Which was brought by camera at any time.
5.6 high definition digital output
With this function,you can connect the tablet with TV set,
watching movie on large screen gives you super-fun.
6.O/I File Manager
Click " " and enter O/I File manager, you can browse
the files in the e-pad and T-Flash memory card.
Short click the menu key or click the mean software on the
screen to bring up the operator interface.
Operation: bring up the operation interface
--Cut: Cut a file or folder
--Copy: Copy a file or folder
--Delete: Delete a file or folder
--Rename: Rename a file or folder

[键入文字]
12
--Select all :Select all files or folders
--New:creat a new interface
--File : creat a new file
--Folder : creat a new folder
--Search: Search files or folders
7. FAQ
7.1 Can not open the media player
--Check battery
-Connect the power adapter and then check
again
--If it still cannot be opened, please
contact our sales person
7.2 Screen is flashing after starting up
--short of power, please charge
7.3 can not hear sound from Headphones
--please check whether the volume has
been set to 0
--please check whether the music file
has been damaged. Try playing other
music to determine. If the file has been
damaged, it could lead to serious noise or skips.
7.4 Can not copy the file
--Confirm whether the computer and
the player is properly connected
--Confirm whether the storage space is full

[键入文字]
FCC WARNING
This device complies with Part 15 of the FCC Rules. Operation is subject to
the following two conditions:
(1) this device may not cause harmful interference, and
(2) this device must accept any interference received, including interference
that may cause undesired operation.
NOTE 1: This equipment has been tested and found to comply with the
limits for a Class B digital device, pursuant to part 15 of the FCC Rules.
These limits are designed to provide reasonable protection against harmful
interference in a residential installation. This equipment generates, uses and
can radiate radio frequency energy and, if not installed and used in
accordance with the instructions, may cause harmful interference to radio
communications. However, there is no guarantee that interference will not
occur in a particular installation. If this equipment does cause harmful
interference to radio or television reception, which can be determined by
turning the equipment off and on, the user is encouraged to try to correct the
interference by one or more of the following measures:
- Reorient or relocate the receiving antenna.
- Increase the separation between the equipment and receiver.
-Connect the equipment into an outlet on a circuit different from that to
which the receiver is connected.
-Consult the dealer or an experienced radio/TV technician for help.
NOTE 2: Any changes or modifications not expressly approved by the
manufacturer could void the user’s authority to operate the equipment.
NOTE 3: The manufacturer is not responsible for any radio or TV
interference caused by unauthorized modifications to this equipment. Such
modifications could void the user’s authority to operate the equipment.
Table of contents
Other Zenithink Tablet manuals