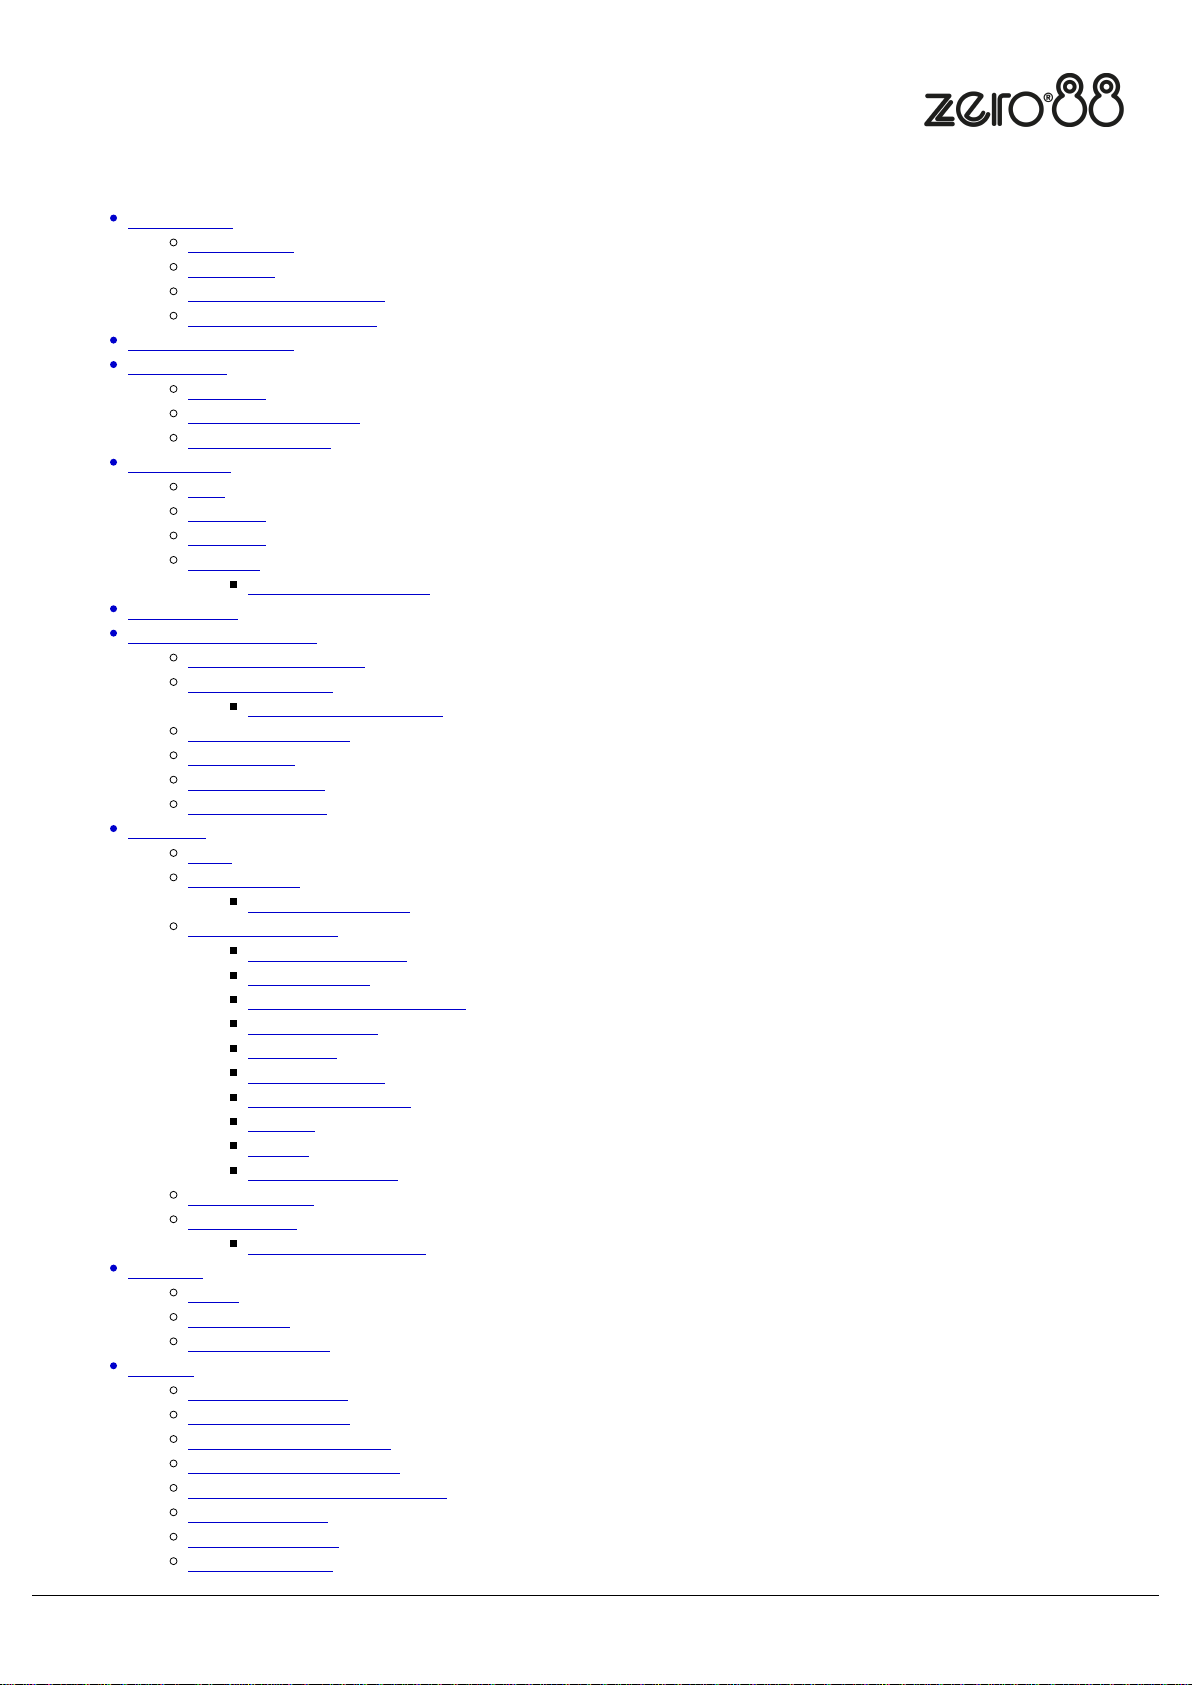
Zero88 FLX Series User manual

ZerOS
Introduction
Compliance
Revisions
Hardware Introduction
Software Introduction
Warnings & Safety
Quick Start
Patching
Controlling Fixtures
Recording Cues
Front Panel
FLX
FLX S48
FLX S24
Solution
Solution Introduction
ZerOS Wing
Desktops & Windows
FLX S Touchscreen
External Display
External Touchscreen
External Desktops
View Button
Output Window
Faders Window
Patching
DMX
Add Fixtures
Multi-Part Fixtures
Fixture Schedule
Selecting Fixtures
Patch Groups
Fixture Channel Number
Fixture Names
Alignment
Change Fixture
Edit DMX Address
DMX In
Syntax
Deleting Fixtures
ZerOS Library
Fixture Files
Fixture Editor Guide
Intensity
MFFs
Commands
Encoder wheels
Groups
Automatic Groups
Recording Groups
Using groups via touch
Using groups via syntax
Referencing Intensity Groups
Naming Groups
Updating Groups
Copying Groups
Zero 88 - ZerOS - Page 1 of 233 Printed: 23/11/2020 12:50:03 JH

Deleting Groups
Controlling Fixtures
Choosing an Attribute
Parameters
ColourPalettes
Picker
Faders
Filters
Beam
Shape
Position
Defaults
Home
Max Level
Attribute Settings
Tagging
Palettes
Automatic Palettes
Recording Palettes
Advanced Palettes
Using Palettes
Naming Palettes
Referencing Palettes
Updating Palettes
Copying Palettes
Deleting Palettes
EffectsAuto Effects
Effect Parameters
Programming Effect Palettes
Waveforms
Cues & Playbacks
Cues Window
Record Options
Snapshot & SmartTag
Tracking
Record Filters
Recording Cues
Cues Fade Times
Updating Cues
Update Options
Naming
Copying
Deleting
Cue Settings
Cue Triggers
Cue Macros
Chases
Chase Settings
Playback Settings
General
Chase
Raise and Lower
Move On Dark
Advanced
Special Playback Functions
Playing Back Cues
Running Cue Stacks
RGB Colour Mixing on Playbacks
User Definable Keys
Channel Data UDKs
Zero 88 - ZerOS - Page 2 of 233 Printed: 23/11/2020 12:50:03 JH

UDK Settings
Shortcut UDKs
Advanced UDKs
Parking
Highlight & Rem Dim
Macros
User Macros
Triggering Macros
Z Key Save Show
Lock
System Information
Guidance
Z Encoders
Blind
Setup Fixture Schedule
Add Fixtures
Save
Load
Settings
Desk Type
Displays
Operational
Attributes
Record & Update
Defaults
Universes
DMX
streamingACN
Art-Net
CITP
Remote Device Management
Desk Universes
Devices
Remote Apps
Tracking Backup
Art-Net Devices
Enttec USB to DMX Devices
Triggers
MIDI Timecode
MIDI Show Control
MIDI Notes
CAN
Remote Switches
Clear Options
Upgrade
Shortcuts
Keyboard Shortcuts
Phantom ZerOS
Networking
Building a Network
IP Addressing
DHCP
ZerOS Network Settings
Connecting to Capture
Example Systems
Using the Remote Apps
Wireshark
Software Updates
ZerOS USB Creator
Zero 88 - ZerOS - Page 3 of 233 Printed: 23/11/2020 12:50:03 JH

MBR
Technical Information
FLX & ZerOS Server
FLX S24 & FLX S48
Trouble Shooting
Test Mode
Reporting a problem
Startup Tool
Maintenance
Mechanical
Support
This manual is for all consoles in the FLX range, and other consoles running ZerOS.
This manual is correct as per ZerOS 7.9.8.
ZerOS is the operating software installed on all FLX range consoles. It is regularly updated to bring new features and
to keep your console stable and secure. Software updates are free of charge and can be downloaded from
zero88.com/zeros. It is recommended to always be running the latest release of ZerOS.
Zero 88 - ZerOS - Page 4 of 233 Printed: 23/11/2020 12:50:03 JH

Introduction
Thank you
Thank you for choosing the FLX Range by Zero 88 to fulfil your lighting control needs. We sincerely hope that your
console will bring you years of trouble free service. We make great efforts to build in reliability and serviceability at
every stage of our development and production processes and include a three-year limited warranty - giving you
peace of mind for your investment.
Our extensive dealer network can also provide you with technical service and sales support in your local language no
matter where you are in the world. If you have any questions, comments or problems our contact details can be found
at zero88.com/support Once again, thank you for choosing Zero 88.
This manual
This online manual describes the operation of each of the FLX range lighting control consoles and accessories running
the ZerOS operating software. It will also include tips for other consoles running ZerOS, such as Solution consoles.
For an overview of the Online Manual, take a look at this video.
For detailed information on each function, the manual has been
divided into chapters - one for each major area, which can be
navigated using the menu on the left-hand side. You can also search
the manual using the search bar top right, and print each page to PDF
by tapping "PDF", found just below the search bar.
Zero 88 - ZerOS - Page 6 of 233 Printed: 23/11/2020 12:50:03 JH

As each FLX range console is different, you can use the filter top right of the manual, so you only see the information
relevant to your console.
Zero 88 online manuals are updated regularly to ensure you have all the relevant information and useful tips. Check
out the Revisions section to see what has been added. If you see something that doesn't look right, or have
Conventions
Throughout this manual the following conventions are used:
References to physical front panel controls and buttons appear within a solid border, for example:
1 THRU 6 @ @ RECORD ENTER
References to “soft buttons”, which appear on the monitor, are displayed in italics, within a dotted border, as follows:
Defaults -> Playback Defaults -> Move On Dark -> Disabled
Compliance
FLX, FLX S48 & FLX S24 comply with the following standards:
EN 55032:2012: Electromagnetic compatibility of multimedia equipment - Emission Requirements
EN 61000-3-2:2014: Electromagnetic compatibility (EMC) Part 3-2: Limits — Limits for harmonic current
emissions (equipment input current ? 16 A per phase)
EN 61000-3-3:2013: Electromagnetic compatibility (EMC) - Part 3-3: Limits – Limitation of voltage changes,
voltage fluctuations and flicker in public low-voltage supply systems, for equipment with rated current <= 16 A
per phase and not subject to conditional connection
EN 55103-2:2009: Electromagnetic compatibility. Product family standard for audio, video, audio-visual and
entertainment lighting control apparatus for professional use - Immunity
EN 60950-1:2006/A2:2013: Information technology equipment. Safety. General requirements
Revisions
Change log of this manual
November 2020 - Manual compiled - ES - ZerOS 7.9.8
September 2020 - Manual created - ES - ZerOS 7.9.8
Hardware Introduction
Zero 88 - ZerOS - Page 7 of 233 Printed: 23/11/2020 12:50:03 JH

FLX
Designed to save you time and maximise your creativity, FLX is fully
featured, portable and easy to use. FLX supports “industry standard”
syntax, external triggering and advanced software & network functions.
FLX can control up to 8192 DMX channels, starting at 2048 as
standard, across 64 universes with no fixture limitations.
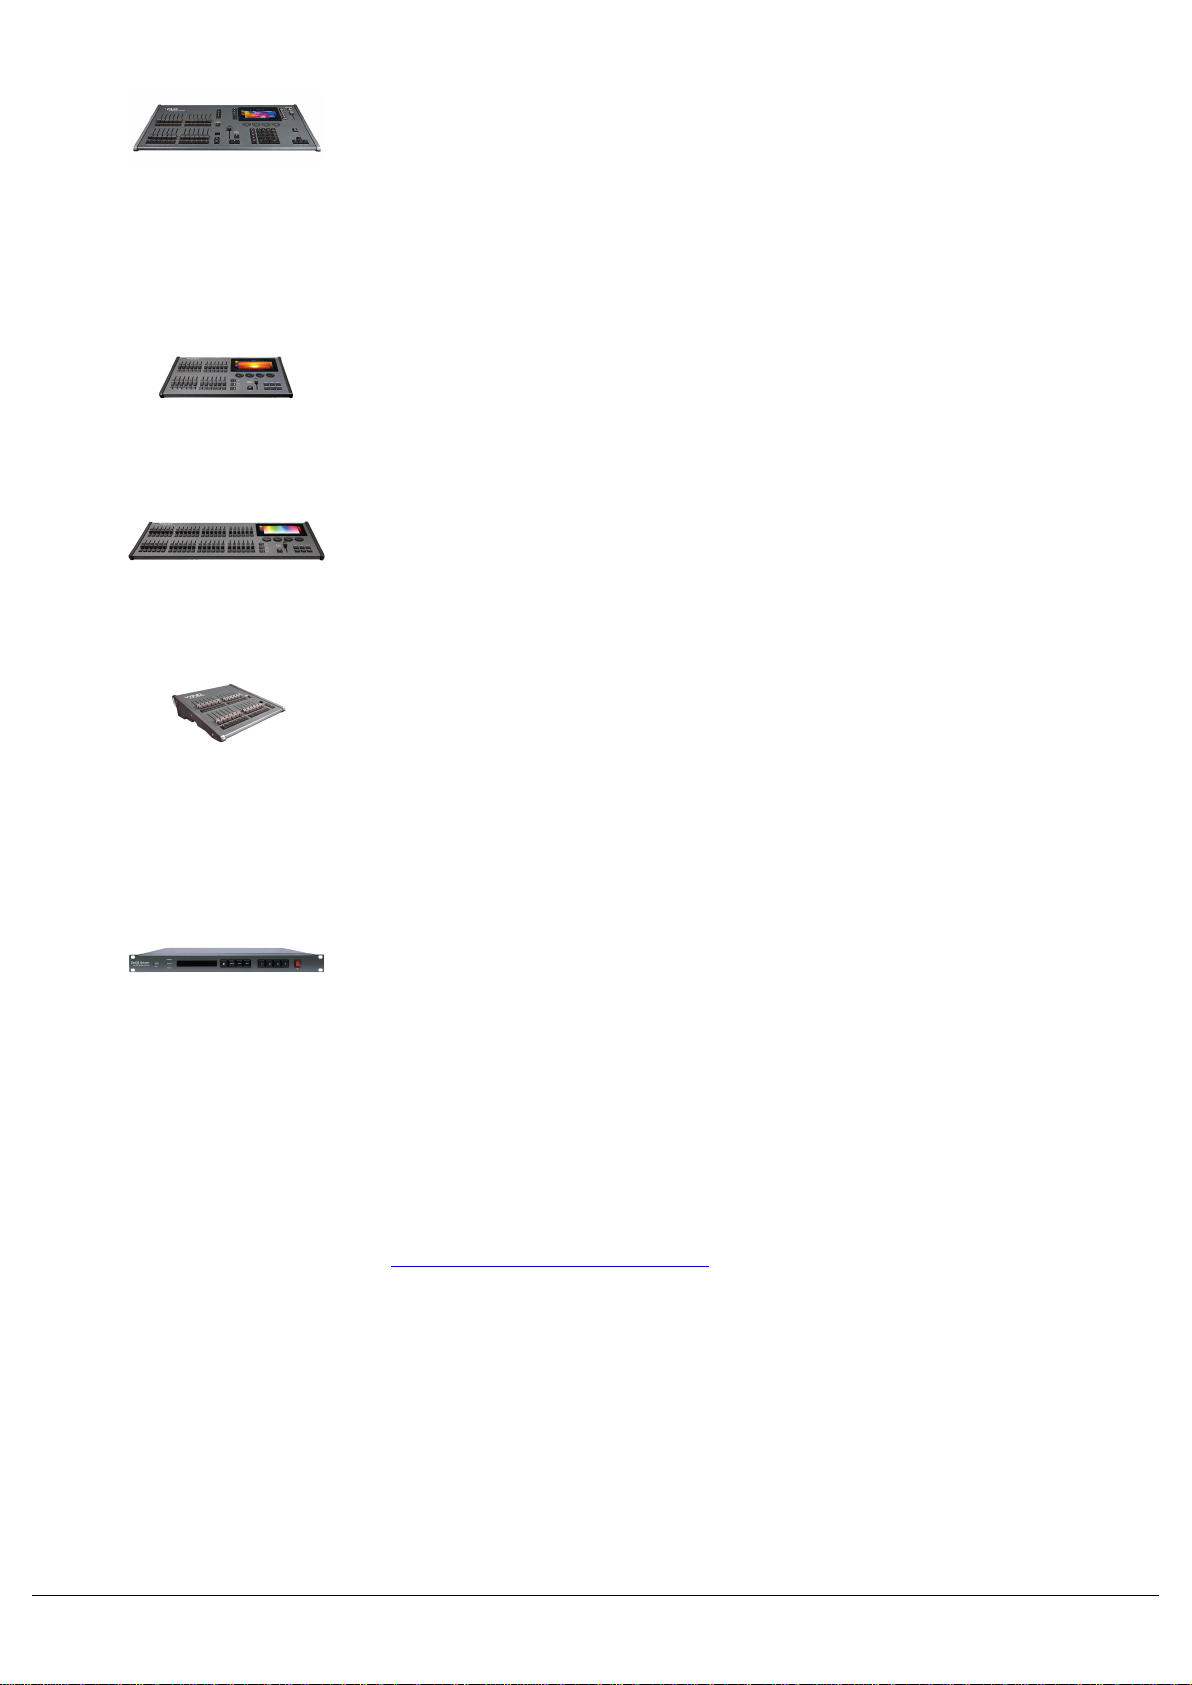
FLX S24
A powerful LED and moving light controller in a small 19” unit with
direct access to up to 48 fixtures in your rig.
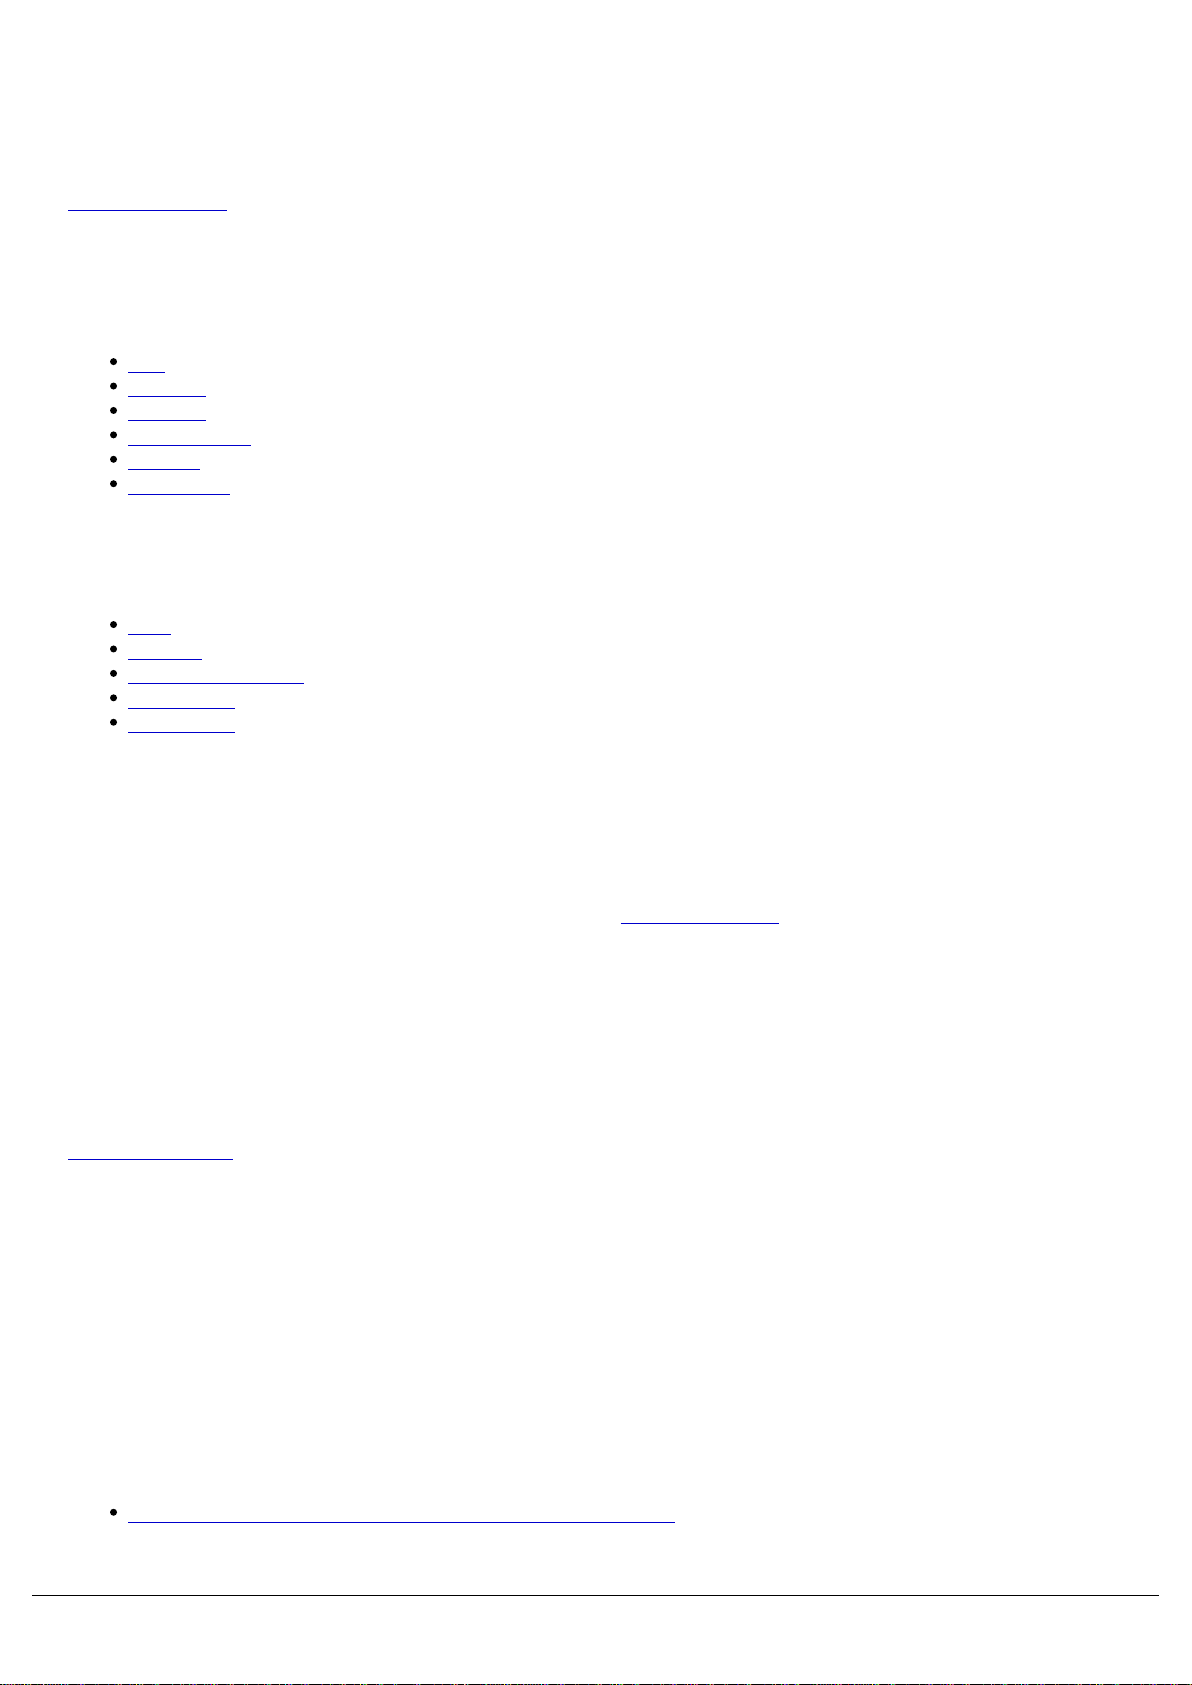
FLX S48
A powerful LED and moving light controller with direct access to up to
96 fixtures in your rig and a touch monitor output to provide quick
access to palettes and an overview of the show.
ZerOS Wing
ZerOS Wing can be added onto any ZerOS console, or Phantom
ZerOS - the offline PC editor, to increase the number of channels or
playback faders available. ZerOS Wing does not increase the total
number of playbacks or channels available, just the number of faders
available at any one time.
ZerOS Server
ZerOS Server is a 1U high DMX generator, running the ZerOS
Operating System and emulating an iCAN Source Controller Designed
to be used in both entertainment and architectural situations, the
ZerOS Server is able to backup FLX consoles or work stand-alone,
triggering entertainment style lighting via an architectural lighting
control network.
ZerOS Server can emulate any ZerOS console. Feature availability is
based upon whichever console it’s currently emulating. This manual is
written for ZerOS Server running as FLX. This is the default Desk Type
of ZerOS Server.
Click here for mounting instructions.
Software Introduction
Zero 88 - ZerOS - Page 8 of 233 Printed: 23/11/2020 12:50:03 JH

ZerOS
ZerOS is the operating software installed on all FLX Range consoles. It is regularly updated to bring new features and
to keep your console stable and secure. Software updates are free of charge and can be downloaded from
zero88.com/zeros. It is strongly recommended to always be running the latest release of ZerOS.
As well as the FLX range of consoles, other Zero 88 consoles also run ZerOS. This manual will therefore also be
applicable to other consoles running ZerOS too:
Current ZerOS Consoles:
FLX
FLX S24
FLX S48
ZerOS Server
Solution
Solution XL
Legacy ZerOS Consoles:
ORB
ORB XF
SCD Server (& Pro)
Leapfrog 48
Leapfrog 96
Phantom ZerOS
Phantom ZerOS is free software to download onto any Windows 10 PC, and can emulate any ZerOS console. Show
files can be loaded, saved and transferred to “real” consoles, useful to setup your show, or make slight changes while
you’re not at the console. “Phantom” can be downloaded from zero88.com/zeros.
ZerOS Library
At the heart of ZerOS is “ZerOS Library” – our comprehensive library which includes fixture definitions and details
about colour, gobo images and position information enabling ZerOS to present a unified set of controls, regardless of
the fixture being controlled. ZerOS Library is automatically updated with every ZerOS operating software update,
however it can also be updated independently if required. The latest library can be downloaded from
zero88.com/library
Apps
Wireless apps can be used to remotely control and monitor ZerOS consoles, available for free on iOS and Android
phones and tablets, along with Windows laptops and PCs. "ZerOS Remote" enables wireless control of your rig,
allowing you to manipulate, control and playback your shows. "ZerOS Monitor" emulates a wireless additional external
touchscreen monitor.
If you're on an iOS device...
Click here to go to the App store to download the Remote app
Zero 88 - ZerOS - Page 9 of 233 Printed: 23/11/2020 12:50:03 JH

Click here to go to the App store to download the Monitor app
If you're on an Android device...
Click here now to go to the Google Play store to download the Remote app
Click here now to go to the Google Play store to download the Monitor app
Zero 88 - ZerOS - Page 10 of 233 Printed: 23/11/2020 12:50:03 JH

Warnings & Safety
FLX range lighting consoles are designed for professional stage lighting control and are unsuitable for any
other purpose. They should be used by, or under the supervision of, an appropriately qualified or trained
person.
No naked flame sources, such as lighted candles or pyrotechnics, should be placed on or near the consoles
FLX range consoles should not be exposed to dripping or splashing, and no objects filled with liquids, such
as vases or drinks, should be placed on the console.
No user serviceable parts inside.
FLX range consoles must be earthed. Genuine Zero 88 PSUs must be used with FLX S consoles.
Zero 88 networking devices are designed for use within a dedicated, stand alone, private, local area network only,
for the sole purpose of transmitting and/or receiving nonsensitive entertainment lighting control data. Although
they utilize Ethernet networking, these devices should not be connected to the Internet.
Zero 88 - ZerOS - Page 11 of 233 Printed: 23/11/2020 12:50:03 JH

Quick Start
This chapter will cover the basics on how to control and program fixtures on ZerOS consoles. Each subject covered
here will have its own chapter available from the left hand side of the manual, which will cover everything about that
subject.
Turning the console on / off
The mains cable should be connected to the console before any other cables are connected. A safety earth is
provided through this connection to help protect both the user and the product if there’s a fault with anything plugged
into the console. If you are using an external monitor (FLX & FLX S48 only), plug this in prior to powering up the
console. Once done, turn on the power supply (FLX also includes a power switch on the rear panel) – the console will
run through its power up routine, which will take around 30 seconds.
To turn off FLX, simply turn off the power supply. You can choose to use the power switch on the rear panel, but this is
not required. There is no shut down procedure, and your current show will be saved automatically.
FLX S24 & FLX S48 users should ensure the “save icon” (top left of the internal touchscreen) is green before turning
the console off. Every time an update is made to the showfile, the icon will change to red for a couple of seconds and
then automatically return to green.
Let's get started...
Patching
Controlling Fixtures
Recording Cues
Patching
After powering your console for the first time, or after resetting the
console, or after a software update, there will be no fixtures patched.
This means your channel faders will not be controlling your rig, as
currently the console does not know what fixtures you may have.
If you connect RDM enabled fixtures to your FLX S24 or S48, they will
automatically be discovered and patched, thanks to RigSync. If you
wish to automatically discover RDM fixtures on FLX, tap Setup ->
Universes, and enable RigSync under Remote Device Management.
See the video for more information on RigSync.
If you don't have RDM enabled fixtures, you will need to patch your
fixtures manually. This means you need to tell the console which fader
you want to control which light, and how. This is done by pressing
Setup -> Add Fixtures. This takes you to the screen pictured, where
you will be able to find the required fixtures, and tap Next >.
Zero 88 - ZerOS - Page 12 of 233 Printed: 23/11/2020 12:50:03 JH

After tapping Next, you can then tell the console how many of these
fixtures you want, the fixture number/channel fader number you would
like to control these lights with, and the DMX address of the first
fixture. If you wish to patch multiple fixtures at once, and they are not
addressed sequentially, use the patch offset field.
You can then tap Finish, and the console will patch your fixtures. This
will show you the fixture schedule, with your new fixtures listed. This is
where you can edit your fixtures, such as give them custom names.
You can then exit Setup, and you will be able to control your lights.
Click here to go to the full Patching chapter to learn more.
Controlling Fixtures
The intensities of your fixtures can be controlled using the channel faders. To access the channel faders, ensure the
Fader Funct. button on the console is toggled to Channels. On FLX, you can also use syntax commands to control
the intensities of your fixtures.
Once on, you can then control your fixture's various controls, by using the attribute buttons. These will open as tabs
along the top of the internal touchscreen of FLX S, and are physical attribute keys on the right hand side of the FLX
touchscreen. Tapping these attribute buttons will open these attributes on the internal touchscreen. This will allow you
control the fixture's parameters with the encoder wheels, or the touchscreen controls. The console will also offer to
automatically create palettes, as quick shortcuts to control the different attributes.
You can store your common colours, beams, shapes and positions, by recording your own palettes. Do this by
controlling your lights, tap Record , and you will then be able to tap an empty palette marked with an asterisk on the
touchscreen.
The last tab that will be open on FLX S, and the attribute key to the bottom right of the FLX internal touchscreen, is the
Effect button. Tap this, and automatically create effects, to allow the console to create some effects for your
fixtures. Apply an effect on your lights, and use the encoders to adjust the effect, such as adjust the speed.
Click here to go to the full Controlling Fixtures chapter to learn more.
Recording Cues
Zero 88 - ZerOS - Page 13 of 233 Printed: 23/11/2020 12:50:03 JH

Once you have used the fixture controls to adjust your lights to how you need them, you can record your lighting state.
Programmed lighting states are called "Cues", and can be stored onto any playback fader. A playback fader can store
one, or many cues.
To store your lighting state, tap Record , and you will then be able to choose a playback fader. Use the Page
button to choose which playback page you store onto. Flashing playbacks indicate they are empty. Tap the button of
the playback you wish to store to. The Record key will turn off, meaning your lighting state has been saved.
To playback your lighting state, lower your channel faders. You will then need to ensure your Clear button is not lit.If
it is, it means your fixture controls are still controlling your fixtures, meaning your cue won't be able to access someof
the lights. Double tap Clear , and the clear button will no longer be lit. Now, ensure your channel faders are in
"playbacks" function using the Fader Funct. button. You do not need to adjust the fader function if you stored your
lighting state onto the Master Playback.
You can then raise your playback fader, and your lighting state will fade in.
You can adjust the timings of your cues, by pressing and holding View , and tapping the playback's button, to allow
you to see the cue you recorded onto that playback.
Click here to go to the full Cues & Playbacks chapter to learn more.
Zero 88 - ZerOS - Page 14 of 233 Printed: 23/11/2020 12:50:03 JH

Front panel definitions
Multi-Function Faders (MFFs)
FLX consoles are equipped with 24 Multi-Function Faders. These can quickly and easily be switched between theirtwo
functions (“Channels” and “Playbacks”) by using the Fader Funct. button.
Channels
When set to “Channels”, the faders directly control each light (or “fixture”) in the rig. Each fixture, no matter what it is,
will have a single “Channel Number”, and so will take up a single channel fader. FLX consoles have no fixture
limitation. The Page buttons can be used to switch the faders between fixtures (see below).
Playbacks (or cues, stacks, submasters or chases)
Lighting “states” (or “scenes”) can be pre-recorded, ready to be recalled later. They are called “cues”, and are
recorded onto “playbacks”. Each playback can store a single cue, or multiple cues. FLX consoles support 240
playbacks, plus the “Master Playback”. Traditionally, playbacks with a single cue have often been referred to as
“submasters” whereas playbacks with multiple cues have often been referred to as “cue stacks”. We simply call them
all playbacks.
Page
On FLX, the page buttons allow you to Page Up or Page Down through all the available Channels or Playbacks
(dependent on the current selection of the Fader Function button). You have a maximum of 99 pages in Channels, and
10 pages in Playbacks. Switching between “Channels” and “Playbacks” will automatically change the page to the page
you had previously selected when in that function.
Master Playback
For many shows, especially theatrical, a single playback is often used with a long list of pre-recorded cues. For these
situations, an additional “Master Playback” is provided. A double-width Play / GO button and a dedicated pause button
is included.
User Definable Keys (UDKs)
Four UDKs are provided and can be assigned to a range of functionality including recalling lighting states, Groups,
Palettes, and Effects, or accessing advanced functionality such as RemDim or Highlight.
Function keys
Function keys either perform functions themselves (like Home and View ), or change the functionality of other
buttons when pressed at the same time (like Setup and Shift ).
Command Keys
Command keys are used during programming to access commands such as Record , Update and Delete .
Attribute keys
Zero 88 - ZerOS - Page 16 of 233 Printed: 23/11/2020 12:50:03 JH

Fixture’s parameters are grouped together into four attributes for easy access and control. A fifth attribute, called
“Effect”, manipulates parameters to create effects such as “Circle”, “Ballyhoo”, “Lightning” and “Rainbow”. These five
attribute buttons can be found along the right hand side of the internal touchscreen.
Encoder wheels
Four encoder wheels are provided and used for accurate control of various settings. The settings currently being
controlled by the four encoders are displayed in the four boxes along the bottom of the touch screen, just above the
encoders. The button in the middle of each encoder is occasionally used to perform an additional, but related, task.
Numeric keypad
The main keypad area is made up of a standard numeric keypad. Channels can be controlled using either the keypad
or via the faders.
Grand Master & Blackout
The Grand Master fader allows you to temporarily decrease the overall intensity of all fixtures. In normal operation, the
Grand Master should be at 100%. The LED within the Black Out button flashes slowly when the Grand Master is at
any value other than 100%. The Black Out button takes all intensities to 0%. The LED within the button flashes
quickly when active. The function of this button can be switched between “Flash” and “Latch” by holding Setup and
pressing Black Out . When set to “Flash”, the button will only be active whilst being held whereas, when set to
“Latch”, the button will toggle between being active and turned off each time it’s pressed. Each time FLX is turned on,
the Grand Master is reset to 100% and Black Out is turned off, no matter the position of the physical fader.
KeyZ
The Key places a range of quick access settings & functions on the internal display and encoder wheels.Z
USB port
FLX consoles include a USB 2.0 port on the front panel. FLX also includes four other USB ports around the console.
USB ports can be used for:
Keyboard & Mouse (mouse on external monitor only)
Touchscreen (DVI-D required)
External Storage Devices (such as Memory Sticks)
ZerOS Wings
Enttec USB to DMX devices
USB desk lights
On FLX, the USB ports are “overload protected” in pairs. If a USB device tries drawing too much power, FLX will
disable that pair or ports until the device is unplugged.
FLX S48
Zero 88 - ZerOS - Page 17 of 233 Printed: 23/11/2020 12:50:03 JH

Zero 88 - ZerOS - Page 18 of 233 Printed: 23/11/2020 12:50:03 JH

Front panel definitions
Multi-Function Faders (MFFs)
FLX S48 consoles are equipped with 48 Multi-Function Faders. These can quickly and easily be switched between
their two functions (“Channels” and “Playbacks”) by using the Fader Funct. button.
Channels
When set to “Channels”, the faders directly control each light (or “fixture”) in the rig. Each fixture, no matter what it is,
will have a single “Channel Number”, and so will take up a single channel fader. FLX S48 has two pages of channel
faders, and can therefore control a maximum of 96 fixtures. The Page button can be used to switch the fadersbetween
fixtures (see below).
Playbacks (or cues, stacks, submasters or chases)
Lighting “states” (or “scenes”) can be pre-recorded, ready to be recalled later. They are called “cues”, and arerecorded
onto “playbacks”. Each playback can store a single cue, or multiple cues. FLX S48 consoles support 96playbacks,
plus the “Master Playback”. Traditionally, playbacks with a single cue have often been referred to as“submasters”
whereas playbacks with multiple cues have often been referred to as “cue stacks”. We simply call themall playbacks.
Page
On FLX S48, the page button allows you to switch between faders 1 – 48 and faders 49 – 96. Switching between
“Channels” and “Playbacks” will automatically change the page to the page you had previously selected when in that
function.
Master Playback
For many shows, especially theatrical, a single playback is often used with a long list of pre-recorded cues. For these
situations, an additional “Master Playback” is provided.
Function keys
Function keys either perform functions themselves (like View ), or change the functionality of other buttons when
pressed at the same time (like Setup and Shift ).
Command Keys
Command keys are used during programming to access commands such as Record , Update and Delete .
Encoder wheels
Four encoder wheels are provided and used for accurate control of various settings. The settings currently being
controlled by the four encoders are displayed in the four boxes along the bottom of the touch screen, just above the
encoders. The button in the middle of each encoder is occasionally used to perform an additional, but related, task.
/ Shift keyZ
Zero 88 - ZerOS - Page 19 of 233 Printed: 23/11/2020 12:50:03 JH

The Key places a range of quick access settings & functions on the internal display and encoder wheels. On FLX
S48, holding acts as “Shift”, changing the functionality of other buttons when pressed simultaneously.
ZZ
USB port
FLX S48 consoles include a USB 2.0 port on the front panel, and one other USB port on the rear of the console. USB
ports can be used for: Keyboard & Mouse (mouse on external monitor only), Touchscreen (DVI-D required), External
Storage Devices (such as Memory Sticks), ZerOS Wings.
FLX S24
Zero 88 - ZerOS - Page 20 of 233 Printed: 23/11/2020 12:50:03 JH
This manual suits for next models
3
Table of contents
Other Zero88 Music Mixer manuals