WZB-05ET User’s Manual
3
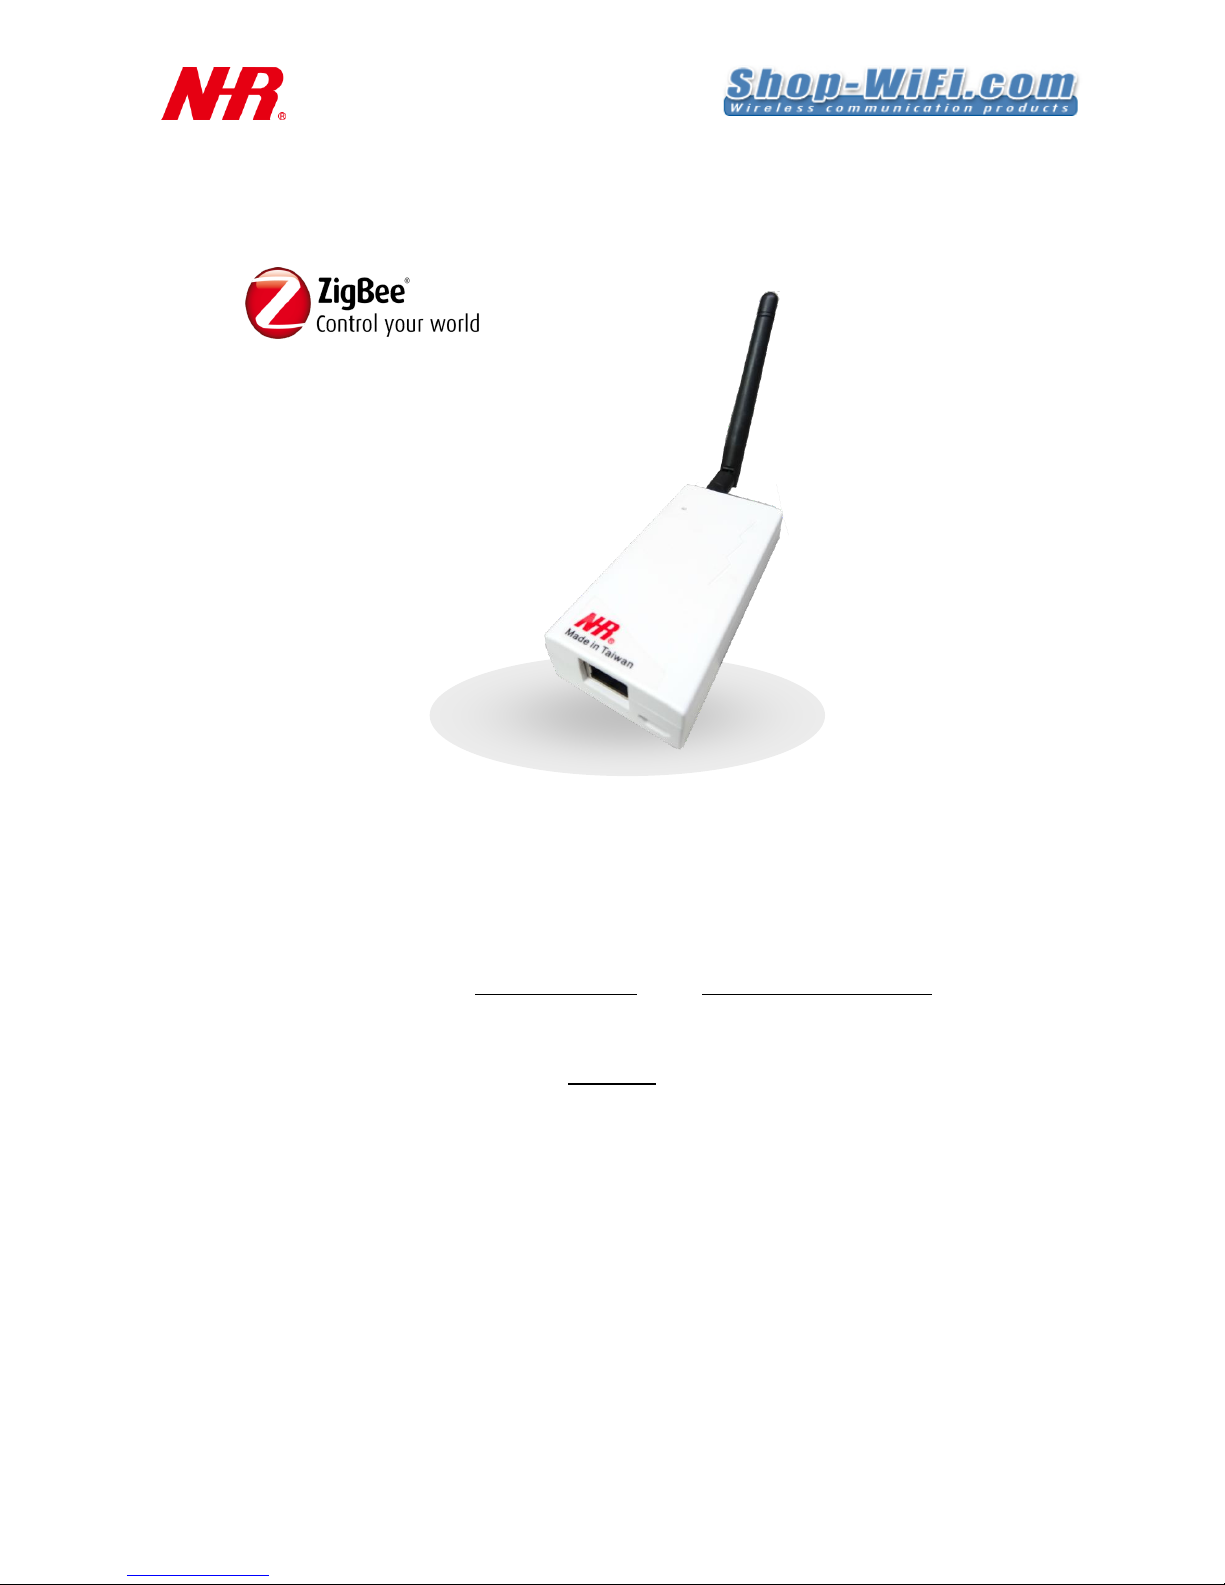
2 Installing Mounting for WZB-05ET
Requirements:
Mounting fixtures
Drill with 5mm (0.2 inches) drill bit size (if using wall plugs) or 3.5mm (0.14 inches) drill bit
size (if not using wall plugs)
Size 1 Phillips screwdriver
a) Locate WZB-05ET within 1.0m of AC mains socket and with at least 15cm (approx.. 6 inches)
spacing on each side (except on mounting side) avoiding the following sources of interference:
direct sunlight, air flow from vents, fans, doors, windows, heaters, sources of steam, oil vapor,
etc.
For installation using the mounting cradle –
b) If necessary, pre-drill mounting holes (use mounting cradle for alignment) with the appropriate
drill bit –5mm (approx. 0.2 inches) if using wall plugs or 3.5mm (approx. 0.14 inches) if not
using wall plugs.
c) If necessary, first insert wall plugs into the 2 holes, then use size 1 Phillips screwdriver to fasten
the screws securing the mounting cradle. Note: pay careful attention to the orientation of the
mounting cradle.
d) Install and remove WZB-05ET using the following 2-step action to ensure the mounting cradle
has been correctly and securely installed and WZB-05ET can be installed and removed.
For installation using the built-in hanging fixture –
b) If necessary, pre-drill mounting hole with the appropriate drill bit –5mm (approx. 0.2 inches) if
using wall plugs or 3.5mm (approx. 0.14 inches) if not using wall plugs.
c) If necessary, first insert the wall plug, then use size 1 Phillips screwdriver to fasten the screw,
leaving 2mm (0.08 inches) protruding for seating STH-M02ZB’s built-in hanging fixture.
d) Hang and remove WZB-05ET on the protruding screw to ensure it can be installed and removed.
Initial hardware installation for WZB-05ET has been successfully completed.