ZURN INDUSTRIES, LLC SPECIFICATION DRAINAGE OPERATION, 1801 PITTSBURGH AVENUE, ERIE, PA 16502 PHONE 814/455-0921 FAX: 814/454-7929 www.zurn.com
Page 39
HYDRANTS
Z1325 WALL HYDRANT Troubleshooting Guide
Z1325 Troubleshooting Guide
PROBLEM CAUSE SOLUTION
Hydrant will not operate when turning on Hot/cold water supply is shut off. Turn on hot/cold water supply.
hot/cold water.
Cannot turn the hydrant hot/cold on with key. Hydrant hasn’t been used for a long time – O-Ring Follow steps 1-2, 4, and 7-8 of the Service Guide.
has adhered to the operating screw and head.
Hot/cold water does not shut off completely Debris between seat and washer. Follow steps 1-3 and 6-8 of the Service Guide.
when hydrant is turned off. Clean by turning water supply on and flush hydrant.
Washer is worn out. Follow steps 1-3 and 5-8 of the Service Guide.
Wire draw in seat. Replace seat.
Hydrant hot/cold exhibits low flow. Hot/cold water supply to the hydrant is restricted. Check hot/cold water supplies to ensure that all
upstream valves are fully open.
Z1325 WALL HYDRANT Service Guide
Z1325 Service Guide
Step 1: Shutting Off the Water Supply to the Hydrant
Locate the supply shut-off valve and rotate until water supply is off.
Step 2: Removing the Face Nut and Adjacent Components
Using crescent wrench or 1-1/2 inch open-end wrench, remove the face nut
(4) from head (1) by turning counterclockwise.
Step 3: Removing the Internal Operating Assembly
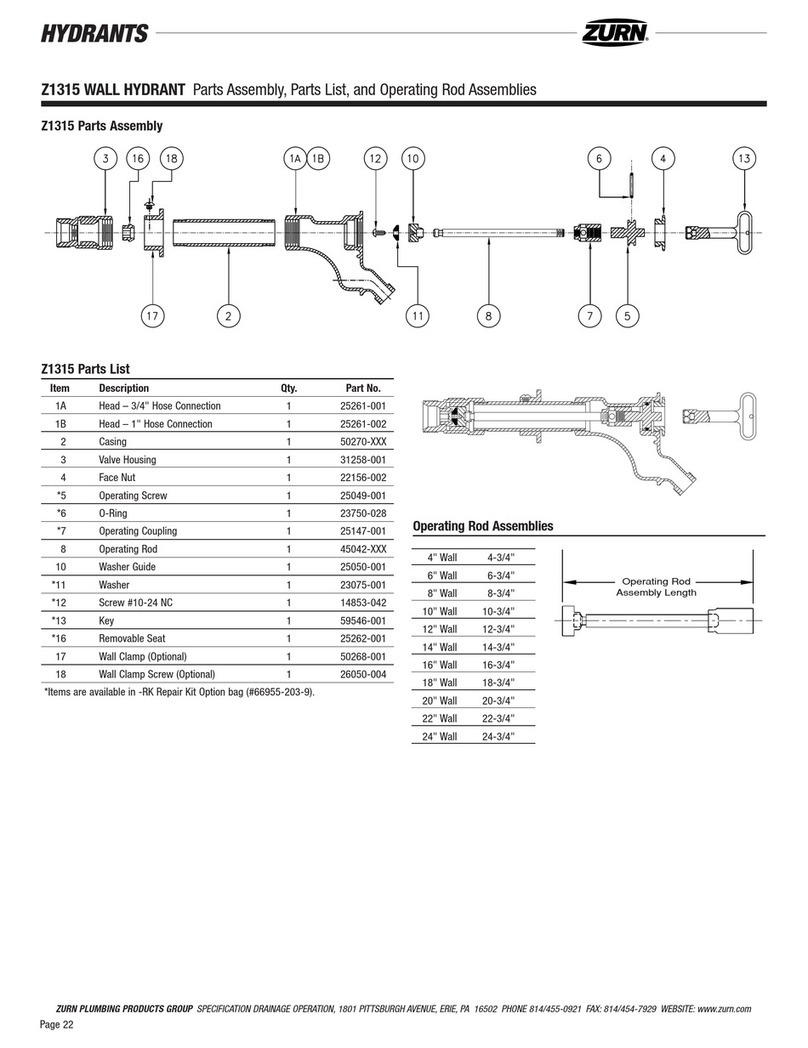
The internal operating assembly (5-8 and 10-12) can be removed by gripping
the square end of the operating screw (5) with a pair of pliers and pulling
straight out.
If the operating screw O-Ring was not the reason for service – skip to step 5.
Step 4: Replacing the Operating Screw O-Ring
Remove the operating screw (5) from operating coupling (7) by turning
clockwise and slip the old O-Ring (6) off, and replace with new O-Ring (6).
Reinstall operating screw (5) into operating coupling (7) by turning counter-
clockwise. (Note: Lubricate the operating screw (5) threads and the O-Ring
(6) with Lubriplate FGL-2 if needed.)
If the hydrant shutoff washer was not the reason for service – skip to step 8.
Step 5: Replacing the Hydrant Shutoff Washer
Remove #10-24 NC x 3/8 screw (12) using a flat screwdriver and turning
screw (12) counterclockwise, remove washer (11) and replace with new
washer (11) and new screw (12) turning screw clockwise until tight.
Step 6: Replacing the Internal Operating Assembly
There is a flat or a V-notched boss inside of the hydrant head (1) that keeps
the operating coupling (7) from rotating when hydrant is turned on and off.
With operating screw (5) turned counterclockwise into operating coupling
(7) until it stops, and making sure that a flat side or corner of operating
coupling (7) lines up with appropriate boss, reinsert the internal operating
assembly into the hydrant.
Step 7: Replacing the Face Nut
Insert face nut (4) into head (1), and rotate clockwise until hand tight, then
using a crescent wrench or 1-1/2 inch open end wrench, snug nut (4) tight.
Step 8: Turning On the Water Supply
Locate the water supply shut-off valve and rotate until water supply is on.
Instructions for Usage of 3/4" Adapter Vacuum Breaker (-VB)
The purpose of the adapter vacuum breaker is to provide positive backflow
protection of the hydrant and potable water supply to the hydrant. No plumbing
changes are required to install the vacuum breaker; it is simply threaded onto
the male hose threads on the nozzle portion of the hydrant. To prevent any
unauthorized removal or tampering of the vacuum breaker, it is furnished
with a break-away head setscrew.
In order to facilitate proper drainage of the hydrant and maintain the non-
freeze feature, the vacuum breaker must be manually tripped at the end of
hydrant usage. To do so, first ensure that the hydrant is turned off completely.
Remove the hose if one is attached to the hydrant. Gently place pressure on
the plastic tip of the vacuum breaker by tilting it to one side and holding in
this position. This will allow air to enter the hydrant, and subsequently, allow
water to draw out of the hydrant. Once the hydrant has completely drained,
release the plastic tip to its original position.
Failure to properly drain the hydrant of water after use may result in
freezing of the hydrant and damage to the hydrant components.


