RAPID TOASTER VCT-200
1
P/N 1010710 Rev. N 02/13
McDonald’s
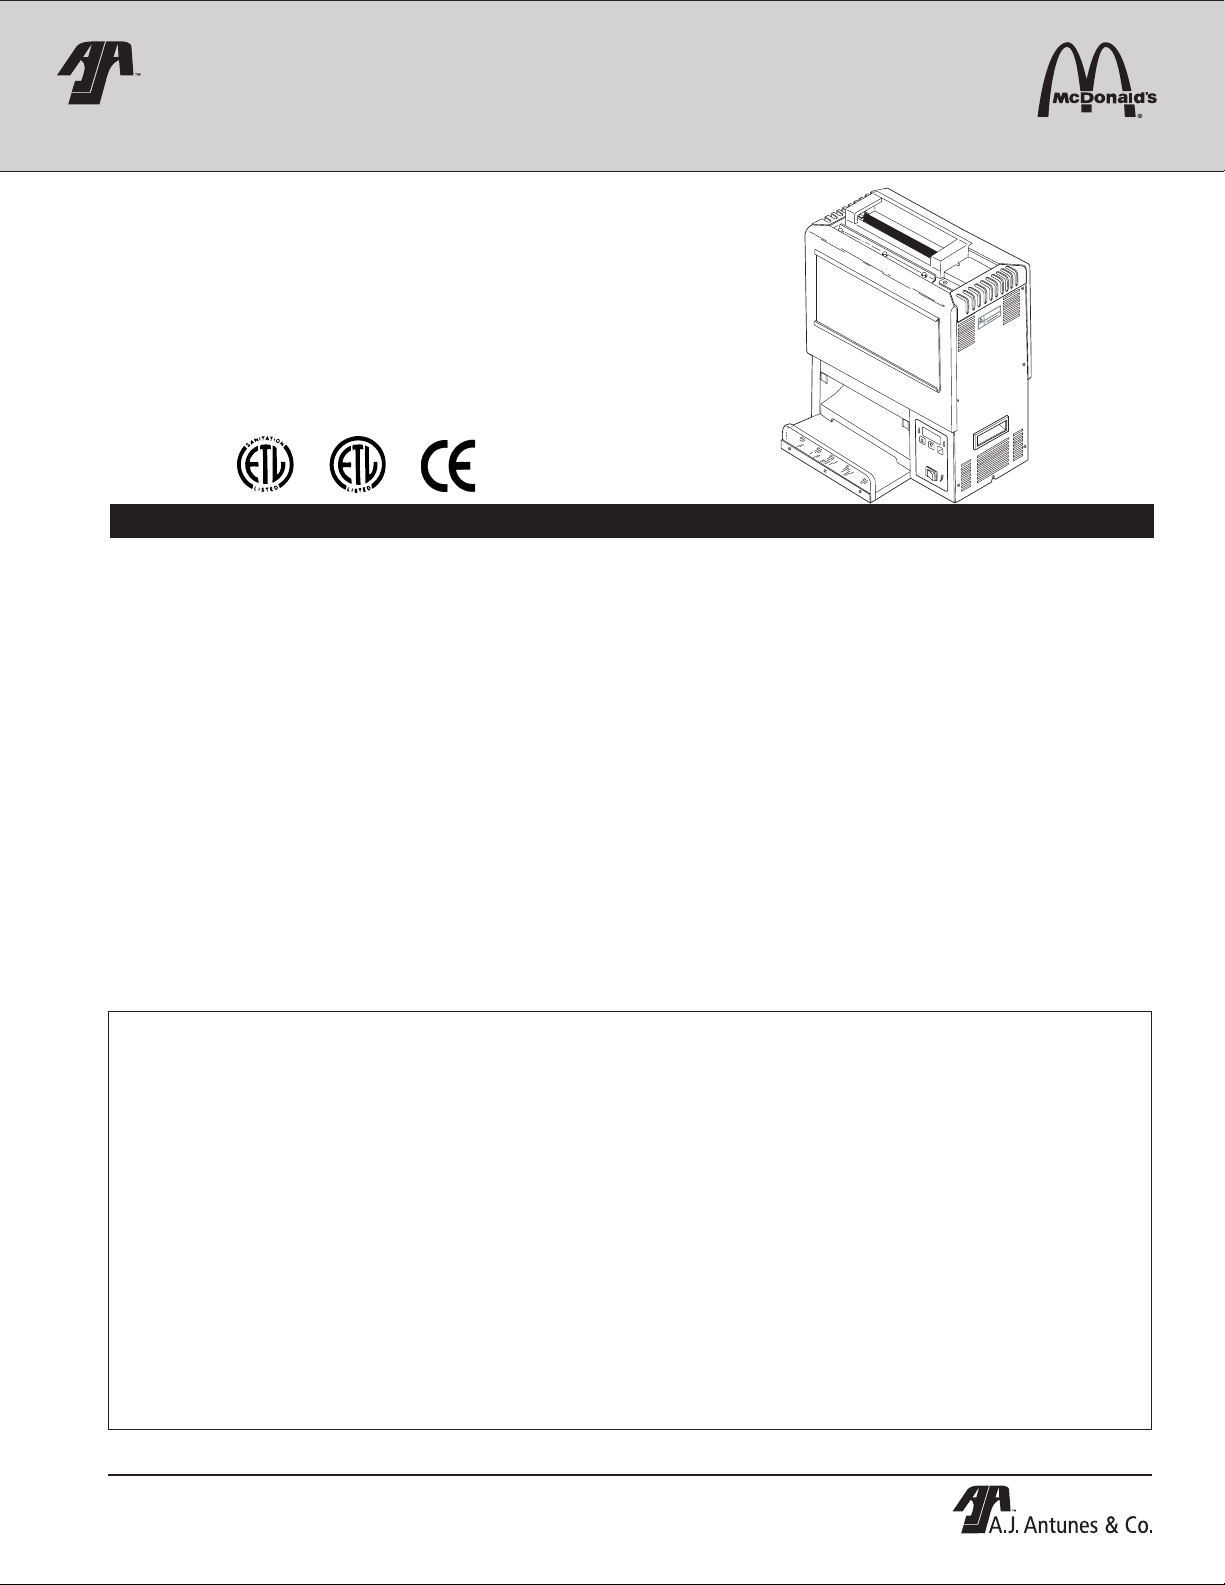
RAPID TOASTER
MODEL VCT-200
Manufacturing Numbers 9200500/502/504/512
POWER
TEMP
DOWN
TEMP
UP TEMP
SCALE
˚C
˚F
CAUTION
Place this manual in the Toaster section
of your Equipment Manual.
Manufactured exclusively for
McDONALD’S®
BY
A.J. ANTUNES & CO.
180 KEHOE BLVD.
CAROL STREAM, ILLINOIS 60188, U.S.A.
PHONE: 1-630-784-1000
TOLL FREE: 1-877-392-7854
FAX: 1-630-784-1650
www.ajantunes.com
TABLE OF CONTENTS
Owner Information .....................................................2
General......................................................................2
Warranty Information .................................................2
Service/Technical Assistance ....................................2
Specifications .............................................................3
Model Designation.....................................................3
Supplied Votages:......................................................3
Electrical Cord & Plug Configurations .......................3
Toasting Time Change...............................................3
Dimensions................................................................4
Weights......................................................................4
Important Safety Information ....................................5
Installation...................................................................6
Unpacking..................................................................6
Assembling the Unit ..................................................6
Location .....................................................................6
Operating Instructions ...............................................7
Toaster Operation ......................................................7
Fault Codes .............................................................10
Maintenance.............................................................. 11
Daily cleaning ..........................................................11
Monthly: Bun Temperature Test...............................12
Every Month: Replace Release Sheet Every Three
Months: Replace Groovy Belt Wraps, Clean and
Measure Conveyor Belts/Chains, Check Roller
Tensioners and Check Temperature of Bun Landing
Area. ........................................................................12
Measure the Conveyor Chains for Stretch .............13
Replacing Groovy Belt Wraps ................................14
Maintenance (continued) .........................................15
Adjusting, Measuring and/or Replacing Roller
Tensioner Assemblies..............................................15
Troubleshooting .......................................................16
Replacement Parts ..................................................20
Wiring Diagrams.......................................................25
NOTES .......................................................................27
This manual is for the exclusive use of licensees and employees of McDonald’s Systems, Inc..
© McDonald’s Corporation All Rights Reserved
LIMITED WARRANTY
The Antunes Food Service Equipment Division of A.J. Antunes & Co. provides the following limited warranty to the original purchaser of all McDonald’s Equipment.
All components are warranted against Manufacturer’s defects in the material and workmanship for a period of two (2) years from date of original installation not to
exceed 30 months from the date of shipment from our factory.
If any part becomes defective during the period of this Warranty, Antunes Food Service will pay negotiated straight time labor costs to an Authorized Service Agent to
replace the part, plus travel expenses up to 100 miles/160 km, 2 hours round trip.
Antunes Food Service reserves the right to make changes in design or add improvements on any products. The right is always reserved to modify Equipment
because of factors beyond our control and government regulation. Changes to Equipment do not constitute a warranty charge.
This warranty is exclusive and is in lieu of all other warranties, expressed or implied, including any implied warranty of merchantability or fitness for a particular pur-
pose, each of which is expressly disclaimed. The remedies described above are exclusive, and in no event shall A.J. Antunes & Co. or any of its Divisions be liable
for special consequential or incidental damages for the breach or delay in the performance of this warranty.
WARRANTY EXCLUSIONS
• ThecostofInstallation.
• Equipmentthathasbeendamagedduetoshipment.Purchasershould
make damage claim directly upon carrier.
• Alteration,misuse,abuse.
• Improperstorageorhandling.
• Impropermaintenance.
• FailuretofollowproperInstallationinstructions,includingelectrical
connection.
• Improperorunauthorizedrepairs.
• ScheduledMaintenanceproceduresasoutlinedinyourMRCCard.
• ThisWarrantydoesnotcoverConsumableitems.
• Waterpressureproblemsorcontaminationproblemssuchasforeignmaterial
in water lines or inside solenoid valves due to an incoming water source.
• OvertimeorHolidaycharges.
• Mileageover100miles/160kmround-trip,ortraveltimeovertwo(2)hours.
• Freight,foreign,excise,municipalorothersalesorusetaxes.
• Consequentialdamagessuchaslossofprofit,lossoftime,thecostof
repairing or replacing other property which is damaged, or any other
incidental damage of any kind.


