A&D MX-50 User manual

English
A&D MX-50 / MF-50 Instruction Manual

AND MX-50/MF-50 Instruction Manual
GB 2
1. Safety and Compliance . . . . . . . . . . . . . . . . . . . . . . . . . . . . . . . . . . . . . . . . . . . . . . . . . . . . . .3
2. Precautions . . . . . . . . . . . . . . . . . . . . . . . . . . . . . . . . . . . . . . . . . . . . . . . . . . . . . . . . . . . . . . .3
2.1. During Use . . . . . . . . . . . . . . . . . . . . . . . . . . . . . . . . . . . . . . . . . . . . . . . . . . . . . . . . . . . . . . .4
3. Outline and Features . . . . . . . . . . . . . . . . . . . . . . . . . . . . . . . . . . . . . . . . . . . . . . . . . . . . . . . .6
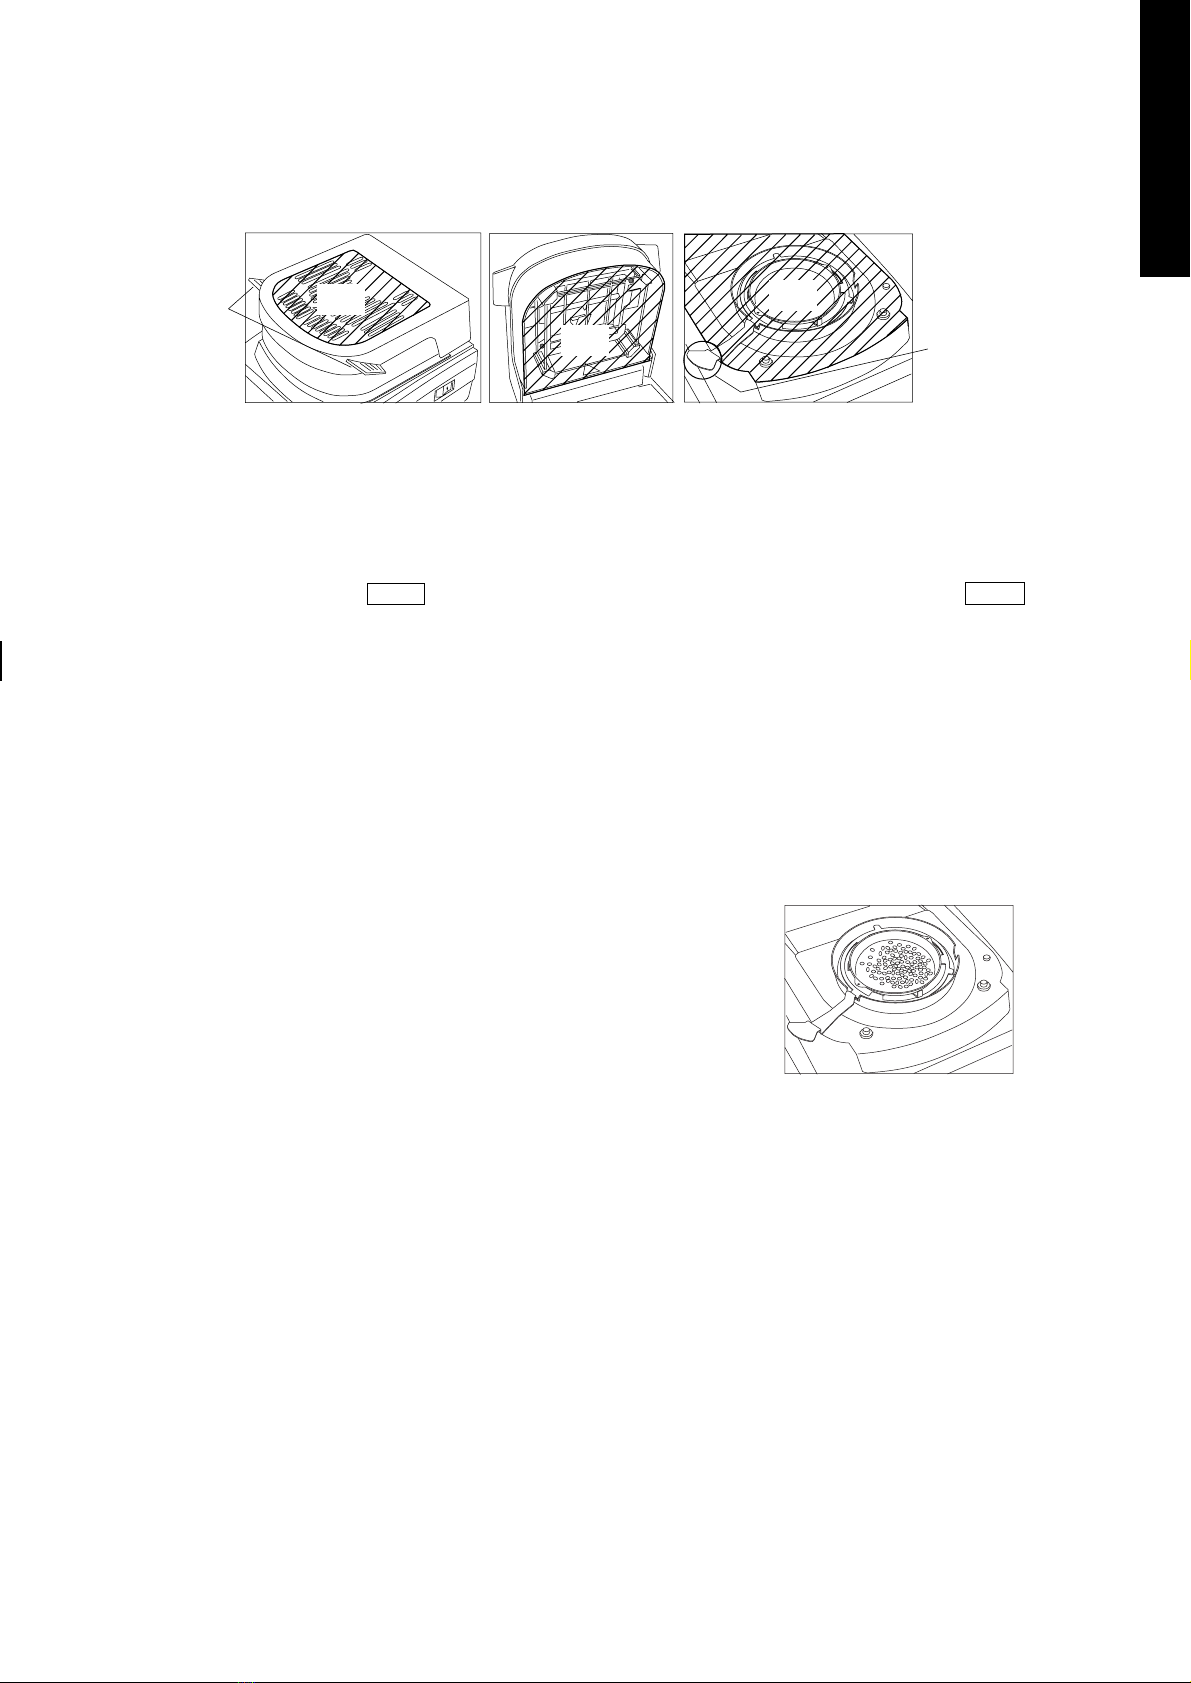
4. Packing List and Names of each part . . . . . . . . . . . . . . . . . . . . . . . . . . . . . . . . . . . . . . . . . .7
4.1. Display and Keys . . . . . . . . . . . . . . . . . . . . . . . . . . . . . . . . . . . . . . . . . . . . . . . . . . . . . . . . . .9
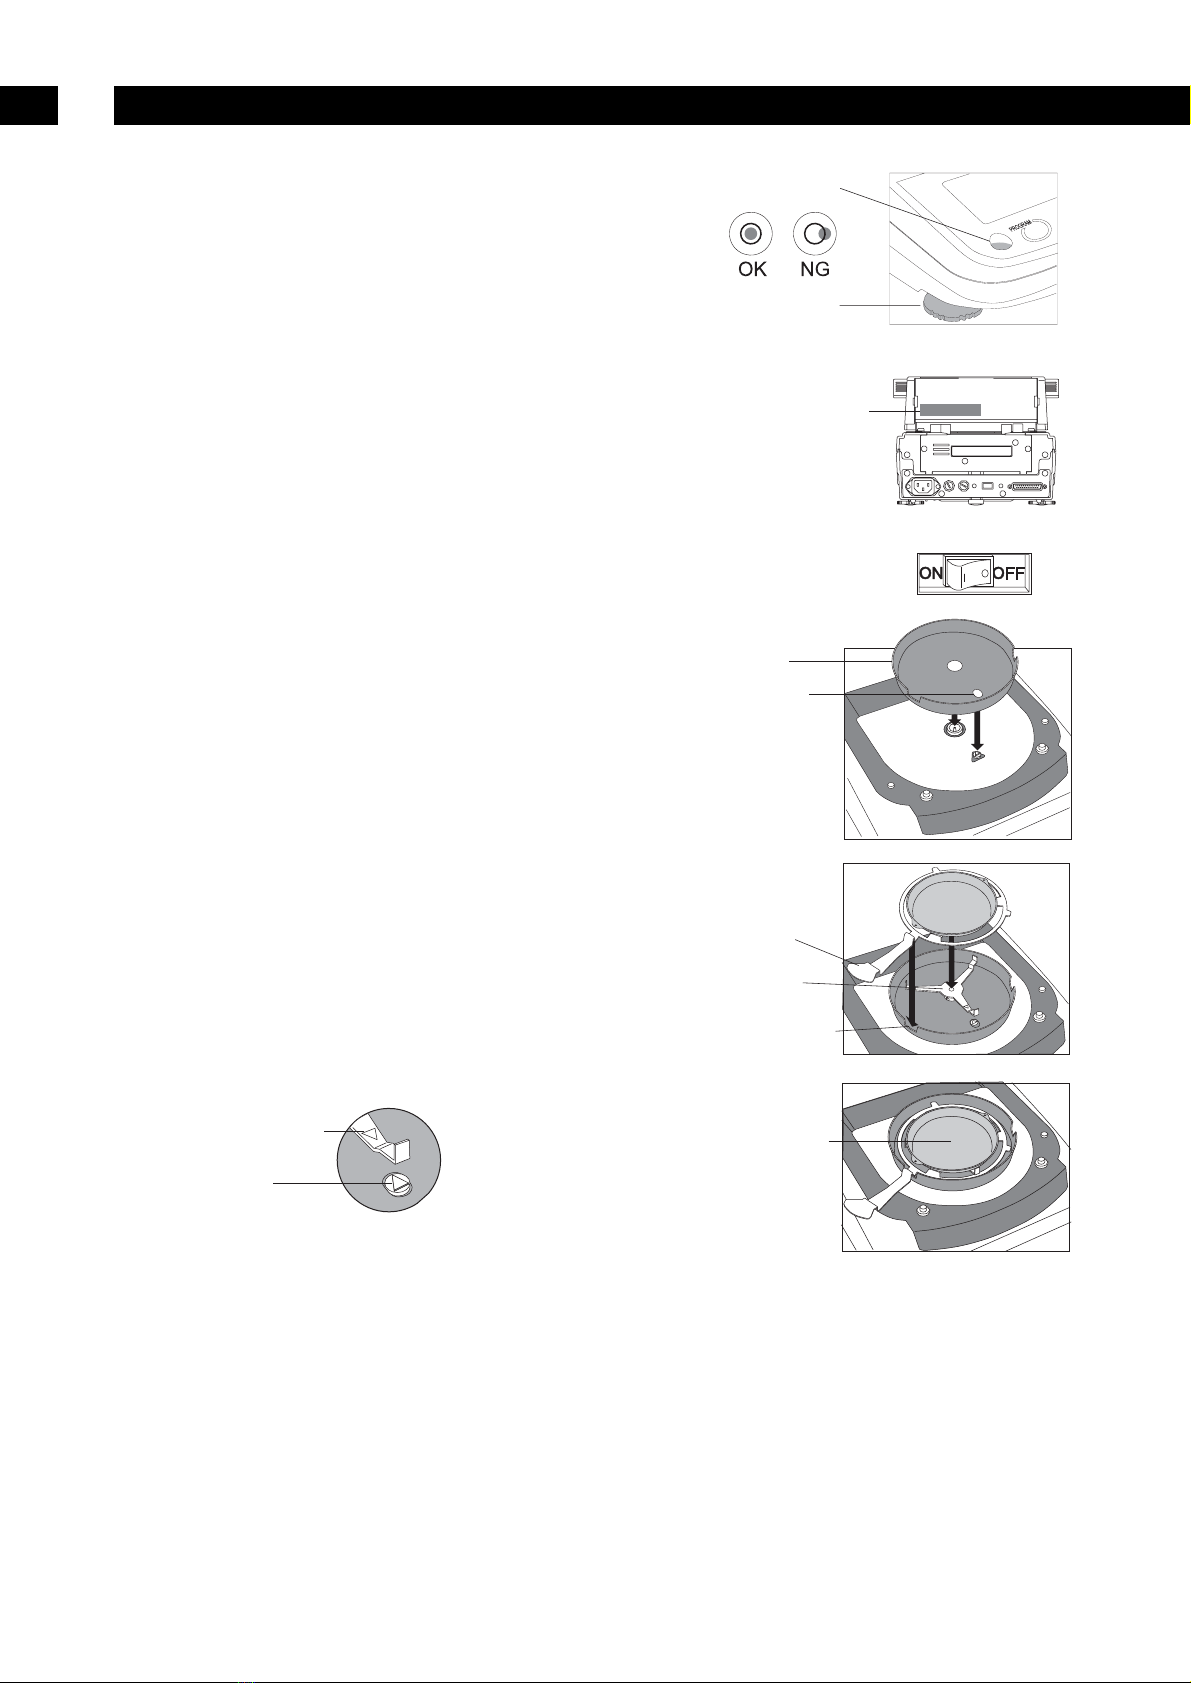
5. Preparations (Installation, Motion Check) . . . . . . . . . . . . . . . . . . . . . . . . . . . . . . . . . . . . . .10
5.1. Setting up the Instrument . . . . . . . . . . . . . . . . . . . . . . . . . . . . . . . . . . . . . . . . . . . . . . . . . . .10
5.2. Setting the Clock and Calendar . . . . . . . . . . . . . . . . . . . . . . . . . . . . . . . . . . . . . . . . . . . . . . .11
5.2.1. Operation . . . . . . . . . . . . . . . . . . . . . . . . . . . . . . . . . . . . . . . . . . . . . . . . . . . . . . . . . .11
5.3. Self-Test Function (Motion Check) . . . . . . . . . . . . . . . . . . . . . . . . . . . . . . . . . . . . . . . . . . . . .12
5.3.1. Operation . . . . . . . . . . . . . . . . . . . . . . . . . . . . . . . . . . . . . . . . . . . . . . . . . . . . . . . . . .12
6. Measurement Procedure . . . . . . . . . . . . . . . . . . . . . . . . . . . . . . . . . . . . . . . . . . . . . . . . . . .12
6.1. Standard Mode . . . . . . . . . . . . . . . . . . . . . . . . . . . . . . . . . . . . . . . . . . . . . . . . . . . . . . . . . . .12
6.2. Operation . . . . . . . . . . . . . . . . . . . . . . . . . . . . . . . . . . . . . . . . . . . . . . . . . . . . . . . . . . . . . . .13
7. Selection of Measurement Method . . . . . . . . . . . . . . . . . . . . . . . . . . . . . . . . . . . . . . . . . . .15
7.1. Measurement Condition . . . . . . . . . . . . . . . . . . . . . . . . . . . . . . . . . . . . . . . . . . . . . . . . . . . . .15
7.2. Operation in User Mode . . . . . . . . . . . . . . . . . . . . . . . . . . . . . . . . . . . . . . . . . . . . . . . . . . . . .16
8. Connecting to a Printer . . . . . . . . . . . . . . . . . . . . . . . . . . . . . . . . . . . . . . . . . . . . . . . . . . . . .18
9. Connecting to a Computer . . . . . . . . . . . . . . . . . . . . . . . . . . . . . . . . . . . . . . . . . . . . . . . . . .20
9.1. RS-232C Serial Interface . . . . . . . . . . . . . . . . . . . . . . . . . . . . . . . . . . . . . . . . . . . . . . . . . . . .20
9.2. Output Format . . . . . . . . . . . . . . . . . . . . . . . . . . . . . . . . . . . . . . . . . . . . . . . . . . . . . . . . . . .21
9.3. Command . . . . . . . . . . . . . . . . . . . . . . . . . . . . . . . . . . . . . . . . . . . . . . . . . . . . . . . . . . . . . .22
10. Data Memory Function . . . . . . . . . . . . . . . . . . . . . . . . . . . . . . . . . . . . . . . . . . . . . . . . . . . .23
10.1.1. Function Setting . . . . . . . . . . . . . . . . . . . . . . . . . . . . . . . . . . . . . . . . . . . . . . . . . . . .23
10.1.2. Output All Data at One Time . . . . . . . . . . . . . . . . . . . . . . . . . . . . . . . . . . . . . . . . . . . .24
10.1.3. Delete All Data at One Time . . . . . . . . . . . . . . . . . . . . . . . . . . . . . . . . . . . . . . . . . . . .24
11. Calibration . . . . . . . . . . . . . . . . . . . . . . . . . . . . . . . . . . . . . . . . . . . . . . . . . . . . . . . . . . . . . .25
11.1. Setting Identification Number (ID No.) . . . . . . . . . . . . . . . . . . . . . . . . . . . . . . . . . . . . . . . . . .25
11.1.1. Setting the ID Number . . . . . . . . . . . . . . . . . . . . . . . . . . . . . . . . . . . . . . . . . . . . . . .25
11.2. Calibration Adjustment of the Weighing Sensor . . . . . . . . . . . . . . . . . . . . . . . . . . . . . . . . . . .26
11.2.1. Operation . . . . . . . . . . . . . . . . . . . . . . . . . . . . . . . . . . . . . . . . . . . . . . . . . . . . . . . . .26
11.3. Calibration of Drying Temperature for MX-50 . . . . . . . . . . . . . . . . . . . . . . . . . . . . . . . . . . . . .27
11.3.1. Operation . . . . . . . . . . . . . . . . . . . . . . . . . . . . . . . . . . . . . . . . . . . . . . . . . . . . . . . . .28
12. Function Table . . . . . . . . . . . . . . . . . . . . . . . . . . . . . . . . . . . . . . . . . . . . . . . . . . . . . . . . . . .30
12.1.1. Operation . . . . . . . . . . . . . . . . . . . . . . . . . . . . . . . . . . . . . . . . . . . . . . . . . . . . . . . . .30
Contents
0

GB 3
English
13. Maintenance . . . . . . . . . . . . . . . . . . . . . . . . . . . . . . . . . . . . . . . . . . . . . . . . . . . . . . . . . . . .32
13.1.1. Replacement of the Halogen Lamp . . . . . . . . . . . . . . . . . . . . . . . . . . . . . . . . . . . . . . .32
13.2. Factory Settings . . . . . . . . . . . . . . . . . . . . . . . . . . . . . . . . . . . . . . . . . . . . . . . . . . . . . . . . .33
13.2.1. Operation . . . . . . . . . . . . . . . . . . . . . . . . . . . . . . . . . . . . . . . . . . . . . . . . . . . . . . . . .33
13.3. Troubleshooting . . . . . . . . . . . . . . . . . . . . . . . . . . . . . . . . . . . . . . . . . . . . . . . . . . . . . . . . . .34
13.4. Error Messages . . . . . . . . . . . . . . . . . . . . . . . . . . . . . . . . . . . . . . . . . . . . . . . . . . . . . . . . . .35
14. Specifications . . . . . . . . . . . . . . . . . . . . . . . . . . . . . . . . . . . . . . . . . . . . . . . . . . . . . . . . . . .36
14.1. Dimensions . . . . . . . . . . . . . . . . . . . . . . . . . . . . . . . . . . . . . . . . . . . . . . . . . . . . . . . . . . . . .37
14.2. Accessories and Peripheral Equipment . . . . . . . . . . . . . . . . . . . . . . . . . . . . . . . . . . . . . . . . .37
15. Index . . . . . . . . . . . . . . . . . . . . . . . . . . . . . . . . . . . . . . . . . . . . . . . . . . . . . . . . . . . . . . . . . .38
WARNING
• Do not use samples that may generate a toxic or explosive gas or that may react unexpectedly to heat.
• Keep flammable materials away from the analyser and do not place materials on the heater cover. Parts
of the analyser become very hot and may ignite such material.
• Do not use the analyser in areas where vapours, gas or dust could be ignited which could cause fire or
explosion.
• Electric shock can result if the power switch is not turned off when replacing the halogen lamp. Turn off
the power switch and remove the power cord from the power outlet. Electrodes of the halogen lamp are
connected to high voltage.
• Do not disassemble the analyser. It may result in malfunction causing an electric shock or fire. If the
analyser needs service or repair, contact the local A&D dealer.
• Avoid getting the analyser wet. It may result in malfunction causing an electric shock or fire. The instru-
ment is not water-resistant.
CAUTION
• Do not touch the heater cover, the halogen lamp, glass-housing, pan handle, sample pan or analysed
sample without adequate heat protection. Parts of the analyser become very hot soon after the mea-
surement. For operation, handle the specified handles of heater cover and use sample pan-handle.
• Do not touch parts affixed the mark, because they may become very hot.
• Hard surface samples, i.e. whole maize, may explode if measured without special treatment in advance.
• When used in an environment where the ambient temperature is not stable the drying time may need to
be altered.
The operating range specification is 5°C to 40°C (41°F to 104°F), 85%RH or less (no condensation)
Safety and Compliance
1

AND MX-50/MF-50 Instruction Manual
GB 4
Precautions
2
2.1. During Use
For Safe Measurement
Operate the analyser using the following procedure.
• Place the sample pan in the correct position.
• Hold the handle of the heater cover to open or close.
• Use the sample pan handle to move the sample pan.
• The glass-housing becomes very hot,do not touch until cool.
• The sample pan and pan handle can get very hot at the end of a
test, allow them to cool before handling.
• Use the tweezers or spoon to move the sample.
Heater cover
handle
Sample pan
handle
Glass-
housing
Sample
pan
Breeze
break ring
Compliance with FCC rules
Please note that this equipment generates, uses and can radiate radio frequency energy. This equipment
has been tested and has been found to comply with the limits of a Class A computing device pursuant to
Subpart J of Part 15 of FCC rules. These rules are designed to provide reasonable protection against
interference when this equipment is operated in a commercial environment. If this unit is operated in a
residential area, it may cause some interference and under these circumstances the user would be
required to take, at his own expense, whatever measures are necessary to eliminate the interference.
(FCC = Federal Communications Commission in the U.S.A.)
Compliance with Council Directives
This device features radio interference suppression and safety regulation in compliance with the
following Council Directives
Council directive 89/336/EEC EN61326 EMC directive
Council directive 73/23/EEC EN61010-1 Low voltage directive

GB 5
English
Hot
Hot
Hot
Handle
Handles and Hot parts
The following points become hot during and soon after measurements.
Other precautions
• When the drying temperature is set to 200°C, the thermostat may cut the power of the halogen lamp
after 30 minutes. The next measurement can be started only when the halogen lamp has cooled down.
• When a measurement time exceeds one hour, the maximum temperature is automatically regulated
down to 160°C for safety.
• During measurement, the STOP key is always effective. If there is an error or danger, press the STOP key.
• Turn the power switch off immediately should the sample catch fire.
For accurate measurement
• The working place for the analyser should be solid and free from vibration, drafts and as level as possible.
• Install the analyser where it is not affected by heaters, air conditioners or air flows.
• Keep the analyser away from equipment that generates magnetic fields.
Pre-treatment of sample
• Break grain samples into small, uniform pieces this will avoid explo-
sion and help the drying process.
• Spread the sample on sample pan as evenly as possible.
• Apply an optimal sample weight. If the sample weight is too small,
precise results may not be possible.
• To repeat measurements, keep the same sample weight.
• It is highly recommended to pre-heat the analyser before the first
sample measurement.
• Place the sample only on a sample pan kept at room temperature. When a sample is put on a hot
sample pan, results may be errertic.
• The glass fibre sheet (accessory AX-MX-32) is availble for measurement of liquid samples.
Calibration sample (Sodium tartrate dihydrate, Na2C4H4O6•2H2O )
• Use the calibration sample to check the analysing process and accuracy of the analyser.
Sodium tartrate dihydrate contains a theoritical moisture 15.66% in the molecule. However, the cali-
bration sample may absorb ambient moisture and show higher, up to 0.09%, moisture content above
it`s theorical value.
• Recommended measurement for the calibration sample is followed by preheating process of 8 min-
utes at 160°C, set the condition to 160°C, MID. in standard mode. Sample volume is 5g. The result is
usually between 15.50 % and 16.00 %. Refer to "Select a Unit" of section 7.2.
• The same calibration sample can not be used again.
Hot
Hot
Hot
Sample
pan handle
Handle

AND MX-50/MF-50 Instruction Manual
GB 6
• The moisture analyser MX-50 and MF-50 are built using a super hybrid sensor (S.H.S.) originaly
designed for high resolution laboratory balances. Therefore, the result is more precise and reliable.
• An analyser with S.H.S. needs a sample mass of only a few grams and this makes the measurement
time shorter.
• A 400W halogen lamp is used as the heating source and the temperature on the sample pan may
reach 200°C in as quick as two minutes.
• The Standard Mode (Refer to section 7.1) can easily provide the moisture content at high accuracy
automaticaly using pre-set conditions.
• There are three User Modes that the user can quickly set their own measurement parameters.
Automatic mode When the Drying Rate (change of moisture content per unit of time %/s) becomes
less than the preset value, the measurement will be automatically completed.
Timer mode The sample is dried for a preset time period.
Manual mode This user can terminate the measurement by pressing the STOP key.
• The analyser can store and recall individual measurement settings. Maximum numbers of setting
stored in the analyser differs by model.
Maximum number MX-50 20 sets
MF-50 10 sets
• The Data Memory can store measured results and can transfer the data to PC or a printer at a later
time. Maximum numbers of data possible, stored in the analyser, differs by model.
Maximum number MX-50 results of 100
MF-50 results of 50
• The software "WinCT-Moisture", an accessory of the MX-50, has 3 separate software programs
– RS Key can allow data from the moisture balance to be placed into any Windows based program.
– RS Com can allow the remote control of the analyser from a PC and will record data into it’s own
text sheet.
– RS Fig can graphically show the change of moisture content and other information to a connected
PC in realtime.
• The software "WinCT", an accessory of the MF-50, has 2 software programs RS Key and RS Com as
described above.
• The analyser is equipped with a serial interface as standard for connection to a printer or a PC.
• The calibration of the weighing part of the analyser can be adjusted using calibrated weights.
• The temperature calibration of the MX-50 can be adjusted using the dedicated temperature calibrator
(AX-MX-43).
• The analyser can output GLP, GMP and ISO compliant data to a printer at the end of either calibration
process.
• The analyser has a self test function that can detect functional errors.
• The analyser displays the Drying Rate, [%/ min], during measurement. It can be used as a reference to
find suitable analysing modes.
• Sample pans can be used repeatedly if traces of the previous sample are completely removed.
• A calibration sample of Sodium tartrate dihydrate is supplied as a standard accessory to check the
function and accuracy of the moisture analyser.
• A reference card can be found underneath the analyser for quick reference.
Outline and Features
3

GB 7
English
• Keep the packing box to transport the analyser.
Name of Parts:
Packing List and Names of each part
4
Handle of heater cover
Bubble level
Keys
Reference card
Display
Power supply label
(on the back panel)
Heater cover
Handle of heater cover
Power switch
Sample pan handle
Leveling foot
Sample pan
Sample pan handle
Breeze break ring
Halogen lamp
Glass-housing
Power input
Fuse, T6.3A 250V Fuse, T100mA 250V
RS-232C serial interface

AND MX-50/MF-50 Instruction Manual
GB 8
Standard Accessories:
Caution
Please confirm that the instrument is correct for your local voltage, plug type and power cord.
Sample pan
(20 pieces)
Pan support
Pan handle
(2 pieces)
Breeze
break ring
Dust cover
Instruction
manual
Fuse,
T100mA 250V
Fuse,
T6.3A 250V
Display cover
Power cord
RS-232C serial interface cable
(for MX-50)
Calibration sample
Sodium tartrate dihydrate, 30g
Spoon
Tweezers
CD-ROM
WinCT-Moisture (for MX-50)
WinCT (for MF-50)

GB 9
English
4.1. Display and Keys
* Drying rate: Change of moisture content per unit of time [%/min.]
Keys Function and action
PROGRAM Used to select the program number
SELECT Selects items in measurement condition
Changes the current setting
ENTER Stores a selected setting. Execution of output
START Start measurement
STOP Stop measurement
RESET Sets the display to 0.000 g. Cancel key.
PROGRAM ENTERSELECT RESET
START
STOP
1
2 4 5
6
7
3
8
9
Name
1Condition No.
Data No.
2 Accuracy
3 Operation indicator
4 Level indicator
5 Target weight or Drying rate*
6 Unit
7 Value
8 Temperature of sample pan
9 Time
Standard Mode
State Meaning
Gram display Program Number
Storing data Number of results in Memory
Indicates accuracy of measurement
Indicator of heater cover, sample and drying process
Quick reference of sample weight
Gram display Target weight of sample [g]
During measurement Current drying rate [%/min.]
Display of preset unit
Gram display Sample weight [g]
During measurement Current moisture content
Gram display Set temperature
During measurement Current temperature
Set time. Process time
Lights when heater cover is closed
Blinks during measurement.
Disappears when not measuring
Sample mark: Lights when the
sample is 0.1 g or more.
PROGRAM
SELECT
ENTER
START
STOP
RESET

AND MX-50/MF-50 Instruction Manual
GB 10
5.1. Setting up the Instrument
1. Level the analyser by adjusting the height of the feet and
con firm it by using the level bubble.
2. Confirm that the power switch is in the "OFF" position.
3. Connect the power cord.
4. Align the guide holes of the Breeze Break to the guides
on the body.
5. Hook the pan handle into the cut out of the rim of the
breeze break ring.
6. Place the pan support. Align ∆signs
of the pan support and the body.
Preparations (Installation, Motion Check)
5
Leveling foot
Level Bubble
Voltage label
Power switch
Breeze break
Align the guides
Sign ∆on pan support
Sign ∆on body
Pan support
Pan handle
Hook the tong to
cut out of the rim
Sample pan

5.2. Setting the Clock and Calendar
Adjust the built-in clock and calendar before use.
5.2.1. Operation
1. Turn on the analyser.
The display will show 0.000 g.
2. Press and hold the SELECT key until CL Adj
appears on the display.
3. Press the ENTER key to display the calendar.
Example: 15.04.02 (15th April, 2002)
4. To skip the adjustment.
Press the or key to proceed step 5.
To adjust the calendar.
Press SELECT key. Adjust calendar using the
following keys.
SELECT key . . .Selects a figure.
, key . . . .Selects a value.
ENTER key . . . .Stores the current date and
proceeds to step 5.
RESET key . . . .Cancels the adjustment and
proceeds to step 5.
Symbols and arrangement of the calendar
yñd . . . . .Year, month, day
ñdy . . . . .Month, day, year
dñy . . . . .Day, month, year
The arrangement of the calendar is used for the
report of GLP, GMP and ISO.
5. Time is displayed.
6. To finish adjustment.
Press the RESET key to proceed step 7.
To adjust the clock.
Press SELECT key. Adjust clock using the
following keys.
SELECT key . . .Selects a figure.
, key . . . .Selects a value.
ENTER key . . . .Stores time and proceeds to
step 7.
RESET key . . . .Cancels the adjustment and
proceeds to step 7.
7. When completing the adjustment, dp is displayed.
Press the RESET key to return to the weighing
mode.
GB 11
English
0.000
SELECT
Cl adj
dP
RESET
RESET
0.000
ENTER
ENTER RESET
02.04.15
yñd
SELECT
Date adjustment
SELECT
02.04.15
ENTER RESET
12:34:56
SELECT
Time adjustment
SELECT
12:34:56
yñd
To time

AND MX-50/MF-50 Instruction Manual
GB 12
5.3. Self-Test Function (Motion Check)
Use the self-test function to check functionality and accuracy of the analyser.
5.3.1. Operation
1. Turn on the analyser.
The display will show 0.000 g.
2. Press and hold the PROGRAM key until CH appears.
3. Place the breeze break ring, pan support, pan handle
and sample pan in order. (Leave sample pan empty)
Close the heater cover.
Press the ENTER to start the test.
Example: CLOSE is displayed.
"Heater cover is open. Close the cover to start the test."
4. Normal test needs approximately one minute.
Good result: CH pa55 is displayed few seconds and
buzzer sounds. The analyser returns to weighing mode
automatically.
Error: Buzzer is beeped out.
An error code is displayed.
Example: CH no , error 0 or Ht err
0.000
0.000
PROGRAM
CH
CH . . .
ENTER
CH pa55
6.1. Standard Mode
The Standard Mode provides measurements of moisture content, simply by selecting desirable accuracy
and drying temprature. All other conditions are pre-set in the Analyser.
Accuracy
The accuracy of measurement can be selected from HI, MID. or LO. Sample mass and final drying rate
are automatically set by ACCURACY.
In the Standard Mode, the measurement will be completed when the Drying Rate become less than the
value set for ACCURACY.
Value and conditions set for each ACCURACY.
ACCURACY Use Sample mass
Drying Rate to Terminate measurement
MX-50 MF-50
HI Precise result 10 g 0.02 %/min 0.05 %/min
MID 5 g 0.05 %/min 0.10 %/min
LO Quick measurement 1 g 0.10 %/min 0.50 %/min
Note: There is a user mode that can set the measurement parameters in detail.
Refer to "7.Selection of Measurement Method".
Measurement Procedure
6

Drying Temperature
The drying temperature can be set between 50°C and 200°C at 1°C intervals. This represents the tem-
perature at the sample pan.
When the measurement time exceeds one hour, the drying temperature will be reduced to 160°C auto-
matically.
6.2. Operation
1. Turn on the analyser.
The display will show 0.000 g.
Select the Standard Mode
2. If ACCURACY is displayed, the standard mode is
already in place. In this case, proceed to step 3.
Press the SELECT key several times and press
the or key to select Std .
Select ACCURACY
3. Press the SELECT key to display ACCURACY .
4. Press the or key to select HI, MID. or LO for
ACCURACY. To store the parameters and finish
the operation, proceed to step11.
Set the Drying Temperature for the Sample Pan
5. Press the SELECT key to select the drying
temperature.
6. Press the or key to select the temperature.
To store the parameters and finish the operation,
proceed to step11.
Select a Unit (Refer the Unit Chart at 7.1)
7. Press the SELECT key to select unit.
8. Press the or key to select the unit.
To store the parameters and finish the operation,
proceed to step11.
Set the Decimal Point (for % or g)
9. Press the SELECT key to select decimal point.
10. Press the or key to select the decimal point.
To store the parameters and finish the operation,
proceed to step11.
Store Parameters and Finish the Operation
11. Press the ENTER key to store the parameters.
The weighing mode is automatically displayed.
GB 13
English
SELECT
1
105
5.0
0.000
5td
105 0.01
0.01
5td
105
1.0
0.01
0.01
5td
130
1.0
SELECT
SELECT
ENTER
end
1
130 0.000
5.0
5td
130
1.0
5td
130
1.0
1.0
U-R
105 0.01
0.05
SELECT
SELECT
Press several times
Standard mode
Accuracy
Temperature
Unit
Decimal Point

AND MX-50/MF-50 Instruction Manual
GB 14
Placing the Sample
12. Set the breeze break ring, pan support, sample
pan handle and sample pan. (With no sample.)
13. Close the heater cover.
14. When the weighing value on the display
becomes stable, press the RESET key. Avoid
mechanical vibration, breeze or environmental
noise during measurement. If it deviates from
zero display, press the RESET key.
15. Open the heater cover.
16. Remove the sample pan, using the sample
pan handle and replace when sample has
been added.
Caution
The sample needs to be more than 0.1 g.
Spread the sample evenly on the sample pan.
Start the Measurement
17. Close the heater cover. Press the START key
after the weight value has become stable.
Finish the Measurement
18. When the Drying Rate reaches to the preset
value, the measurement is completed and the
buzzer beeps.
ENTER key . . .Result will be transferred to
connected Printer or PC.
RESET key . . .Result will be deleted and
display returns to the weighing mode.
19. Open the heater cover and remove the sample
using pan handle.
Caution: Sample pan may be hot.
To repeat measurements using the same
condition, proceed to step 12.
To change condition, proceed to step 3.
2.05
0.10
START
130 6.43
3.1
end
130 14.43
30.0
1
130 0.000
1.0
RESET
RESET
1
130 0.002
1
130 1.023
1.0
1
130 0.000
1.0
1.0
Preparation
Close
Sample
needs to be
more than
0.1 g.
Segment will
llight when
sample
weight is.
Level
indicator
Close
Temperature
of the pan
Drying rate
Time
Current value
Result
Remove
sample

GB 15
English
7.1. Measurement Condition
The Analyser provides one Standard Mode and three User Modes with pre set measurement conditions.
List of Measurement Conditions
* When measurement is started and it passes one hour, maximum
temperature is automatically regulated to 160°C for safety.
Drying Rate: Change of moisture content per unit of time.
Example of standard mode
Unit Chart:
Display Data Formula Unit
Moisture content is based on W. *1(W - D) / W x 100 % MOIST/W
Moisture content (Atro) is based on D. *2(W - D) / D x 100 % MOIST/D
Solid D / W x 100 % RATIO D/W
Ratio *2 W / D x 100 % RATIO W/D
Gram value G
W: Wet sample mass D: Dried sample mass
*1: Factory settings
*2: When result reaches to 999%, measurement will be terminated.
Storage of Measurement Condition
The analyser can store and recall measurement program that consists of mode, drying temperature,
complete condition, unit and decimal point.
Maximum number MX-50 20 sets (Program number: PROG 1 to 20)
MF-50 10 sets (Program number: PROG 1 to 10)
This function is operated by the program number (PROG), and can store and recall individual settings
already stored.
Measurement conditions of all program numbers are pre-set to that of the Standard Mode at the factory.
Selection of Measurement Method
7
Mode and Display Measurement Conditions
ACCURACY Sample Mass Analysing Process
Drying Temperature
Standard Mode HI
Measurement condition is automatically selected by
5td MID.
ACCURACY. When Drying Rate becomes less than preset
LO
termination value, measurement is completed automatically.
Automatic
When Drying Rate becomes less
50°C to 200°C*
Mode
than preset value, measurement
U-A is completed automatically.
User
Timer Mode
Arbitrary value
Sample is dried for a preset time.
Setting interval is
Mode U-t 0.1g to 50g 1 min. to 480 min. 1°C
Manual Measurement is completed by
Mode the STOP key. Arbitrary time.
U-ñ Max. 480 min.
5td
140

AND MX-50/MF-50 Instruction Manual
GB 16
7.2. Operation in User Mode
Example
– How to store a drying process for recall in memory
Program number 2 (PROG 2)
Measurement program
Automatic mode (U-a)
Drying temperature 160°C
Analysing mode 0.02%/min (Drying Rate to
complete the measurement)
1. Turn on the analyser.
The display will show 0.000 g.
Select a Program Number to Store and Recall the
Measurement Condition
2. Press the PROGRAM key and press the or key
to select program number 2.
3. Press the ENTER key to use the number.
4. The analyser displays end and returns to the weighing
mode.
Select the Automatic Mode
5. Press the SELECT key several times and press the
or key to select U-A . (Timer mode selects U-t .
Manual mode selects U-m . )
Set the Drying Temperature
6. Press the SELECT key to select the drying
temperature and press the or key to set 160°C.
Set the Analysing mode
7. Press the SELECT key to select the analysing mode
and press the or key to set 0.02[%/min]. To store
the parameters and finish the operation, proceed to
step 12. (Timer mode sets the drying time. Manual
mode proceeds to the next step. )
Select the Unit (Refer the Unit Charter at 7.1)
8. Press the SELECT key to select unit.
9. Press the or key to select the unit.
To store the parameters and finish the operation,
proceed to step 12.
Select the Decimal Point
10. Press the SELECT key to select decimal point.
11. Press the or key to select decimal point.
To store the parameters and finish the operation,
proceed to step 12.
Store Parameters and Finish the Operation
12. Press the ENTER key to store the parameters.
The weighing mode is automatically displayed.
End
ENTER
End
ENTER
1
105
1.0
0.000
2
2
105 0.000
PROGRAM
SELECT
5.0
U-A
105
0.05
0.01
SELECT
U-A
160
0.05
0.01
SELECT
U-A
160
0.02
0.01
SELECT
U-A
160
0.02
SELECT
U-A
160
0.02
0.01
Program
number
Automatic
Mode
Drying
Temperature
Value to
complete
measurement
Decimal
Point

GB 17
English
2
160
0.02
0.000
2
160
0.02
0.000
2
160
0.02
0.000
2
160
0.02
5.002
160
3.05
6.43
21.0
21.0
160
0.02
14.43
RESET
RESET
START
Preparation
Close
Sample
needs to be
more than
0.1 g.
Segment will
llight when
sample
weight is.
Close
Temperature
of the pan
Drying rate
Time
Current value
Result
Remove
sample
Place the Sample
13. Set the breeze break ring, pan support, sample pan
handle and sample pan in order. (Do not put in a
sample.)
14. Close the heater cover.
15. When displaying a stable value, Press the RESET
key. Avoid mechanical vibration, breeze and
environmental noise during measurement. If the
display deviates from zero, press the RESET key.
16. Open the heater cover. Remove the sample pan,
using the sample pan handle and replace when
sample has been added.
Caution
The sample needs to be more than 0.1 g.
Spread the sample evenly on the Sample Pan
Start the Measurement
17. Close the heater cover. Press the START key after
the weight value becomes stable.
18. If the SELECT key is pressed during measurement,
other units can be displayed.
Completing the Measurement
19. When the Drying Rate reaches the preset value, the
measurement is completed and the buzzer beeps.
ENTER key . . . . .The result will be transferred to
printer or PC.
RESET key . . . . . .The result will be deleted and the
display returns to the weighing mode.
20. Open the heater cover and remove the sample.
To repeat measurement using the same setting,
proceed to step 13.
To change the conditions, return to step 2.

AND MX-50/MF-50 Instruction Manual
GB 18
Connecting to a Printer
8
– The analyser can be connected to dedicated statistical impact printer (AD-8121) using the
RS-232C interface. This enables records to be produced which are compliant to GLP, GMP and ISO
standards.
GLP: Good Laboratory Practice,
GMP: Good Manufacturing Practice,
ISO: International Organisation for Standardisation
– The statistical calculation of the result and change of Drying Rate can be printed using the statistical
function of the AD-8121.
– Use the standard AD-8121 accessory cable.
Printer Setting List
Purpose Analyser settings AD-8121 settings
Prt 5-d info
Statistical calculation 0, 1 0 0, 1 MODE 1
Chart of change of moisture 2 0 0, 1 MODE 2
content per unit of time Interval printing or chart printing
Data for GLP, GMP and ISO 0, 1, 2 0 1 MODE 3 Dump printing
Refer to "12. Function Table" for detail of settings.
Read the instruction manual of the printer.
Statistical impact printer (AD-8121)
Accessory cable of AD-8121
Connect to RS-232C
interface of the analyser.

GB 19
English
– The analyser can also be connected to basic impact printer (DP-1012) using the
RS-232C interface. This also enables records to be produced which are compliant to GLP, GMP and
ISO standards.
GLP: Good Laboratory Practice,
GMP: Good Manufacturing Practice,
ISO: International Organisation for Standardisation
– Use the standard DP-1012 balance cable.
Printer Setting List
Purpose Analyser settings DP-1012 settings
Prt 5-d info
Data for GLP, GMP and ISO 0, 1, 2 0 1 Data bits 7
Parity Even
Baud-rate 2400
Country U.K.
Print mode Text
Auto-off Disabled
Emulation Standard
DTR Normal
Refer to "12. Function Table" for detail of settings.
Read the instruction manual of the printer.
Compact dot-matrix printer (DP-1012)

AND MX-50/MF-50 Instruction Manual
GB 20
– The analyser can be connected to a computer using the RS-232C interface.
– The analyser is DCE (Data Communication Equipment).
Use a straight-through type cable.
The MX-50 has the following accessory cable for RS-232C. If it is necessary to connect a cable to the
MF-50, purchase the cable accessory AX-MX-40.
– The MX-50 has accessory software "WinCT-Moisture" for Microsoft Windows that can draw a graph of
the Drying Rate and other information on a connected PC. Refer to "Readme.txt" on the CD-ROM for
the details.
– The MF-50 has the accessory software " WinCT" for windows. It can transmit data to a PC that is
working on Microsoft Windows, to monitor data and to check the measurement condition.
9.1. RS-232C Serial Interface
RS-232C Serial Interface
– Transmission system EIA RS-232C
– Transmission form Asynchronous, bi-directional, half duplex
Data format Baud rate 2400bps
Data bits 7bits
Parity EVEN
Stop bit 1bit
Code ASCII
Terminator CR LF (CR: 0Dh, LF: 0Ah)
Bit format
Connecting to a Computer
9
Analyzer side
D-Sub 25 pins
Male connector
Metric screw thread
Computer side
D-Sub 9 pins
Female connector
Inch screw thread
RS-232C cable included in standard accessory MX-50
Length 2 m, straight-through type
Start bit
Data bits Stop bit
Parity bit
RS-232C
-5V to -15V
+5V to +15V
Other manuals for MX-50
1
This manual suits for next models
1
Table of contents
Other A&D Measuring Instrument manuals