9
1
2
3
4
5
6
7
8
8
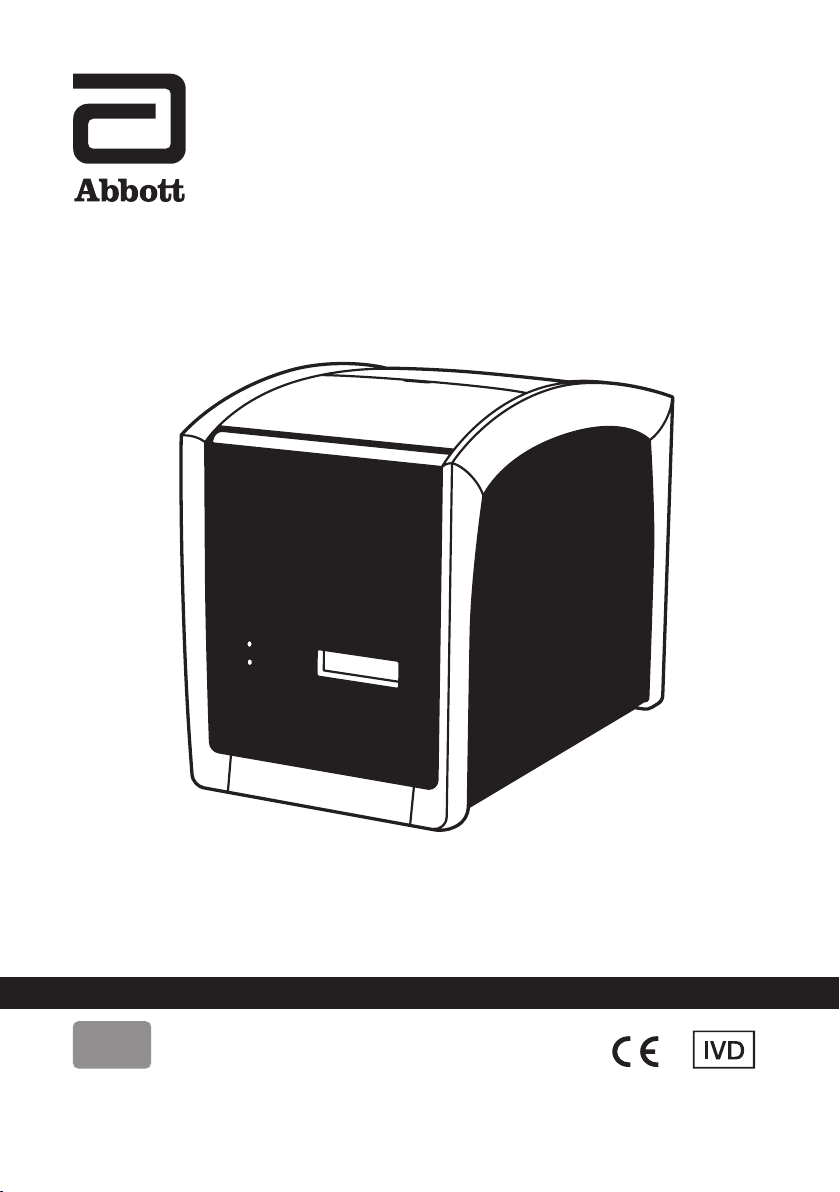
Unpacking, Installaon & Transport
Unpack the Pima Analyser and place safely on a clean, at, level and stable
surface. Do not put the Pima Analyser on surfaces that may vibrate, e.g. the
top of a freezer or refrigerator or next to a laboratory centrifuge.
Inspect for any obvious sign of damage. Report any damage immediately to
your local distributor. Allow temperature equilibraon for at least 30 minutes
to ensure that the Pima Analyser has reached surrounding temperature.
When using the Pima Bag for transportaon, take out the Pima Analyser and
place safely on a clean, at, level and stable surface for tesng.
If the Pima Analyser was transported or moved to areas with dierent climac
condions, allow temperature equilibraon for at least 30 minutes.
Note: Keep the original Pima Analyser box in case the instrument needs to
be shipped for repair or the like.
Pima Analyser Calibraon
The Pima Analyser is factory calibrated and does not require any further
calibraon and vericaon operaons. However, a daily performance check
using Pima Bead Standard is recommended. If the Pima Analyser was
transported or moved, a test with the Pima Bead Standard may be run to ensure
proper funconality. Please refer to the Pima Bead Standard User Guide
(UG-PIMA-03) for more informaon on this product.
Pima Analyser Recharging Intervals during Storage
During long term storage below 30 °C, the Pima Analyser should be connected
to mains A/C power and the baery recharged overnight at least once per
year. During long term storage at 30 - 40 °C the baery needs to be recharged
at least once every 6 months. If long term storage temperatures exceed 40 °C,
the recharge intervals may need to be considerably shorter.
Note: It is not recommended to store the Pima Analyser with an empty
baery. Therefore, always recharge the baery before long term
storage.
1 INTRODUCTION