Abode ADHSC3001 Pro+ User manual

Model No: ADHSC3001
pro+ Handheld Steam Cleaner
User Guide
For Customer Services & Spare Parts please call 0845 209 7461
Opening times: Monday - Friday 8am –6pm & Saturday 9am –1pm
Or visit us at www.productcareuk.com
IMPORTANT:
RETAIN FOR FUTURE REFERENCE

For Customer Services & Spare Parts please call 0845 209 7461
Opening times: Monday - Friday 8am –6pm & Saturday 9am –1pm
Or visit us at www.productcareuk.com
Contents
2
Page
Safety
instructions
…………………………….………..
3
Steam cleaner feature diagram
………………………………....…..
6
Unpacking your steam cleaner
……………………………….……..
7
Using your steam cleaner
………………………………………
8
Storing your steam cleaner
………………………………………
15
Cleaning and care
………………………………………
16
Problem solving
………………………………………
17
Guarantee
………………………………………
21
Customer
services
………………………………………
22
Spare parts
………………………………………
23
Connection
to the mains supply
………………………………………
24
Thank you for purchasing your Abode pro+ Handheld Steam Cleaner.
Multi-purpose steam cleaning has never been so easy with your new
Abode pro+ Handheld Steam Cleaner. With an impressive number of
functions and attachments, steam clean your bathroom, windows,
mirrors, upholstery and more.
To get the best from your new cleaner, take a few moments to read
these instructions, and keep them in a safe place for future reference.
Should you require any further assistance, our friendly Product Care
team will be happy to help.

3
Safety instructions
WARNING:
It is hazardous for anyone other than a competent person to
carry out any service or repair operation that involves the
removal of a cover which gives protection against exposure to
electrical parts.
If the supply cord is damaged, it must be replaced by the
manufacturer, its service agent or similarly qualified persons
in order to avoid a hazard.
This product is intended for household use only.
Do not use outdoors.
This appliance can be used by children aged from 8 years and
above and persons with reduced physical, sensory or mental
capabilities or lack of experience and knowledge if they have
been given supervision or instruction concerning use of the
appliance in a safe way and understand the hazards involved.
Children should not play with the appliance. Cleaning and user
maintenance should not be made by children unless they are
older than 8 and supervised. Keep the appliance and its cord
out of reach of children less than 8 years.
•Do not operate this appliance for anything other than its
intended use.
•Do not immerse in water or other liquids for cleaning.
IMPORTANT SAFETY INSTRUCTIONS,
READ CAREFULLY AND KEEP FOR FUTURE REFERENCE

Safety instructions
4
•Do not direct steam at people, animals, electrical outlets,
or equipment containing electrical components.
•Unplug from outlet when not in use. Do not leave the
steam cleaner unattended while plugged in.
•Do not use with damaged cord or plug.
•Do not use steam cleaner if it has been dropped, damaged,
left outdoors or dropped into water.
•Keep the steam cleaner away from water; do not allow it
to get wet. If unit is wet, do not plug unit into wall socket
or turn unit on.
•Do not handle the steam cleaner with wet hands.
•Do not pull or carry by cord, use cord as a handle, close
door on cord, pull cord around sharp corners or edges, or
expose cord to heated surfaces.
•Do not unplug by pulling on cord.
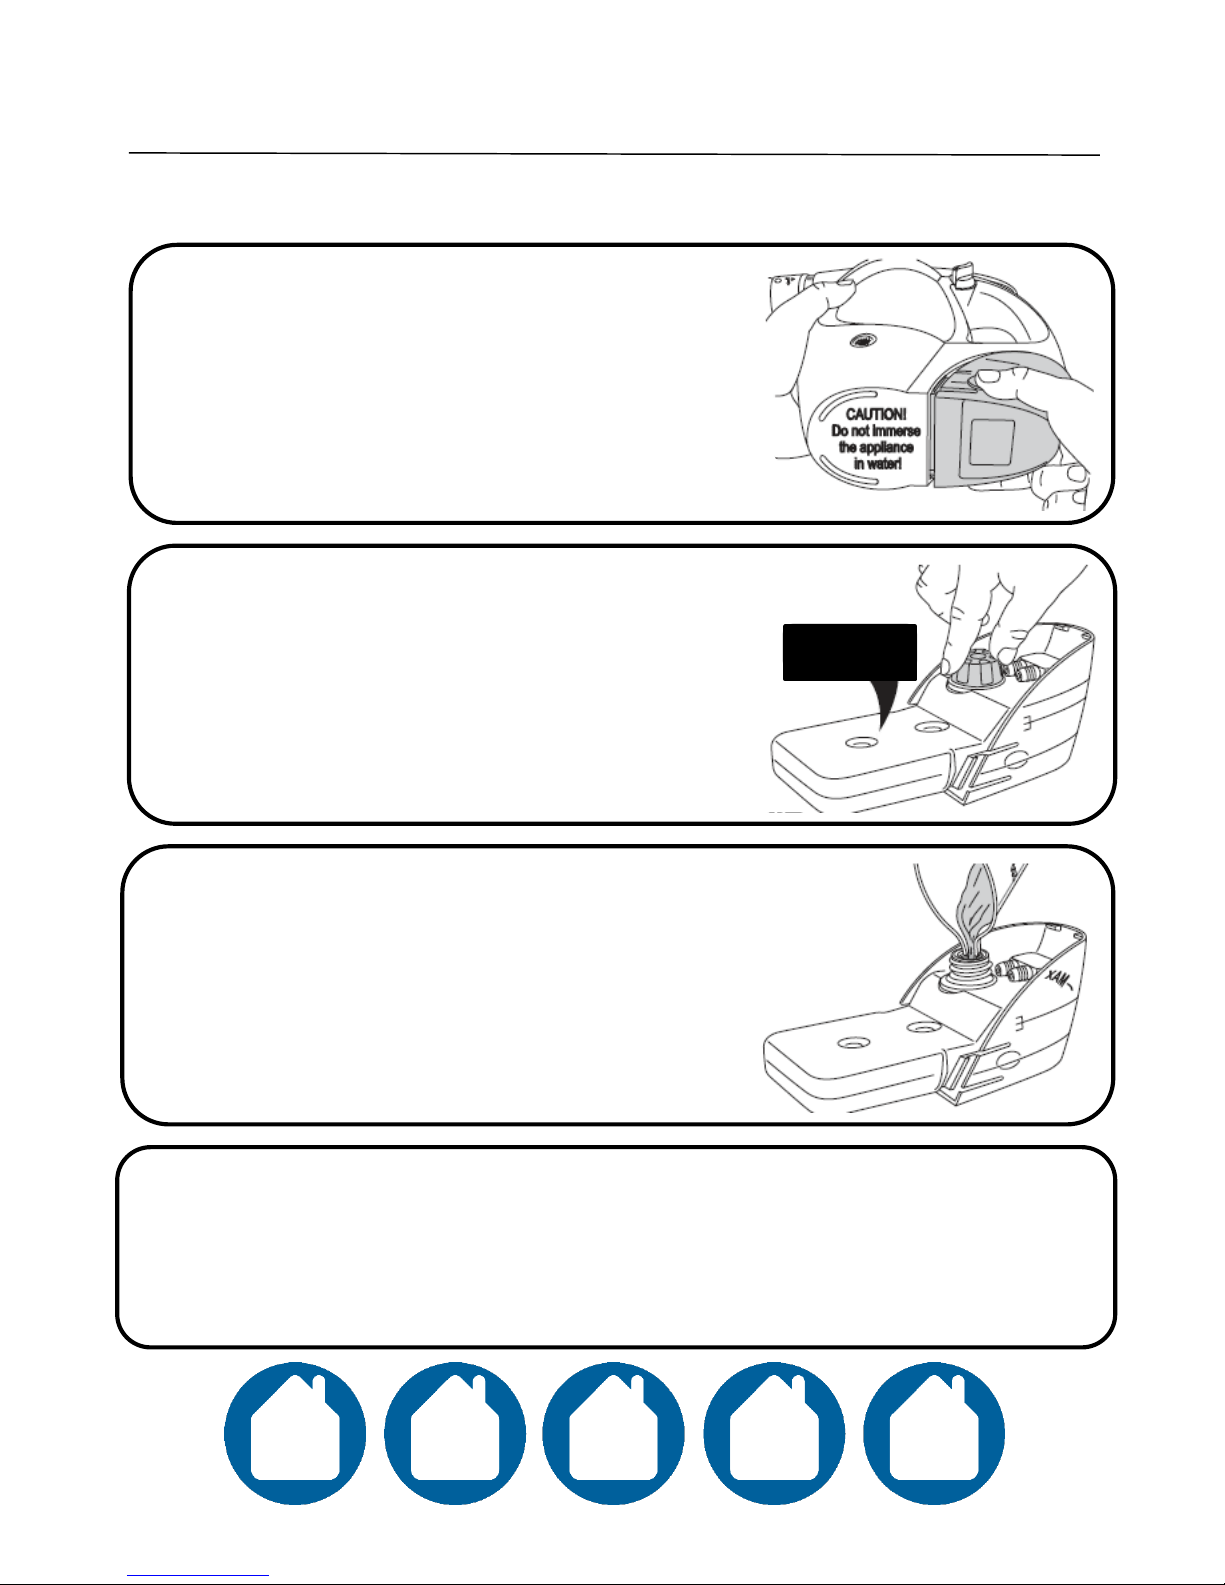
•To protect against electrical shock do not immerse cord,
plug, or appliance in water or other liquid.
•Unplug from the mains outlet when not in use, before
putting on and taking off parts, and before cleaning.
•The use of accessory attachments not recommended by
the appliance manufacturer may cause fire, electric shock
or injury. Only use the accessories supplied by the
manufacturer.
•Do not let the cord hang over the edge of the worktop, or
touch hot surfaces.

5
Safety instructions
Symbol IEC 60417-5597 (2002-10) is used on the unit
to indicate the following that this unit operates with
hot water vapour (steam), to avoid scalding and
burns take extra care when in use.
•Never remove parts from the appliance, such as the screws.
•The filling aperture must not be opened during use.
•Do not use appliance in an enclosed space filled with vapour
given off by oil-based paint, paint thinner, some moth proofing
substances, flammable dust, or other explosive or toxic
vapours.
•Do not use on leather, wax polished furniture or floors,
synthetic fabrics, velvet or other delicate, steam-sensitive
materials.
•Never put descaling, aromatic, alcoholic or detergent-based
products into the steam cleaner, other than those
recommended, as this may damage the unit.
•Close attention is necessary when used near children.
•Using distilled or demineralized water will maximize the
performance of your steam cleaner.
•Use extra care when cleaning on stairs.
•Do not use steam for space heating purposes; household use
only.
•Use on some surfaces may diminish glossiness.
•Test in an inconspicuous area or check the care instructions
from your surface manufacturer.

6
Steam cleaner feature diagram
1. Nozzle
2. Safety cap
3. Safety pressure indicator (red pin)
4. Steam trigger
5. Detergent solution control dial
6. Handle grip
7. Water tank
8. Power and Steam ready indicator
light (Red indicates power on and
Green indicates ready to steam)
9. Detergent solution tank
A. Handheld steam cleaner
B. Window cleaning
attachment/upholstery &
garment steaming tool
C. Cloth
D. Straight nozzle
E. Round brush (nylon)
F. Round brush (metal)
G. Angled nozzle
H. Crevice brush
I. Scraping tool
J. 75cm flexible hose
K. Filler cup
1
23
4
5
6
7
8
9
A
B
C
D
EFG
H
I
J
K

7
Unpacking your steam cleaner
Before using your steam cleaner
Remove all packaging and lay out the separate components.
Check the steam unit after unpacking for any visual damage
such as:
•Misaligned or damaged parts
•Damage to the main body and separate components
•Damage to the plug or cable.
If you can see any damage do not use the steam cleaner
and refer to page 22.

Always unplug the unit before removing the
safety cap.
8
Using: Filling the water tank
Add 250ml of cold tap water to the filler cup.
Empty the filler cup carefully into the water
tank.
Turn the safety cap anti-clockwise and remove.
Place the steam cleaner on a level surface.

9
Using: Filling the water tank
Re-filling the water tank
Unplug and allow the unit to cool.
After approximately 5 minutes, when the unit has
cooled sufficiently, the red pin on the safety cap will
release to allow for removal. This is a pressure
release valve.
You can speed up the cooling time if you release the
steam pressure by pressing the steam trigger. Make
sure the steam is released in a safe area, i.e. a sink.
Read the note below before re-following the filling
instructions.
Refit the safety cap, twisting it clockwise and
tightening.
Note:
It is recommended to empty the water tank before every refill.
This will prevent issues including overfilling and build up of scale.
Be careful not to overfill the water tank, leave a space at the top.
Overfilling may cause the cleaner to leak.
If the cap will not open after allowing 5 to 10 minutes to cool, push
down the red pin in the safety cap.
After doing so you can unscrew the safety cap and re-follow the
filling instructions.

Disconnect the power cord from the mains socket.
10
Using: Filling the detergent tank
Take hold of the unit and squeeze the tabs on
the side of the tank as shown, then slide the
tank out of the steam cleaner to remove.
Turn the safety cap anti-clockwise and remove
from the detergent tank.
For regular strength, add 50ml detergent solution & 100ml
warm water into the filler cup first, before filling the mixed
solution directly into the solution tank of your steam cleaner.
Note: Ensure to use the recommended Abode detergent.
Mixing detergents may be unsafe.
Keep detergent away from children. Do not overfill
the tank. 150ml is the maximum capacity.
Refit the safety cap, twisting it clockwise until it is fully sealed.
Replace the detergent tank by sliding it back into the opening and applying light
pressure to the back of the tank until the tabs on the side of the tank lock into the
body of the steam cleaner.
Rinse the container to remove residual detergent.
Diluted
detergent

11
Using your steam cleaner
Operating the steam cleaner
Before you plug the appliance in, check the water tank is full.
If it is not, refer to page 8.
Plug the mains plug into a socket.
The red power indicator light will illuminate.
If the light does not illuminate, refer to page 17 for
problem solving.
The steam cleaner should take approximately 3-4
minutes to heat up to steam temperature.
This will be indicated by the following:
•The steam indicator will illuminate green,
•The safety cap (red pin) will go up.
The steam cleaner is now ready to use.
The green steam indicator light will cycle between
red and green during operation to show the
cleaner is maintaining the correct temperature.
Note:
A full water tank should provide approximately 9-10 minutes of use.
There may be an initial few drops of water ejected.
Steam time can vary according to volume and temperature of water in
the tank. Switch off the tank when not in use.

12
Using your steam cleaner
Using the solution control dial
The Solution Control Dial does not adjust the amount of steam, it only controls
the amount of cleaning solution that is added to the steam.
To clean with steam alone, simply turn the Solution Control Dial to “OFF”.
Check the detergent tank is full, if not refer to page 10.
The solution control dial regulates how much solution you add to the steam.
For optimal cleaning performance, fill the
solution tank with the supplied detergent
solution, as per page 10, and turn the control
dial to “MAX”.
If you do not have any detergent, the tank can
be left empty if the regulator is set to “OFF”.
For moderate stains, fill the solution tank with
50ml of the supplied detergent solution and mix
with 100ml warm water. Now set the control dial
to “MIN”.
Note: Do not leave solution control dial in
between settings. Make sure the dial clicks into
the proper setting before use.
For steam alone, turn the solution control dial
to “OFF”.
Note: Do not leave any detergent or water in
any tank after operation.

13
Using your steam cleaner
Attaching the main tools
The two main accessories for this product are the extension hose and
concentration nozzle. They both attach to the unit in the same manner.
75cm flexible hose:
For cleaning hard to reach areas.
Attach to unit and use with the accessory nozzle attached.
Straight nozzle:
Attach to the end of the hose or use alone.
Push the nozzle extension onto the main unit,
or fit onto the end of the hose assembly.
Align the arrow on the nozzle/hose
with the position 1 (unlock) mark on the steamer
Face the nozzle end of the main unit towards you
and turn clockwise until the arrow aligns with the
position 2 (lock) mark on the steamer.
This will click into place.
To unlock, either pull the release lever on the hose assembly
away from the steamer and rotate anti-clockwise, or, if using
the nozzle, rotate the nozzle
anti-clockwise.
Note: Danger of burns. Be careful when removing
accessories as the tips can get very hot.

Window cleaning attachment/upholstery and garment
steaming tool: (2-in-1 combi attachment)
The squeegee shown in Fig. D is ideal for cleaning
windows, tiles and mirrors.
Fig. E shows the upholstery/garment tool.
After attaching you can use this to efficiently steam
upholstery and clothes.
D
E
14
Using: accessories
Attaching the small tools
NOTE: Nozzle extension must be attached before fitting small tools.
If the cleaning effect of the steam alone is not acting as required for a specific task,
there are many small tools included that may help.
All tools attach to the nozzle extension, simply:
• Push the small tools onto the nozzle extension aligning the arrows.
• Twist clockwise to lock and anti-clockwise to remove.
Brushes:
These brushes are ideal for multiple surfaces, including
tiles, sinks, toilets and oven tops.
Fig. A shows the metal brush: ideal for hard- wearing
surfaces and tough dirt.
Fig. B shows the nylon brush, which is designed for
stubborn dirt.
Fig. C shows the crevice brush which is designed to
reach small, hard to reach areas.
Others:
Fig. F shows the angled nozzle.
This is designed for use on hard to reach areas.
Fig. G shows the scraping tool. This is designed for
removing hard, ground in items, such as gum and dirt
from smooth surfaces.
Note: Thermal shock can shatter glass.
Carefully warm the glass by directing steam, no less than 10 – 15 cm’s away
You may need to wipe the window with the squeegee after steaming to avoid streaks.
F
G

Allow the device to cool before removing
attachments.
After approximately 5 minutes, when the unit has
cooled sufficiently, the red pin on the safety cap will
release to allow for removal - this is a pressure
release valve.
You can speed up the cooling time by releasing the
steam pressure by pressing the steam trigger. Make
sure the steam is released in a safe area i.e. a sink.
If the cap will not open after allowing 5 to 10 minutes
to cool, push down the red pin in the safety cap.
After doing so you can unscrew the safety cap and
empty the water from the tank into a sink.
Refer to cleaning and care instructions on page 16.
Ensure that the steam cleaner is dry and store in a
cool, dry place.
15
When you have finished cleaning, switch the power
off at the plug socket and remove the plug.
Note: Do not leave any detergent or water in any
tank after operation.
Storing your steam cleaner

Before you clean the appliance, disconnect the mains plug
from the wall socket.
To clean the exterior of the device, use a damp, soft cloth
and mild detergent.
NEVER IMMERSE THE STEAM UNIT IN WATER.
When wiping off the main body, do not allow moisture in the
area around the indicator light.
Wash non-electrical accessories in warm soapy water and
allow to dry thoroughly before reuse.
If the steam unit is damaged, contact the customer service
helpline.
16
Cleaning and Care
We’re here should you need us.
For Customer Services & Spare Parts please call 0845 209 7461
Opening times: Monday - Friday 8am –6pm & Saturday 9am –1pm
Or visit us at www.productcareuk.com

Problem Solving
PROBLEM POSSIBLE PROBLEM POSSIBLE SOLUTION
Trouble
assembling/
disassembling
attachments
1. Trouble assembling
attachments
1.
There are a number of attachments that can be used
with this steam cleaner. For information on attaching the
main tools, such as the flexible hose and the straight
nozzle, refer to page 13 of the instruction manual
provided. They both attach in the same manner and can
be pushed on to the nozzle. All the small tools, such as the
brushes, attach on to the straight nozzle. Push the small
tools onto the nozzle extension aligning the arrows. Twist
clockwise to lock.
2. Trouble disassembling
attachments
2.
Allow the product to cool. Disassembling the
attachments should be straightforward. To disassemble
the hose or the straight nozzle, either pull the release
lever on the hose assembly away from the unit and rotate
anti
-clockwise, or, if using the nozzle, rotate the nozzle
anti
-clockwise. To detach the smaller attachments from
the straight nozzle, twist them anticlockwise and remove
(page 14.)
Filling
/Emptying
water tank
1. Trouble filling
the
water tank.
1. Make sure the cleaner is unplugged. With the unit on a
level surface, turn the safety cap on the top of the cleaner
anticlockwise until loose and remove. Add 250ml cold tap
water into the filler cup and carefully empty into the
water tank where the safety cap was. Do not add
detergent to this. Refit the safety cap, twisting it clockwise
and tightening. To refill the water tank, follow the above
instructions, only after waiting 5 minutes for the unit to
cool. Then wait for the light to turn green again.
2. Trouble emptying the
water tank.
2.
Unplug the steam cleaner. Wait a minimum of 5
minutes for the unit to cool. This should result in the red
pin on the safety cap releasing, which will allow for
removal. If it does not unscrew, wait a further few
minutes, try again and if not, push the pin in on the safety
cap. Turn the cap anticlockwise and remove. Hold the
cleaner with both hands and safely pour any remaining
water into a sink. Secure the safety cap on the cleaner.
Steam cleaner worked
intermittently and
then stopped
1. Not enough water in
the tank
1. Please refer to “refilling water tank”, on page
9 of the
instruction manual provided
.
17

Problem Solving
PROBLEM POSSIBLE PROBLEM POSSIBLE SOLUTION
There is no or reduced
steam being
produced/no power to
the steam cleaner
1.
The cleaner has not
had time to heat.
1. Once the water thank is filled, switch the cleaner on at
the plug.
This should illuminate the power indicator light
red.
Ensure you have waited 4 minutes for the water to
heat up.
The light should turn green when the cleaner is
steam ready.
2. Water tank may not be
filled/may
need refilling.
2.
Make sure the water tank is filled. The safety cap will
need to be screwed off.
Refer to page 8
of the instruction
manual provided. For refilling, refer to
page 9.
3.
The unit may not be
plugged in properly/the
fuse
or breaker
may not
be working.
3.
Verify the unit is plugged into an approved electrical
outlet,
is switched on and that the fuse or breaker is
functioning properly
.
4. The steam trigger has
not been pressed.
4. Once the water has been filled and had time
to heat,
the light should go green and you can begin steaming by
pushing down in the steam trigger, located above the
handle.
Filling
/Emptying
detergent tank
1. Trouble filling
the
detergent tank.
1. The detergent tank is located under the handle and can
be removed by squeezing the tabs on the side, then sliding
the tank out of the steam cleaner. Place it on a flat surface
and remove the cap by turning it anticlockwise. Take the
filler cup provided, add 50ml detergent and 150ml warm
water. Take the mixed solution and carefully pour it into
the detergent tank. Screw the cap back on and turn in a
clockwise direction until secure.
2. Trouble emptying the
detergent tank.
2.
If you have finished cleaning and there is still some
solution left in the detergent tank, remove as when you
were filling, unscrew the cap and carefully pour the
solution down the sink. Rinse the container to remove
residue and replace the detergent tank by sliding it back
into the opening and applying light pressure to the back of
the tank
- until the tabs on the side lock into the body of
the steam cleaner.
Unable to unscrew lid
to empty/refill the
water tank
1. The cap
is locked.
1. The safety cap has a pressure release valve feature that
stops it
from being removed when the water is too hot.
You will need to wait approximately 5 minutes until the
pin in the safety cap releases before you can remove it. If
after this time the cap does not release, you can speed up
the process by holding the steam gun trigger and
emptying the remaining steam/water into a sink. Also, you
could
push down the red pin in to the safety cap.
18

Problem Solving
Steam cleaner is
emitting water
1.
The
water has not had
time to heat.
1.
Wait 4 minutes or until the indicator light illuminates
green.
2. Too much water is in
the tank
2. Empty the water from tank and refill
with up to 250ml
of water.
The
indicator lights
are
not working
1. The unit may not be
plugged in properly/the
fuse
or breaker
may not
be working.
1. Verify the unit is plugged securely into an approved
electrical outlet and that the fuse or breaker is functioning
properly.
Detergent solution
control dial
1. When and how should
I use the detergent
solution control dial?
1. The detergent solution control dial is located above the
water tank and is used to control the amount of detergent
used, not the steam intensity. For no detergent, set the
dial to ‘OFF’. For minimal detergent, set the dial to ‘MIN’
and for maximum detergent, ‘HIGH’.
Using detergent
1.
How do I fill the unit
with detergent?
1.
Follow the instructions on page 10 of the instruction
manual provided, or the previous page to this. Remember
to dilute the solution.
2. What can detergent be
used on?
2. Detergent should always be tested on an inconspicuous
area and should only be used on sealed surfaces. Do not
use on carpets. Contact the manufacturer if you are
unsure.
3. What is the
best
setting for the detergent
to be set on?
3. For optimal cleaning performance, fill the detergent
tank and set the solution control dial to ‘HIGH’, for
moderate stains set the dial to ‘MIN’, and only steam
‘OFF’.
Indicator light
1.
What does the
indicator light mean?
1. The indicator light below the water tank illuminates red
when the unit has power to it. If there is water in the tank,
it should be heating up. After around 4 minutes when the
water has heated, the light should illuminate green to
show that it is steam ready. If the light cycles between
green and red, this is to show that the unit is maintaining
the correct temperature. For optimum steam, wait for the
light to illuminate green.
There is a peculiar
smell coming from the
unit
1. First time using
product.
1. If
this is the first time you are using the cleaner,
continue using the product. The smell may be due to new
parts being heated up for the first time
.
2. This is not the first
time the product has
been used.
2. Discontinue use if problem persists and contact
Customer
Services using the details on the bottom of
the
following
page.
PROBLEM POSSIBLE PROBLEM POSSIBLE SOLUTION
19

Problem Solving
PROBLEM POSSIBLE PROBLEM POSSIBLE SOLUTION
Parts have
broken/need
replacing
1.
An attachment has
broken
or been lost.
1.
Page 23 of the instruction manual provides details of
which attachments can
be replaced. Call
customer services
or visit the website detailed at the bottom of this page.
2. None of the above
have broken but another
part has.
2. Discontinue use and contact customer services using the
details on the bottom of this page.
I have lost the
instruction manual
provided
1. The instruction manual
has been lost or
misplaced.
1. It is important to have a copy of the instruction manual.
Visit www.productcareuk.com or contact customer
services using the details provided on the bottom of this
page.
We’re here should you need us.
For Customer Services & Spare Parts please call 0845 209 7461
Opening times: Monday - Friday 8am –6pm & Saturday 9am –1pm
Or visit us at www.productcareuk.com
20
Table of contents
Other Abode Steam Cleaner manuals