Abode EPT001B User manual
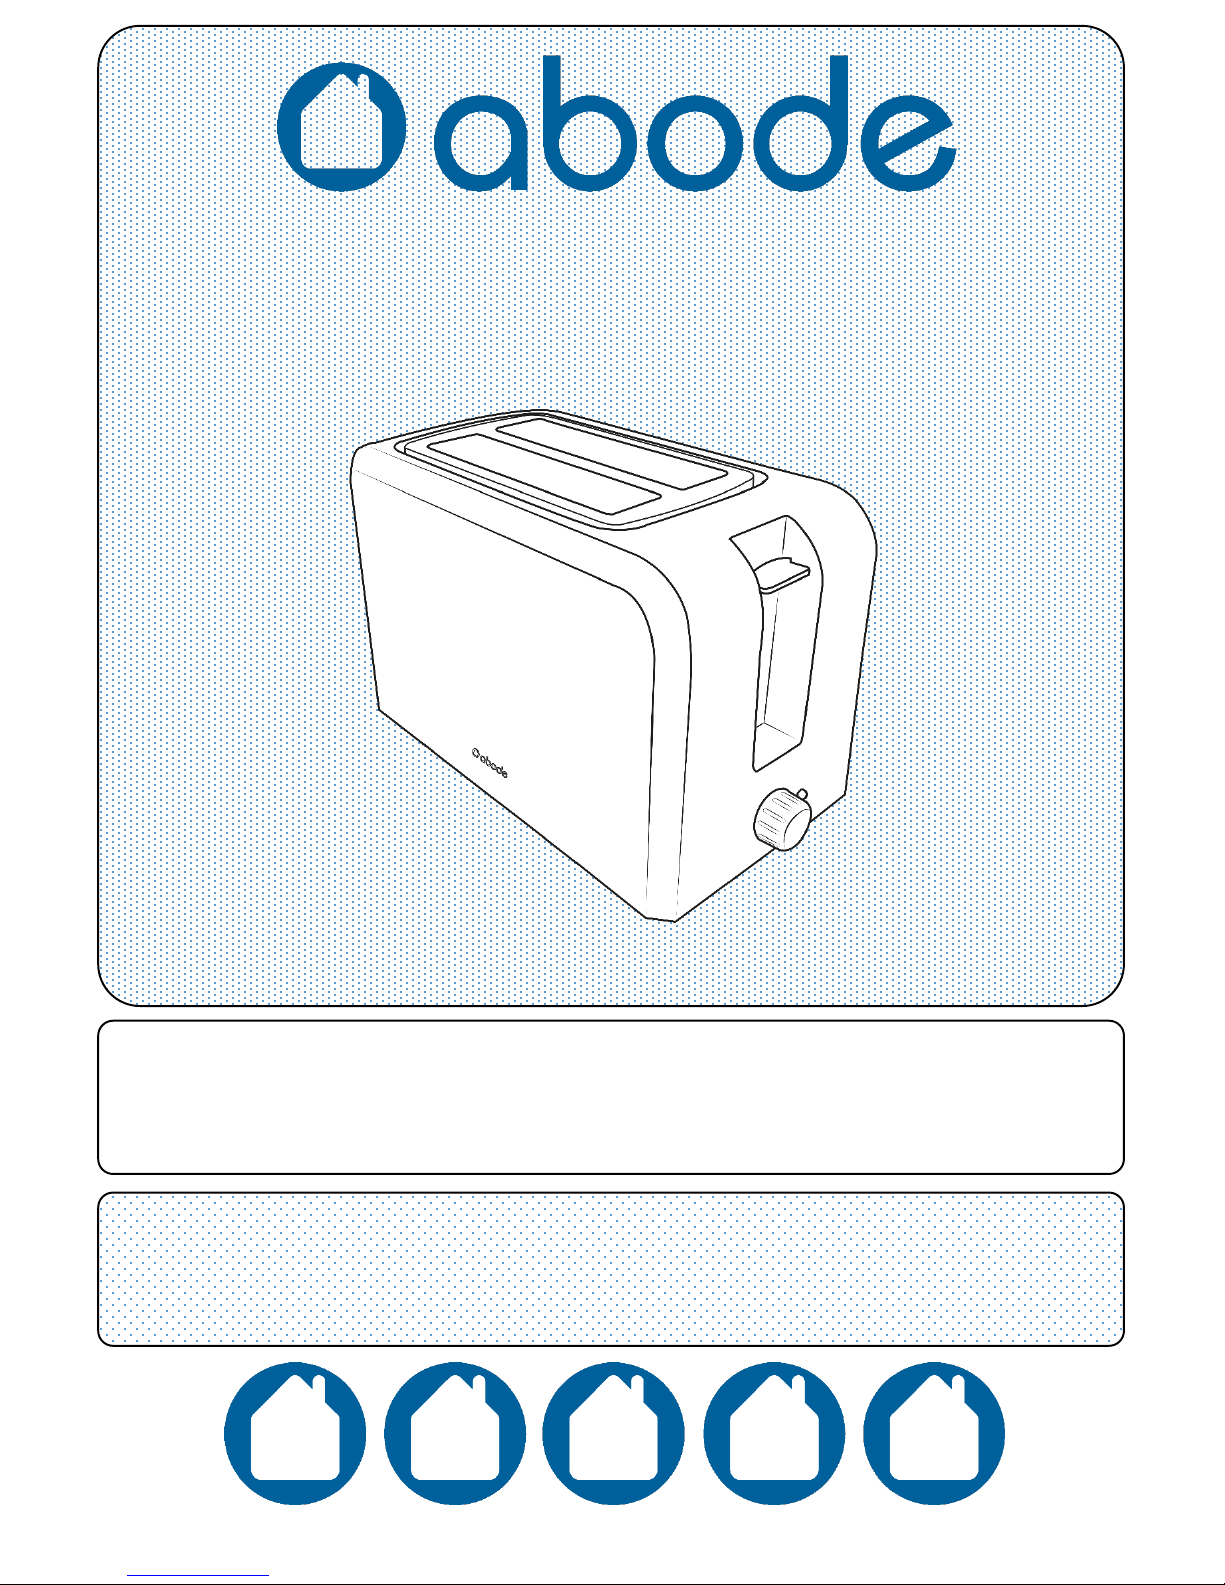
Model No: EPT001B
Black 2 Slice Toaster
User guide
For Customer Services & Spare Parts please call 0845 209 7461
Opening times: Monday - Friday 8am –6pm & Saturday 9am –1pm
Or visit us at www.productcareuk.com
IMPORTANT:
RETAIN FOR FUTURE REFERENCE

2
Safety instructions
IMPORTANT SAFETY INSTRUCTIONS
READ CAREFULLY AND KEEP FOR FUTURE REFERENCE
WARNING:
This appliance can be used by children aged from 8 years and
above and persons with reduced physical, sensory or mental
capabilities or lack of experience and knowledge if they have
been given supervision or instruction concerning use of the
appliance in a safe way and understand the hazards involved.
Children shall not play with the appliance. Cleaning and user
maintenance shall not be made by children unless they are
older than 8 and supervised. Keep the appliance and its cord
out of reach of children less than 8 years.
The appliance is not intended to be operated by means of an
external timer or separate remote-control system.
Do not operate any appliance with a damaged cord or plug, or
after the appliance malfunctions or is dropped or damaged in
any manner. If the supply cord is damaged, it must be
replaced by the manufacturer, its service agent or similarly
qualified persons in order to avoid a hazard.
Bread can ignite and burn. Never place the toaster near or
under curtains, kitchen cabinets, or other flammable
materials. Do not leave unattended during use.
To protect against electrical shock do not immerse the cord,
plug, or appliance in water or other liquid.

3
Safety instructions
WARNING:
It is hazardous for anyone other than a competent person to
carry out any service or repair operation that involves the
removal of a cover which gives protection against exposure to
electrical parts.
This product is intended for household use only. Do not use
outdoors. This product is only intended for toasting bread.
Do not touch hot surfaces. Always use handles or knobs.
Unplug from outlet when not in use and before cleaning.
Allow to fully cool before cleaning.
The use of accessory attachments are not recommended by
the appliance manufacturer and may cause fire, electric shock
or injury.
Do not use metal objects in or on the toaster, and never touch
the toasters heating elements.
Do not let the cord hang over the edge of the worktop, or
touch hot surfaces.
Never put any objects into the openings on the outer case.
Never remove parts from the appliance such as the feet,
screws and so on.
Only use the accessories supplied by the manufacturer.
Do not operate this appliance for anything other than its
intended use.
The bread carriage lever will not lock if the toaster is not
connected to a power socket.

4
Toaster Overview
1
2 slice toasting slots
4
Variable
browning control
dial
2
Start control/
High lift bread
release
5
Crumb tray
3
Stop and automatic eject
button
1
2
3
4
5

Using your Toaster
5
Insert the mains plug into a suitable 13 Amp mains socket.
When the toaster is used for the first time, set the
browning control to the lowest setting gradually
increasing the setting until you find the setting that toasts
the bread to your required level. During first use there
may be some smoke from the toaster, this is absolutely
normal and will clear with use.
Before you start
Once the toaster is plugged in, adjust it to the type of
toasting you require with the browning control dial.
Put the bread into the openings and press the start
control down. It remains down until the bread is toasted.
Once toasted, the slices appear in the openings and the start control returns to its original
position. The toaster switches “OFF” automatically.
Press the “CANCEL” and automatic eject button if you wish to stop the toaster. This switches
if “ OFF.”
If the end bread sticks in the toaster, unplug it, wait for it to fully cool, and remove the
bread.
Toasting tips
Dry and thin slices will toast quicker than moist or thick slices.
If toast starts to smoke, stop the toasting cycle.
Do not heat toaster that has bread applied with butter or other spreads.
Cord storage
This can be used to take up any excess cord, helping to keep the worktop neat.
Cleaning and Care
Cleaning the toaster
•Always disconnect the toaster from the power outlet and allow to cool before cleaning.
•Do not immerse the toaster, power cable, or base in water or any liquid.
•Wipe the outside of the toaster with a soft dry cloth, do not use an abrasive cleaner.
•Allow to completely dry before reusing.
We’re here should you need us.
For Customer Services & Spare Parts please call 0845 209 7461
Opening times: Monday - Friday 8am –6pm & Saturday 9am –1pm
Or visit us at www.productcareuk.com
6
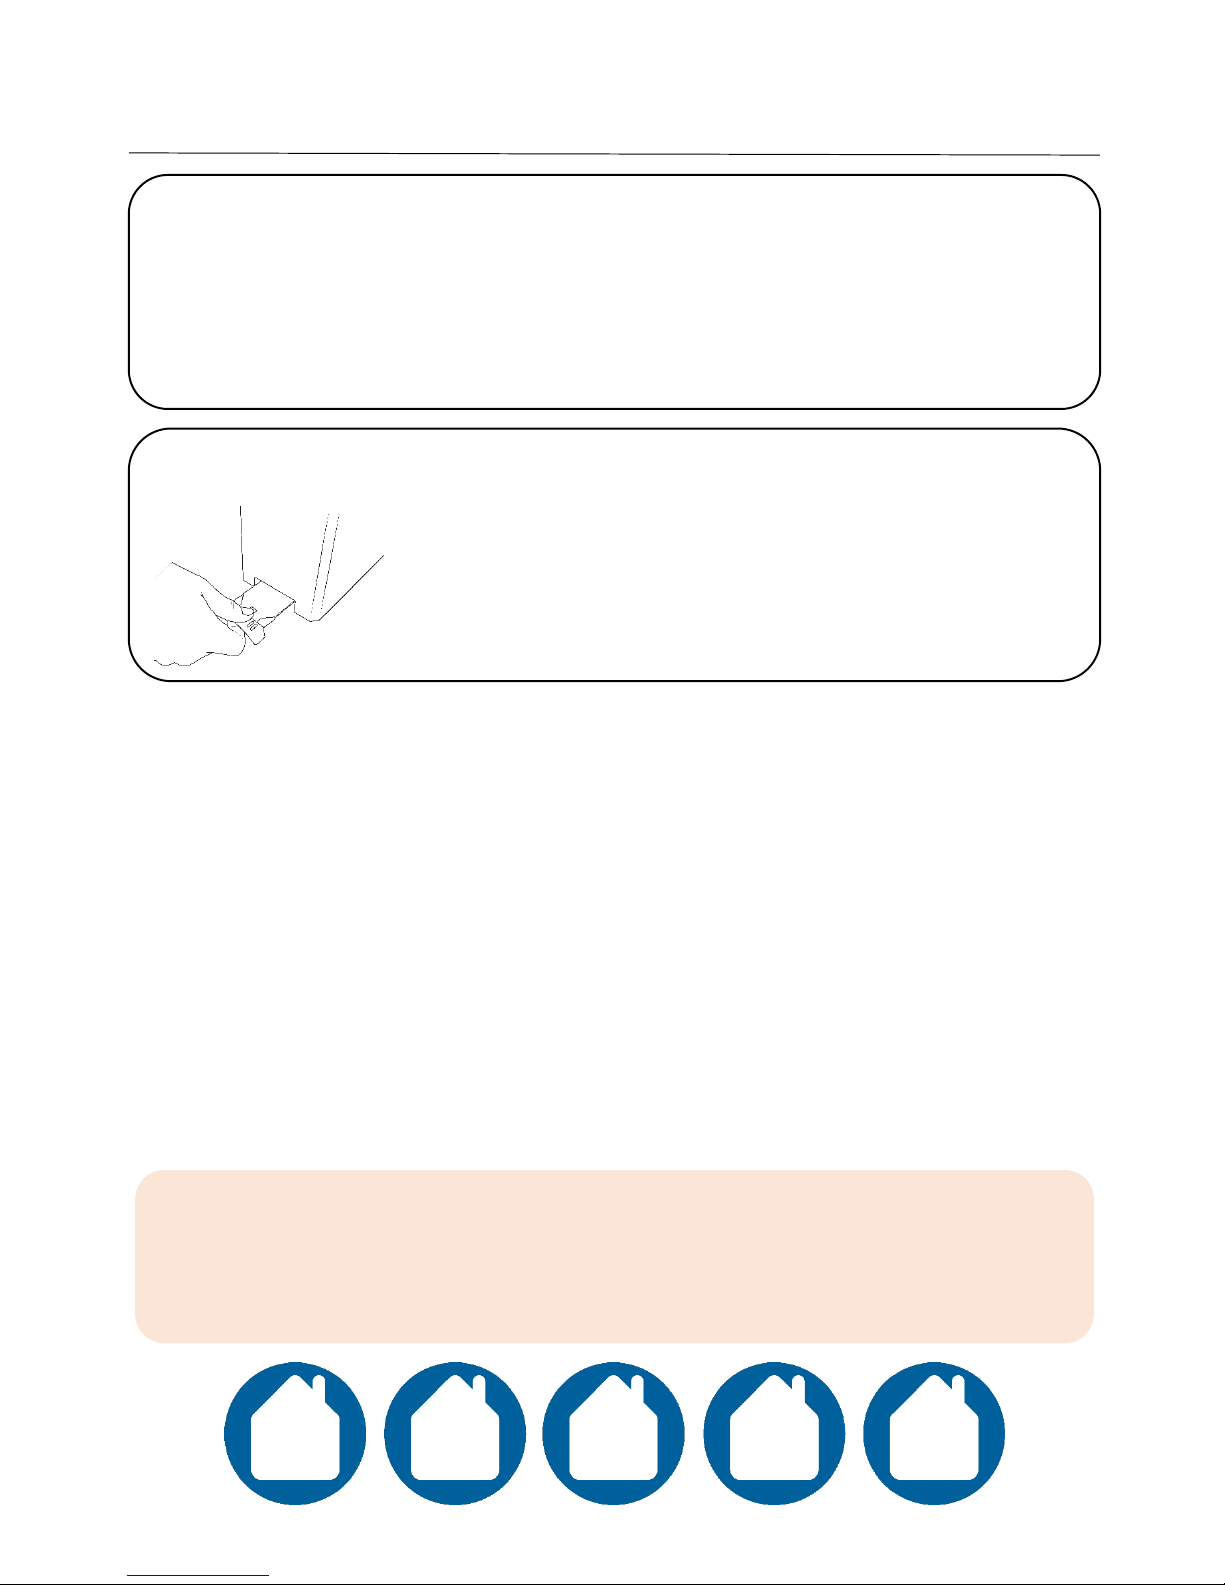
Emptying the crumb tray
Open crumb tray at the bottom of the toaster and brush
out crumbs.
Accumulated bread crumbs should be removed at least
once a week.
Make sure the crumb tray is completely closed before
using the toaster again.
Warning:
Never attempt to remove bread which has jammed in the slots without unplugging the
toaster from the electrical outlet first. Be sure not to damage the internal mechanism or
heating elements when removing bread.

7
Guarantee
This product is guaranteed for 12 months from the date of the original
purchase. If any defect arises due to faulty materials or workmanship
the faulty product must be returned to the place of purchase.
Refund or replacement is at the discretion of the retailer.
The following conditions apply:
•The product must be returned to the retailer with the original proof
of purchase.
•The product must be installed and used in accordance with the
instructions contained in this instruction guide and any other
instructions for use which has been supplied.
•It must be used for domestic purposes only and for its intended use.
•This guarantee does not cover wear and tear, damage, misuse or
consumable parts.
This does not affect your statutory rights.
We’re here should you need us.
For Customer Services & Spare Parts please call 0845 209 7461
Opening times: Monday - Friday 8am –6pm & Saturday 9am –1pm
Or visit us at www.productcareuk.com

8
Customer support
Attach your receipt to this page for proof of purchase.
This symbol is known as the 'Crossed-out wheelie bin Symbol'.
When this symbol is marked on a product/batteries, it means
that the product/batteries should not be disposed of with your
general household waste.
Only discard electrical/electronic/battery items in separate
collection schemes, which cater for the recovery and recycling
of materials contained within. Your co-operation is vital to
make sure the success of these schemes and for the protection
of the environment. For your nearest disposal facility, visit
www.recycle-more.co.uk or ask in store for details.
We reserve the right due to possible changes to design to alter
the instruction manual without prior notice.
Disposal information
We’re here should you need us
For Customer Services & Spare Parts please call
0845 209 7461
Opening times: Monday - Friday 8am –6pm &
Saturday 9am –1pm
Or visit us at www.productcareuk.com
Produced for:
Asda stores Ltd.
Leeds
LS11 5AD

9
Connection to the mains supply
WARNING- THIS APPLIANCE MUST BE EARTHED
This appliance is designed to operate from a mains supply of AC220V -
240V ~ 50HZ.
Check that the voltage marked on the product corresponds with your
supply voltage.
This product is fitted with a 13A plug complying with BS1363.
If this plug is unsuitable or needs to be replaced, please note the following:
Important: The wires in the mains lead are coloured in accordance with
the following code:
GREEN/YELLOW-EARTH
BLUE-NEUTRAL
BROWN-LIVE

10
Connection to the mains supply
For UK use only –Plug fitting details (where applicable):
As the colours of the wires in the mains lead of this appliance may not
correspond with the coloured markings identifying the terminals in your
plug, proceed as follows:
The GREEN/YELLOW wire is the EARTH and must be connected to the
terminal which is marked with the letter E or by the earth symbol or
coloured GREEN or
GREEN/YELLOW.
The BLUE wire is the NEUTRAL and must be connected to
the terminal marked with the letter N or coloured BLACK.
The BROWN wire is the LIVE wire and must be connected to
the terminal marked with the letter L or coloured RED.
Always ensure that the plug cord grip is fastened correctly.
If a13A(BS1363) fused plug is used it must be fitted with a
13amp fuse conforming to BS1362 and be BSI or ASTA approved.
Table of contents
Other Abode Toaster manuals


