Academy of Model Aeronautics Sukhoi SU 31M User manual

Lanier R/C Sukhoi SU 31M Instructions
WARNING! THIS IS NOT A TOY!
THIS IS NOT A BEGINNERS
AIRPLANE
This R/C kit and the model you will build
from it is not a toy! It is capable of
serious bodily harm and property damage.
It is your responsibility, and yours alone -
to build this kit correctly, properly install all
R/C. components and flying gear (engine,
tank, radio, pushrods, etc. and to test the
model and fly it only with experienced,
competent help, using common sense and in
accordance with all safety standards as set
forth in the Academy of Model Aeronautics
Safety Code. It is suggested that you join the
AMA and become properly insured before
attempting to fly this model. If you are just
starting R/C modeling, consult your local
hobby dealer or write to the Academy of
Model Aeronautics to find an experienced
instructor in your area.
Any action brought forth against the company,
based on the breach of the contract of sale to the
buyer, or on any alleged warranty thereunder,
must be brought within one year of the date of
such sale, or there after be barred. This one year
limitation is imposed by agreement of the parties
as permitted by the laws of the state of Georgia.
Write to : Academy of Model Aeronautics,
5151 Memorial Dr, Muncie, IN 47302
LIMITED WARRANTY
Lanier R/C is proud of the care and attention that
goes into the manufacture of parts for its model
kits. The company warrants that for a period of
30 days, it will replace, at the buyers request, any
parts or material shown to the company's
satisfaction to have been defective in
workmanship or material at the time of purchase.
No other warranty of any kind, expressed or
implied, is made with respect to the merchandise
sold by the company. The buyer acknowledges
and understands that he is purchasing only a
component kit from which the buyer will himself
construct a finished flying model airplane. The
company is neither the manufacturer of such a
flying model airplane, nor a seller of it. The buyer
hereby assumes the risk and all liability for
personal or property damage or injury arising out
of the buyers use of the components or the
finished flying model airplane, whenever any such
damage or injury shall occur.
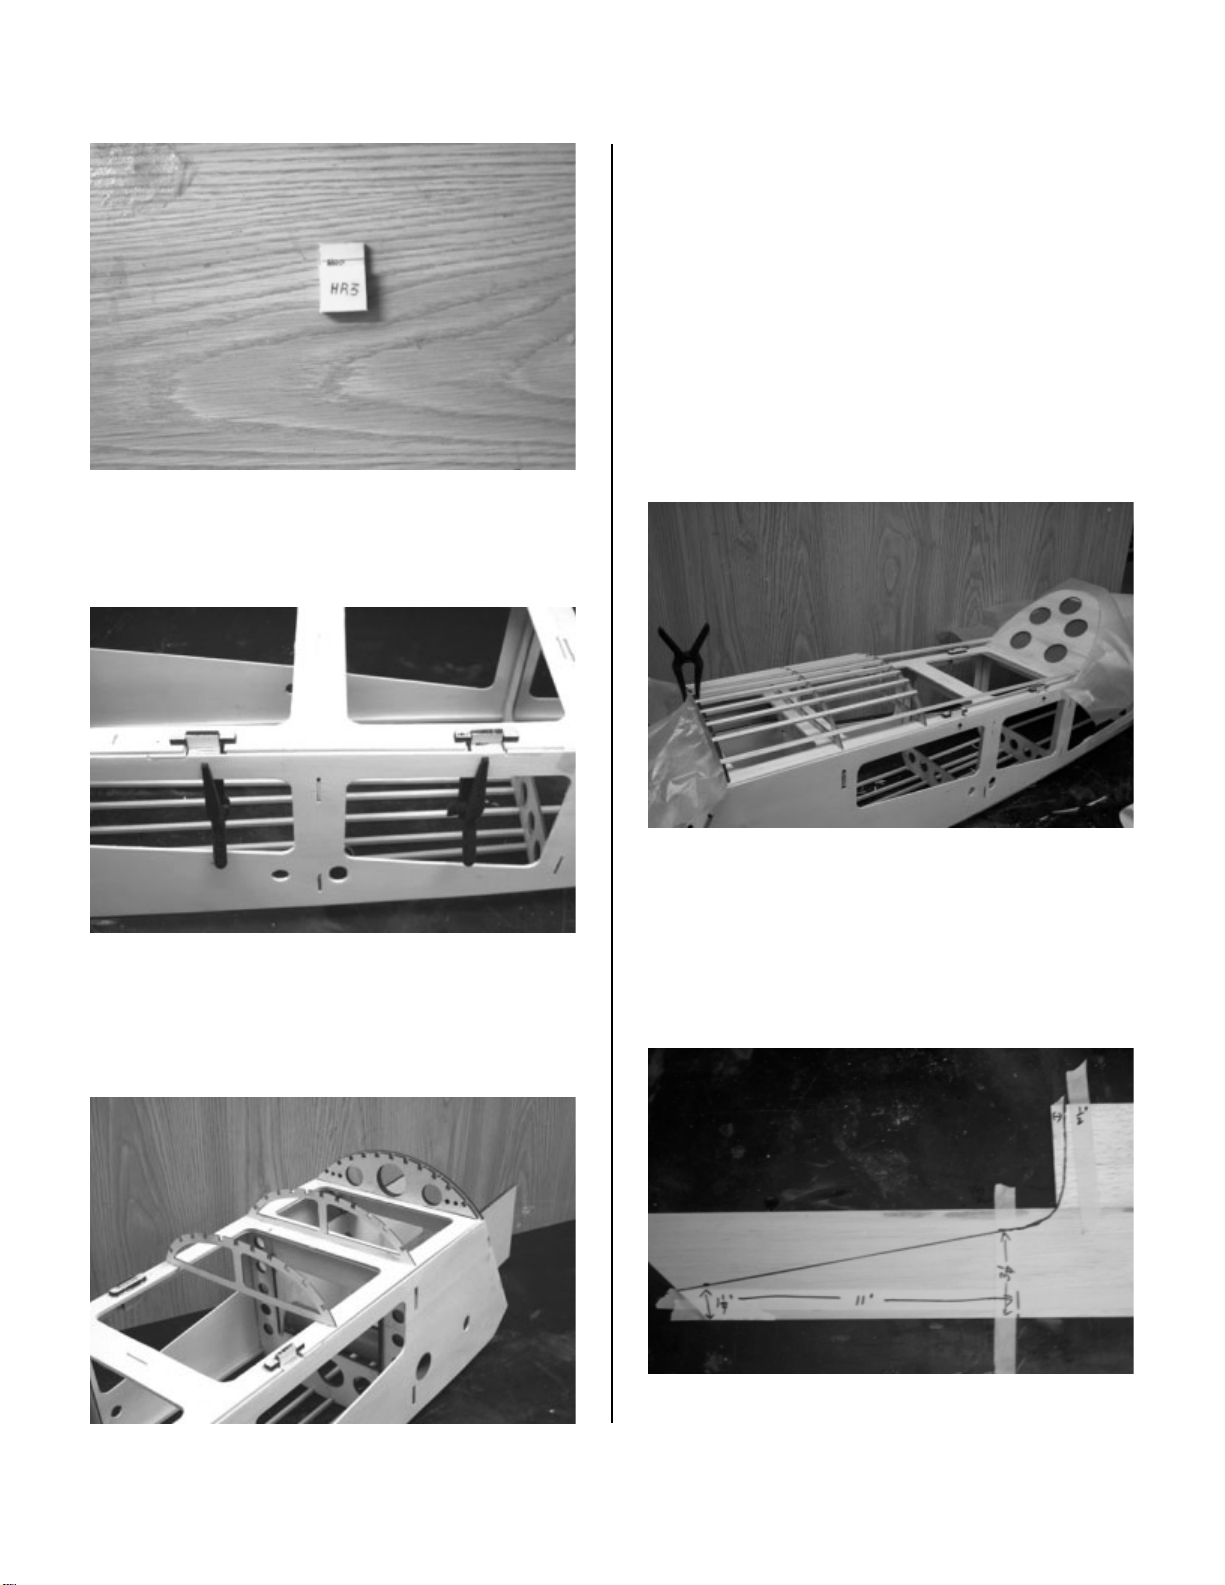
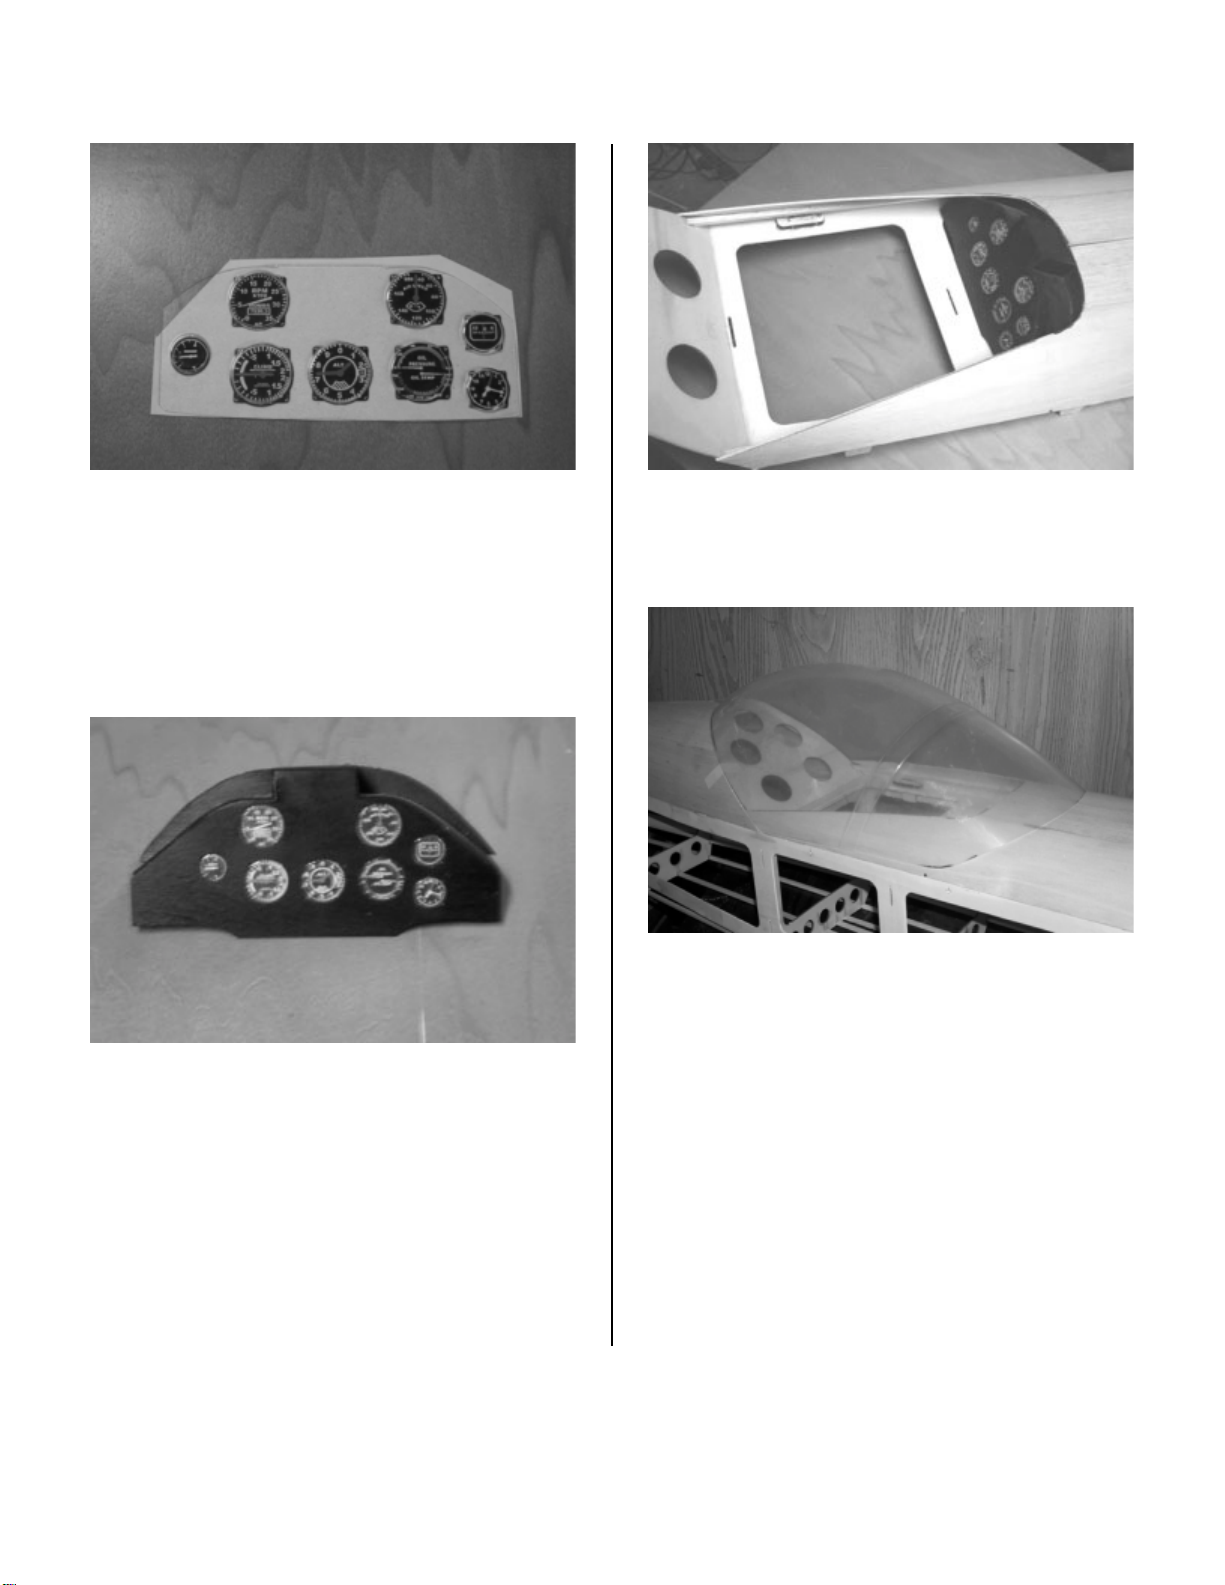
37% Sukhoi SU 31M
1

Lanier R/C Sukhoi SU 31M Instructions
Before starting to build, we urge you to read
these instructions while reviewing the plans.
They contain some important building
sequence as well as instructions and
warnings concerning the assembly and use
of this model. At least read what we have to
say and then make your own determination.
It will save you some time. We expect that
you have had building experience so, every
minute detail is not covered. However the
instructions and plans together will allow you
to produce a first class model.
Fuselage
Begin construction by laying out the fuselage
top and sides. Because of the size it was
necessary to make them two pieces that you
join with a finger joint.
Lay the front and rear pieces on wax paper
and fit the joints together. Glue with CA. After
it has cured you will make a left and right side
by gluing the servo mount doublers on the
inside at the rear servo holes.
Glue a scrape piece of 1/8” ply over the finger
joint at the top and bottom on the inside of
each fuselage side being sure to leave room
at the top for the 1/8” top, and ¼” at the
bottom for the stringer.
Locate the ¼”x1/4”x48” spruce stringers and
glue flush with the bottom edge of each
fuselage side. Start at the rear of the notch
for the landing gear plate and go all the way
to the tail wheel plate. Use a short piece and
glue it flush with the bottom over the gear
plate mount at the front to reinforce it.
After the fuse is framed up the finger joints
will be removed by cutting between the
cutouts at the front and rear of each joint.
2

Lanier R/C Sukhoi SU 31M Instructions
Bolt the two 1-1/2” x3” aluminum angles on
bottom of each M1 flush with the bottom. Use
#8x1” bolts with lock nuts. Be sure to make a
left and a right.
Since the F1 is cut flat and then tilted forward
at an angle it will be necessary to file the
notches at the top and bottom at an angle.
You will remove material from the front side
on the bottom and the rear side at the top.
Don’t remove too much; you want the M1’s to
be tight in the slots.
Assemble the F1 former the two M1 motor
box sides and the F2 former. Do not glue.
Use masking tape to hold together.
Lay the fuselage top on a flat surface and
install all bulkheads F1 thru F6. Tack glue in
place flush with the topsides.
Take the left and right side and fit the tabs on
the bulkheads into the notches on the sides
and the tabs of the top into the notches along
the top edge. Start at the front and work
toward the rear using masking tape to hold
everything in place. The rear of the fuse will
3

Lanier R/C Sukhoi SU 31M Instructions
have to hang off the end of the work board
because of the step up at the rear for the stab
mount. Insert the wing tube through the
fuselage side and the M1. Don’t glue
anything at this point. When every thing is
fitted and taped together and the tops lays
flat on the table, take the F7 former and glue
in place at the rear of the fuse. Check the
bottom of the fuselage at the landing gear
mounts to make sure that the aluminum
angles are flush with the sides. If you did not
remove enough material on the bottom or too
much on the top of F1 when you filed the
notches, you may have to adjust the M1s up
or down a little.
You can now glue the whole assembly
together. You can use carpenters glue and
wipe both sides of every joint. Use ½” tri
stock on the backside of F1 where the sides
meet and where the M1s pass through.
After the glue has dried, epoxy the Lg (1/4”
laser cut ply landing gear plate) in place.
At the rear of the fuselage glue the F6A
former in place.
Glue a piece of ½” tri stock on the back side
of F6A and the front side of F7 set down from
the top ¼” so the tail wheel plate will be flush
Take two pieces of 1/2”x3/4” balsa and glue
on each fuse side so the top will be flush with
the top of F6A. Using the TW (1/4” ply tail
wheel plate) as a template, mark both sides
and cut the balsa so the TW will fit between
them and flush on the top.
4

Lanier R/C Sukhoi SU 31M Instructions
If you are going to use the Ohio Superstar
Haigh style tail wheel, measure 2-3/4” from
the rear of the tail wheel plate and drill a ¼”
hole in the center. Glue the 1”x1”x3/4”
plywood piece over the hole and then drill the
hole on through the
plywood.
You can then epoxy the tail wheel plate in
place between the F7 former and the F6A
former and flush with the tops. Take a piece
of 1/8” balsa and extend the fuse sides on up
flush with the bottom of the tail wheel plate on
each side. This balsa fillet on each side can
now be sanded to match the radius on
corners of F7 and F6A.
Glue the F2B to the front edge of the landing
gear plate and the F2C to the rear edge.
Take four pieces of 1/4”x1/4”x36 spruce and
make the outside stringer on both sides of the
fuse. Start at F2c and run to the middle of
F4,then run a piece from the middle of F4 to
the rear of the fuse at F6A. The five center
stringers are balsa. At the front they run from
F2C to F4. From F4 to the rear there is only
one stringer. Take the excess balsa from the
five center stringers and glue in between F2B
and F1.
You can now remove all the wood from the
lightning holes in the top and sides. Use a
saw and cut them out to prevent splitting the
wood. Draw a line between the cut outs on
the bays that have the finger joints and
remove them.
Use your saw and trim the wing tube flush
with the fuse on both sides. This completes
the bottom part of the fuse.
5

Lanier R/C Sukhoi SU 31M Instructions
Set the fuselage on a level table and insert
the 48” aluminum spar in the fuselage.
Remove the wood between the two fuselage
sides at the rear of the fuselage where the
phenolic tube passes through. Insert the 7/8”
phenolic tube through the fuselage. Install the
7/8” aluminum spar and check the alignment
with the wing tube before gluing.
It may be necessary to sand on the holes that
the phenolic tube passes through. When the
alignment is correct glue in place. Sand the
phenolic tube flush with the fuselage sides.
Locate the turtle deck formers and tack glue
them in place. Glue a ¼” square balsa
stringer down each side of the fuselage inset
3/32” from the side. Install the rest of the
stringers between TD1 and
TD5.
Prepare the turtle deck sheeting by cutting
four pieces of 3/32”x4” balsa to 29-1/4”.
Edge glue two sheets together. Cut a 1/8”
step in the rear to match the fuselage where
it steps up at the rear. Hold the sheet in place
along the side and mark the angle on the
front. Tape the sheet in place along the
bottom edge and spray with water and
ammonia. After the sheet has gotten soft,
bend over the formers and mark the sheet at
the centerline of the top stringer. You will
6

Lanier R/C Sukhoi SU 31M Instructions
have to add a small piece of scrap 3/32” at
the front top edge of the sheet to make it big
enough. Remove the sheet and trim to the
line.
You now have one side ready to glue on.
Repeat for the other side. Apply white glue
on all the stringers and formers except the
bottom stringer and the top one. Run a bead
of thick CA along the bottom stringer. Put the
sheeting in place and tape down. When the
CA has set up, apply a bead along the inside
edge of the top stringer and bend the
sheeting into place and hold with tape until
the CA has set up. Repeat for the other side.
Sand the sheeting flush with the front and
rear formers.
Locate the F1A former and glue to front of
fuselage flush with front. Make sure that it is
perpendicular to the top of the fuselage and
centered up from side to side. This is what
the top half of the cowl mounts to so it must
be securely glued on. Take a piece of
fiberglass cloth (not supplied) 1-1/2” wide and
glue along the front between F1 and F1A.
Locate the hatch floor, 1/8” router cut ply, and
remove the wood from the lightning holes.
Align on the top of the fuselage between F1A
and TD1. Locate the hatch retainer parts,
HR1, HR2, and HR3.
Glue the HR3 to the HR2 flush with one end.
7

Lanier R/C Sukhoi SU 31M Instructions
Insert the HR2-HR3 into the two holes on one
side of the hatch with the HR3 to the outside
next to the fuselage. The HR3 should be
flush with the top of the fuselage and the HR2
extends up ½”. Clamp into place.
Take the HR1 and glue to the backside of the
HR2 and to the hatch floor. The hatch
retainers should now be glued securely to the
hatch floor. Be careful and don’t glue the
hatch floor to the fuse top. Do this for both
sides.
Using two short sections of ¼” dowel, align
the H1 with the F1A and glue H1 to the hatch
floor. Glue the dowels in H1. Be careful not to
glue the hatch floor to the fuselage or to the
F1A. Now glue H2 and H3 to the hatch floor
in their slots. Make sure they are centered on
the floor. Glue the CR former at the rear of
the hatch floor. It should be .040” smaller
around the edges than the turtle deck. Sand
to fit. Now glue the ¼” balsa stringers in
place. The two outside stringers run from H1
to CR. The other stringers just go from H1 to
H3.
Prepare the sheeting by cutting two pieces of
3/32”x4” balsa to 15-1/2”. Take a 36” piece
and hold In place on the fuselage along the
top edge of fuselage and mark the angle at
the turtle deck and the front edge flush with
H1. Edge glue the 15-1/2” piece to the piece
you just cut flush with the front.
8

Lanier R/C Sukhoi SU 31M Instructions
Measure from the bottom edge of the sheet
forward 11” and draw a line. Measure up from
that point 3-1/4” and make a mark. At the rear
edge measure up 1-1/4”. Draw a straight line
between the two marks. Measure in at the
center of the 15-1/2” sheet ½”. Draw an arc
between this mark and the end of your line at
the 11” point. Cut along this line for the
cockpit cut out.
Make a left and right sheet. Take a sanding
block and very lightly knock the edge off the
inside corner of the sheet along the bottom
where it will come in contact with the hatch
floor.
Put wax paper under the hatch floor and at
the front and rear of the hatch.
Apply white glue to all the stringers and
bulkheads except the middle one. Run a
bead of thick CA along the edge of the hatch
floor at the top of the fuselage and tape the
sheet in place. Apply a bead of thick CA
along the outside edge of the center stringer
and wrap the sheeting into place. Hold with
masking tape till dry. Repeat for the other
side.
Cut two pieces of 1/16” x4”x2-1/2”and glue to
the top of the instrument panel on each side
of the offset on top. Cut pieces to fit the off
set and glue in place. Cut another piece to fit
across the back with the shape of the hatch
top.
You can now paint the instrument panel but it
will not be installed till after the plane is
covered.
9

Lanier R/C Sukhoi SU 31M Instructions
Locate the printed instrument panel gauges
and the clear lens. This will be installed in
one piece. Trim the clear lens to fit the
backside of the instrument panel; the lens will
stick through the holes. Trim the paper to fit
the clear and glue in place on the backside of
the clear with the instruments aligned with the
lens.
The instruments can now be glued to the
backside of the panel with the lens sticking
through the holes.
The panel will be glued in after covering. The
cockpit floor can be sheeted (wood not
supplied) or left open where the pilot can be
mounted in the fuselage, your choice.
Trim the clear canopy to the scribe line and fit
to cockpit. It will not be glued in place till after
the plane is covered. Be sure the cockpit is
screwed in place when gluing the canopy to
avoid warping the cockpit so it does not fit.
Landing Gear
Measure 3/8” behind the F2B bulkhead and
draw a line making sure it is perpendicular to
the centerline of the fuse. Then measure over
3” from the edge of the landing gear plate at
the front end on both side and make a mark.
This should line you up over the aluminum
angles.
10

Lanier R/C Sukhoi SU 31M Instructions
Align the gear on the mark you made 3/8”
behind the bulkhead and centered up on the
fuselage. Transfer the marks over the
aluminum to the gear. Measure in ¼” from
each side of the gear an mark a spot for a
mounting hole.
Drill four 11/64” holes. After the plane is
covered use four 8-32x1” socket head screws
with lock nuts on the inside to mount the
gear.
With the bolts temperately installed, fit a
piece of ½” tri stock on each side of the gear
where it will fill the area between the
bulkheads. Do not glue at this time. Sand to
match the contour of the bulkheads.
To save weight there is no filler block over
the gear. After the plane is covered, mount
the gear, glue in the ½” filler piece on each
side, and cover over the opening.
Cowling
Take the fiberglass cowl top and bottom and
stand on end on a flat surface . Using
masking tape fit the top and bottom half
together making sure they fit snuggly around
the nose.
11

Lanier R/C Sukhoi SU 31M Instructions
The cowl can be glued together to make a
one-piece cowl or screwed together so it can
be taken apart. Sand the edges on both
sides so the top and bottom are even down
the sides. Glue scrap pieces of 1/8” lite ply ½”
x ½” on the inside of the bottom half of the
cowl to hold the blind nuts. Start 2” from the
nose and put in 5 nuts approximately 3” apart
on each side. Drill through the top and install
the bolts and nuts.
Do not remove the fiberglass in the front
unless you plan to use a dummy engine, it
will be used to baffle the engine.
Fit the cowl over the front of the fuselage. It
will extend over the F1A and be flush with the
hatch on top. It will overlap the sides by about
3/8”to 1/2”. It will extend back over the F1B
on the bottom.
Using a long straight edge make sure the
cowl is parallel to the front hatch.
Using the straight edge aligned down the
center of the fuselage, make sure the cowl is
centered from left to right. Sand the top edge
of the cowl where it butts up to the hatch until
you have a good fit with the cowl lined up
properly.
12

Lanier R/C Sukhoi SU 31M Instructions
After the cowl is fitted, glue the C1a to the top
half inset from the edge ¼”. Tack glue and
check that cowl is aligned properly and then
glue down firmly. Install two 6-32 blind nuts in
the holes provided. With the hatch removed
you can screw the cowl down with
countersunk bolts through the F1A. With the
top screws in place, make sure the cowl is
level with the hatch and install the C1B.
Since the C1B is set at the same angle as the
F1 former you will need to sand the bottom
edge at an angle to match the cowl. The C1B
does not line up with the bottom of F1, it will
extend down about 5/8" below. With this
done you can reach through the front of the
cowl and glue the C1B in place.
Match drill the holes from C1B into F1 and
install blind nuts on the backside of F1. You
can now screw the bottom of the cowl in
place. This should have the cowl firmly
mounted.
Firewall
Locate the ½” firewall and the ¼” lite ply
motor box top and bottom. With the cowl in
place measure from the end of the motor box
sides to the front of the cowl and adjust for
your engine length. The DA150 is shown with
a 1” spacer (not included) so the mufflers will
clear the firewall. You need 3 degrees of right
thrust. Cut 3/8” off the right motor box side to
achieve this. Epoxy the firewall in place
between the motor box sides. After the glue
has dried epoxy the motor box bottom in
place. Using1/2” tri stock do all the corners in
side the motor box. Using 3/8” square spruce,
line the top edge of the motor box on both
sides on across the back.
The motor box top will be screwed in place to
allow access. Also put ½” tri stock where the
motor box sides come through F1. Using the
1/8” dowels cut to 3/4” length, pin the firewall
in 6 places 1” apart. Take a piece of
fiberglass cloth 2 inches wide (not supplied)
and epoxy around the corner of the firewall
and motor box side. The motor box side has
the thrust line etched on it. Center the motor
up on this vertically and offset to the left to
compensate for the right thrust so the prop
shaft comes out in the center of the cowl. For
the DA150 this is approximately 3/8".
Wing Construction
1. Remove the foam cores from their
packing and inspect them.. Handle the
cores carefully because of the sharp
13

Lanier R/C Sukhoi SU 31M Instructions
trailing edge. Do not throw away the
core packing shells. They will be needed
during the construction of the wing.
2. Sand the surfaces of the core lightly, if
necessary, with 220 grit paper to remove
any ridges and Irregularities you might
find. Do not over-sand.
3. Locate and install the fiber spar tubes in
each wing core. Spread a thin coat of
epoxy or white glue around the periphery
and length where it comes in contact with
the foam. Insert into the core with a
twisting motion. Slip W2 over the end,
with proper orientation before the tube is
completely inserted against the wall of the
cut out. Use epoxy to secure W2 to the
foam and tube. Wipe off the excess glue
around the exit point at the wing root
allowing it to extend 3/16” minimum. It is
important this area be free of glue so that
W1 can be installed over the fiber tube.
Allow the glue to cure thoroughly before
continuing on with further construction.
Note: when working on a wing panel,
always make sure it is resting in a
packing to prevent warping.
4. Locate the 8 - ¼” sq. hardwood spars and
glue them in the spar slots with epoxy or
white glue. Make sure they are seated in
the groove and flush with the top surface.
Put wax paper down on the packing and
lay the wings back in. Place on a flat
surface and add weights and allow to dry.
If groove is too deep apply Balsa Magic
on top of spar to make it flush with foam.
It is easily sanded after it cures. We
cannot control the tolerance on the
hardwood strips. Work with the core in
the packing to prevent warping.
5. Find two W3’s and epoxy them on the
forward edge of the spar and against the tube
in the square cut out area, one on top and
one on bottom.
6. Locate 6 – 3/32” x 4” x 36” balsa sheet
and 6 -3/32” x4” x24”. Cut 5 pieces of
the 24” down to 20” and 1 piece into a
6” and an 18” piece. True up the
edges on one side taking off the
minimum of balsa, using a long
straightedge. Tape the skins using a
36” piece and a 20” to make a 56” long
skin. Stagger the joints on the 24”
piece from one end to the other. When
you have 5 of these taped together
14

Lanier R/C Sukhoi SU 31M Instructions
add the 36” piece and the 6” piece.
Then add the 18” piece. You will have
to make a top and bottom skin by
gluing the last two rows on the
opposite side. Make up two sets of
skins, see diagram above. Place a
skin in the packing, put down the wing
core, put the top packing in place and
mark the wing skin with a pencil
around the edge. Remove from
packing and using a straight edge cut
to size. Cut all four skins; remember to
make a top and bottom.
7. We recommend using probond urethane
glue. You can use epoxy if you prefer.
With the pro bond there is no need to
edge glue the sheets together, just tape
them. Using a credit card or spreader,
apply a lite even coat over the surface of
the wing skin. There is no need to leave it
puddled up on the surface, scrape it
almost dry. Take a damp cloth and wipe
the wing core down, the moisture helps
the urethane set up. Place the skin in the
padding, align the wing core, place the top
skin in place, add the top packing shell
and then apply weight. The wing must be
on a flat sturdy surface..
8. Check the packing and core for alignment
and place a heavy board on it to distribute
the weight. Concrete blocks or bricks work
well. You will need about 200 lbs to firmly
weight the wing down. Allow curing over
night before removing.
9. Trim the sheeting flush with the tip of
the wing and glue on the 1”x2-
1/2”x15” balsa block tips. Sand the
tips to the shape shown on the plans.
10.Trim and sand the leading edge sheeting
flush with the foam core. Locate and
install the ½” x 1-1/4” x 54” leading edge.
This will be made up of a 48” piece and a
6” piece. Use white glue and masking
tape to hold it in place.
11. Place the foam core in packing and tape
it in place.
Strike a line at the aft edge of the rear
spars on the trailing edge. Measure in
47.5” from the tip and draw a line
perpendicular to the forward spar. Use a
15

Lanier R/C Sukhoi SU 31M Instructions
band saw if possible, to cut out the
aileron.
Leave the aileron taped to the packing
and remove 1” from the leading edge and
3/16" from the inboard end.
Locate the four ½”x1-1/2”x48” balsa aileron
leading edge, wing trailing edge pieces. Tape
two together with the end of one extending
¼” beyond the other. Draw a centerline down
each set and mark off the hole location for
the hinges. This will be the root end, measure
in 1-1/2” and mark the first hole. Lay out
seven more holes spaced 6” apart. Measure
2-1/2” from the last hinge and mark the hole
at the tip end. Using a drill press drill a 3/16”
hole at the nine locations. Using a band saw
cut the bevel on both piece leaving 1/16” on
the sides and in the middle.
12.Cap the aileron leading edge with the
piece that was inset ¼”. Make sure it is
centered up on the aileron. Use white glue
and tape to hold it. When cured, trim and
sand the ends flush with the foam. Also
plane and sand the top and bottom flush
with the sheeting. Locate (2) W6 and glue
to inboard end of ailerons. Sand flush
when cured.
13.Locate W5 and glue in place on the
aileron inset inboard end.
14.Cap trailing edge of wing with the other
piece of balsa. Use the aileron to align the
hinge holes and adjust the gap between
the aileron and wing. Use white glue and
tape in place. Plane and sand top, bottom,
and tip end flush with surfaces.
16

Lanier R/C Sukhoi SU 31M Instructions
.
15.Locate the servo wells, on the bottom
side. Measure in 6-1/2” from the root of
the aileron and 6-1/4” from the tip and 1-
1/2” forward of the hinge line.
. Layout the servo well, 7/8” x 2-5/16”, with a
ballpoint pen. Cut around the out side line
with a sharp razor. Then use a flat blade
screwdriver to dig out the foam to the bottom
of the razor cut. Cut and dig some more until
the servo fits below the foam surface. Locate
the ¼” sq. hardwood servo rails. Cut six
pieces 1- ½”long. Inset these into the foam,
flush with the surface, and epoxy in place.
16.With the servo located in the well and the
aileron temporarily installed with hinges,
mark the point where the pushrod will align
with it. Using a drill press and a ½” Forstner
bit, drill a hole ½” back from the leading
edge.
Make sure the aileron is level, use the packing.
Cut off a piece of ½” dowel to the required
length. Now drill a #19 (.166) hole down
through the center of the dowel. Epoxy the
dowel in place and sand flush when cured.
Countersink the hole on the topside of the
aileron to fit the screw head. A 5/16” bit will
work. Now run an 8-32 tap down through the
hole. We recommend using Rocket City
hardware. It’s strong and has never failed us.
The best way to make the hole for the servo
lead is to buy a piece of ½” copper pipe 60”
long and using a propane torch, heat the end.
Using the hole in the W1 rib align the tube and
burn the hole into each of the three servo wells.
17.Sand off the sheeting at the wing root flush
with the
foam. Do not sand away much of the foam
and change the angle. Do not install W1
until the fuselage is complete and the wing is
fitted to it on the spar. Now build the other
wing panel as described above. Rough sand
them and set aside for your friends to admire.
Slide the 48” aluminum tube into the fuselage
and put a wing in place. If is does not fit
perfectly from front to rear sand until it does.
After you are satisfied with the fit, glue the
W1 root rib in place. The best way to get a
good fit is to put wax paper on the fuselage
and then put epoxy glue on the root rib and
slide the wing up against the fuse. If there are
minor cracks you can shim the root rib up
against the fuse and then after the epoxy has
17

Lanier R/C Sukhoi SU 31M Instructions
dried fill in any voids between the wing and
the W1 with putty.
Anti rotation pins
Locate the two D1s, the D2 and D2A the D3
and D3A. These will make a jig to drill the
3/8” holes in the wing for the anti rotation
pins. Laminate the D2 and the D3 together
paying attention to the top, which is cut at an
angle, and then glue to one of the D1s. The
D2 and D3 go on the front. Then laminate the
D2A and the D3A and glue it on the rear
portion of D1.Use a 3/8” dowel to help align in
the middle on the two lines. Glue the other
D1 on top. Inset your 3/8” drill in the hole and
align it with the hole on the root rib of the
wing. With the D1 turned so the front is
toward the leading edge, hold the D1 flush
against the root rib and drill your hole.
This will align the dowel parallel to the main
spar.
Install the hard point for the wing mount bolt
by measuring out 5-1/2" inches directly over
the tube and drilling a 1/2" hole down to the
top of the phenolic tube. Do not drill through
the phenolic. Glue a piece of 1/2" dowel in
flush with the surface of the wing. Drill a #36
hole(.106) in the center of the dowel all the
way through the phenolic tube. Run a 6-32
tap through the hole and counter sink the top
for the screw head. Center the aluminum
tube up in the fuselage and with the wings
held tightly up against the fuselage, drill the
hole through the dowel and into the aluminum
tube. Install the 6-32x1-1/2" screw and then
do the other side.
With the fuselage blocked up level, the top of
the fuselage should be level, set both wings
to 0 degrees incidence and glue the W7 anti
rotation disc on the inside of the fuselage. Be
careful and don’t glue the W7 to the dowel.
Lightly glue them on and after the glue has
dried remove the wings and reglue the W7
firmly. The W7A goes in the rear.
Fin Construction
Take the fin blank and measure down from
the top 5-5/16” and draw a line parallel to the
18

Lanier R/C Sukhoi SU 31M Instructions
top. Measure down 7-3/4” from this line and
draw another one parallel to the top. At the
bottom of the fin, measure back 12-7/8” from
the leading edge and draw a line
perpendicular to the bottom to intersect the
top line. This gives you the fin and rudder cut
lines.
Prepare the sheeting by locating 10 pcs of
1/16”x4”x24” and cutting 6 pcs. To 20” and
4pcs into 8” and 16”. Tape three 20” pieces
together with two 16” pieces on the leading
edge and one 8” piece on the leading edge
and one on the trailing edge. Make a left and
a right.
Sheet the foam using the method described
in the wing section.
After the glue has dried cut the fin and rudder
along the lines you drew. Draw a line and cut
¾” off the trailing edge of the fin and ½” off
the leading edge of the rudder. Cut 3/32” off
the top of the fin and the bottom of the rudder
inset.
Locate the ¼”x1/2”x24” fin leading edge and
glue to leading edge of fin and top counter
balance of rudder after trimming the sheeting
flush.
Glue the 1”x1-1/2”x11” balsa block fin tip to
top of fin and sand to shape shown on plans.
Locate the ¾”x2-3/4”x14” fin trailing edge
and the ½”x2-3/4”x14” rudder leading edge. It
is easy to go ahead and drill the hinge holes
through both pieces with them taped
together. Tape the ¾” piece to the ½” piece
with the top of the ½” piece extending above
the ¾” piece by 1/4”. Draw a centerline on the
¾”piece and starting 1” from the end drill
eight 3/16” holes for the hinges 1-1/2” apart.
The last hole should be spaced 1-3/4” down
for a total of nine hinges.
19

Lanier R/C Sukhoi SU 31M Instructions
Using a band saw cut the bevel on both piece
leaving 1/16” on the sides and in the middle.
The ¾” piece glues to the back of the fin and
extends to the bottom of the fuselage. The ½”
piece glues to the leading edge of the rudder.
Center these pieces and glue on.
Locate the two 3/32” laser cut balsa parts
FT,and RT and glue the FT to the top of the
fin and the RT to the counter balance on the
rudder. The 1”x2-3/4”x14” balsa block that
forms the bottom of the rudder is not glued on
till the fin is attached to the fuselage. With the
fin in place, attach the rudder temporarily with
hinges. Take a long straight edge and lay
along the bottom of the fuselage and mark
the bottom of the rudder at this angle. Cut the
bottom of the rudder off at this angle 1"
above the bottom of the fuselage. Cut a notch
in the bottom of the block to inset a
3/8”x3/8”x2” spruce block to mount the tail
wheel steering horn on. Glue in place and
after the glue has cured, sand and shape to
match the radius on the back of the fuselage.
Sand entire assembly and set aside till ready
to mount on fuselage.
It is easier to set the incidence on the stab
before you glue the fin in place.
When ready to mount to fuselage, the fin
must have a notch cut in the back just in front
of the trailing edge block. It is ¼” wide and
15/16” high to clear the F7 former and let the
fin set on the fuselage top.
Set the fit in place and mark the location of
the phenolic tube and cut a notch to clear.
The fin can now be set in place on the
fuselage top with the F7 extending into the
notch. The ¾” trailing edge extends to the
bottom of the fuselage. Epoxy in place
making sure it is perpendicular to the
fuselage.
After the fin is installed you can fit the fairing,
laser cut 1/32" ply part TF. You must have
the stab incidence set before gluing the TF in
place. Glue the 1/8" balsa bulkhead, TD5A to
the backside of TD5. This should be 1/32"
inside the edge of the turtle deck to accept
the fairing. Because of building tolerances
you will have to trim the front edge of the
fairing to fit. When happy with the fit glue in
place with tape holding till the glue dries.
Stabilizer Construction
20
Table of contents
Other Academy of Model Aeronautics Toy manuals
Popular Toy manuals by other brands

KidKraft
KidKraft 53198A Assembly instructions

Top Flite
Top Flite FW 190 instruction manual

Thames & Kosmos
Thames & Kosmos 623715 Experiment manual

Mattel
Mattel CAVE CLUB instructions

Playskool
Playskool 16" Cabbage Patch Kids PowerCycle instructions

Bengtson Company
Bengtson Company Albatros DII instructions