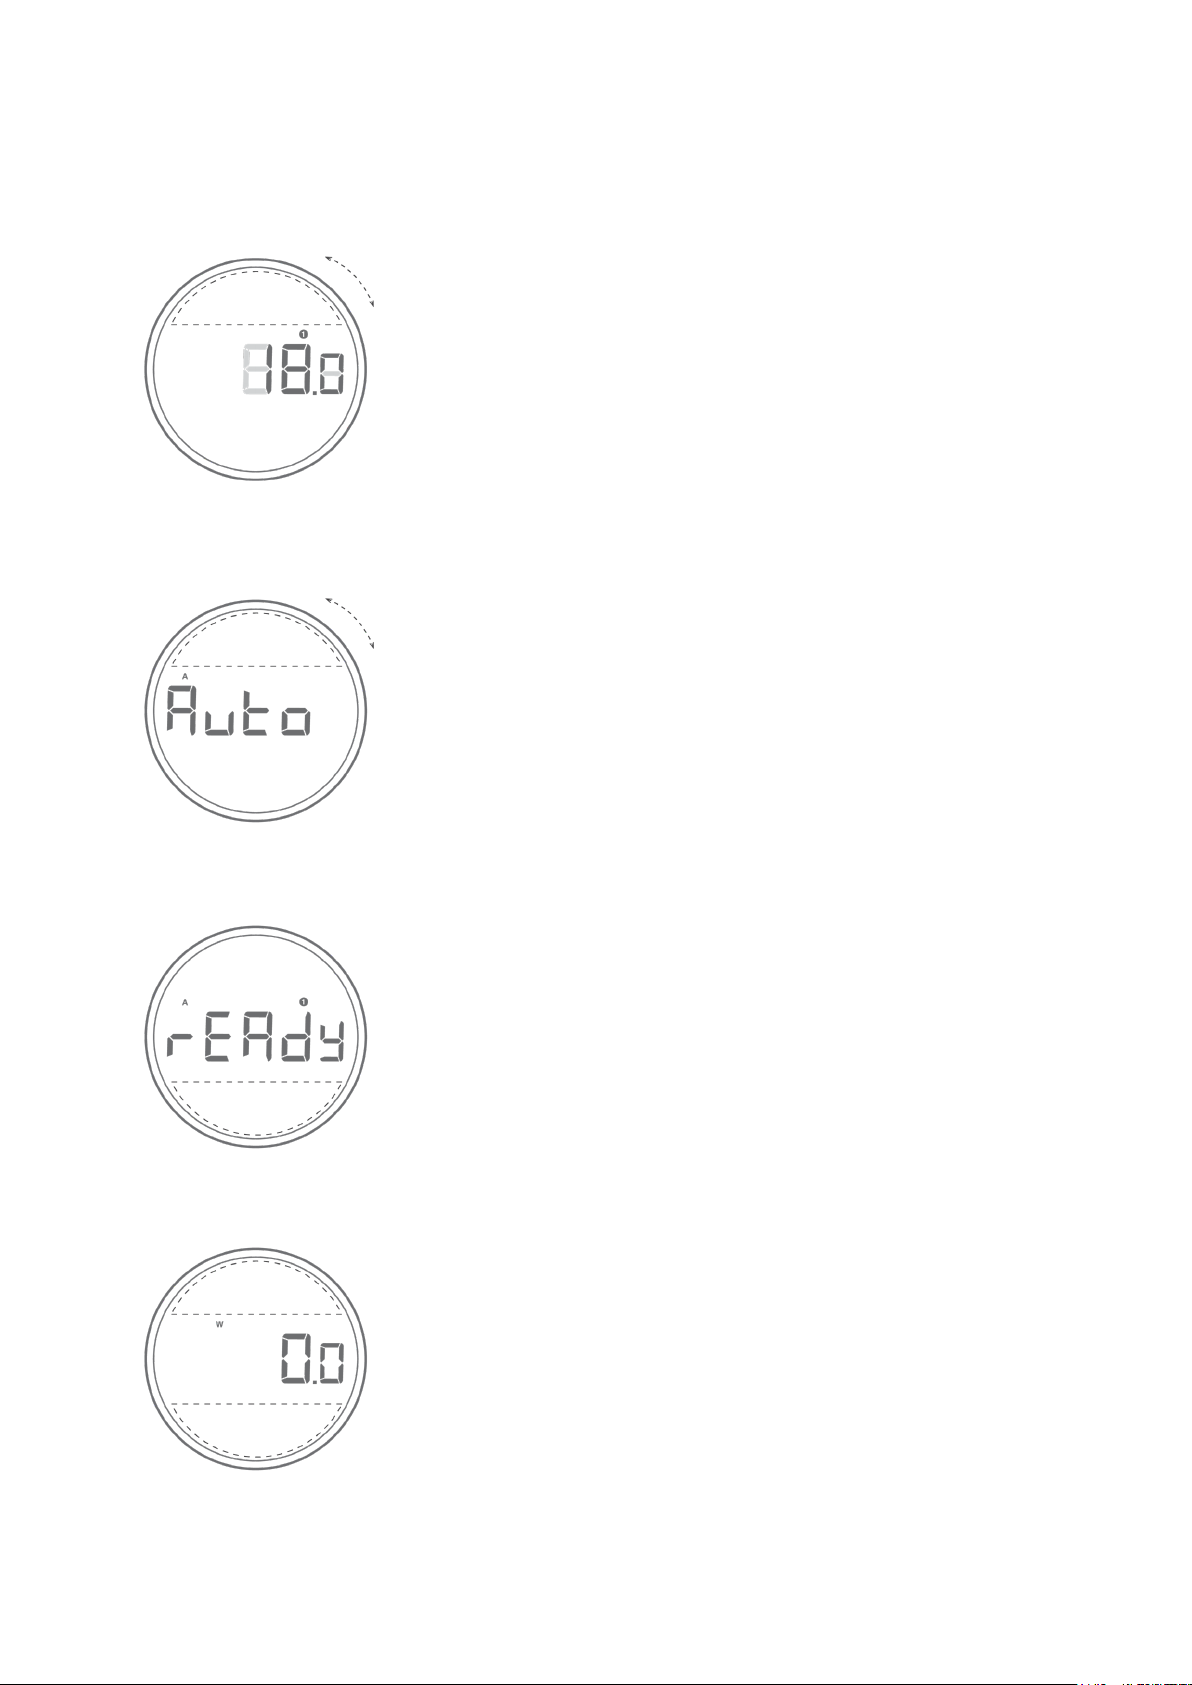
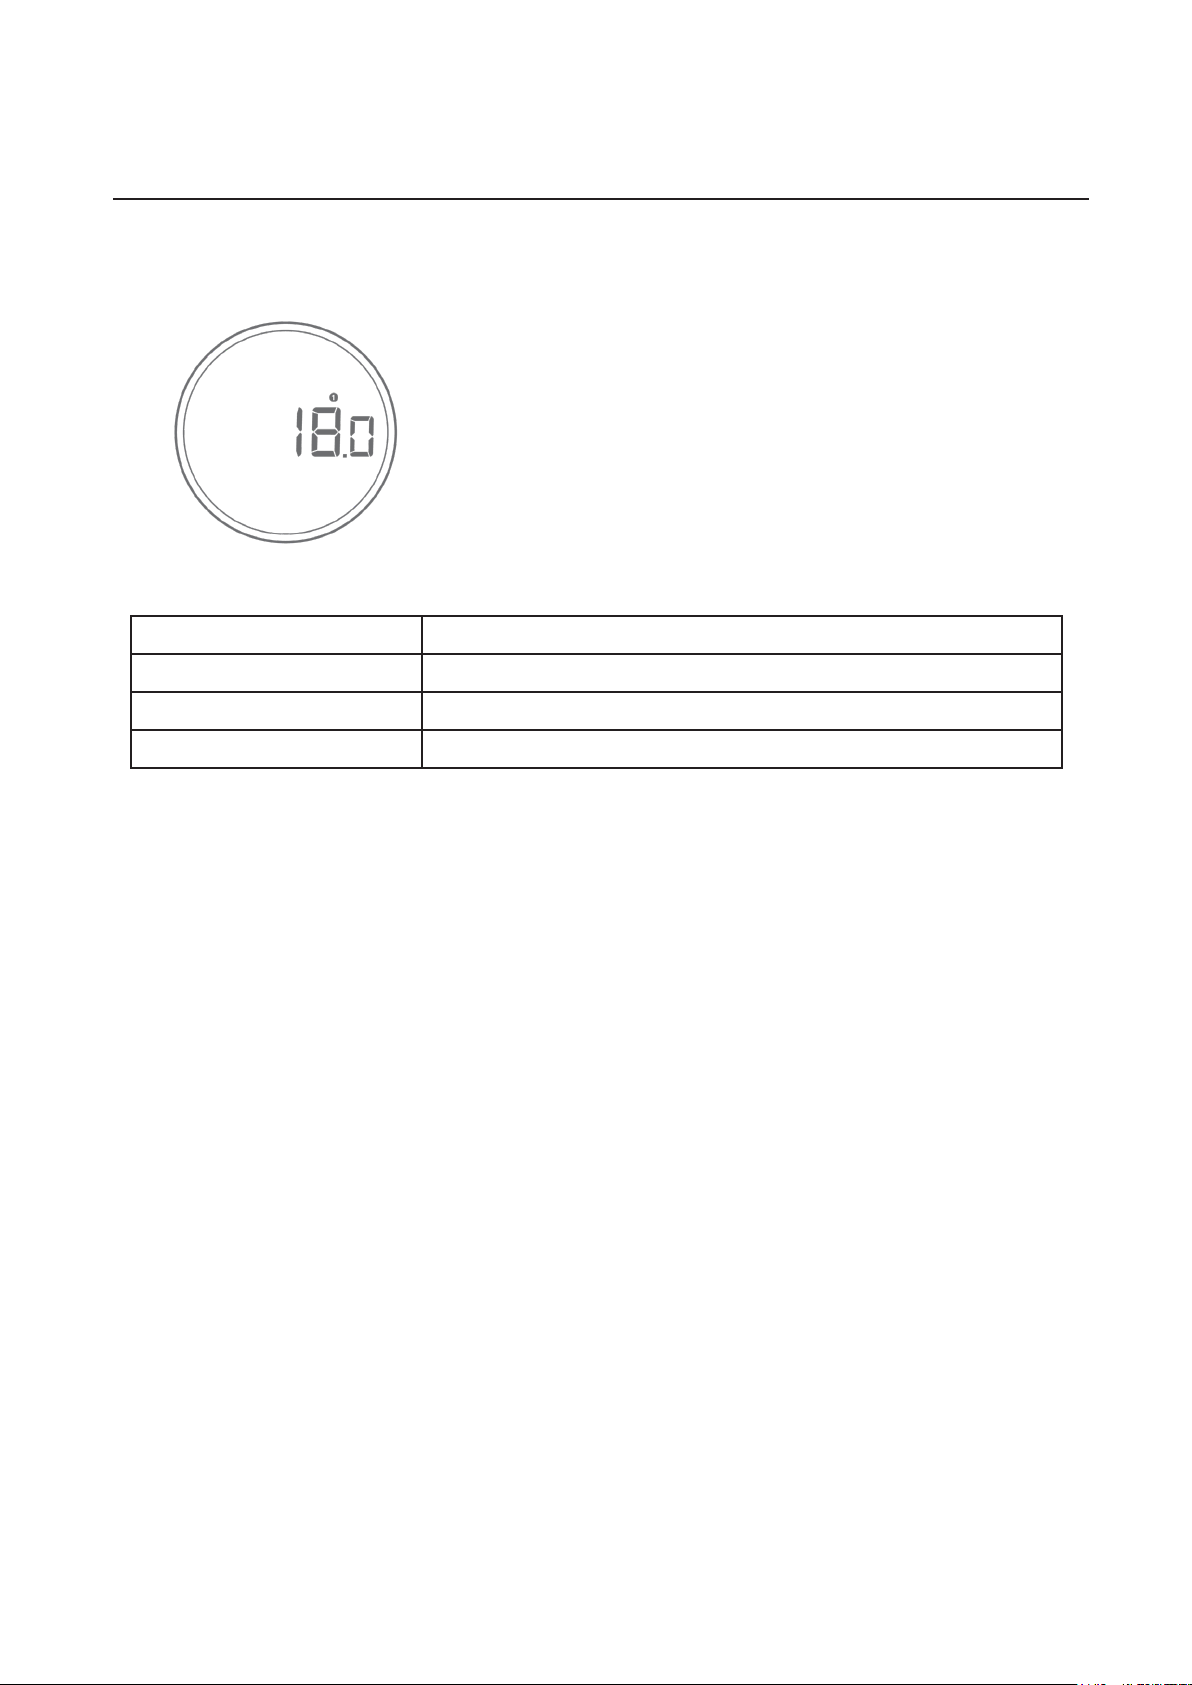
This is the default dosing mode. The Orion Nano allows you to
store three presets for your desired weights. For instance, you
can set preset 1 to 10g, preset 2 to 20g, and preset 3 to 30g.
The minimum weight for the preset is 4g.
Mode 1 - Manual Dosing Mode
10
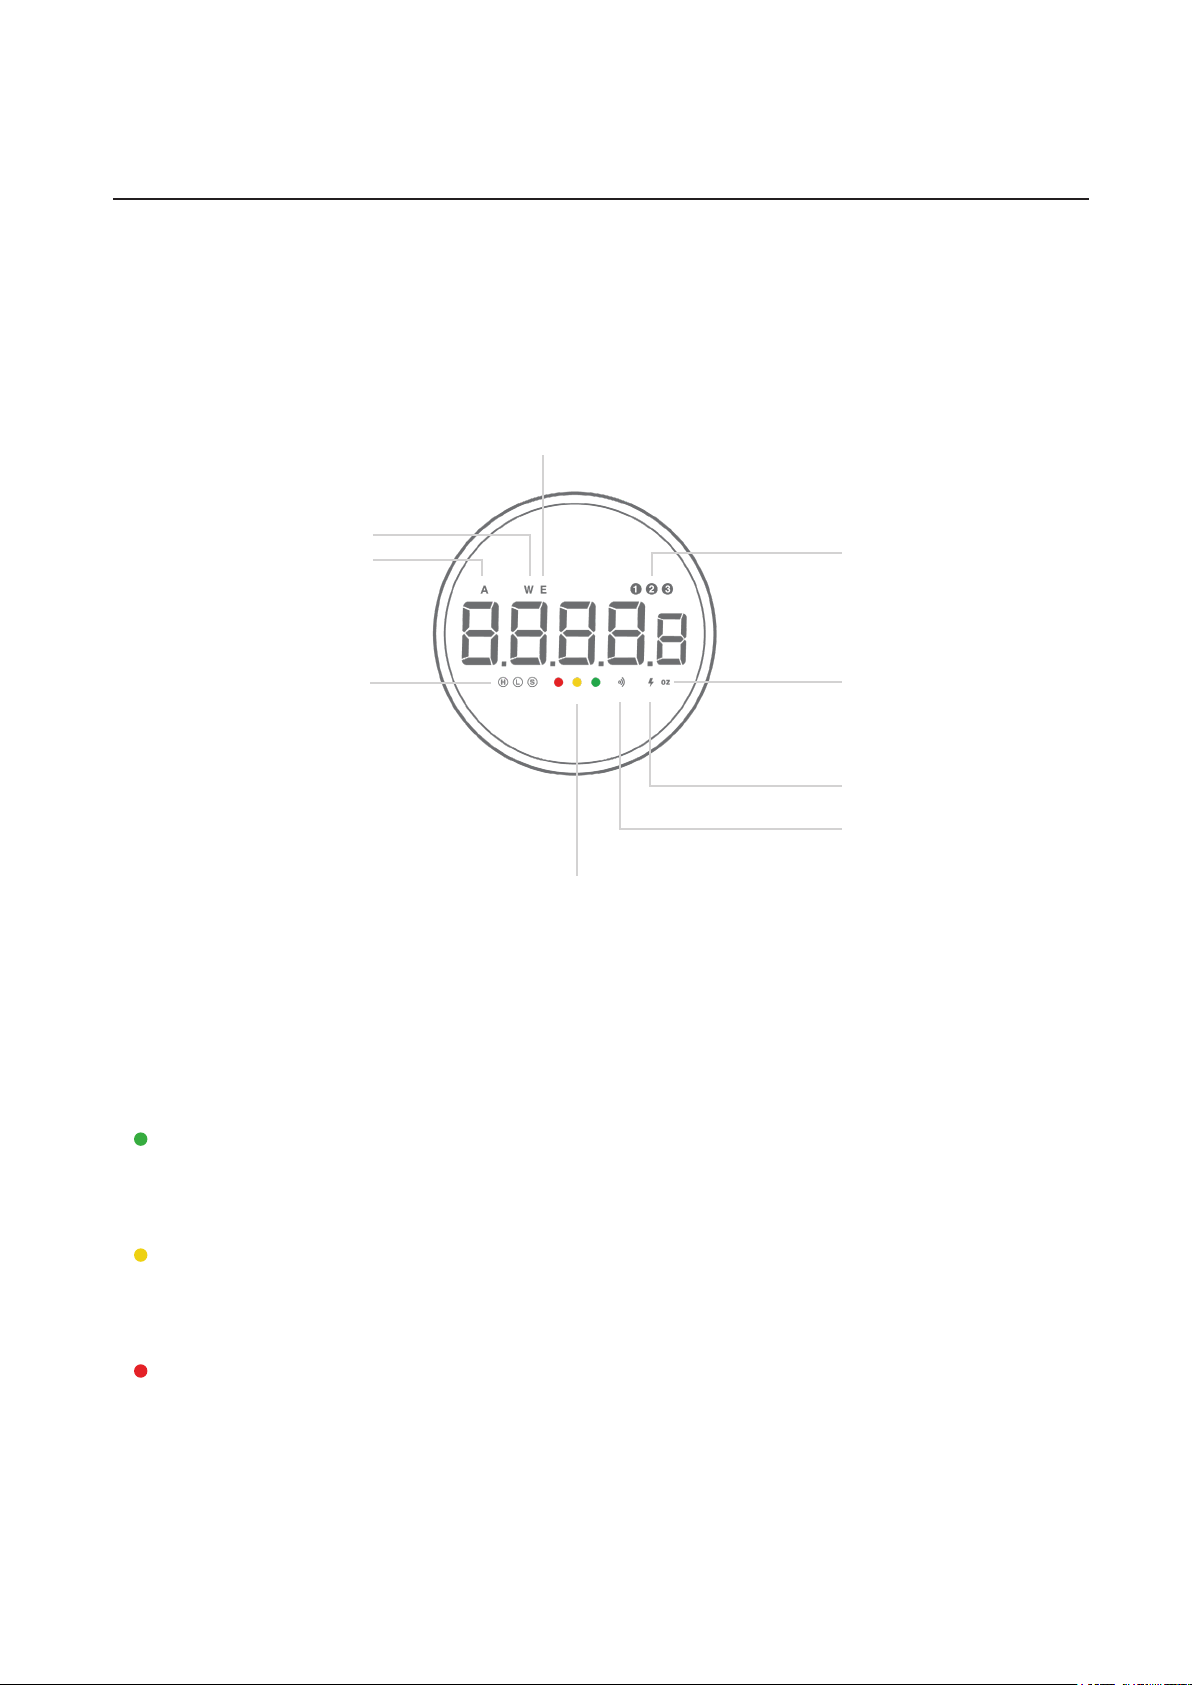
Action Operation
Start / Stop Dosing Press Dose
Pulse Beans Press Dose
Reset Mode Press Power
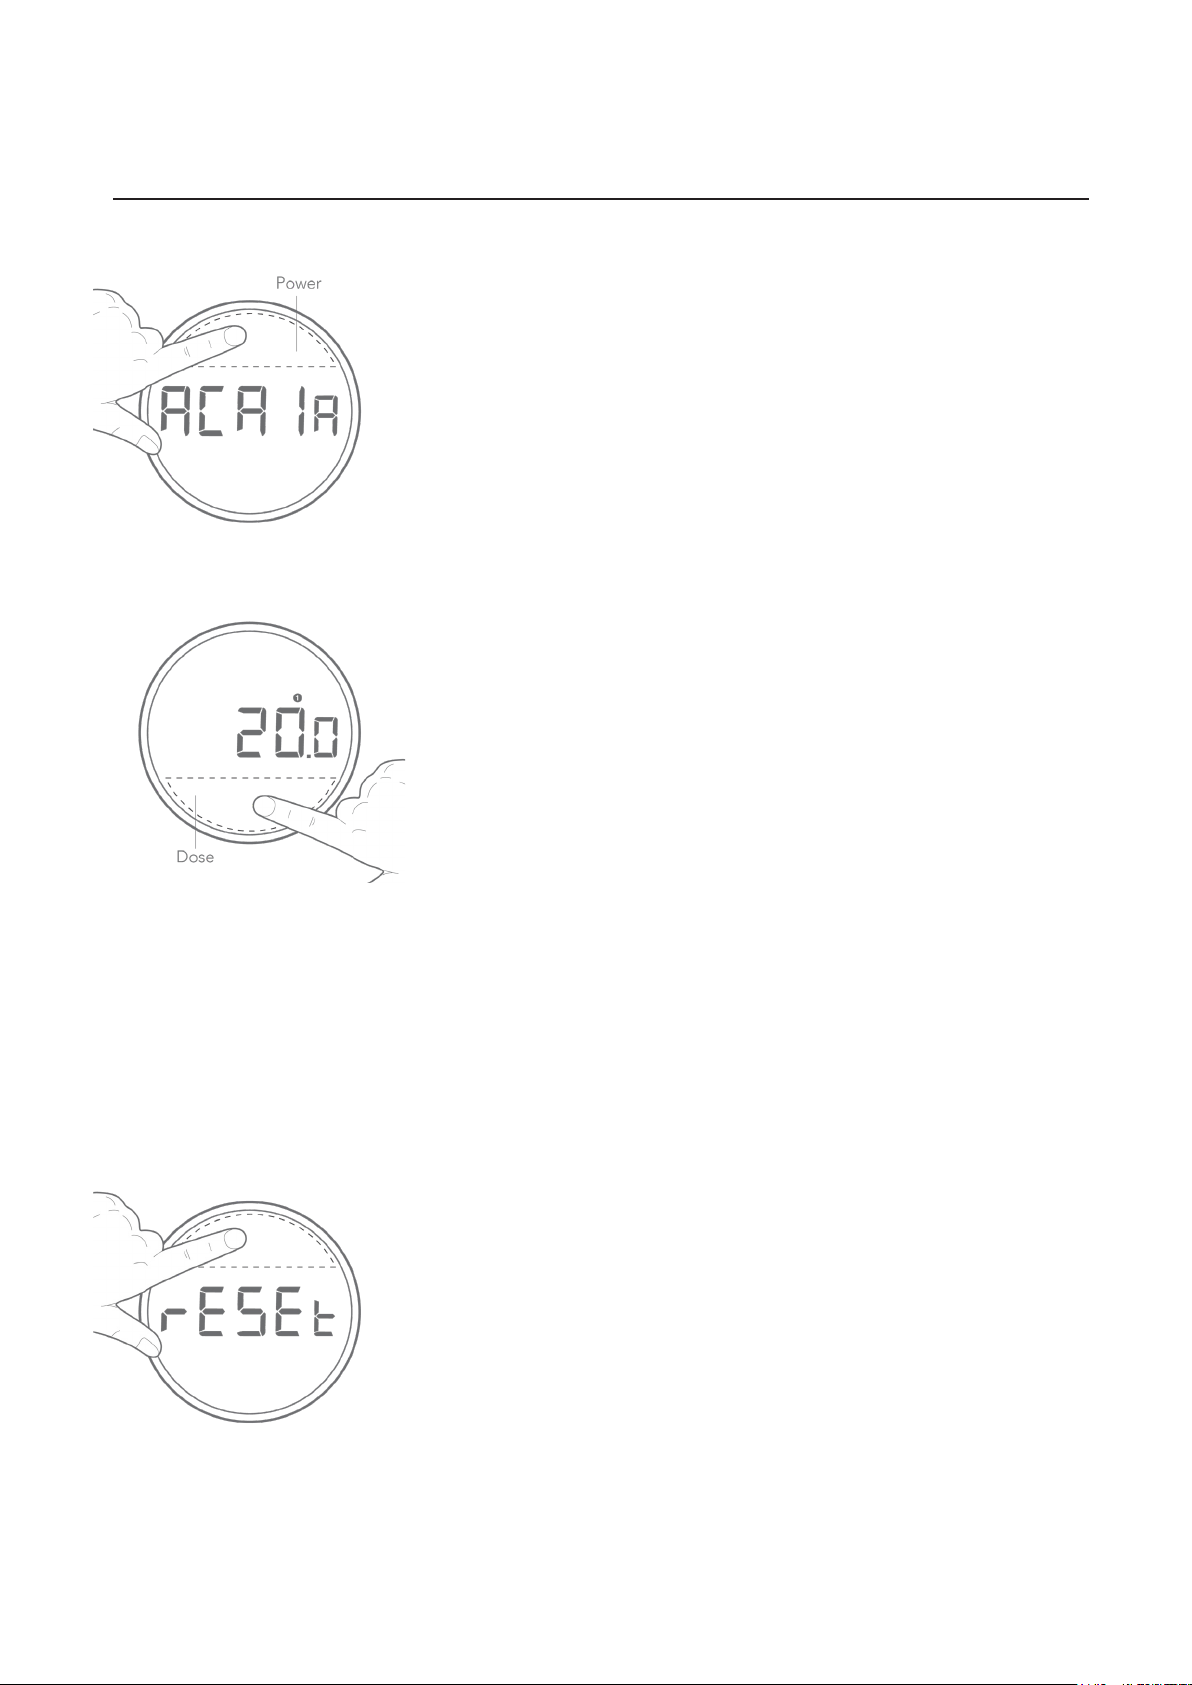
1. Select a preset by rotating the Dial. Adjust the preset value by pressing Power and rotating
the Dial. Press Power to conrm.
2. Press Dose, and the Orion Nano will begin dosing until the desired weight is reached within
± 0.25 g (A solid green LED will display to indicate an accurate dose).
3. At the end of dosing, you may press Dose several times to ‘pulse’. Pulse will slowly add a few
more beans if needed.
4. Press Power to reset and return to Dosing mode.
• Manual dosing mode can dose on demand with a selected preset.
• [ CUP ] [ rESEt ] will appear on the display if no container is detected on the platform. You
can dismiss the warning by pressing Power, and it will not appear again until the Orion Nano is
restarted.
• A [ NOISE ] message will appear if a container is removed from the Orion Nano or if the
platform is touched during dosing. Please dose again.
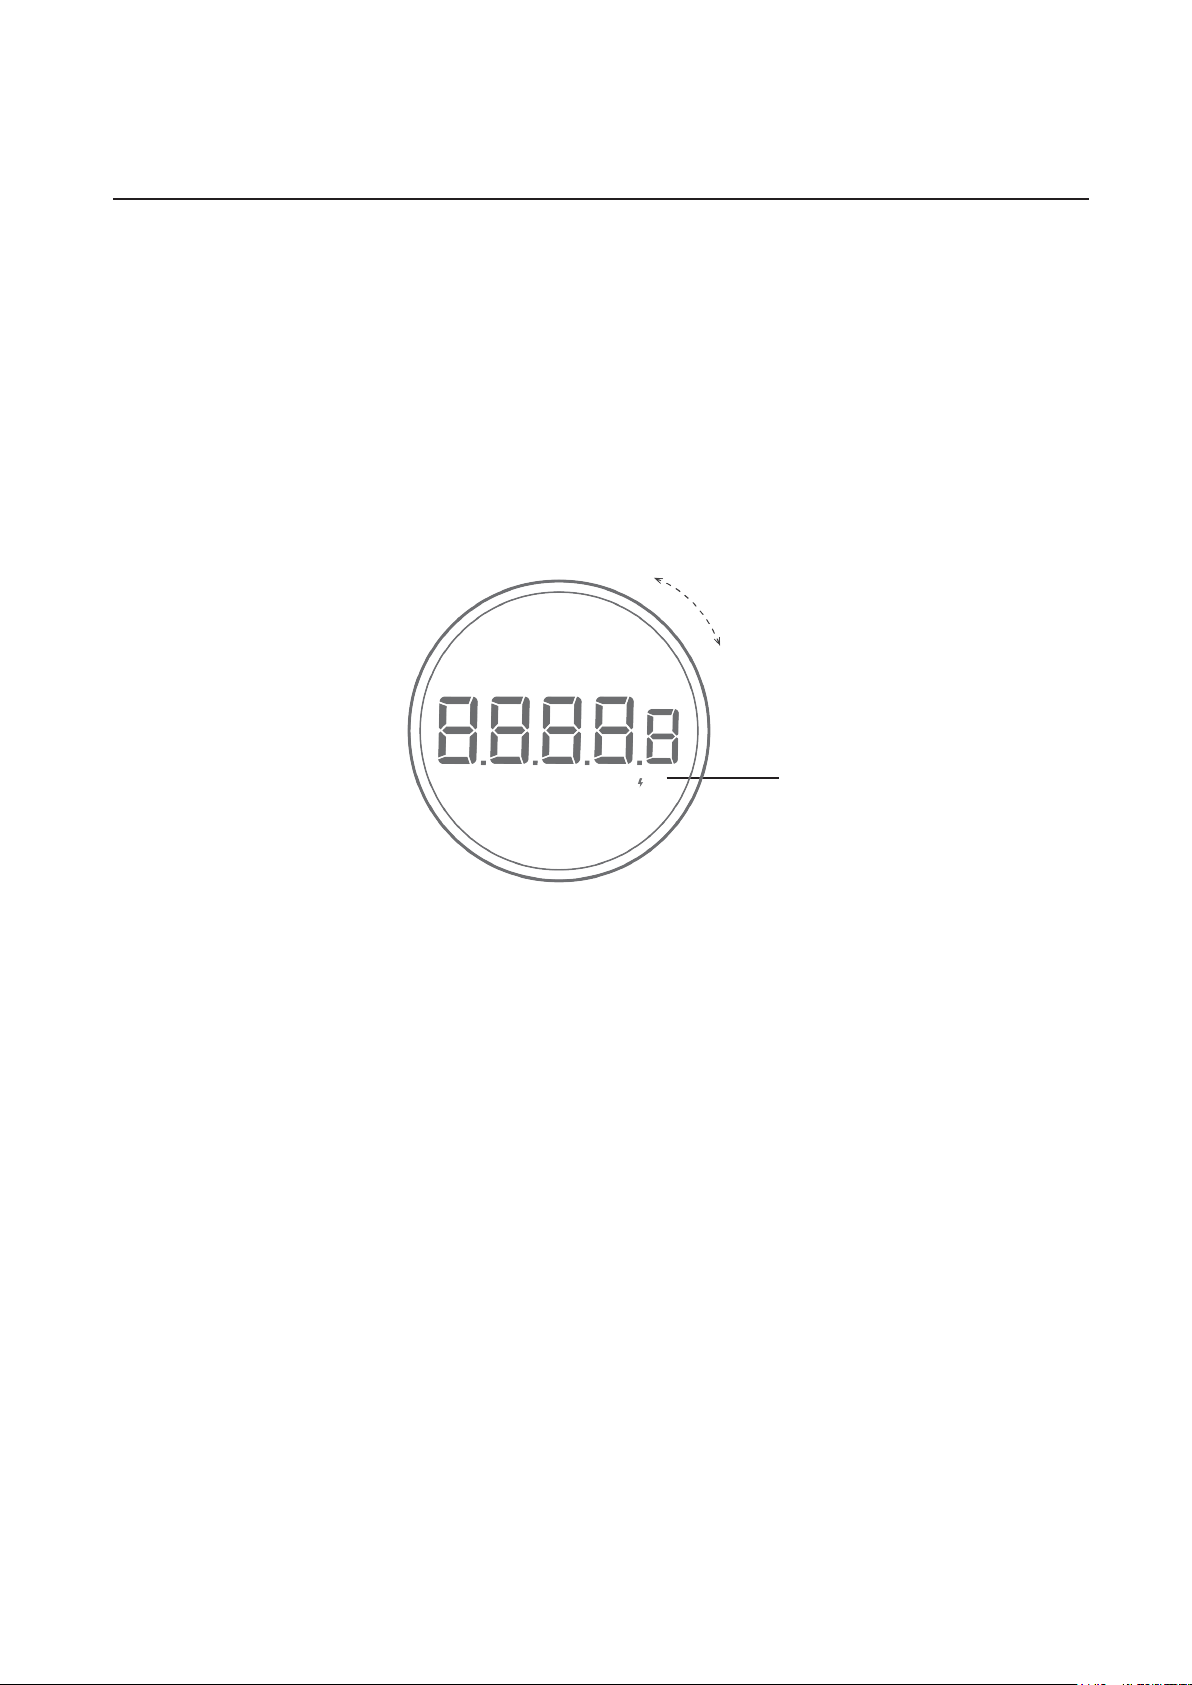
Pulse in Manual Dosing Mode
The Orion Nano has a pulse function that adds a few beans to the dose manually at the end of
each dose. To pulse (add) a few more beans at the end of each dose, simply press the Dose
and the Orion Nano will dispense add a small amount of beans with each press. If one press
doesn’t drop any beans, you can press it multiple times until the desired weight is reached.
Mode Introduction