8www.acclaimlighting.com
CONFIGURATION
You can use the miniature faders to create scenes (containing color mixes or color chases),
then store them into any of the six scene preset buttons to provide quick access during
operation.
SWITCHING BETWEEN ON AND STANDBY
Once power is applied, press and release any button to switch the panel on.
To switch the panel off: Press and release the O/Pro button.
RECORDING SCENES
As required, you can create and run scenes containing either color chases or static color
mixes. Each scene can contain up to 100 steps.
TO RECORD A SCENE
1 While the panel is on, press and hold the O/Pro button for three seconds, until its
indicator flashes red - this indicates that you are in programming mode.
The blue indicators, of all scene presets which contain existing programming, will
illuminate. Note: It is not possible to write a new scene directly over an existing one, you must
first delete the existing scene:
•To delete an existing scene: While the red O/Pro indicator is flashing, press and hold
the required scene preset button for three seconds, until all indicators flash blue three
times. The chosen scene preset indicator will extinguish.
2 While the red O/Pro indicator is flashing, press the required (vacant) preset button. The
blue indicator of the chosen button will begin to flash.
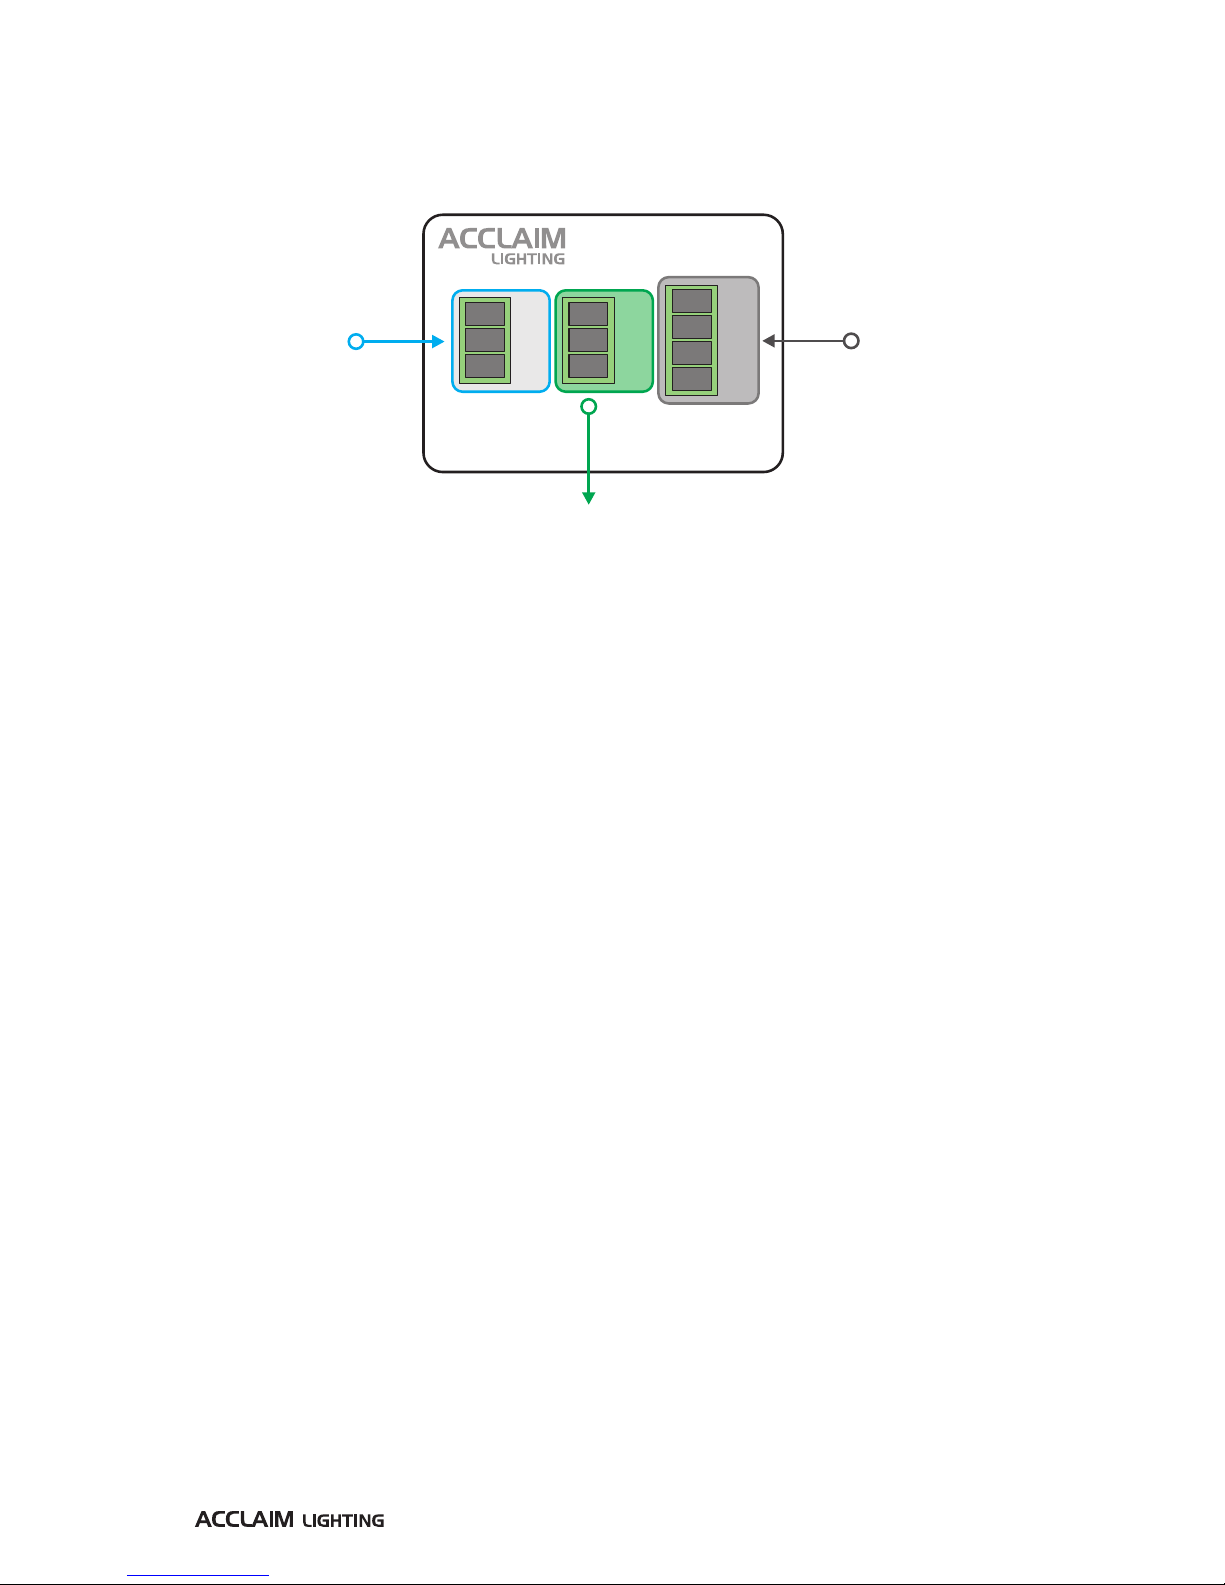
3 Use the channel faders to create the required color mix. If required, you can also use an
external DMX source to mix the channels as required in programming mode, instead of
using the faders on the panel (see “Connections”on page 5).
Note: When programming, you need to actively ‘include’ all of the required colors. This means
that if certain colors are already present as you enter programming mode, you need to clear
them and build up your required scene. Mixes that were already showing will be ignored when
you store your scene. To avoid confusion, it is best to clear out all existing colors/channels and
begin with all outputs at zero. You do this by raising/lowering the faders which control those
colors/channels until the output goes to zero. Once everything is zeroed, you can then build up
your new mix.
4 Press and release the O/Pro button to store the current color mix. All indicators will flash
blue three times to confirm your action.
5 Repeat steps 3 and 4 to record any further steps within your scene; up to 100 steps can be
recorded for each scene.
Note: If two consecutive steps contain exactly the same color mixes, they will be automatically
merged into one scene during the saving process.
6 Once all steps have been recorded for the scene, press and hold the O/Pro button for
three seconds until only its indicator remains lit in blue - this shows that you have exited
from programming mode.