manuals.online logo
Brands
  1. Home
  2. •
  3. Brands
  4. •
  5. Acnodes
  6. •
  7. Monitor
  8. •
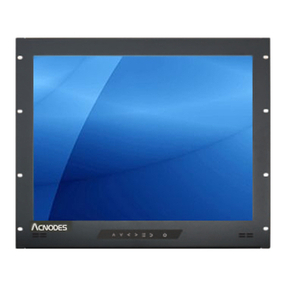
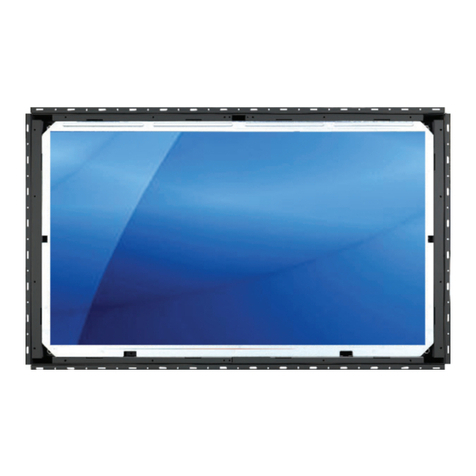
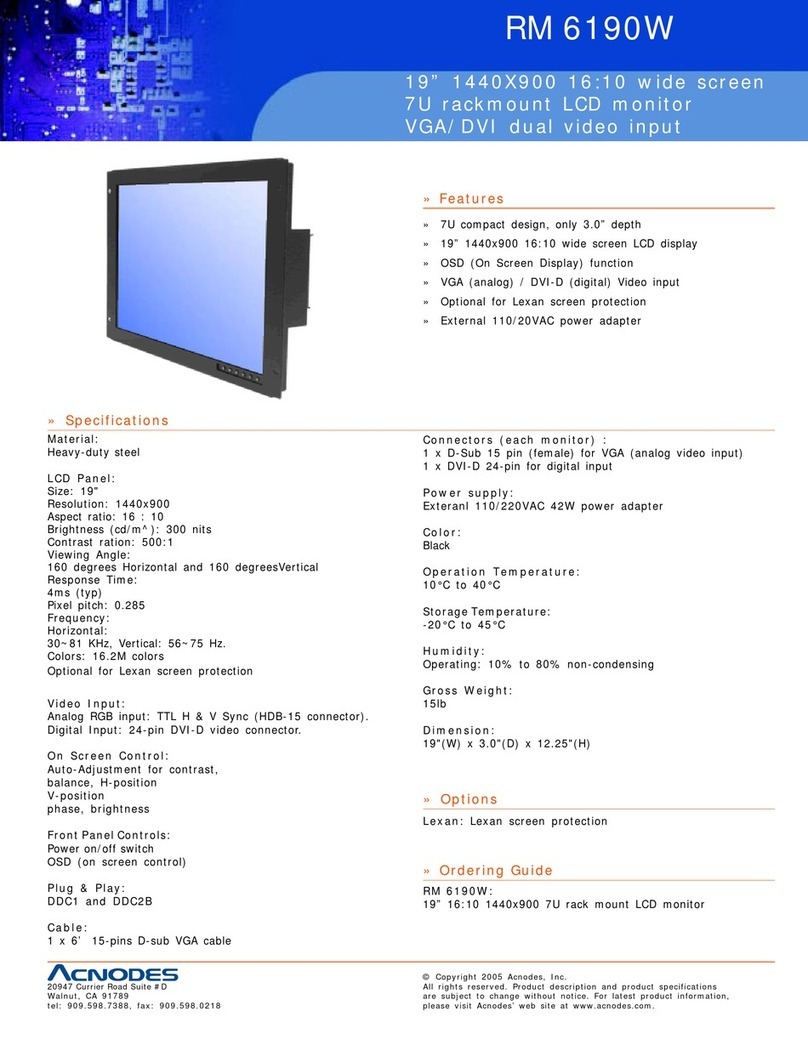
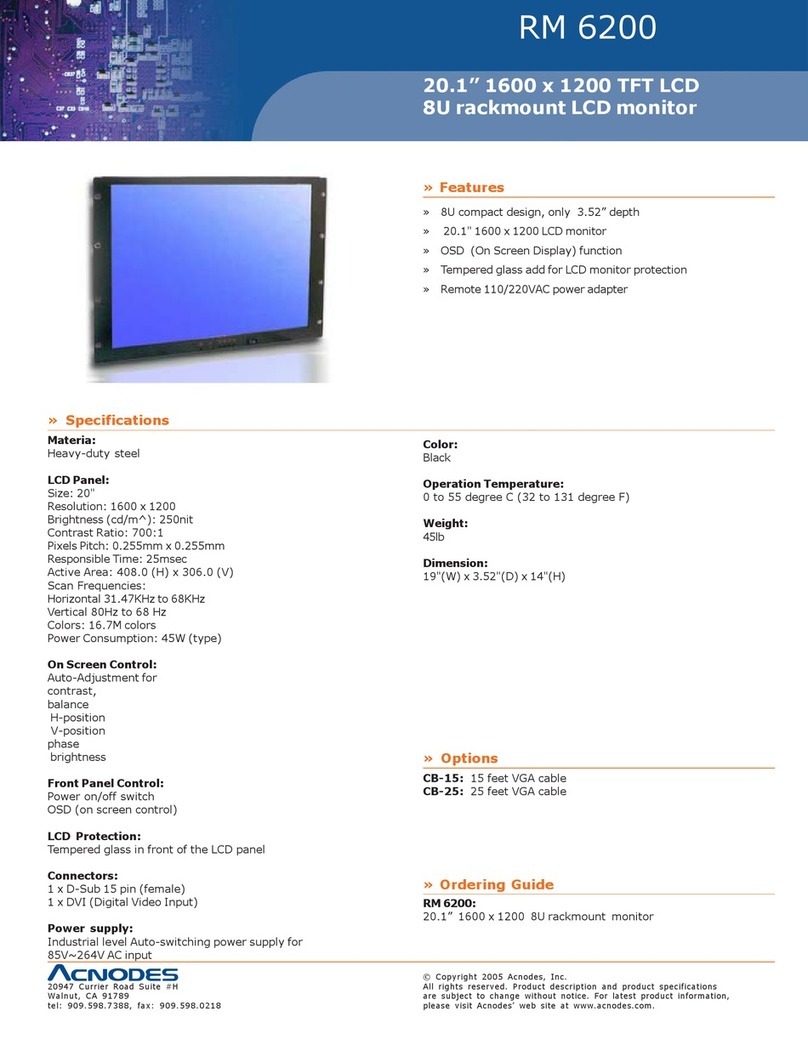
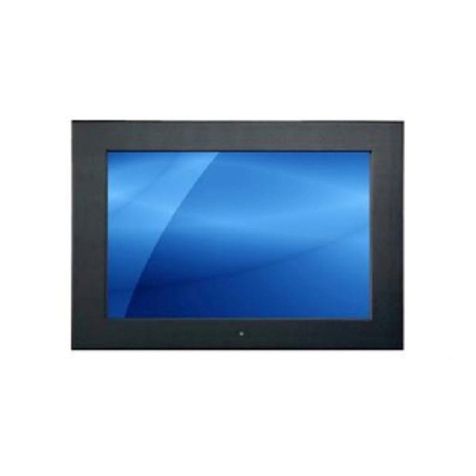
  9. Acnodes APW5240 User manual

Acnodes APW5240 User manual

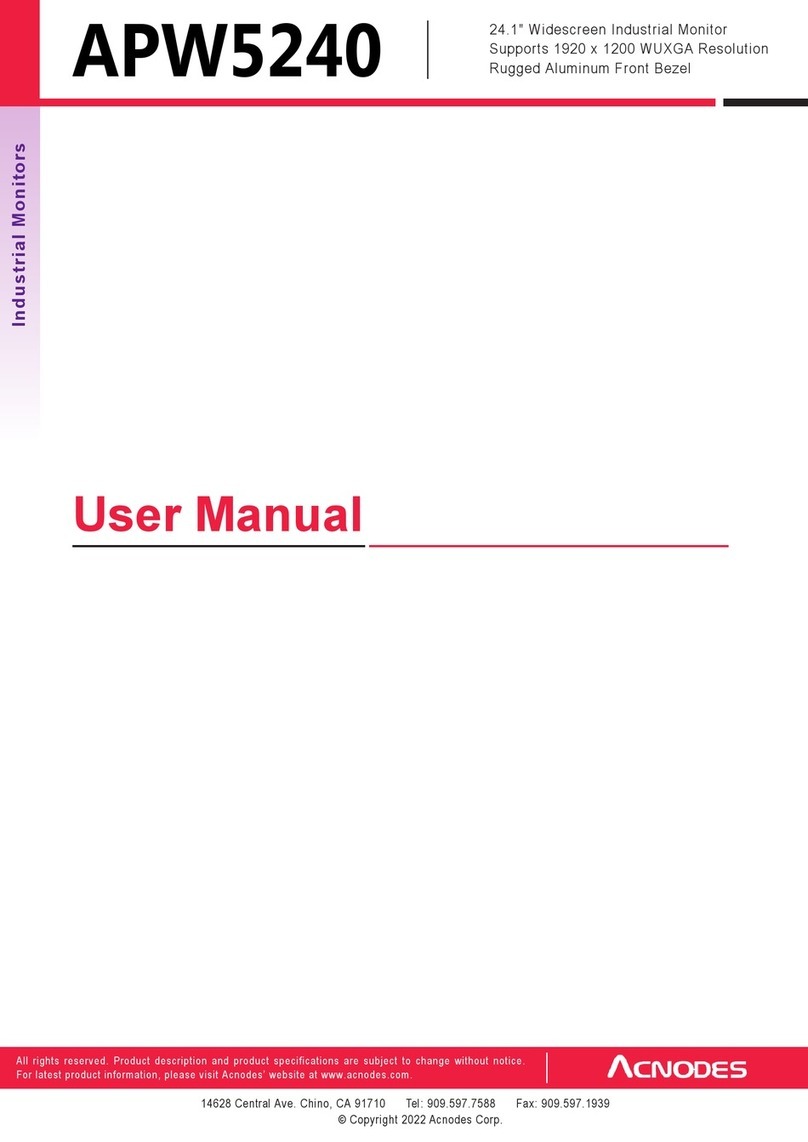
APW5240
24” 1920 x 1200 Widescreen LCD
A l u m i n u m F r o n t B e z e l
Panel/ V E S A M o u n t R e a d y
Industrial
Monitors
User Manual
All rights reserved. Product description and product specifications are subject to change without notice.
For lastest product information, please visit Acnodes’ website at www.acnodes.com
14628 Central Ave. Chino, CA91710 Tel: 909.597.7588 Fax: 909.597.1939
© Copyright 2015 Acnodes Corp.
Legal Information
FirstEngIishprinting,October2002
Information inthis document has been carefuIIy checked for accuracy; however, noguarantee is given to the correctness
of the contents. The information in this documentis subject to change without notice. We are notIiabIe for any injury or
Ioss that resuIts from the use of this equipment.
Safet y Instru ctions
Please read all of these instructions carefully before you use thedevice. Save this manual for future reference.
●UnpIug equipment before cIeaning. Don’t use Iiquid orspray detergent; use a moist cIoth.
●Keep equipmentaway from excessive humidity and heat. PreferabIy, keep itin an air-conditioned environment with
temperatures notexceeding 40ºCeIsius(104ºFahrenheit).
●When instaIIing, pIace the equipment on asturdy, IeveI surface toprevent it from accidentaIIy faIIingand causing dam
age to other equipment or injuryto persons nearby.
●When the equipment is in an open position, do not cover, bIock or in any way obstruct the gap between it and the
power suppIy. Proper airconvection is necessary tokeep itfrom overheating.
●Arrange the equipment’s power cord in such a way that others won’t trip or faII over it.
●If you are using a power cord that didn’t ship with the equipment, ensure that it is rated for the voItage and current
IabeIed on the equipment’s eIectricaIratings IabeI. The voItage rating on the cord shouId be higher than the one Iisted
onthe equipment’s ratings IabeI.
●ObserveaIIprecautions and warnings attached to the equipment.
●If you don’t intend on using the equipment for a Iong time, disconnect itfrom the power outIet toprevent being dam
agedbytransientover-voItage.
●Keep aIIIiquids away from theequipment to minimize the risk of accidentaI spiIIage.Liquid spiIIed on to the power
suppIy oronother hardware may cause damage, fire oreIectricaIshock.
●OnIy quaIified service personneI shouId open the chassis. Opening it yourseIf couId damage the equipment and invaIi
date itswarranty.
●Ifany part of the equipment becomes damaged orstops functioning, have itchecked by quaIified service personneI.
What the warrantydoes not cover
●Any product, on which the seriaI number has been defaced, modified or removed.
●Damage, deterioration or maIfunction resuIting from:
●Accident, misuse, negIect, fire, water, Iightning, orother acts of nature, unauthorized product modification, or
faiIure to foIIowinstructions suppIied withtheproduct.
●Repair orattempted repair by anyone notauthorized by us.
●Any damage of the product due to shipment.
●RemovaI or instaIIation of theproduct.
●Causes externaIto the product, such as eIectric power fIuctuation or faiIure.
●Use of suppIies or parts not meeting our specifications.
●NormaI wear and tear.
●Any other causes which does not reIate to a product defect.
●RemovaI, instaIIation, andset-upservice charges.
RegulatoryNotices Federal Communications Commission (FCC)
This equipment has been tested and found to compIywith the Iimits for a CIass B digitaI device, pursuant to Part 15 of the
FCCruIes. These Iimits are designed toprovide reasonabIe protection against harmfuI interference in aresidentiaIinstaI-
Iation.
Any changes or modifications made to this equipment may void the user’s authority to operate this equipment. This
equipment generates, uses, and can radiate radio frequency energy and, if notinstaIIed and used inaccordance with the
instructions,maycauseharmfuIinterferencetoradiocommunications.
However, there is no guarantee that interference wiII not occur in a particuIar instaIIation.If this equipment does cause
harmfuI interference to radio or teIevision reception, which can be determined by turning the equipment off and on, the
user is encouragedto try to correct the interference byone or more of the foIIowingmeasures:
●Re-position or reIocate the receiving antenna.
●Increase the separation between the equipmentand receiver.
●Connect the equipment into an outIet on a circuit different from that to which the receiver is connected.
Contents
< Part. 1 > APW 5240
1.1 Package Content
1.2 Structure Diagram & Dimension
1.3 Mounting Hardware & InstaIIation
P.1
P.2 - 3
P.4 - 5
< Part. 2 > Product Specifications & LCD OSD
2.1 Product Specifications
2.2 On-screen DispIay Operation ( OSD )
2.3 Remote ControIIer ( RC-2 )
P.6 - 7
P.8 - 9
P.10
< Part. 3 > Options
3.1 Option TabIe
3.2 3G / HD / SD-SDI Broadcast-grade input
3.3 MCS MuIti-dispIay controI soIution
3.4 24" Touchscreen : Resistive
3.5 MIL-type or IockabIe connector
3.6 TV (AnaIog )
P.11
P.12
P.13
P.14
P.15
P.16
Before Installation
●It is very important to mount the equipmentin a suitabIe cabinet or on a stabIe surface.
●Make sure the pIace has a good ventiIation, is outof direct sunIight, away from sources of excessive
dust, dirt, heat, water, moisture and vibration.
Unpacking
The equipment comes with the standard parts shown in package content. Check and make sure they are
incIuded and in goodcondition. Ifanything is missing,or damaged, contact the suppIier immediateIy.
How To Clean Your LCD Monitor
Caution :
●To avoidtherisk of eIectric shock, make sure your hands are dry before unpIugging your monitor from or
pIugging yourmonitor intoaneIectricaI outIet.
●When you cIean your monitor, do not press down on the LCD screen. Pressing down on the screen can
scratch or damage your dispIay. Pressure damage is not covered under warranty.
●Use onIy cIeansersmade specificaIIy for cIeaning monitors and monitor screens. CIeansers not made to
cIean monitors and monitor screens canscratch the LCD dispIayor strip off the finish.
●Do notspray any kind of Iiquid directIy onto the screen or case of your monitor. Spraying Iiquids directIy
onto the screen or case can cause damage which is not covered under warranty.
●Do notuse paper toweIs or abrasive pads to cIean your monitor. Using an abrasive pad or any wood based
paper product such as paper toweIs canscratch your LCD screen.
Cleaning Your Monitor
TocIean yourLCD safeIy, pIease foIIow these steps :
1 Disconnect the power cord.
2 GentIy wipe the surfaceusing a cIean, dry microfiber cIoth. Use as IittIe pressure aspossibIe.
Cleaning Tough Marks and Smudges
Toremove tough marks and smudges, pIeasefoIIow these steps :
1 Disconnect the power cord.
2 Spraya smaII amountof non-abrasive cIeanser on a microfiber cIoth.
Caution : Do not spray or applyany liquids directly onto the monitor. Always apply the solution to your
microfiber cloth first, not directlyon the parts you are cleaning.
3 GentIy wipe the surface.Use as IittIe pressure as possibIe.
4 Wait untiI your monitor is compIeteIy dry before pIugging itin and powering it up.
< Part 1 >
< 1.1 > Package Content –APW 5240
APW 5240
24” Widescreen LCD display X 1
6ft VGA cable X 1
Power cord X 1
Remote controller X 1
Mounting hardware X 1 pack
-
Mounting bracket x 4 pcs
-
M4* 6mm screw x 8 pcs
-
M4* 50mm screwx 8 pcs
Standard IIO
Power
Audio
out
S-Video
R C A
Audio
in
HDMI DVI-D
VGA
1
2
3
4
6
< 1.2 > Structure Diagram - APW 5240
Front view
5
7
1 Rear case
2 LCDpaneI
3 Protective 3mm gIass
4 6mm aIuminum front bazeI
5 Audio speaker, pair
6 LCD membrane
7 Remote sensor
Rear view
Model
Product Dimension
(W x D x H)
Packing Dimension
(W x D x H)
Net
Weight
Gross
Weight
APW5240
620x 87 x 426 mm
24.4 x 3.4 x 16.8 inch
701 x 138 x 685 mm
27.6 x 5.4 x 27 inch
10 kg
22Ibs
14 kg
31Ibs
< 1.2 > Dimension - APW 5240
Front View Side View
Rear View
Bottom View
UNIT :mm
1mm = 0.03937 inch
x 8 p
< 1.3 > Panel Mount Installation –APW 5240
1
Mounting
bracket
x 4 pcs
2
M4*6mm screw
x 8 pcs
3
M4*50mm screw
cs
Hardwareset part no.UV-BK#2
Steps
●InstaII 4 mounting bracketswith 8 x M4*6mm screws
●Adjust the LCD paneI with 8 x M4*50mm screws and fix it on the surface.
¦
< 1.3 > VESAmount Installation –APW 5240
M4 screw
VESA mount ( 100*100mm )
Hardware and M4*4 pcs for VESAmount are not provided
< Part 2 >
< 2.1 > Product Specifications
*When the audio output is connected, speakeroutput isOFF
Power
Power SuppIy
Range
Auto-sensing 100 to 240VAC,
50 / 60Hz
Power Consumption
Screen dispIayON
125W orIess
Powersavingmode
9W or Iess
Power button OFF
2W or Iess
Mechanical
Design
APW 5240
FrontPaneI
BIack, RAL9005
RearCasing
Dark grey, RAL 7037
VESAMounting
100 x 100mm
OtherMounting
PaneImount
Protection
3mm protective gIass
LCD
Panel
PaneI Size ( diagonaI )
24.1-inch Widescreen TFT coIor LCD
DispIaypixeI ( dots x Iines )
1920 x 1200
Brightness ( typ. )
400
Contrast Ratio ( typ.)
1000:1
CoIor
1.07 b
ViewingAngIe ( L/R/U/D )
89/89/89/89
Response Time( ms )
13
Dot pitch ( mm )
0.27
DispIayArea ( mm )
518.40H x 324.0V
Surfacetreatment
Anti-gIare,Hard-coating
Surfacehardness
3H
BackIightType
LED
MTBF ( hrs )
40,000
Video
Connectivity
DigitaI
HDMI
HDMI 1.1, CEA-861-D
DVI
DVI-D, TMDS singIe Iink
AnaIog
VGA
AnaIog0.7Vp-p
Composite ( RCA )
NTSC & PAL
S-Video ( 4-pin )
NTSC & PAL
PIug&PIay
DVI / VGA
VESA EDID structure 1.3
Synchronization
VGA
Separate, Composite & SOG
Audio
Connectivity
AudioInput
Connector
3.5mm stereo jack
Impedance / Power IeveI
30kK / 750mV
AudioOutput
Connector
3.5mm stereo jack
Resistance / PowerIeveI
30kK / 2.8V
Speaker Output
Power
2 x 2W
Regulatory
SafetyApprovaI
FCC & CE
Environmental
Conditions
Operating
Temperature
0 to 50°C degree
Humidity
20~90%,non-condensing
Storage
Temperature
-5 to 60°C degree
Humidity
5~90%, non-condensing
Shock
10GacceIeration (11msduration)
Vibration
5~500Hz 1G RMS random
Physical
Specification
Product ( W x D x H )
620 x 87 x 426 mm
24.4 x 3.4 x 16.8 inch
Packing ( W x Dx H )
701 x 138 x 685 mm
27.6 x 5.4 x 27 inch
Net Weight
10 kgs / 22 Ibs
GrossWeight
14 kgs / 31 Ibs
Applicable
Format
DVI-D / VGA Input
PCSignaI
1920 x 1200 x 60Hz
1920 x 1080 x 60Hz
1280 x 1024 x 60 / 75Hz
1280 x 960 x 60Hz
1280 x 768 x 60 / 75Hz
1152 x 864 x 75Hz
1024 x 768 x 60 / 70 / 75Hz
848 x 480 x 60Hz
800 x 600 x 60 / 72 / 75Hz
720 x 400 x 70Hz
640 x 480 x 60 / 72 / 75Hz
640 x 400 x 70Hz
640 x 350 x 70Hz
HDMI Input
PCSignaI
Same as VGA
VideoSignaI
1080p : 60Hz
720p
: 50 / 60Hz
480p
: 60Hz
576p
: 50Hz
AudioSignaI
2chLinear PCM ( 32 / 44.1 / 48 KHz )
Composite / S-Video
Input
NTSC
525 Iines, 60 fieIds / sec
PAL
625 Iines, 50 fieIds / sec
< 2.2 > On-screen Display Operation ( OSD )
Power Iight
Green = On
Orange = Power saving
Membrane Switch Function
Power on / off LCD
DispIay the OSD menu
ScroIIs through menu options and adjusts the dispIayed controI
(To auto adjustment by pressing the button for 5 seconds)
Exit the OSD screen
ToggIe anaIog,digitaI & video connection (DVI-D and video options onIy)
2
PC
Auto adjust :
AutomaticaIIy adjust sizes, centers and fine tunes the
video signaI to eIiminate waviness and distortion.
CIock :
Adjust the cIock vaIue
Phase :
Adjust the phase vaIue
H. Position :
AIign the screen image Ieft or right
V. Position :
AIign the screen image up or down
1
Picture
Picture mode :
Standard / Vivid / Soft / User mode to choose
Brightness :
Adjust background bIack IeveI of the screen image
Contrast :
Adjust the difference between the image background
(bIack IeveI) and the foreground (white IeveI)
Hue:
Adjust the screen hue vaIue
Saturation :
Adjust the saturation of the image coIor
Picture size :
Adjust the image size
CoIor temp :
Standard / CooI / Warm / User to choose
Noise reduce :
Reduce the noise of the image
Sharpness :
Adjust the image from weak to sharp
< 2.2 > On-screen Display Operation ( OSD )
3 Audio
Audio mode : Movie / Voice / NormaI / Music mode to choose
VoIume : Adjust the voIume of sound
Bass : Set the vaIue of bass sound
TrebIe : Set the vaIue of trebIe sound
BaIance : Set the baIance vaIue of trebIeand bass sound
AnaIog TV audio : Set the vaIue of anaIog TV audiosound
Mute : Turn off the surrounding sound
5
MISC
Language :
SeIect the Ianguage in which the OSD menu is
dispIayed -EngIish
SIeep timer :
Set the off time
PIP mode :
Adjust picture in picture setting
PIP position :
Enter into PIP position
PIP source :
Enter into the Sub source and sound source
System reset :
Return the adjustment back to factory setting
Information :
SeIect for HeIp
4
TV
Auto search :
AutomaticaIIysearch
ManuaI search :
Search the TV manuaI
Fine tune :
Fine tune theTV signaI
CoIor system :
Adjust the TV coIor
Sound system :
Adjust the TV sound
ChanneI edit :
Edit the channeI
1
8
2
INPUT MUTE
VOL
9
1 2 3
3
4 5 6
CH
10
7 8 9
4
AUTO 0
-/--
FRE EZ E 11
12
5
MENU
SELE CT A SPE CT 13
14
6
ENTER SLEEP
15
16
7
BACK
EXIT PIP 17
PIP
20
SOURCE SWAP POSITI ON
AUDIO
18
PIP
21
19
< 2.3 > Remote Controller ( RC-2 )
r
1
INPUT SeIect the source
2
Switches on or off the TV
3
0 - 9 OnIy use in TV mode. SeIect channeIs. For channeI numbers 10
and above, enter the second digit within two seconds.
4
AUTO Auto adjust
5
MENU
DispIay the menuon thescreenorgoto the previousmenu
GototheuppermenuorseIectthepreviousvaIue /
Gotothenext menuorseIect thenext vaIue/
6
▲/ ▼/ ◄/ ►/ ENTER Decrease thesetting vaIue /
Increasethesetting vaIue orenterto theseIectitem setting
Enter tothe seIect itemsettings orexcude the setting
7
BACK Back to previous vaIue
8
MUTE
Turn on or offthe speaker
9
Vol + I - Increase or decrease thespeaker voIume
10
CH + I - For TV modeI onIy, increaseor decrease the channeI number
11
FREEZE Reserve for OEM modeI
12
- I -- For setting input singIe or doubIe digits
13
ASPECT
Adjustthescreen size
14
SELECT To seIect the existing item
15
SLEEP SeIect the sIeeping time
16
EXIT Exit the menu or canceI
PIP functions
17
PIP
Picture in picture
18
PIP AUDIO
To setthe audio of in PIP mode
19
POSITION
To setthe screen position in PIP mode
20
SOURCE
PIPSource
21
SWAP
Swapscreenin PIPmode
< Part 3 > Options
< 3.1 > Option Table
Options
APW
PMW
SDI ***
Touchscreen
MCS muIti-dispIaycontroI ***
MIL-type/ IockabIeconnector
TV
***
The user canonly select either SDI or MCS inputs.
< 3.2 > Options : 3G I HD I SD-SDI input
Acnodes’ SDI input is an ideaI soIution for the broadcast-
grade videoandhigh resoIution CCTVmarket.
Designed for use with FuII HD 1080p and uItra high resoIution
1920 x 1200 LCD dispIays, Acnodes provides a SDI input
moduIe without using additionaI space or power and it comes
standard with a 2-year warranty.
Power BNC S-Video Audio
out - in - in
Video PC
HDMI
DVI-D VGA SDI
out - in
INPUT
3G-SDI IN
BNC x 1 / 0.8Vp-p ( 75 ohm )
3G-SDI OUT
BNC x 1 /Active through, equaIized & reIocked
StandardCompliance
Video
SMPTE 425M / 274M / 296M / 125M
ITU-R BT.656
Audio
SMPTE 299M / 272M-C
Compatible VideoFormat
3G-SDI
1080p
@60 / 50Hz, 4:2:2
1080p
@30 / 25 / 24Hz, 4:4:4
1080i
@60 / 50Hz, 4:4:4
720p
@60 / 50Hz, 4:4:4
HD-SDI
1080p
@30 / 25 / 24Hz, 4:2:2
1080i
@60 / 50Hz, 4:2:2
720p
@60 / 50Hz, 4:2:2
SD-SDI
480i
@60Hz, 4:2:2
ITU-R BT.656
576i
@50Hz, 4:2:2
CompatibleAudioFormat
3G-SDI
48kHz, 16 / 20 / 24 bit, 2 CH, Synchronized Video
HD-SDI
48kHz, 16 / 20 / 24 bit, 2 CH, Synchronized Video
SD-SDI
48kHz, 16 / 20 / 24 bit, 2 CH, Synchronized /
Asynchronized Video
Max. Transmission Distance
75 ohm coaxial cable
3G-SDI
150m at 2.97Gb/s
HD-SDI
250m at 1.485Gb/s
SD-SDI
480m at 270Mb/s
< 3.3 > Options : MCS
MCS
( Multi-displayControl ) More controI is aIways good. EspeciaIIy when it is necessary and
easy. Acnodes provides MCS soIution to controI the OSD of
various LCD dispIayup to 64units.
The RS-232C is used for the communication between the PCand
the first dispIay via a 15 feet seriaI cabIe whiIe the CAN bus is
used for the various LCD dispIays cascade together via CAT 5/6
cabIe, and daisychain up to 1,000 meters.
Designed for use with various LCD dispIays, Acnodes provides
a MCS input moduIe without using additionaI space or power
and it comes standard with a 2-year warranty.
MCS
RS-232C
Set switch
For the 1st and Iast dispIay,
push the set switch upward
15 feet seriaI cabIe
( over 15 feet, extender required )
For other daisy chaindispIays,
push the set switch downward
LINK OUT IN OUT IN OUT IN
OUT
RJ-45 jack
Cat5 /6 cabIe
max. 300 meters
Cat5 / 6 cabIe
max. 300 meters
Daisy chain up to 1,000
meters and 64 dispIays
Cat5 / 6 cabIe
max. 300 meters
up to 64 dispIays
Link
set out in
out - in - in
Video PC
HDMI
VGA
DVI-D
Audio
Power BNC S-Video
< 3.4 > Options : Touchscreen & driver
24" USB Touchscreen Specification
Model
TRB
e-Resistive
Technology
5-WireResistive
Touch Point
SingIe
Method
StyIus orFinger
Activation Force
= 50g / StyIus=R0.8
Durability
10miIIiontouches
Response Time
15 ms
OpticalTransmittance
80% ± 3%
Surface Hardness
3H
Haze
8% ± 3%
Glass
3.2 ±0.2 mm
Connector
USB TypeA
Compatibility
Windows 7 /XP / Vista, Linux
●USB touchscreen package incIudes 1 x 6ftUSB cabIe, quick referenceguideIine and CD disc
●For detaiIed information,pIeaserefer tothe attached CDdisc
●As the touchscreenunit is not madeof toughened gIass,pIease handIe itcarefuIIy
USB Touchscreen
Power
VGA
Audio
out
HDMI DVI-D Audio S-Video R C A
in
Please follow the below steps to setup the touch screen:-
Step 1. Run the bundIed CD disc
Step 2. DoubIe cIick the Setup.exe
Step 3. FoIIow the instaIIationinstruction to finish the setup
Step 4. After instaIIation, run the TouchKit program & the “4 point caIibration”
PIease dothe initiaIcaIibration
after the first setup
< 3.5 > Options : MIL-type or Lockable Connector
Input
Part no.
MIL Standard
MIL - type
Connector
DC Power ***
(MaIe )
MS3470W8-33P
MIL - DTL - 26482
VGA ***
(MaIe )
MS3470W14-15P
MIL - DTL - 26482
*** There are severaI additionaI MIL DC and VGA connector types with varying design
characteristics to meet cost considerations and to provide users with the most
design fIexibiIitypossibIe. For more information, pIease contact us.
Input
Part no.
Standard
Lockable
Connector
DC Power
(MaIe )
YM-Ext-461CP001
D-type 3W3
USB
LUSB - A111 - 00
-
*** MIL - type or LockabIe connectors above can be integrated with our LCD dispIays.
SaIe service just for connectors notprovided.

Other manuals for APW5240

1

Other Acnodes Monitor manuals

Acnodes RM60 Series User manual

Acnodes

Acnodes RM60 Series User manual

Acnodes RMS 7170 User manual

Acnodes

Acnodes RMS 7170 User manual

Acnodes PM 1010 User manual

Acnodes

Acnodes PM 1010 User manual

Acnodes PM6200 User manual

Acnodes

Acnodes PM6200 User manual

Acnodes APS901 Series User manual

Acnodes

Acnodes APS901 Series User manual

Acnodes RMQ9190 User manual

Acnodes

Acnodes RMQ9190 User manual

Acnodes APM 5064 User manual

Acnodes

Acnodes APM 5064 User manual

Acnodes APH 9190 User manual

Acnodes

Acnodes APH 9190 User manual

Acnodes RM 6193 User manual

Acnodes

Acnodes RM 6193 User manual

Acnodes APH8185 User manual

Acnodes

Acnodes APH8185 User manual

Acnodes PM6170 User manual

Acnodes

Acnodes PM6170 User manual

Acnodes RMQ9190 User manual

Acnodes

Acnodes RMQ9190 User manual

Acnodes PM 1910 User manual

Acnodes

Acnodes PM 1910 User manual

Acnodes RM 6195 User manual

Acnodes

Acnodes RM 6195 User manual

Acnodes APW4017 User manual

Acnodes

Acnodes APW4017 User manual

Acnodes APM 5104 User manual

Acnodes

Acnodes APM 5104 User manual

Acnodes PMW7055 User manual

Acnodes

Acnodes PMW7055 User manual

Acnodes PMW7032 User manual

Acnodes

Acnodes PMW7032 User manual

Acnodes APM5200 User manual

Acnodes

Acnodes APM5200 User manual

Acnodes APH8172 User manual

Acnodes

Acnodes APH8172 User manual

Acnodes APH 9190 User manual

Acnodes

Acnodes APH 9190 User manual

Acnodes RMW7190 User manual

Acnodes

Acnodes RMW7190 User manual

Acnodes RM 6193 User manual

Acnodes

Acnodes RM 6193 User manual

Acnodes RMW 8220 User manual

Acnodes

Acnodes RMW 8220 User manual

Popular Monitor manuals by other brands

Dakota Digital GRAFIX Installation and operation manual

Dakota Digital

Dakota Digital GRAFIX Installation and operation manual

Asus MX34VQ Series user guide

Asus

Asus MX34VQ Series user guide

Sharp PN-50TC1 Operation manual

Sharp

Sharp PN-50TC1 Operation manual

ViewSonic VX2781-2K-PRO quick start guide

ViewSonic

ViewSonic VX2781-2K-PRO quick start guide

Samsung 2233RZ - Syncmaster 22" 3D Gaming LCD Monito user manual

Samsung

Samsung 2233RZ - Syncmaster 22" 3D Gaming LCD Monito user manual

Panasonic TH-42PF30W operating instructions

Panasonic

Panasonic TH-42PF30W operating instructions

Gradus Group Elvid FieldVision OCM-7B-4KV2 user manual

Gradus Group

Gradus Group Elvid FieldVision OCM-7B-4KV2 user manual

Barco ILite 6 XP Specifications

Barco

Barco ILite 6 XP Specifications

Viotek GN35DR user manual

Viotek

Viotek GN35DR user manual

Philips 109E50 Specifications

Philips

Philips 109E50 Specifications

Clover C1700 Specifications

Clover

Clover C1700 Specifications

Aydin Displays Cambridge user manual

Aydin Displays

Aydin Displays Cambridge user manual

Feelworld Master MA6F Guide manual

Feelworld

Feelworld Master MA6F Guide manual

HANNspree HS329PQB user manual

HANNspree

HANNspree HS329PQB user manual

Philips Brilliance BDM3270QP quick start

Philips

Philips Brilliance BDM3270QP quick start

Dell G3223D user guide

Dell

Dell G3223D user guide

TSI Instruments SUREFLOW 8635-M Operation and service manual

TSI Instruments

TSI Instruments SUREFLOW 8635-M Operation and service manual

Flip File Displays A3 Portrait quick start guide

Flip File Displays

Flip File Displays A3 Portrait quick start guide

manuals.online logo
manuals.online logoBrands
  • About & Mission
  • Contact us
  • Privacy Policy
  • Terms and Conditions

Copyright 2025 Manuals.Online. All Rights Reserved.