manuals.online logo
Brands
  1. Home
  2. •
  3. Brands
  4. •
  5. ActionTec
  6. •
  7. Network Router
  8. •
  9. ActionTec GT784WN Manual

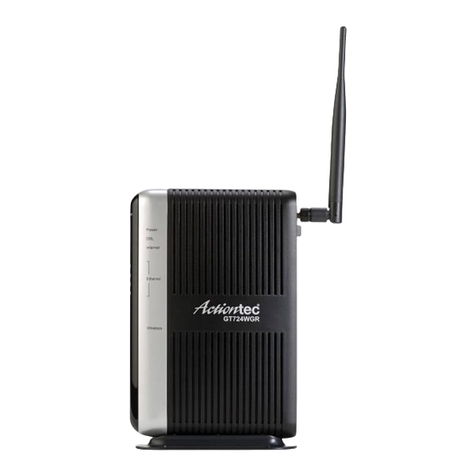
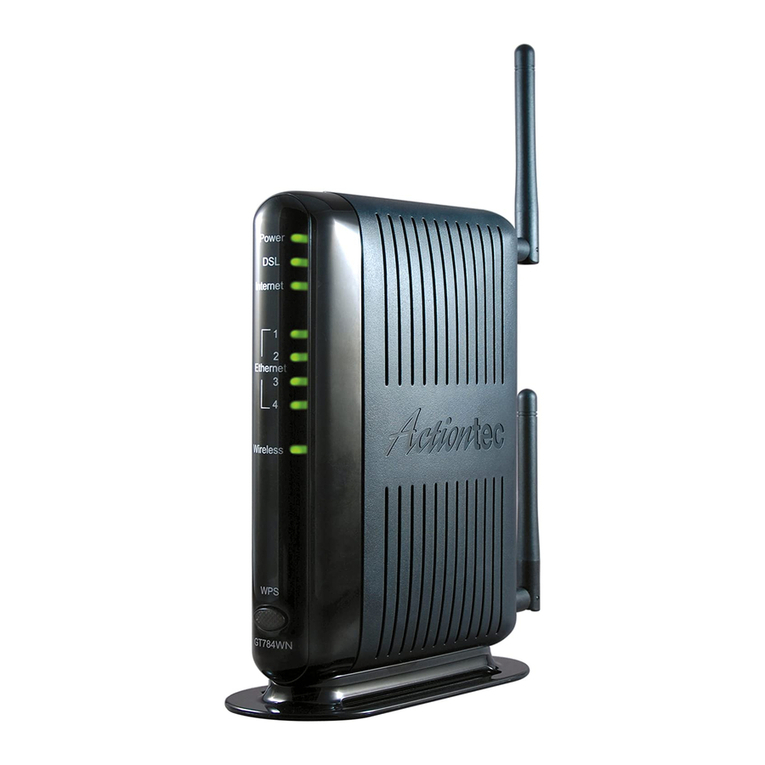
ActionTec GT784WN Manual

Page 1
Before you disconnect any existing ISP gear, please read this initial section carefully, as there is information
we need from the existing deployment.
There are two forms of DSL login, the most common is PPPoE and Windstream exclusively uses this for
DSL. TDS uses two dierent approaches, one supports PPPoE and the other uses DHCP.
All the PPPoE cases require that you know your ISP-provided credentials.
Windstream, this is your user@windstream.net and an ISP-provided PPPoE password
TDS, this your current [email protected] email address and current email password.
For TDS users, here’s how you determine if you are on a DHCP link.
• Log into your current TDS router by going to 192.168.0.1 with a browser
• Click on Connection status and you will get a display that look like this:
• If the ISP Protocol says “1483 via DHCP”, then you must use DHCP as the connection style in steps 20
& 21.
Before we start, please execute a speed test on the old gear so we have a good record of the ‘before’
state. Instructions for this start on step 33 on page 13.
Router Set-Up
Page 2
We assume you are replacing existing ISP-supplied equipment, so we start with removing that rst.
1. Power o your existing ISP router / modem
2. Make note of which wires go to which ports on your old gear. Taking several pictures can help make
this easy
3. Unbox the TP-Link modem (the small box)
4. Plug your DSL phone-line cable into the
RJ-11 port (the smaller of the two) on the
modem.
5. Plug the supplied Ethernet cable into the RJ-
45 port of the modem
6. Plug in the power supply to the modem, and
plug supply into AC power
7. Unbox the TP-Link router
8. Plug the Ethernet cable from step 5 from the
modem into the blue ‘WAN’ port of the router
9. Plug in any LAN Ethernet cables that might
have been connected to the prior router into
the LAN (Yellow) ports of the TP-Link router.
10. Plug in the power supply to the router and
plug supply into AC power
11. Push in the power button on the modem
12. Push in the power button on the router
Back of new TP-Link Modem
Back of new TP-Link Router
Page 3
13. Connect a laptop via Ethernet cable to one of the LAN ports
Alternate via WiFi:
• Connect to the ‘evenroute’ access point
• WPA2 Security key is ‘FastRouter’ (note: the caps are important)
14. Launch a Browser window and in the URL bar type 192.168.0.1
15. You will see a prompt for user id and password. Enter “root” as user id and “FastRouter” for the
password.
16. Once logged in, please change your password by selecting
System →Administration
• Enter a password and please make note of it, you will
need to enter it to access the conguration in the future
• Click the ‘Save and Apply’ button at the bottom of the
screen
Tip: click the little green arrows to
view your password
Page 4
17. Go to Network → Interfaces to set your ISP information for PPPoE
18. Click the Edit button on the WAN interface
Page 5
If you use PPPoE then follow steps 19 to 21, else skip
to page 6:
19. In the ‘PAP/Chap username’ eld, enter the user ID your ISP gave you
20. In the PAP/Chap password’ eld, enter the password your ISP gave you
21. Click the “Save and Apply” button
Continue with step 22 on page 9.
Page 6
If you are a TDS user with DHCP, follow steps A to F:
A. Since we need to use DHCP, we must change the ‘Protocol’ drop-down to DHCP.
B. Click ‘Save & Apply’ button
This is what it looks like once you are done:
Page 7
C. Click on Advanced Settings, and it should look like this:
Page 8
D. Click on Physical settings and ensure that the eth0.2 interface is chosen, it should look like this:
E. Click on the Firewall setting to make sure the Wan zone is assigned to this, it should look like this:
F. Click ‘Save & Done’
Continue with step 22 on next page.
Page 9
22. Now go to Network → SQM / QOS to set your upload and download speeds. This is critical to get
right, so don’t skip this step
• For 12Mbps service, start with a value of 10200
• For 6Mbps DSL service, start with a value of 5200
• For 3Mbps service, start with a value of 2600
• Leave the upload speed at 650 for now
23. IF you are a TDS DHCP user, you will need to select the correct interface, please pick eth0.2 from the
drop down, only if you are TDS DHCP. All Windstream is PPPoE and some TDS accounts as well.
24. Click the ‘Save & Apply’ button, wait 30 seconds for it to apply
Page 10
25. Now, let’s change the default WiFi security key, the default is ‘FastRouter’, and we recommend you
change it to something you select
26. Go to Network → WiFi
27. Click on the ‘Edit’ button for Radio0 to get to the details of this WiFi interface
Note:
If you have many WiFi connected devices like WiFi printers or set top boxes
that are hard to recongure, you can save yourself a lot of time by making
the WiFi settings on this new router mimic the ones from your old router.
Just enter your existing SSID into the ESSID eld shown in the screen shot
for step 28. The capitalization matters, so copy it exactly the same.
The in step 29, also use the existing WiFi security key from your current
router. This way, all the devices will automatically join to this new touter. If
they don’t, it’s because there was a typo in either the SSID or the security
key, so come back and re-enter them correctly.
The SSID and key phrase are typically printed on the side or bottom of the
Routers the ISPs provide.
Page 11
28. Click on the ‘Wireless Security’ link to go to the setting for the security key
Page 12
29. In the ‘key’ eld, type a key phrase you’d like to use (rember people will be typing this in on mobiles and
such)
30. Click ‘Save and Apply’
31. Click on the ‘Radio1 Master ‘evenroute’ to switch to conguring that interface
32. Repeat steps 28 through 30 for radio1 (use the same key phrase)
Page 13
33. OK, we are done with conguration! Time to test and see how we are doing
34. Open a new window (or tab) in your browser and go to http://www.dslreports.com/speedtest
35. Click the green ‘DSL’ button to start the test
Page 14
36. Once the test completes, click the pulsing green ‘Results + Share’ button
Page 15
37. Note your score, ideally you got an ‘A’ rating for bloat. If you go anything less, we will need to ne-tune
the DSL rate set in step 22
38. Copy paste the URL of this result and send to jf@jonathanfoulkes.com
39. We are done conguring and testing!
40. For hardwired devices that might be connected (tower PC, AV gear, etc.) please reboot them.
41. WiFi connected devices can now connect to the ‘evenroute’ access point and will need to enter the
security key you typed in at step 29 of these instructions (default is ‘FastRouter’)

Other manuals for GT784WN

3

Other ActionTec Network Router manuals
ActionTec C2000A Installation instructions

ActionTec

ActionTec C2000A Installation instructions

ActionTec T3200BV User manual

ActionTec

ActionTec T3200BV User manual

ActionTec T3280V User manual

ActionTec

ActionTec T3280V User manual

ActionTec T3280B User manual

ActionTec

ActionTec T3280B User manual

ActionTec T3200M User manual

ActionTec

ActionTec T3200M User manual

ActionTec Verizon GT784 User manual

ActionTec

ActionTec Verizon GT784 User manual

ActionTec GT784WN User manual

ActionTec

ActionTec GT784WN User manual

ActionTec ScreenBeam Mini 2 Kit User manual

ActionTec

ActionTec ScreenBeam Mini 2 Kit User manual

ActionTec M1424WR User manual

ActionTec

ActionTec M1424WR User manual

ActionTec GT784WN User manual

ActionTec

ActionTec GT784WN User manual

ActionTec W1000 User manual

ActionTec

ActionTec W1000 User manual

ActionTec Wireless-Ready User manual

ActionTec

ActionTec Wireless-Ready User manual

ActionTec GE344000-01 User manual

ActionTec

ActionTec GE344000-01 User manual

ActionTec C2000A Dimensions

ActionTec

ActionTec C2000A Dimensions

ActionTec GT784WNV Verizon User manual

ActionTec

ActionTec GT784WNV Verizon User manual

ActionTec GT704WR User manual

ActionTec

ActionTec GT704WR User manual

ActionTec Actiontec Qwest  Modular DSL Router M1000 User manual

ActionTec

ActionTec Actiontec Qwest Modular DSL Router M1000 User manual

ActionTec GT724WG User manual

ActionTec

ActionTec GT724WG User manual

ActionTec MI424-WR User manual

ActionTec

ActionTec MI424-WR User manual
ActionTec GT704-WG Operating instructions

ActionTec

ActionTec GT704-WG Operating instructions

ActionTec V1000H User manual

ActionTec

ActionTec V1000H User manual

ActionTec T3270S User manual

ActionTec

ActionTec T3270S User manual

ActionTec PWR500 User manual

ActionTec

ActionTec PWR500 User manual

ActionTec GEU404000-01 User manual

ActionTec

ActionTec GEU404000-01 User manual
Popular Network Router manuals by other brands

D-Link DSL-2600U Quick installation guide

D-Link

D-Link DSL-2600U Quick installation guide

Zoom 4401F Specification sheet

Zoom

Zoom 4401F Specification sheet

Allied Telesis AT-9724TS Installation and user guide

Allied Telesis

Allied Telesis AT-9724TS Installation and user guide

TracVision RV1 installation guide

TracVision

TracVision RV1 installation guide

Huawei OptiX PTN Series Quick installation guide

Huawei

Huawei OptiX PTN Series Quick installation guide

SMC Networks 24/16 user guide

SMC Networks

SMC Networks 24/16 user guide

Cisco 900 Series Hardware installation guide

Cisco

Cisco 900 Series Hardware installation guide

Fortinet FortiAP-C24JE quick start guide

Fortinet

Fortinet FortiAP-C24JE quick start guide

Asus RT-AC52U Setup

Asus

Asus RT-AC52U Setup

Draytek Vigor2710 Series user guide

Draytek

Draytek Vigor2710 Series user guide

LINOVISION IOT-R32W user manual

LINOVISION

LINOVISION IOT-R32W user manual

ICP DAS USA WF-2572 quick start

ICP DAS USA

ICP DAS USA WF-2572 quick start

RFM DN-2400E user guide

RFM

RFM DN-2400E user guide

Billion BiPAC 8700VAX(L)-1600 user manual

Billion

Billion BiPAC 8700VAX(L)-1600 user manual

Technicolor DWA0120 Quick setup guide

Technicolor

Technicolor DWA0120 Quick setup guide

Cisco IOS Router Product information

Cisco

Cisco IOS Router Product information

Hama DR-20 installation instructions

Hama

Hama DR-20 installation instructions

GRASS VALLEY Profile XP PVS1100 installation guide

GRASS VALLEY

GRASS VALLEY Profile XP PVS1100 installation guide

manuals.online logo
manuals.online logoBrands
  • About & Mission
  • Contact us
  • Privacy Policy
  • Terms and Conditions

Copyright 2025 Manuals.Online. All Rights Reserved.