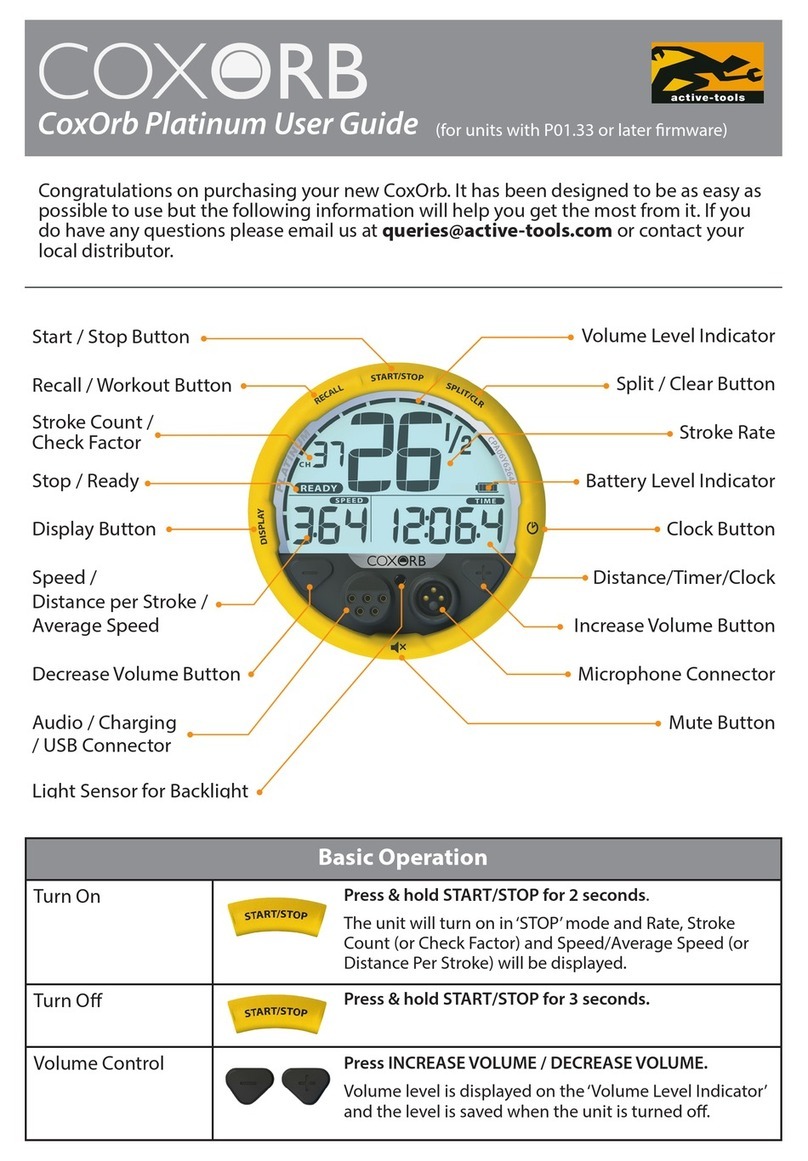
Active Tools ActiveTime User manual

ActiveTime Installation and Operating Instructions
Congratulations on purchasing one of the new generation of
wire free Rate Meters from Active Tools. Your ActiveTime has
been designed to be as easy as possible to use but the following
information should help you get the best out of it. If you have any
queries please email us at queries@active-tools.com or contact
your local distributor.
Operating Your ActiveTime Unit
General points are:
Your ActiveTime will turn on with a 3 second button press and o either
after 20 minutes of inactivity or when the button is held down for 3
seconds when in Clock mode. When you rst turn the unit on the two
horizontal bars in the rate display area will ash when the battery level
starts to get low. Initially they will ash only once but they will ash an
increasing number of times as the battery level drops further.
To cycle through the operating modes, click the top button. The
highlighted function will then ash and if you leave it highlighted for
more than 3 seconds it will be selected.
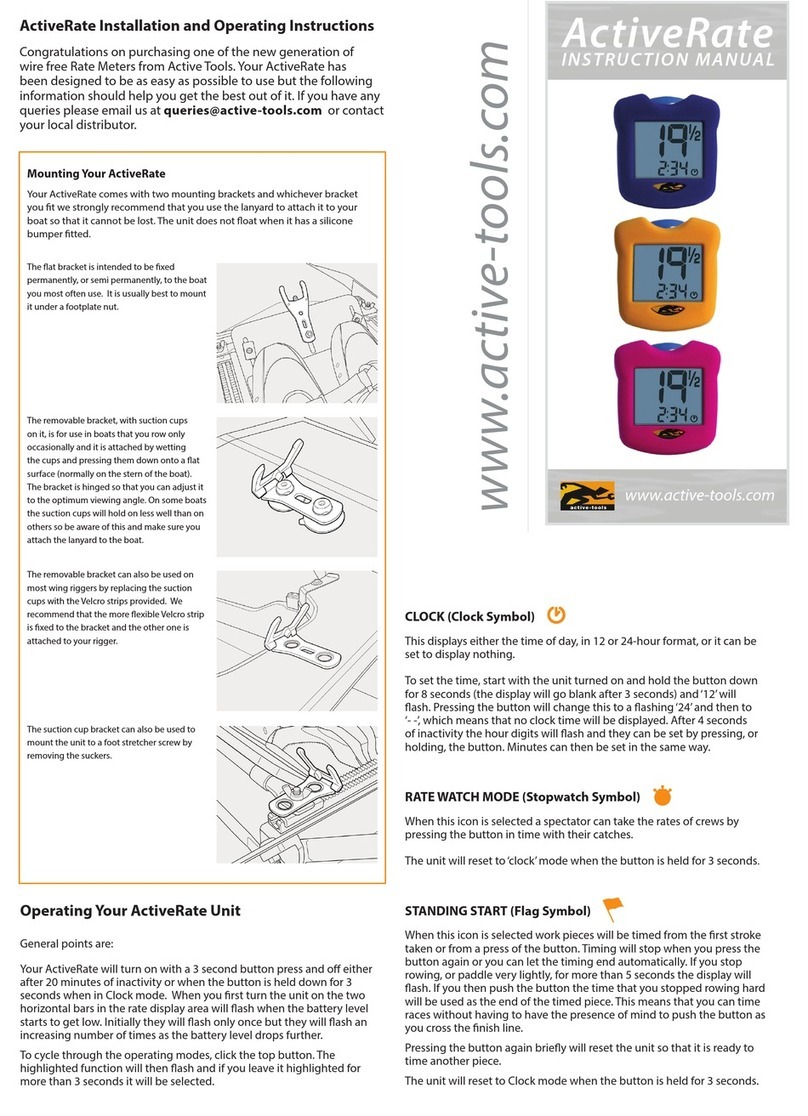
The at bracket is intended to be xed
permanently, or semi permanently, to the
boat you most often use. It is usually best to
mount it under a footplate nut.
CLOCK (Clock Symbol)
This displays either the time of day, in 12 or 24-hour format, or it can be
set to display nothing.
To set the time, start with the unit turned on and hold the button down
for 8 seconds (the display will go blank after 3 seconds) and ‘12’ will
ash. Pressing the button will change this to a ashing ‘24’and then to
‘- -’, which means that no clock time will be displayed. After 4 seconds
of inactivity the hour digits will ash and they can be set by pressing, or
holding, the button. Minutes can then be set in the same way.
CHECK FACTOR (ch00 on Bottom Line of Display)
When this function is selected the unit will display a factor that reects
how much you are slowing the boat each stroke. This is derived from the
averaged boat decelerations measured over each stroke.
Checks vary considerably depending on boat types and crew weights
but they are a useful way of evaluating technical changes, for comparing
crews, and for seeing how consistent a crew’s technique is throughout a
race. However, because of this inherent variation, it isn’t practical to say
what gures you should be aiming to achieve with a particular crew.
The unit will reset to‘clock’ mode when the button is held for 3 seconds.
STANDING START (Flag Symbol)
When this icon is selected work pieces will be timed from the rst stroke
taken or from a press of the button. Timing will stop when you press the
button again or you can let the timing end automatically. If you stop
rowing, or paddle very lightly, for more than 5 seconds the display will
ash. If you then push the button the time that you stopped rowing hard
will be used as the end of the timed piece. This means that you can time
races without having to have the presence of mind to push the button as
you cross the nish line.
Pressing the button again briey will reset the unit so that it is ready to
time another piece.
The unit will reset to Clock mode when the button is held for 3 seconds.
INSTRUCTION MANUAL
www.active-tools.com
www.active-tools.com
Mounting Your ActiveTime
Your ActiveTime comes with two mounting brackets and whichever bracket
you t we strongly recommend that you use the lanyard to attach it to your
boat so that it cannot be lost. The unit does not oat when it has a silicone
bumper tted.
The removable bracket, with suction cups
on it, is for use in boats that you row only
occasionally and it is attached by wetting
the cups and pressing them down onto a at
surface (normally on the stern of the boat).
The bracket is hinged so that you can adjust
it to the optimum viewing angle. On some
boats the suction cups will hold on less well
than on others so be aware of this and make
sure you attach the lanyard to the boat.
The removable bracket can also be used on
most wing riggers by replacing the suction
cups with the Velcro strips provided. We
recommend that the more exible Velcro strip
is xed to the bracket and the other one is
attached to your rigger.
The suction cup bracket can also be used to
mount the unit to a foot stretcher screw by
removing the suckers.
ActiveTime

RATE WATCH MODE (Stopwatch Symbol)
When this icon is selected a spectator can take the rates of crews by
pressing the button in time with their catches.
The unit will reset to‘clock’ mode when the button is held for 3 seconds.
RECALL (Folder Symbol)
When this icon is selected the last 10 work pieces can be reviewed.
The overall times, average rates, and average Checks scroll through
automatically.
The last work piece will be displayed rst and you can cycle through the
others by pressing the button.
The unit will reset to‘clock’ mode when the button is held for 3 seconds.
Battery Changing Instructions
You will need a new type CR2032 battery, which are widely available. You
will also need a replacement rubber O-Ring seal as otherwise the water
tightness of the battery compartment cannot be guaranteed. While the
electronics in the unit are in a separate sealed area any water leaks into
the battery compartment may cause corrosion problems. Replacement
O-Rings are available free of charge from the Active-Tools website.
To change the battery unscrew the 4 screws on the rear of the case.
Replace the O-Ring and t the new battery the same way round as the old
one (negative contact inserted rst) and ret the cover. Take care to only
touch the positive contact (the battery case) as touching both contacts
can leave deposits that cause the battery to discharge prematurely.
Frequently Asked Questions
Does adjusting the mounting angle of my ActiveTime unit
aect its operation?
The unit is designed to work at any mounting angle between horizontal
and vertical. However if you do change the mounting angle during an
outing it can take up to one minute for the unit to give accurate rate and
Check readings.
Is it important that I mount my ActiveTime square to the
centreline of the boat and not leaning to one side?
Slight misalignments will not cause problems although Check readings
may not be completely accurate. In particular, using the Suction Cup
Bracket on the angled rear decks of boats will not cause any signicant
problems.
The button on my unit occasionally sticks.
Remove the battery compartment cover, lift out the button and clean
both the button moulding and the recesses it slides in on both the main
moulding and the battery cover. Use a soft cloth wetted with a dilute
solution of dishwashing liquid and remember to t a new O-Ring seal
when re-assembling the unit.
Do I need to take special care of my ActiveTime unit?
To maximise battery life it is a good idea to avoid excessively high
temperatures, such as those encountered in closed vehicles on hot sunny
days. These can reach 150 degrees Fahrenheit / 65 degrees Centigrade.
Why does my ActiveTime not always show rates when I move
it backwards and forwards in my hand?
If you turn your ActiveTime on and then rotate it to a dierent angle it can
take up to 60 seconds for it to calculate the angle it has been changed to
and establish an accurate rate.
Why does my unit occasionally not display rates?
This is because your ActiveTime uses the variation in boat speed during
the stroke to calculate rates and in some situations these are too small to
be used reliably. This can happen when only some of your crew is rowing
or when your full crew is rowing at an articially light pressure.
Sharp downward changes of pressure, eg from rm to light, can also
cause the display to go blank for a few strokes. This is because your
ActiveTime marks these types of changes so that it can automatically
capture the nish times of recorded work pieces.
Is my ActiveTime suitable for all boat types and any water
conditions?
Your ActiveTime is designed for use in ‘racing’sliding seat rowing boats
used in normal water conditions. It may work in other situations but is
likely to give less stable readings.
Can I use my ActiveTime when Coxing?
Your ActiveTime will be mounted at 180 degrees to its normal orientation
so it will generally not work correctly.
When I set o, why do I have to take two strokes before rates
are displayed?
Your ActiveTime calculates rates by timing between the maximum
decelerations of consecutive strokes so rates can’t be calculated until two
full strokes have been taken.
When more than one person in our crew use an ActiveTime
to record races we nd the average checks vary slightly.
This is usually because the units have not both been mounted absolutely
square to the boat.
I occasionally see inconsistent rate readings.
Your ActiveTime calculates rates by timing between the maximum boat
decelerations of consecutive strokes. Certain conditions, such as gusting
winds and very rough water, can aect the spacing of these peaks and
minor variations in rate can therefore be seen. In extreme conditions the
unit may even struggle to establish rates for a number of strokes.
In practice these problems only happen very occasionally and then in
conditions where exact rates are somewhat irrelevant.
How long will my battery last?
The battery life you will normally achieve is around 130 hours of rowing.
This will give most users many months of use.
My ActiveTime does not turn on or turns on and shows
unusual readings.
The battery on the unit probably needs to be replaced.
We can only improve our products if you share your experience of using them with us.
Other Active Tools Measuring Instrument manuals
Popular Measuring Instrument manuals by other brands
IDEAL
IDEAL 61-702 manual

infrared industries
infrared industries IR208 Operator's manual

Marine Magnetics
Marine Magnetics SeaSPY2 Operation manual

Fluke
Fluke CertiFiber Pro Getting started guide
Watts
Watts BLUCHER Connected Roof User manual & installation guide

Datalogic
Datalogic Smart-VS Quick reference guide
