ActivMedia Robotics AmigoBot User manual

AmigoBOT
Technical
Manual

ii
Copyright 2000, ActivMEDIA ROBOTICS, LLC. All rights reserved.
Under international copyright laws, this manual or any portion of it may not be copied or
in any way duplicated without the expressed written consent from ActivMEDIA ROBOTICS,
LLC.
The ActivMEDIA ROBOTICS-licensed Saphira libraries that accompany the robot and
accessories and which are available for network download by AmigoBot customers are
solely owned and copyrighted by SRI International, Inc. The AmigoBot software on disk
and on the AmigoBot server FLASH ROM that accompany the robot and accessories and
which are available for network download by AmigoBot customers are solely owned and
copyrighted by ActivMEDIA ROBOTICS, LLC. AmigoBot developers and users are authorized
by revocable license to develop and operate custom software for personal, research,
and educational use only. Duplication, distribution, reverse-engineering, or commercial
application of the AmigoBot software and hardware without the expressed written
consent of ActivMEDIA ROBOTICS is explicitly forbidden.
The various names and logos for products used in this manual are registered trademarks
or trademarks of their respective companies. Mention of any third-party hardware or
software constitutes neither an endorsement nor a recommendation.
AmigoBot Technical Manual, version 1.0, August 2000.

AmigoBot Mobile Robots
iii
Federal Communications Commission (FCC) Statement
This equipment has been tested and found to comply with the limits for a class B digital
device, pursuant to part 15 of the FCC rules. These limits are designed to provide
reasonable protection against harmful interference when the equipment is operated in a
commercial or residential environment. This equipment generates, uses, and can radiate
radio frequency energy, and if not installed and used in accordance with the instruction
manual, may cause harmful interference to radio communications. There is no
guarantee that harmful interference won’t occur, in which case the user will be required
to correct the interference at their own expense. Some possible ways to ameliorate the
interference include:
•Reorient or relocate the receiving antenna
•Operate the equipment in a different location
•Connect the equipment to a different power outlet
•Consult with your local dealer or contact support online
Warning
It is essential that only the supplied power and radio units be used.
Any changes or modifications to the equipment not expressly approved by the parties
responsible for compliance could void your authority to operate the equipment.
Important Safety Instructions
•Read the installation and operations instructions before using the equipment.
•Avoid using power extension cords.
•To prevent fire or shock hazard, do not expose the equipment to rain or moisture.
•Refrain from opening the unit or any of its accessories.
•Keep wheels away from long hair or fur.

iv
Table of Contents
CHAPTER 1 INTRODUCTION ...............................................................7
What is AmigoBot?.................................................................................................7
Hardware .................................................................................................................7
Software and Modes of Operation....................................................................8
AmigoBot Technical Package ............................................................................9
User-Supplied Components / System Requirements......................................9
Additional Resources.............................................................................................9
ActivMEDIA ROBOTICS’ Software..........................................................................................................9
AmigoBot Newsgroup ......................................................................................................................10
Support ...........................................................................................................................................10
CHAPTER 2 SPECIFICATIONS & CONTROLS ....................................11
Physical Characteristics.......................................................................................11
Controls, Switches, Indicators, and Sounds....................................................11
Recharge/Power/Battery..................................................................................................................11
Reset & Motors/Test Buttons and System/User LEDs........................................................................12
Sounds.............................................................................................................................................12
Motors and Position Encoders ...........................................................................13
Sonars......................................................................................................................13
Sonar Rate and Sequence.................................................................................................................13
Sonar Sensitivity..............................................................................................................................13
Serial and Accessory Ports..................................................................................13
System Serial Port ...........................................................................................................................13
Control Serial Port..........................................................................................................................14
Accessory Connector.......................................................................................................................14
Radio Modems......................................................................................................14
Safety Watchdogs and Configuration............................................................14
CHAPTER 3 QUICK START..................................................................16
Preparative Assembly..........................................................................................16
Saphira Client Installation...............................................................................................................16
Saphira Client Start-Up........................................................................................16
AmigoBot Cold Start-Up......................................................................................17
RADIO ON......................................................................................................................................17
Starting Saphira Client/AmigoBot Server Communications........................17
A Successful Connection....................................................................................17
Operating the Saphira Demo............................................................................18
Disconnecting (intentionally or unintentionally)............................................18
Quickstart Troubleshooting.................................................................................19
CHAPTER 4 SELF-TESTS ......................................................................20
Motors Test..............................................................................................................20
Sonar Tests..............................................................................................................20
Self Wander............................................................................................................20

AmigoBot Mobile Robots
v
CHAPTER 5 AMIGOBOT OPERATING SYSTEM................................. 21
Communication Packet Protocol.................................................................... 21
Packet Data Types .......................................................................................................................... 22
Packet Checksum............................................................................................................................ 22
Packet Errors.................................................................................................................................. 23
Server Information Packets................................................................................ 23
Client Commands................................................................................................ 24
Client Command Argument Types ................................................................................................... 26
Saphira Client Command Support................................................................................................... 26
Programming AmigOS........................................................................................ 27
Synchronization—SYNC.................................................................................................................. 27
Autoconfiguration........................................................................................................................... 27
Opening the Servers—OPEN ........................................................................................................... 27
Keeping the Beat—PULSE.............................................................................................................. 27
Closing the Connection—CLOSE .................................................................................................... 28
Movement Commands...................................................................................... 28
AmigoBot in Motion............................................................................................. 28
Position Integration........................................................................................................................ 29
Sonars ..................................................................................................................... 29
Input / Output (I/O)............................................................................................. 29
ADSEL ........................................................................................................................................... 30
Sounds............................................................................................................................................ 30
Extended Server Information Packets............................................................. 30
Packet Processing........................................................................................................................... 30
Configuration Packets..................................................................................................................... 30
Encoder Packets ............................................................................................................................. 30
AUX Serial Packets......................................................................................................................... 31
Sound Playlist................................................................................................................................. 31
CHAPTER 6 UPDATING & RECONFIGURING AMIGOS ................... 33
Where to Get AmigOS Software ...................................................................... 33
Installing the AmigOS Utilities............................................................................. 33
System Mode and Serial Port ............................................................................ 33
Updating AmigOS and Sounds with Amigosdl.................................................................................. 34
Configuring AmigOS Operating Parameters................................................. 34
Amigoscf Editor Commands............................................................................................................ 35
CHAPTER 7 MAINTENANCE & REPAIR............................................. 38
Drive Lubrication.................................................................................................. 38
AmigoBot Batteries.............................................................................................. 38
Charging the Battery....................................................................................................................... 38
Alternative Battery Chargers........................................................................................................... 38
Getting Inside........................................................................................................ 39
Factory Repairs..................................................................................................... 39
APPENDIX A...................................................................................... 40
System and Control Serial Ports ........................................................................ 40
Internal Serial Connector................................................................................... 40
Auxiliary Power ..................................................................................................... 41
Motors and Power ............................................................................................... 41
Accessory I/O Expansion Port ........................................................................... 41

vi
APPENDIX B.......................................................................................42
APPENDIX C......................................................................................43
INDEX.................................................................................................45
WARRANTY & LIABILITIES..................................................................47

AmigoBot Mobile Robots
7
Chapter 1 Introduction
Congratulations on your purchase of an AmigoBot Mobile Robot and welcome to the
rapidly growing community of researchers, developers, and enthusiasts of AmigoBot.
This AmigoBot Technical Manual provides both the general and technical details you
need to modify and add hardware and software to your AmigoBot Mobile Robot.
We encourage you to also use the companion resources that come with this technical
document:
•Personal account for access to the ActivMEDIA ROBOTICS software and technical
documentation library: http://robots.activmedia.com
•AmigoBot-users newsgroups
•AmigoBot suite of software, including Saphira,
AmigoEYES,and AmigoMAPPER
What is AmigoBot?
The AmigoBot Intelligent Mobile Robot is the culmination of
many years of mobile-robotics research and development
by experts in artificial- and machine-intelligence from
around the world. Chief among these contributors is
Dr. Kurt Konolige and his team with the Artificial
Intelligence Center at SRI International, Inc., a world-
class technologies research company once affiliated
with Stanford University. AmigoBot is the newest
member in the larger family of Pioneer Mobile Robots
designed by Dr. Konolige.
AmigoBot is a small, 2-wheel, differential drive, intelligent mobile robot. Like its Pioneer
siblings, AmigoBot is truly an off-the-shelf, “plug and play” mobile robot, containing all of
the basic components for autonomous sensing and navigation in a real-world
environment, including battery power, drive motors and wheels, position / speed
encoders, sonar range-finding sensors, and integrated accessories, all managed via an
onboard microcontroller and mobile-robot server software.
Hardware
The AmigoBot Intelligent Mobile Robot is intended for indoor use in wheelchair-accessible
places as are found in most households, school classrooms, nursing homes, hospitals,
offices, research labs, and so on. The small (28 x 33 x 13cm), lightweight (3.6Kg with
battery), and highly maneuverable (750mm/sec translation; 360°/sec rotation;
holonomic) AmigoBot robot has a high impact-resistant polycarbonate body with a solid,
but lightweight aluminum chassis. Each of its two solid 10cm diameter rubber tires are
driven by a reversible 12VDC motor. The drive system includes a passive rear caster for
balance.
The standard AmigoBot comes with eight range-finding sonars: one on each side, four
forward facing and two in the rear for 360-degree sensing coverage. Attached to each
drive axle is a high-resolution optical quadrature shaft encoder that provides 9,550 ticks
per wheel revolution (30 ticks per millimeter) for precise position and speed sensing and
advanced dead-reckoning.

IntroductionIntroduction
8
The AmigoBot drive and sensor systems are powered and processed from a single
controller, driven by a high-performance, I/O-rich 20-MHz Hitachi H8 microprocessor. The
resident operating system (AmigOS) has 16K RAM and 64K FLASH on-chip memory, with
an additional 1M external FLASH.
Your AmigoBot also has a variety of I/O ports for native systems as well as expansion
control and power, including three RS232-compatible serial ports, an 8-bit I/O bus with
four chip-select, three address, and read/write lines; six digital-timer I/O ports, four A/D
ports; a PWM line, and a variety of 12 and 5VDC power sources.
The system also includes an integrated audio system with speaker and amplifier capable
of 9KHz playback of up to 255 (1.7 minutes) pre-recorded sound clips, such as music,
voices, and special effects. Alternative sound sets and a downloading tool come with
the robot.
Available integrated accessories include AmigoWIREFREE, a 900MHz radio modem pair for
wireless control by an offboard client computer and AmigoSURVEILLANCE, a color camera
with 2.4GHz A/V radio for live audio/video surveillance applications.
Software and Modes of Operation
The AmigoBot microcontroller comes loaded with AmigOS, operating system software
that manage all the low-level systems and electronics of the mobile robot. AmigOS is
stored in FLASH ROM, as are the robot’s systems sounds and operating parameters, all
thereby non-volatile, but updateable with special systems-software tools.
AmigOS comes with self-contained programs which operate the robot autonomously
without need for other computers or intelligent devices. These Self-Test programs
exercise the onboard drives and sensors and have the robot autonomously wander
about on its own, navigating around obstacles while performing a simple routine of
motions and sounds. (See Chapter 4, Self Tests.) Future versions of AmigOS may also let
you program your own standalone routines for autonomous performance by AmigoBot.
But we don't recommend that you start learning H8 programming just yet. Rather,
AmigoBot prefers to operate by a higher intelligence: smart client applications running
on an connected computer whose power and speed is needed to perform complex
BOTTOM

AmigoBot Mobile Robots
9
robotics tasks. Client applications like AmigoEYES and Saphira communicate with the
AmigoBot robot server through a serial interface, either directly wired via AmigoLEASH or
untethered with the AmigoWIRELESS accessory.
Most people prefer to operate AmigoBot in Client-Server Control Mode, because it gives
them quick, easy access to the robot’s functionality while working with high-level
software on a familiar host computer. Besides the AmigoBot suite of software including
AmigoEYES, as well as the various Saphira and Ayllu demonstration clients, we make
client-development environments available so that you, too, may create your own
client applications.
And because AmigOS is virtually identical to the Pioneer and Pioneer 2 Operating
Systems, the clients you program for AmigoBot are easily portable, if not directly
applicable, to all Pioneer intelligent mobile robots. AmigoEYES for AmigoBot, for example,
operates without modification with the entire line of Pioneer Mobile Robots, past and
future.
Other C/C++ language-based software-development environments for AmigoBot
include the very popular Saphira from SRI International, Inc.; our own Ayllu subsumption-
like environment which excels for multi-agent cooperative tasks; and the simpler Pioneer
Application Interface (PAI). There is even P-LOGO, a version of the popular
programming language extended for use with AmigoBot and other Pioneer-like
intelligent mobile robots.
AmigoBot Technical Package
•CD-ROM containing licensed copies of AmigoBot software and documentation
•Registration and Account Sheet
User-Supplied Components / System Requirements
•Client computer: 486-class or later PC with Microsoft Windows 95-98/NT, FreeBSD,
or Linux operating system; Power-PC Macintosh with System 7.5
or later; or any UNIX workstation
•AmigoBot Robot with AmigoLEASH serial cable
•Four megabytes of available hard-disk storage
Additional Resources
Every new technical customer gets two additional and valuable resources:
•A private account on our Internet server for downloading ActivMEDIA ROBOTICS’
software, updates, and manuals
•Direct access to ActivMEDIA ROBOTICS’s technical support team.
ActivMEDIA ROBOTICS’ Software
We maintain a 24-hour, seven-day per week Web server where customers can obtain
AmigoBot and other ActivMEDIA ROBOTICS software and support materials:
http://robots.activmedia.com
Some areas of the support website are restricted to licensed customers. To gain access,
enter the username and password written on the Registration & Account Sheet that
accompanied your robot.

IntroductionIntroduction
10
AmigoBot Newsgroup
We maintain an email-based newsgroup through which AmigoBot owners share ideas,
software, and questions about the robot. To sign up, send an email message to our
automated newsgroup server:
From: <your return e-mail address goes here>
Subject: <choose one command:>
help (returns instructions)
subscribe
unsubscribe
Our SmartList-based listserver will respond automatically. After you subscribe, send your
email comments, suggestions, and questions intended for the worldwide community of
AmigoBot users:
From: <your return e-mail address goes here>
Subject: <something of interest to amigobot-users>
Access to the amigobot-users newslist is limited to subscribers, so your address is safe from
spam. However, the list currently is unmoderated, so please confine your comments and
inquiries to issues concerning the operation and programming of AmigoBot.
Support
Have a problem? Can’t find the answer in this or any of the accompanying manuals? Do
you know a way that we might improve AmigoBot? First consult this manual and check
into our online Frequently Asked Questions (FAQ) section on the
http:\\robots.activmedia.com server. If you can’t find the solution, then contact us:
Please include your robot's serial number. Look for it on the underside of your robot. We
need it to understand your AmigoBot's configuration to best answer your questions.
Your message goes directly to the AmigoBot technical support team. A staff member will
help you or point you to a place where you can find help.
Tell us your AmigoBot’s serial number.
We need it.
Really.
Because this is a support option, not a general-interest newsgroup like amigobot-users,
we reserve the right to reply only to questions about problems with AmigoBot through
amigobot-support. If you don’t hear from us by email within 24 hours, we may have
chosen not to respond. Try amigobot-users, too.

AmigoBot Mobile Robots
11
Chapter 2 Specifications & Controls
AmigoBots may be smaller than most, but they pack an impressive array of intelligent
mobile robot capabilities that rival bigger and much more expensive machines. And
AmigoBot’s modest size lends itself to very safe navigation in tight quarters and cluttered
spaces, such as classrooms, laboratories, small offices, and homes.
Physical Characteristics
For a complete list AmigoBot’s physical and operational specifications, see Appendix C.
Weighing only 3.6Kg (8 lbs. with standard battery), the basic AmigoBot Mobile Robot is
lightweight, but its strong polycarbonate body and aluminum chassis make it virtually
indestructible. These characteristics also permit AmigoBot to carry an additional payload
of up to 1Kg (2.2 lbs.), easily sufficient for available accessories or a sub-compact
computer.
Controls, Switches, Indicators, and Sounds
Recharge/Power/Battery
A single slide-switch on the bottom of the AmigoBot
near the caster controls power to the entire robot and
all of its integrated accessories. The red LED on the top
towards the rear of the robot is lit when the AmigoBot
has power.
Next to the power switch is the Charge port. It
provides 12 VDC power to the robot's electronics,
motors, and accessories, and recharges the onboard
battery. Use the recommended accessory power
charger or equivalent.
The standard AmigoBot comes with a single, 12 VDC,
2.2 ampere-hour (26.4 watt-hour) sealed lead/acid
battery which supplies ample power for its drives,
electronics, and accessories. Under typical operation with continuous motor activity, the
battery provides over 3 hours of service.
You should maintain AmigoBot’s batteries in a charged state above 10 VDC. We
recommend recharging the battery when it falls below 11VDC (low-batt parameter),
even though the robot may continue to operate below 10 VDC. The microcontroller will

Specifications and Controls
12
sound a warning when the battery voltage falls below that programmed level (see
Chapter 6, Updating and Reconfiguring AmigOS), and will automatically shut down the
motors and any active client-server connection when the battery voltage fall below 10
VDC so to avoid damage.
Disengage the motors when recharging AmigoBot,
but you may continue operating the robot.
Typical recharge time depends on the charger and the discharge state of the battery.
The AmigoBot’s standard charger takes overnight (8 hours or more), whereas an 800 ma
two-state fast charger option will recharge the battery on 2-4 hours. You may continue
to operate AmigoBot while charging its batteries, although that will lengthen the
recharge time.
Reset & Motors/Test Buttons and System/User LEDs
On top near the back of AmigoBot next to the red Power LED are two pushbutton
switches and two additional LEDs. The red pushbutton switch is the Reset button. Press it
at any time to reset the AmigoBot controller to its power start-up state—motors
disengaged and not connected with a client.
The black Motors/Test pushbutton’s function
depends on the operating state of the
system. When not connected with a client,
press the button once to enable and a
second time to begin AmigoBot’s self-tests,
for instance. While in self-test mode, the
button advances the sonar tests. See
Chapter 4, Self-Tests, for details.
When connected with a client, the black
Motors/Test button manually enables and disables the motors, which also can be
performed programmatically with the AmigOS command #4, as described in detail in
Chapter 5, AmigOS.
When pressed in combination, the Motors/Test and Reset button enable system mode on
the controller. See Chapter 6, Updating and Configuring AmigOS, for details.
The green System and amber User LEDs indicate AmigOS activities, depending on the
current mode of operation. For example, on start up, the green LED flashes slowly and
rhythmically, while the amber LED is OFF. When connected with a client, the amber User
lamp flashes rapidly indicating Control serial activity. And when connected, the green
System LED flashes rapidly when the motors are disabled, and slowly when the motors are
enabled.
Sounds
The AmigoBot has an onboard audio system capable of reproducing recorded voices,
music, and sound effects stored in onboard FLASH ROM. Forty-nine out of the total 255
sounds are dedicated system cues, such as played when the robot is started up or reset,
after making a client connection, when stalled, and so on.
The small speaker on the top towards the rear of the robot, across from the control
buttons and LEDs is the sound source. Details on programming and playing sounds are in
the Chapter 5, AmigOS.

AmigoBot Mobile Robots
13
Motors and Position Encoders
AmigoBot’s drive system uses high-speed, high-torque, reversible-DC motors. Each front
drive motor includes a high-resolution optical quadrature shaft encoder that provides
9,550 ticks per wheel revolution (approx. 30 ticks per millimeter) for precise position and
speed sensing and advanced dead-reckoning. The tires are 4 inches in diameter and
made of soft, but firm rubber for good traction and low compressibility.
Sonars
The AmigoBot comes standard with a single array of eight sonars. The sonar positions are
fixed: one on each side, four facing forward, and two at the rear, together providing 360
degrees of sensing.
Sonar Rate and Sequence
The sonar firing rate is 25 Hz (40 milliseconds per
sonar) and sensitivity ranges from 10cm (6
inches) to more than 5 meters (16 feet). Objects
closer than 10cm are not detected and return
an out-of-range value (> 6 meters).
You may control the sonar’s firing pattern
through software (see Chapter 5, AmigOS); the
default is clockwise in sequence starting with the
side sonar (#0) closest to the left wheel and
around to sonar #7 on the back rear panel of
the robot.
Sonar Sensitivity
All eight sonars are controlled from a single board. Although calibrated at the factory,
you may adjust the sonar sensitivity and range to accommodate differing AmigoBot
operating environments. The sonar gain control is a one-turn screwcap accessible
through an access hole on the top and near the front of AmigoBot. You may have to
remove an accessory to uncover the hole.
Using a flat-bladed screwdriver, turn the adjustment screw counterclockwise to make the
sonars less sensitive to external noise and false echoes. Low sonar-gain settings reduce
the robot’s ability to see small objects. Under some circumstances, that is desirable. For
instance, attenuate the sonar if you are operating in a noisy environment or on uneven
or highly reflective floora heavy shag carpet, for example. If the sonars are too
sensitive, they will “see” the carpet immediately ahead of the robot as an obstacle.
Increase the sensitivity of the sonar array by turning the gain-adjustment screw clockwise,
making the sonars more likely to see small objects or objects at a greater distance. For
instance, increase the sonar gain if you are operating in a relatively quiet and open
environment with a smooth floor surface.
Serial and Accessory Ports
System Serial Port
Plug your AmigoLEASH cable into the telephone connector-like RJ-11/12 System serial port
on the bottom of AmigoBot and its serial adapter connected to your PC to reprogram
AmigOS-related operating software, sounds, and parameters.

Specifications and Controls
14
See Chapter 6, Updating and Configuring AmigOS for details.
Control Serial Port
If your AmigoBot does not have a radio modem, there is a cable that runs from a DSUB-9
serial connector on the bottom of your robot to another telephone connector-like RJ-
11/12 serial port inset into the cap that covers the Accessory I/O port. Use the top port
with AmigoLEASH to connect with offboard client software in Control Mode, such as
AmigoEYES or the Saphira demonstration program.
Accessory Connector
Beneath the black rectangular plastic cover near the center of the robot is a 40-position
high-density IDC latching connector mounted on the AmigoBot controller board. It
supports a variety of accessories through its many I/O ports. See Appendix A, Ports and
Connectors, for details.
Radio Modems
AmigoBot supports an optional radio modem pair (900 MHz) for wireless operation of the
robot: One modem gets attached to the robot and the other to your basestation
computer. The robot’s modem gets mounted on the underside and gets power (5 VDC)
and signal (Control serial) via a 9-pin DSUB connector and 2.1mm power plug that come
with the robot. The radio’s antenna fits up through the body; it’s top flexible section
unscrews from the main body.
Main power to AmigoBot’s radio modem
is controlled from the robot’s Power
switch. Use the pushbutton switch on the
side of the modem to individually control
its power. A green LED on the modem’s
face labeled PWR indicates power.
When lit, the adjacent red DCD LED
indicates a connection with the Host
modem of the pair. The DTE LED should
remain unlit since the connection is DCE.
If lit, slide the switch at the back side of
the modem near the power connector to
the opposite side so that it is in the DCE position.
The Host radio modem comes with a power module (110 or 220 VAC to 5 VDC) and serial
cable with pin adapters. Connect the power module and serial cable to the modem,
and the other end of the serial cable into an open serial port on your basestation
computer. Operate the power and indicators identically as with the robot’s modem.
The radio modems are preconfigured at the factory for use with AmigoBot. For
configuration details, see the technical documentation that comes with the modems.
Note that the AmigoBot operates only in client-server Control Mode with the radio
modems.
Safety Watchdogs and Configuration
AmigoBot’s onboard server software, AmigOS, contains a communications watchdog
that will halt motion if communications between a client computer and the robot server
are disrupted for a set time interval, normally two seconds (watchdog). The robot will

AmigoBot Mobile Robots
15
automatically resume activity, including motion, as soon as communications are
restored.
Also, AmigoBot’s server software contains a stall monitor. If the drive exerts a PWM pulse
that equals or exceeds a configurable level and the wheels fail to turn (stallval), motor
power is cut off for a configurable amount of time (stallwait). The server software also
notifies the client which wheel is stalled. When stallwait elapses, motor power resumes
and motion continues under server control.
Both these “failsafe” mechanisms help ensure that the robot will not damage objects or
be electrically damaged during operation. You may reconfigure the communications,
drive current, and stall-wait values to suit your AmigoBot’s application. (See Chapter 6,
Updating & Reconfiguring AmigOS, for details.

Quick Start
16
Chapter 3 Quick Start
AmigoBot comes fully assembled and ready for action. This chapter describes how to
operate the mobile robot with the Saphira demonstration software. (For more details
about programming and operating your Pioneer with Saphira, PAI, Ayllu, or P-LOGO, see
their respective programming manuals.)
The AmigoBot AmigOS servers require a serial communication link to a client. The serial
link may be:
•A tether (AmigoLEASH) from the Control serial connector on the top of AmigoBot
to a basestation computer
•An optional radio modem pair—one inside AmigoBot and its companion
connected to the serial port of a basestation computer.
Preparative Assembly
Out of the box, AmigoBot comes fully assembled, with its batteries installed and fully
charged—ready to drive right out of the box. However, you may need to attach an
antenna or plug in an accessory that we intentionally leave unattached so as to prevent
damage during shipping. Consult any Tech Notes and accessory assembly manuals that
may accompany your AmigoBot for final assembly details.
Saphira Client Installation
The Saphira client-development software, including the Saphira demonstration program
and Pioneer simulator, as well as other Pioneer- and AmigoBot-related software including
Ayllu, PAI, and P-LOGO, come distributed as compressed archives of software. We
include a CD-ROM containing these software configured and compiled for Windows
95/98/00/NT systems and for RedHat Linux. AmigoBot owners should obtain other Saphira
and related software versions and updates from our support website (see Chapter 1,
Introduction, for details.) You will need the ID and password from your Registration Sheet
in order to access portions of our customer website:
http://robots.activmedia.com
To install the Saphira software, follow the instructions in the README file that accompanies
the software for your platform. For instance, the Windows 95/98/NT archive is a self-
extracting archive; simply double-click on its .EXE icon and follow the extraction
program’s instructions.
Saphira Client Start-Up
To start the Saphira client demonstration program, first locate the executable: It’s inside
the bin directory that is in the top-level Saphira directory—typically
C:\Saphira\ver62\bin or /usr/local/saphira/ver62/bin. The demonstration program is
named saphira or saphira.exe.
For instance, with the mouse, double-click on the saphira.exe icon inside
C:\Saphira\ver61\bin on your Windows 95, 98, 2000, or NT desktop, or navigate (cd) to
the Saphira directory on your UNIX or Linux machine via an X-Window-based shell and
type saphira, or ./saphira to execute the Saphira client software there. (We typically
add the Saphira bin directory to our PATH to make access even easier.)

AmigoBot Mobile Robots
17
If the demonstration program is installed and executed properly, a Saphira main window
graphical-user-interface should open and appear on your screen. Otherwise, diagnostic
error dialog boxes will inform you of the problem. (Also see Troubleshooting below.)
AmigoBot Cold Start-Up
Place your AmigoBot on the floor in an open space. Slide the main Power switch on the
bottom of the robot to ON. The red power indicator LED on the top of the robot should
light and the Power/Reset audio cue should play.
RADIO ON
If you own radio modems for Pioneer client-server serial communications, switch on the
radio modem’s power which is on side of the modem which is attached to the bottom of
the robot. It has a green LED power light.
Starting Saphira Client/AmigoBot Server Communications
After power on or Reset, AmigOS enters server
“wait" mode—a quiet state in which AmigOS
awaits communication with a client application.
While waiting, AmigoBot’s green System LED
blinks slowly and the amber User LED is off.
To establish a connection with the demonst-
ration client, pull down the Connect menu of
Saphira’s main window on your computer and
engage the appropriate serial port: It's the one
that you connected to the robot via a direct
cable or through modems.
The serial port name varies by computer
platform, such as /dev/ttyx on a Sun
workstation, the modem port on a Macintosh, one
of the COM ports (1–4) on a PC, /dev/ttySx with
Linux, or any of the alternative serial ports that
hosts the robot-to-computer connection.
The Saphira client initiates a connection with the
AmigOS server by exchanging three
synchronization packets. You may monitor this
process in the Saphira client’s Colbert
interaction window.
A Successful Connection
After Saphira negotiates a connection successfully, the client requests various AmigOS
servers to initiate their activities, including sonar polling and position integration. The
microcontroller sounds an audible connection cue; you should hear the AmigoBot’s
sonar ping with a distinctive and repetitive clicking; and the green System and amber
User LEDs should blinking rapidly .
Press the black Motors/Test pushbutton on the top of AmigoBot or pull-down the Saphira
Connect menu to the Motor Toggle item to enable the drive motors. The associated
green System LED should stop flashing and light continuously.
Connecting Saphira with AmigoBot

Quick Start
18
Gracefully disconnect the Saphira client
from the AmigoBot server
The amber User LED indicates Saphira client/AmigOS server communications and blinks
rapidly.
Operating the Saphira Demo
When communications between the Saphira client and the AmigoBot server are
established, the robot becomes responsive and intelligent. For example, although it may
drive towards an obstacle, AmigoBot will not crash (unless its obstacle-avoidance
behaviors have been disabled) because it can detect intervening objects with its sonars
and actively avoid collisions.
Collision avoidance is just one of the many
mobile robot behaviors available through
AmigoBot’s suite of robotics application-
development software. Remember, this section
is meant to familiarize you with the robot. Please
read the respective software manuals and
online Help for details.
You may enable and disable Saphira behaviors
for AmigoBot by selecting or deselecting them
from menu items in the Saphira client and from
the client keyboard. These include manual
drive operation and disabling / enabling
obstacle avoidance and constant velocity
behaviors.
When manually driving the robot, each keypress
moves the robot forward or backward faster or
slower and incrementally changes its direction.
For instance, when turning, it is often useful to
push the left- or right-turn key rapidly several
times in a row, because the turn increment is
small.
Disconnecting (intentionally or
unintentionally)
When you finish playing with AmigoBot, pull-
down the Saphira client’s Connect menu and
choose the Disconnect option.
AmigoBot will disengage its drive motors and
stop moving and its sonar should stop firing. It
also should return to the waiting-state. You may
now slide AmigoBot’s Main Power switch off.
Keyboard-controlled behaviors
KEY ACTION
i, ↑Increment forward velocity
m, ↓Decrement forward velocity
j, ←Incremental left turn
l, →Incremental right turn
k, space All stop
gConstant velocity ON/OFF
cObstacle avoidance ON/OFF
Engage AmigoBot’s motors after connecting with a client
or the robot won’t move, no matter how excited you get.

AmigoBot Mobile Robots
19
Quickstart Troubleshooting
üYou must have a valid Saphira license to connect with AmigoBot or any other robot.
Unlicensed Saphira clients may only connect with the AmigoBot/Pioneer simulator.
üLicensed versions of Saphira come with the robot and can be downloaded by
ActivMEDIA ROBOTICS customers from the support website,
http://robots.activmedia.com.
üMost problems occur when attempting to connect the Saphira client with the robot
server for the first time. Make sure you have Saphira properly installed and its related
SAPHIRA and LD_LIBRARY_PATH (UNIX/Linux only) environment variables set. It's also a
good idea to recheck that the serial cable is plugged into a working serial port on
your computer.
üUNIX and Linux users should be sure they have permission to read/write the
connection serial port. On the server side, make sure your radio modem is on, if that is
the connection route.
üIf you access the wrong port, the Saphira demonstration program will complain, "Error
opening" the selected serial port. If the robot server isn't listening, or if the serial link is
severed somewhere between the client and server (cable loose, or a modem off, for
instance), the client will attempt to "Syncing 0" six times and fail with a "Connection
refused." In that case, reset the robot and check your serial connections. For
instance, if you are using the InfoWave radio modems, the red DCD LED on the host
should light up. If it doesn't, it means it cannot find the one in the robot.
üOnce successfully connected, remember that the robot won't move unless its motors
are engaged. Manually or programmatically engage the motors just after you make
a connection with a client; not beforehand.
üIf for some reason communications get severed between the Saphira client and the
robot server, but both the client and server remain active, you may revive the
connection with little effort: If you are using radio modems, first check and see if the
robot is out of range.
To test for range limits, simply pick up the robot and move it closer to the basestation
radio modem. If the robot was out of range, the connection should resume. If not,
check to make sure that radio modems were not inadvertently switched OFF.
üCommunications will also fail if the client and/or server is somehow disabled during a
session. For instance, if you inadvertently switch off the robot’s power or press the
Reset button, you must restart the connection. If the Saphira client application still
thinks it’s connected with a server, simply pulldown the Connect menu and choose
the Disconnect item. Otherwise, restart the application and reconnect the Saphira
client with the AmigoBot server.

Self Tests
20
Chapter 4 Self-Tests
AmigOS comes with built-in test routines that exercise AmigoBot's drive motors, sonars,
and accessories.
Power up or Reset the robot, then press the black Motors/Test button once. You may
press the Reset button at any time to disable self-tests.
An audible cue will alert you that you may have inadvertently engaged the self-tests.
Press the black Motors/Test button one again to engage self-tests. If you don’t press the
button a second time, self-tests automatically cancel after 10 seconds.
Motors Test
The first self-test exercises AmigoBot’s drive motors. During this test, the robot is not at all
conscious of bystanders. Please have everyone step back and remove any obstacles
from within a diameter of about two meters (6-8 feet) around the robot.
The motors self-test begins by engaging the right drive wheel then the left drive wheel,
each forward to complete one and one-half full turns counter-clockwise and then
clockwise, respectively.
Sonar Tests
Once the motors self-test completes, AmigoBot automatically moves on to test the
sonars.
You should hear the distinctive clicking sound as each sonar "pings" individually, each in
order clockwise, beginning with the sonar closest to the left wheel (sonar #0). The green
System LED blinks at a rate relative to the distance to a target; quicker as a target, such
as your hand, approaches.
The sonars are numbered 0 through 7. Press the black Motors/Test button to switch to the
next sonar.
Self Wander
After the last sonar test, press the red Reset button to return AmigoBot to its client-server
wait state. Or, press the Motors/Test button to enable Self-Wander mode.
Self-wander is a simple, yet robotically sophisticated program that has AmigoBot drive
entirely on its own around the room avoiding obstacles. Every few minutes, the robot will
stop, play sounds, spin in place, and then continue on its otherwise aimless journey.
Self-wander is a good demonstration and test of AmigoBot’s innate robotic abilities—
sensors and onboard intelligence—without having to connect with client—though with
very limited capabilities as compared with Saphira or other PC-based robotics client
applications.
Press the Reset button or switch power OFF at any time to cancel the self-wander test.
Place AmigoBot on the floor and have everyone step back
before engaging self-tests.
Other manuals for AmigoBot
1
Table of contents
Other ActivMedia Robotics Robotics manuals
ActivMedia Robotics
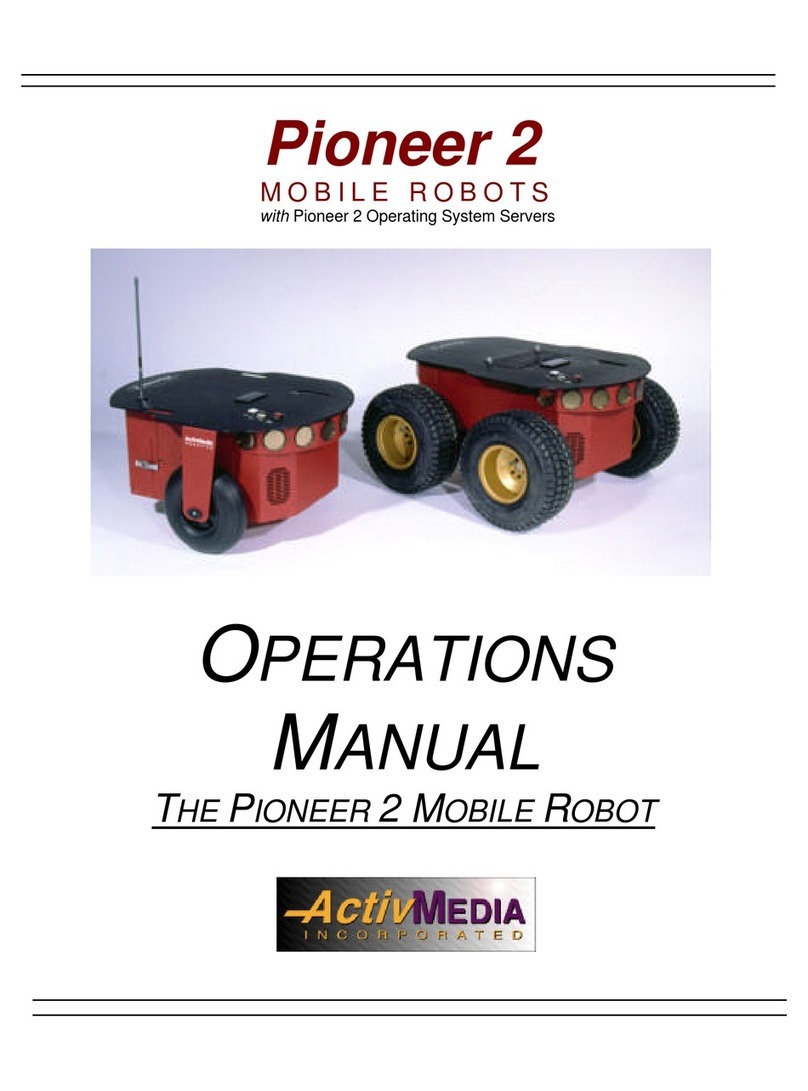
ActivMedia Robotics Pioneer 2 User manual

ActivMedia Robotics
ActivMedia Robotics Pioneer 2 User manual
ActivMedia Robotics
ActivMedia Robotics Pioneer Gripper User manual
ActivMedia Robotics
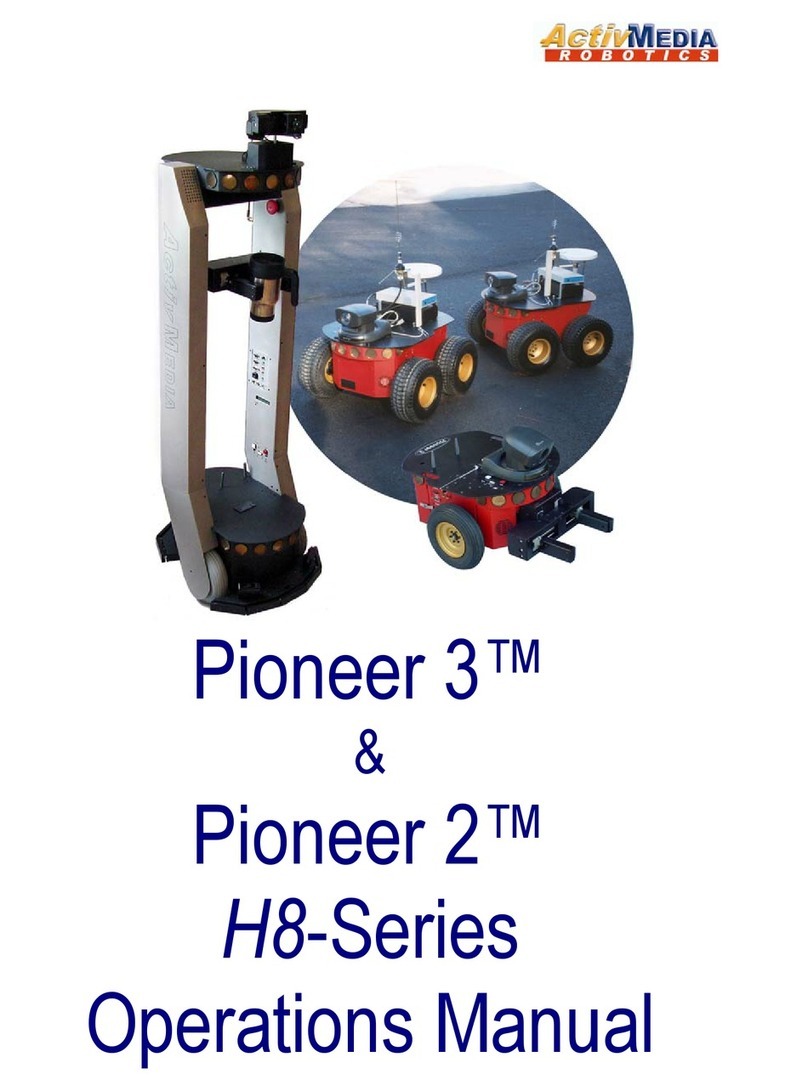
ActivMedia Robotics 3TM User manual
ActivMedia Robotics
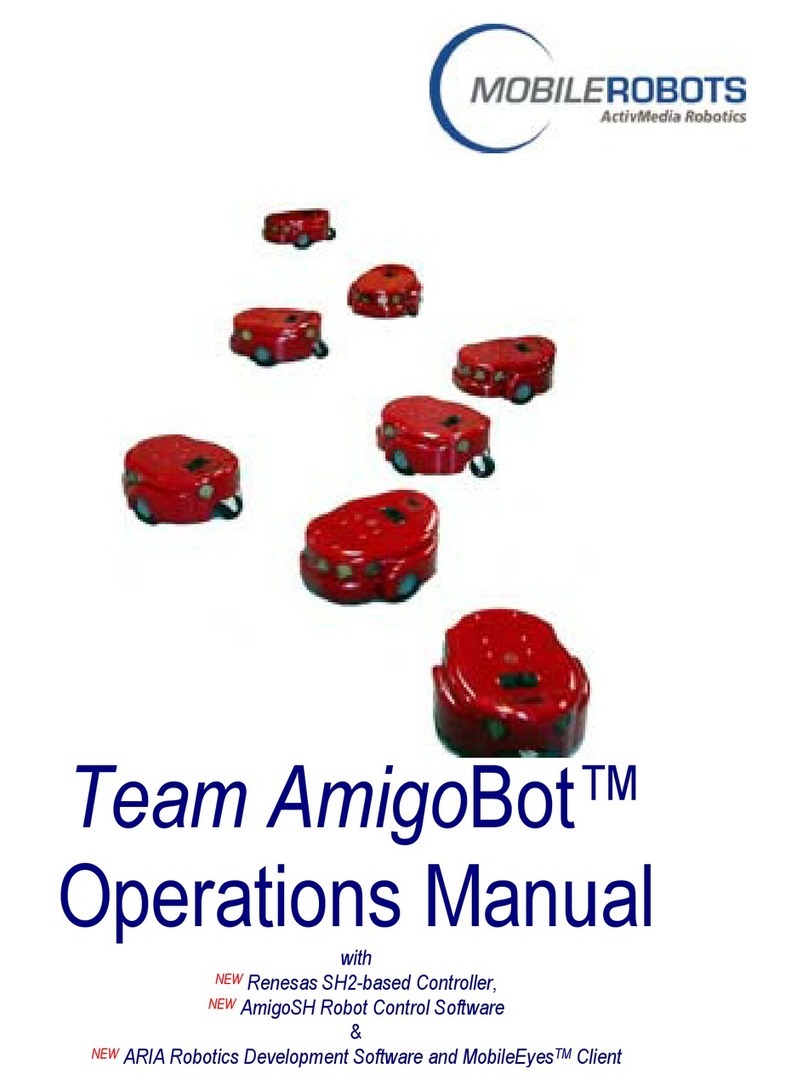
ActivMedia Robotics MOBILEROBOTS Team AmigoBot-SH User manual
ActivMedia Robotics
ActivMedia Robotics Pioneer 2 TCM2 User manual
ActivMedia Robotics
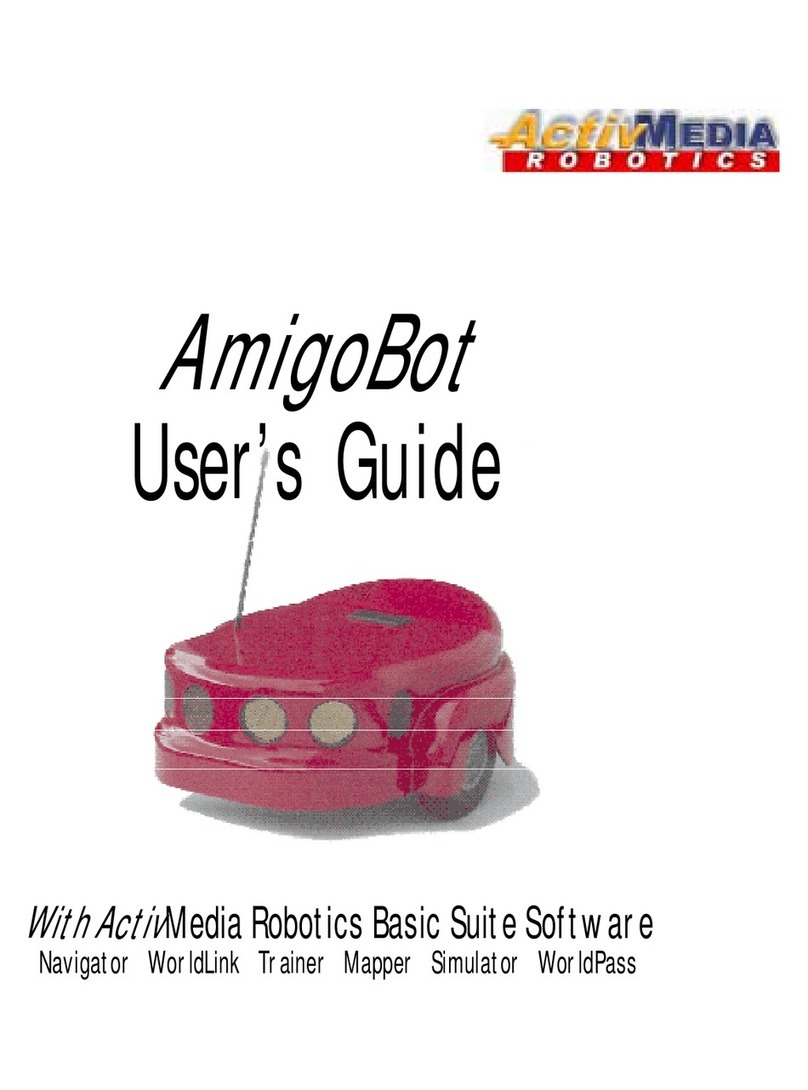
ActivMedia Robotics AmigoBot User manual
ActivMedia Robotics
ActivMedia Robotics Pioneer 2 Arm User manual
ActivMedia Robotics
ActivMedia Robotics PeopleBot User manual
ActivMedia Robotics
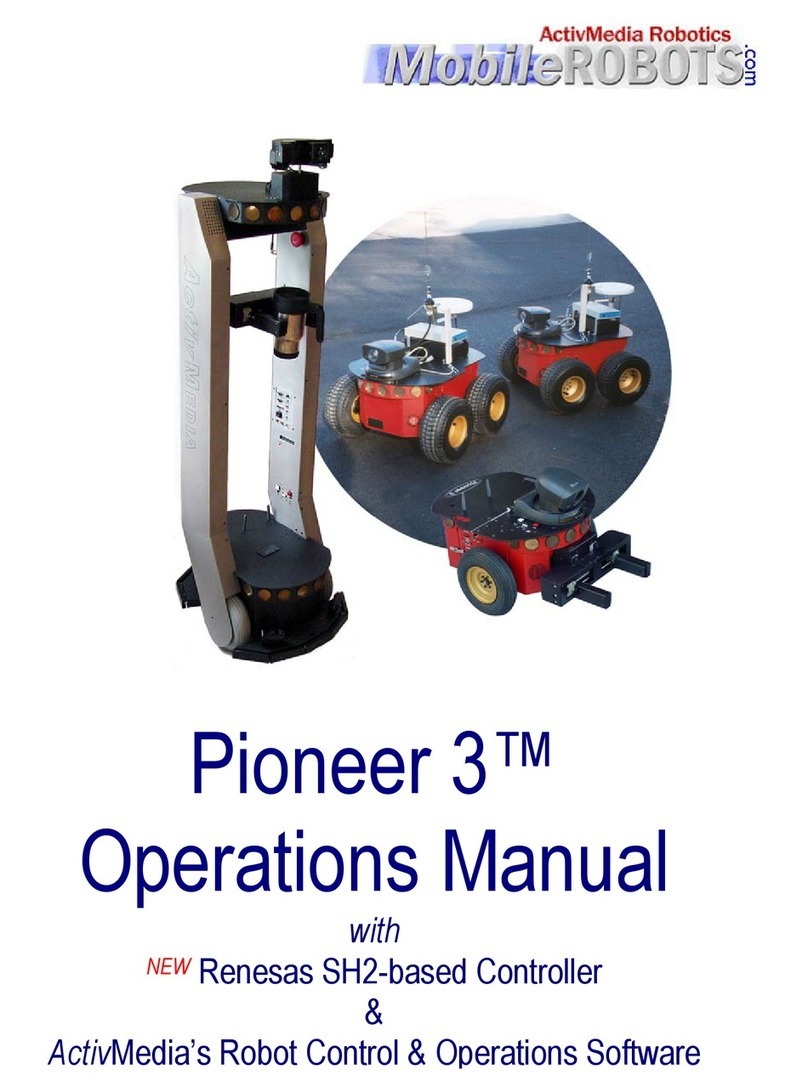
ActivMedia Robotics Pioneer 3 User manual
