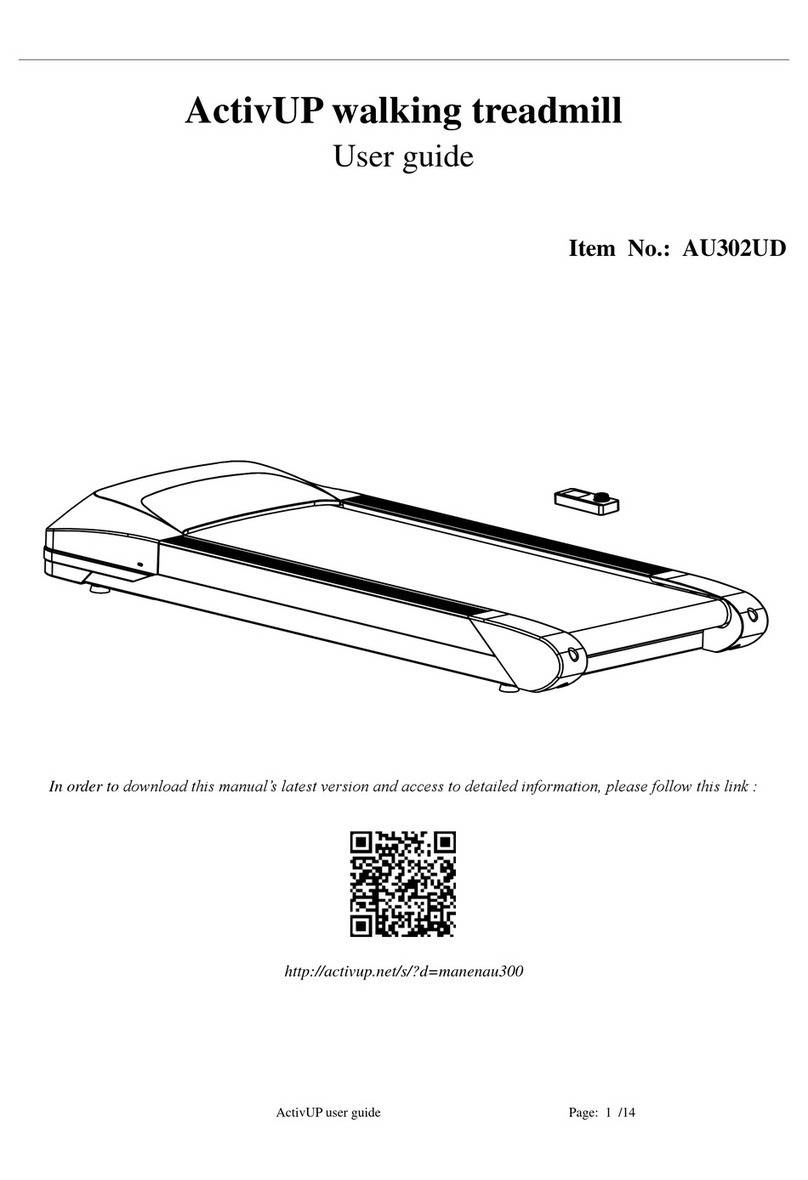
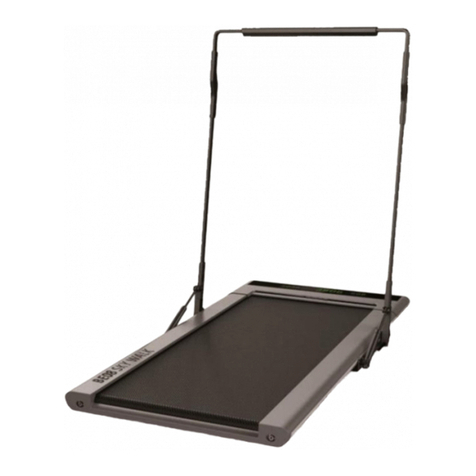
ActivUP AU202ED User manual

Page 1/ 23
ActivUPWalking Desk
User manual
Model: AU202ED
In order to download this manual’s latest version and access to detailed information,
please follow this link:
http://activup.net/s/?d=manenau200ed

Page 2/ 23
Thank you and congratulations for buying this walking treadmill, modelAU202ED !
You can find below some useful information to contact us.
Contact
ActivUP S.A.S.U
125 route du fer à cheval
74160 Collonges-sous-Salève
FRANCE
Tel : +33 1 85 08 60 18
Website : http://www.activup.net
Technical support
For any questions or technical support about your treadmill, please visit the following link:
http://www.activup.net/en/support.
You can also flash the code found on this manual’s first page with your smartphone.
This device is made for an indoor use and is compliant with the EN 55014-1:2017, EN
55014-2:2015, EN 61000-3-2:2014 and EN 61000-3-3:2013 norms.An improper use of this
device (excessive training, bad setup and so on) can put you in danger.

Page 3/ 23
Attention:
Please check whether the red security lock is hung on the machine before use it.
Please check whether the Red
safety lock falls off
Put the safety lock and turn on the treadmill

Page 4/ 23
Table of contents / Index
Safety instruction...................................................................................................................5
Special safety instruction....................................................................................................... 5
Packing list ............................................................................................................................6
AU202ED: Product description............................................................................................. 8
Display specification...........................................................................................................16
Assembly..........................................................................................................................16
Console function...............................................................................................................16
Start instruction ................................................................................................................17
Product specifications..........................................................................................................17
Maintenance ........................................................................................................................18
Mobile App..........................................................................................................................20

Page 5/ 23
Thank you for choosing and buying this walking desk !
Safety instruction
The product is designed and manufactured with a number of safety concerns, but please follow the
instructions below, just in case. We do not bear the consequences of any abnormal operation.
To ensure your safety and avoid accidents, please read the instructions carefully before using.
1. When you start training with this product, please consider your physical condition, train regularly and
regularly, ensure that you have enough physical strength to train. Mistakes or too much training will not
benefit your health.
2. This product is not suitable for use by children. It is forbidden to be used by people who are physically
ill or mentally impaired and who lack common sense of use unless they are under the supervision or
guidance of the person responsible for their safety regarding the use of the product. Children should be
under guardianship. Make sure they do not play with the equipment.
3. The product is suitable for family or business use, is not suitable for professional training and testing,
nor can it be used for medical purposes.
4. Please check all parts before use to make sure the screws and nuts are locked.
5. Place the product on a smooth, clean, flat floor to ensure that there are no sharp objects nearby and are
not used near water and heat sources.
6. This product is only available for one person at a time.
7. The product shall be placed on an horizontal surface with a safe area of 2m*1m behind it.
Special safety instruction
➢Plug the power cord directly into the socket. No loosening is allowed.
➢Please use a qualified socket to avoid the risk. If the plug and socket are incompatible, please do
not move the plug, please handle it by the electrician.
➢Some models are equipped with a safety key system extension to be placed under your desktop.
To know more about it, please download the updated user manual available here :
http://activup.net/s/?d=manenau200ed

Page 6/ 23
Packing list
No.
Parts name
Specification
Picture
Qty
1
Walking desk
1
2
Internal hexagonal
wrench
6mm
1
3
One end with a
cross screw driver
5mm
1
4
Multi-function
spanner
Cross head pin
1
5
Lubrication oil
20ML
1
6
Filler
1
7
Display
1
8
Power cord
1
9
Safety key cord
1
11
Use manual
1
12
Desktop
1

Page 7/ 23
13
Side plate
2
14
Foot tube
2
15
Safety hook
1
16
Hook
1
17
Power line for
electric lift
1
18
Hexagon socket
head screw
M8*16
14
19
Console holder
1

Page 8/ 23
AU202ED: Product description
Handle
foot pad
Walking area
Power switch
Safety key
Self-service
lubrication hole
Stand column
Telescopic legs
Direction switch
Desktop

Page 9/ 23
Assembly:
The First step:
Open the box, carry out the machine, find out the desktop, hook, safety hook and foot tube.
Walking desk
Desktop
Foot tube
Side plate
Safety
hook

Page 10 / 23
The second step:
Set the desk upright, attach the foot tubes with M8*16 inner hexagon round head screw to the lifting table
as shown on the picture below.
:
foot tube

Page 11 / 23
The third step:
Fix the hook on the lifting table with M8*16 inner hexagon flat round head screw, as shown on picture
below.
Hook

Page 12 / 23
The fourth step:
Fix the side plate on the lifting table with M8*16 inner hexagon flat round head screw as shown on the
picture below. Do not lock the screw at this time.
Side plate
Side plate

Page 13 / 23
The fifth step:
Fix the table plate on the side plate with M8*16 inner hexagon flat round head screw as shown on the
picture below. At this time, lock the unlocked screws mounted during the fourth step.
Desktop

Page 14 / 23
The sixth step:
Put the safety hook on the hook for use in case of need to fold the treadmill, as shown on the picture below.
Hook

Page 15 / 23
The seventh step:
When you need to fold up the treadmill, attach the safety hook into the handle of the treadmill and hook on the
hook, as shown on the picture below.
The eighth step:
If the lifting table needs to be separately used, you only need to unscrew out the two M8*50 flat round
head screws of the lifting table and the lifting table, and then move the lifting table or the running table
away. If you need to fit again, you only need to lock the screws back with the holes of both.
Desk
Treadmill

Page 16 / 23
Use the treadmill:
After the power is plugged in and the safety lock is placed, turn on the switch and the treadmill will be on.
At this time, you will hear a "di" sound and the meter will be on.
Display specification
Time
00:00-99:59 Min
Speed
1-8.0 km/h
Distance
0.00-99.9 km
Assembly
1. Place the display on your desktop or in the console holder (itself fixed under the desktop with the
given screws in the appropriate holes).
2. Place treadmill under the desk.
3. Adjust feet to level the treadmill.
4. Connect the power cord to a 220V outlet.
Console function
Distance
Time
Speed
Calorie

Page 17 / 23
Steps
Display battery level
Start instruction
➢Press “ ” button, after 3 seconds the machine starts to run at 1km/h
➢Turn the knob clockwise or counter clockwise “ ” to regulate your speed.
➢Press“ ” pause the machine. Press again“ ”, the machine continues to maintain its
normal operation.
➢“ ” This display shows the actual display battery level. Please turn off the
machine to charge the battery when the power is not enough (10%).
Product specifications
Power
5.0HP
Speed
1.0-8.0 km/h
Console
Dis.,Time, ,Speed, Steps ,Cal.
Material
Steel, PVC
Product size
L1625mm*W695mm*H195mm
Voltage
DC220V,60HZ
N.W.
59KGS
Power saving:
A power saving mode is used by this treadmill. It is automatically triggered if no action is detected within
10 minutes after turning on the machine.
This will turn the display off. In order to get out of the power saving mode, press any button on the
display.

Page 18 / 23
Maintenance
A regular maintenance is the only way to keep your walking treadmill functioning for the longest time
possible. A lack of maintenance can reduce its lifespan.
Adjusting the running belt
Adjustment of running belt have two functions: to center the running belt and to adjust its tension.
Running belt adjustment has already been done at the factory, but after use the running belt will be
stretched and may run with off center position causing friction trim and rear cover damage. Running belt
being stretched during use is normal. If you step off the treadmill while leaving it running it should return
to center. If it doesn't, you might need to do some adjustment:
1. Start the treadmill and raise the speed to 6 km/h. Observe the gap between belt and sides at left and
right.
2. If the belt is leaning to the left, use hex wrench to rotate the screw clockwise ¼ turn.
3. If the belt is leaning towards the right side, use the hex wrench, rotate right screw clockwise 1/4 turn.
4. If the running belt is still not in the middle, repeat the above action, until the running belt is centered.
If it becomes too tight, loosen tension by rotating counter clockwise equally on both left and right screw.
Center the running belt to the middle, adjust speed to 8 km/h, and observe deviations running belt and
running smooth. If there are deviations, repeat the adjustment steps.

Page 19 / 23
WARNING! Do not over-tighten the drum! This will lead to permanent bearing damage! Loosen by
rotating both left and right screw equally. You should always be able to lift the running belt by
hand.
Lubricating
Lubricating oil is added during the making process of the walking machine. However, the lubricity of the
walking machine must be frequently checked, so that the walking machine can be kept in the optimal use
state. After using the walking machine for half a year or 100 hours, lubricating oil must be added. Every
30 hour or 30-day use, pull the running belt from the side and reach the surface of the running platform as
far as possible. If you feel the silicone oil, it doesn’t need to be lubricated; if there is a strong sense of
dryness on the touch surface, please follow the instructions below to perform the fueling operation. Use
non - petroleum silica gel oil.

Page 20 / 23
Mobile App
Scan the QR barcode to directly locate the mobile app on your App Store on your device (available for
both Android and iOS devices).
一、Create your account
1-1. For first-time users, you must first register. If you already have an account, please enter your
username and password.
1-2. Please use a registered mail or mobile phone number, and then enter your password in order to create
an account.
二、How to sync device
2.1、Search equipment
Table of contents
Other ActivUP Treadmill manuals
Popular Treadmill manuals by other brands
SPORTSTECH
SPORTSTECH F10 manual
Weslo
Weslo Cadence 55 Treadmill Manual Del Usuario
NordicTrack
NordicTrack Ex 3300 Treadmill Bedienungsanleitung
tobeone
tobeone REDON RX9300 Series user manual
Taurus
Taurus T10.5 Pro Assembly and operating instructions

Horizon Fitness
Horizon Fitness PARAGON X Operation guide

