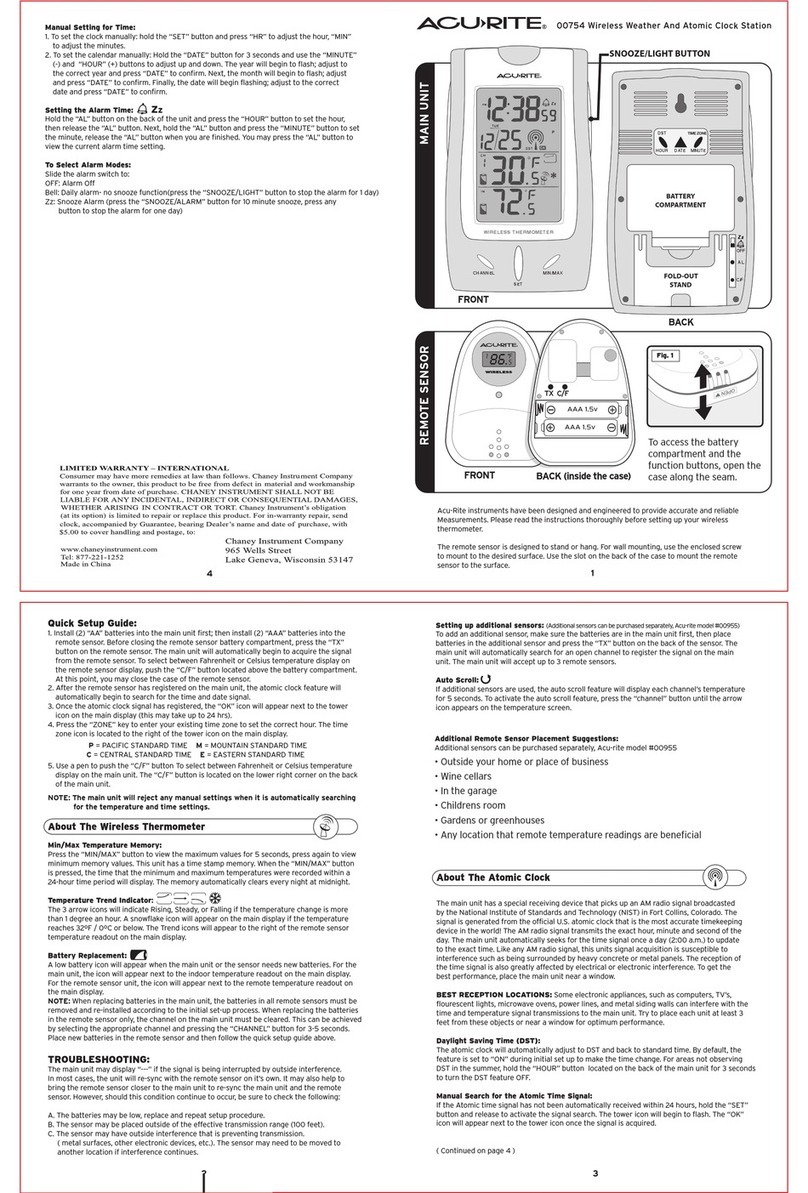
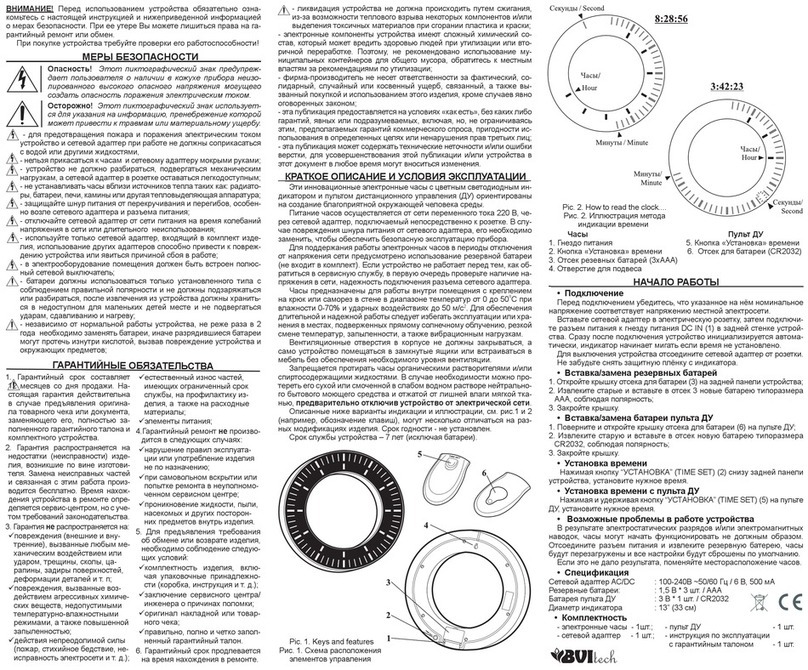
SETTING THE CLOCK MANUALLY
Manual Button
Functions
1) SETTING THE CLOCK & CALEND
a) Press the “SET” button for several seconds until the LCD
screen is flashing.
b) Press the UP () ARROW button to select 12 Hr. (standard) or
24 HR. (Military) time format. Press “SET” to confirm.
Press the UP () ARROW repeatedly,
until the correct hour (AM or PM) is
displayed.
Press the UP () ARROW repeatedly,
until the correct minute is displayed.
Press the UP () ARROW repeatedly,
until the correct year is displayed.
Press the UP () ARROW repeatedly,
until the correct month is displayed.
Press the UP () ARROW repeatedly,
until the correct date is displayed.
Set the Atomic Clock ON or OFF by
pressing the UP () ARROW button.
Press “SET”
to confirm.
Press “SET”
to confirm.
Press “SET”
to confirm.
Press “SET”
to confirm.
Press “SET”
to confirm.
Press “SET”
to confirm.
c) The HOUR will flash
d) The MINUTE will flash
e) The YEAR will flash
f) The MONTH will flash
g) The DATE will flash
h) The ATOMIC CLOCK
CONTROL will flash
Set DST (Daylight Saving Time)
ON or OFF by pressing the UP ()
ARROW button.
Press “SET”
to confirm.
i) The DST will flash
Select F˚/C˚ (Fahrenheit or Celcius) by
pressing the UP () ARROW button.
Press “SET”
to confirm.
j) The F˚/C˚ will flash
SET
Back of Clock
Up/Down
Arrows
“Set” to confirm
manual settings
TIME ZONE
SET
TIME
ZONE
Discover a comprehensive collection of furniture & decoration on our website.

