Adapt4 XG1 User manual

XG1 Radio
Installation Manual
A4-00103-011-02, Rev. 1.11
May, 2007
Copyright © 2007 Adapt4, LLC


3
Operational and Safety Warnings
Antenna Connection and Lightning Arrestor
The warranty requires that the radio must not be powered-up without an antenna
connected. The warranty also requires that a lightning arrestor be installed.
RF Exposure
The equipment described herein emits radio frequency (RF) energy and
requires professional installation. Although the power emitted is two
watts or less, care should be taken to use the radio equipment properly to
avoid the concentrated radio frequency energy near an antenna, especially a directional
antenna (for example, a yagi antenna). No person should be within 81 centimeters (32
inches) of the antenna when the radio is transmitting. This includes indoor, outdoor and
mobile use of the radio equipment.
High Surface Temperature
There may be a high surface temperature when the unit is operating at the maximum
rated ambient temperature
FCC Part 15 Compliance
THIS DEVICE COMPLIES WITH PART 15 OF THE FCC RULES. OPERATION IS
SUBJECT TO THE CONDITION THAT THIS DEVICE DOES NOT CAUSE
HARMFUL INTERFERENCE.
NOTE: the manufacturer is not responsible for any radio or TV interference caused by
unauthorized modifications to this equipment. Such modifications could void the user’s
authority to operate the equipment.

NOTICE
Adapt4, Inc. assumes no responsibility for any errors that may appear in this document, nor does
it make any commitment to update the information contained herein. However, questions
regarding the information contained in this document are welcomed.
Adapt4, Inc. also reserves the right to make changes to the specifications of the XG1 Series and
to the information contained in this document at any time without notice.
This manual is not all inclusive of our products and services. The software and procedures
discussed herein are continuously evolving just as are the requirements of our customers. Its
format is informal, and hopefully will stimulate as many questions as it answers. Copies of cut
sheets, engineering data, customer lists, installation guides, and test procedures are all available
for further information.
© 2007, Adapt4, Inc,.
605 N. John Rodes Blvd., Melbourne, FL 32934
Phone 321-751-2811 | Fax 321-259-4006
www.adapt4.com

5
Table of Contents
Operational and Safety Warnings ................................................................................3
Table of Contents..........................................................................................................5
1.0 Overview........................................................................................................................ 7
1.0.1 Brief System Description........................................................................................... 7
1.0.2 Front Panel Indicators.............................................................................................. 14
1.1 Admin Tab ................................................................................................................... 15
1.2 Download Tab.............................................................................................................. 16
1.3 Startup Config Tab....................................................................................................... 17
1.3.1 Network Configuration Panel.................................................................................. 18
1.3.2 Network Status Panel............................................................................................... 19
1.3.3 Antenna Pointing Tool Panel................................................................................... 20
1.4 Interfaces Config Tab................................................................................................... 22
1.5 Spectrum Analyzer Tab ............................................................................................... 23


7
1.0 Overview
1.0.1 Brief System Description
The XG1 Installation Software provides a tool that enables a field installer to configure an
Adapt4 XG1 radio as part of its installation in the field. The field installer “installs” the radio to
make it capable of communicating on the correct network. Subsequently, the Network Operator
will “commission” the site, possibly after the field installer has left the site. The commissioning
process includes further configuring of the site over-the-air and coordinating the start of service
with the end-user. When the site is commissioned, it may begin carrying end-user traffic.
The Installation Software normally runs on a laptop computer and has the following capabilities:
•Network configuration – Set the XG1 radio configuration so that it can join the correct
network. The network's Element Management System (EMS) will further configure the radio
after it has joined the network.
•Software updates – Download new software distributions from the laptop to the radio.
•Antenna Pointing – Point the station's antenna using the laptop software's visual and audible
indications of the signal strength received from the Base Station.
•Interface configuration – If applicable, configure the RS-232 serial ports.
The above list of capabilities is also a brief outline of the tasks of installing the radio. More
details will be given below.
Table 1.0-1 provides an equipment list needed to support use of the XG1 Installation Software.
Table 1.0-1: Items Needed to Connect Radio to Computer
1. Laptop with:
•Windows 98 or later
•Ethernet port
•128 MB RAM
•Correct time/date set
•SVGA display or better
2. Ethernet cable
•Cross-over (if directly connected)
•Straight-through (if connected via hub)
3. RS-232 cable (for testing user ports)
•DB-9F, null cable or null adapter
•XG1 Installation software

Figure 1.0-1 illustrates an XG1 radio network, which is comprised of three XG1 radio Remote
Sites and a Base Station (Hub). The Remote Sites are further comprised of an antenna, the XG1
radio and end-user equipment. The end-user equipment is attached to the radio via Ethernet
and/or RS-232 serial cables.
The Base Station comprises an antenna (typically omnidirectional), an XG1 Base Station Radio,
Ethernet and optional RS-232 serial cabling from the radio into a shelter or building. These cables
connect to user host equipment. In addition, the Ethernet cable connects to the Element
Management System (EMS) computer that manages the XG1 radio network and provides a
graphical user interface (GUI) to Network Operators.
Figure 1.0-1: XG1 Radio Network
Lightning
Arrestor *
GND
Lightning
Arrestor *
GND
User
Equip
.
* Required: Adapt4
PN A4-00135-007-01
or equivalent
GND
GND

9
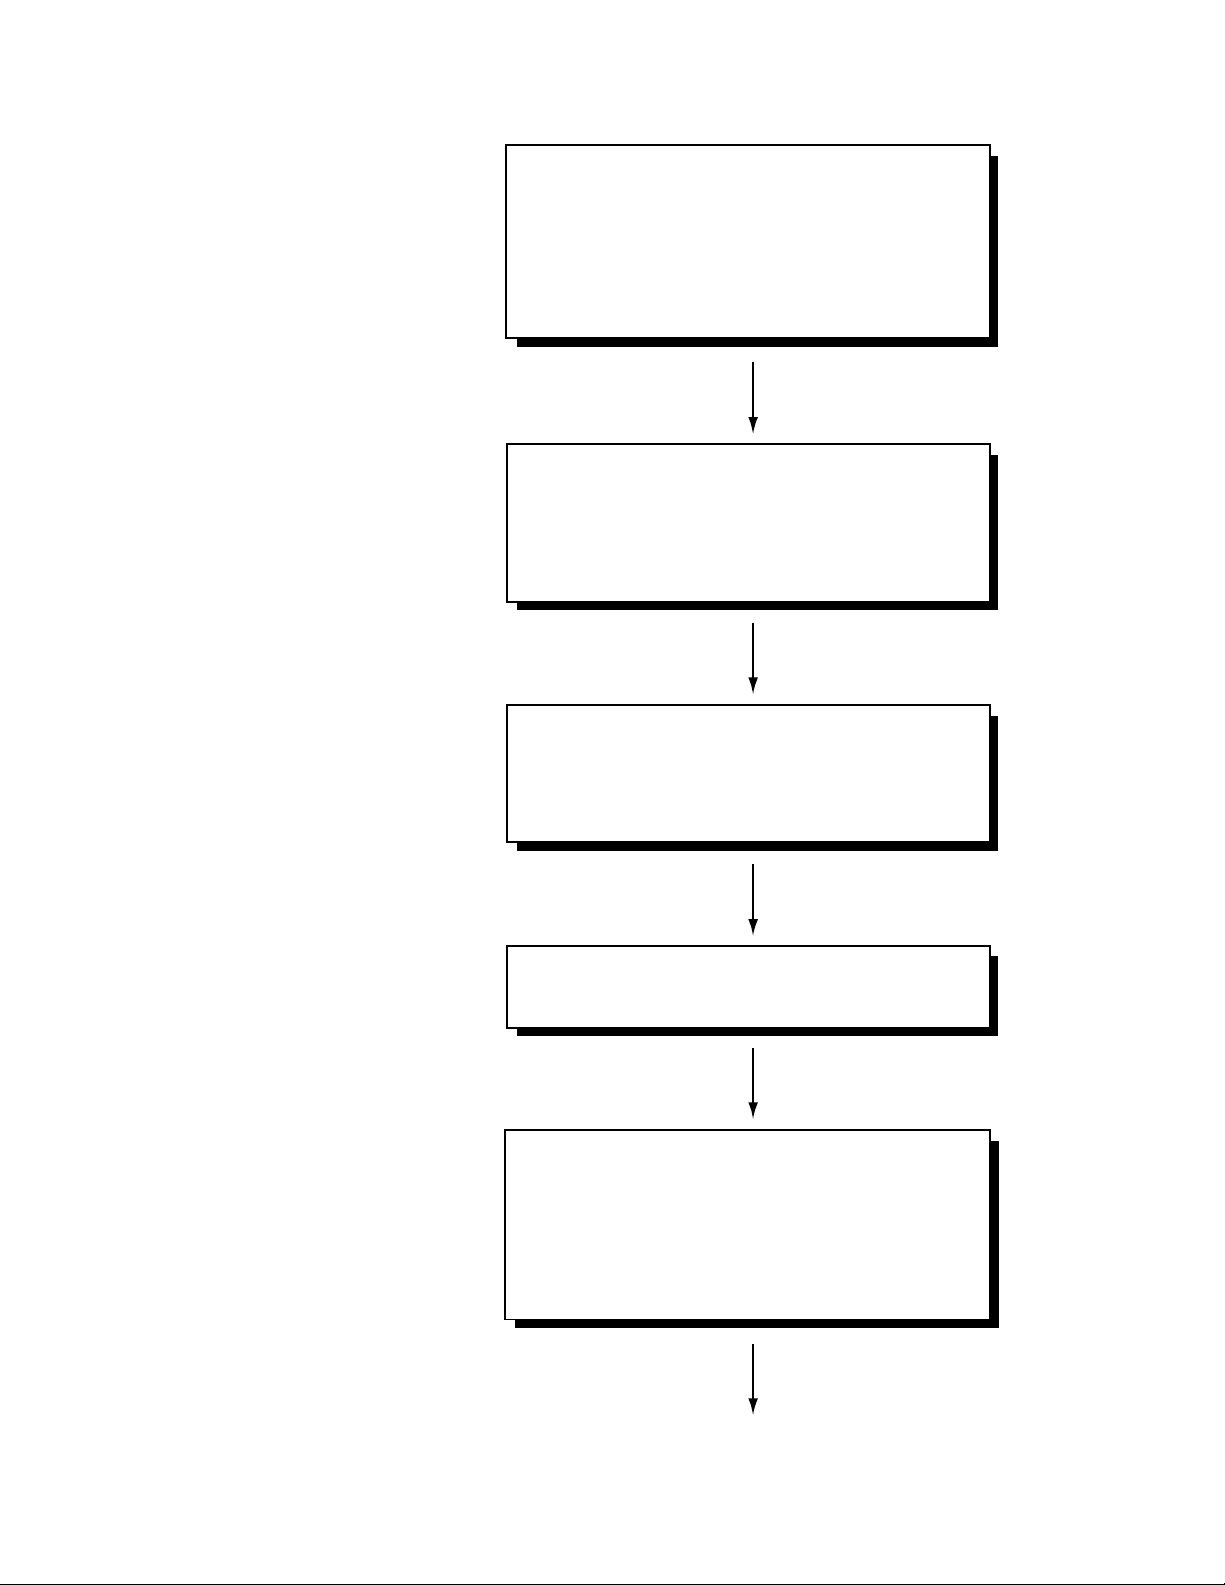
The XG1 radio must be installed vertically, typically on a wall, as illustrated in Figure 1.0-3.
Warning: the radio was designed for vertical mounting for heat dissipation; if it is
mounted any other way without approval from Adapt4, this will void the warranty.
After installation, the Field Engineer performs the following basic steps to configure a Remote
Site XG1 radio:
!"
#
#
$
# #
# %
# # #
! &
' " & (
" & )
!
* &
+
, * - $ , ./
, * - 0
- +'&#
" # $ %
& % !
+# , * - #
# # #
' $
$ !
" 1" # #
#
# 0 #
# +#
&
/
# #
2 " 3

11

Figure 1.0-2: Connecting XG1 Radio to a Laptop

13
Figure 1.0-3. Typical Wall-Mounted Remote Site

1.0.2 Front Panel Indicators
Table 1.0 -2 describes the front panel indicators of the XG-1.
Table 1.0-2: Front Panel Indicators
Base Station Radio
Indicator State Meaning
LED A Green/Solid The radio is operational
LED B Green/Flashing Packet received over-the-air
Amber/Flashing Packet transmitted over-the-air
RJ-45 Ethernet
--Green LED Dim solid Radio powering up
Flashing Transmitting on Ethernet port (from
radio to user device)
--Amber LED Solid Ethernet link indicator
Flashing Receiving on Ethernet port (from user
device to radio
Remote Radio
Indicator State Meaning
LED A Green/Solid The radio is operational/joined
Green/Flashing Contacting prospective Base Station to
join network
Amber Unjoined—looking for Base Station
LED B Green/Flashing Packet received over-the-air
Amber/Flashing Packet transmitted over-the-air
RJ-45 Ethernet
--Green LED Dim solid Radio powering up
Flashing Transmitting on Ethernet port (from
radio to user device)
--Amber LED Solid Ethernet link indicator
Flashing Receiving on Ethernet port (from user
device to radio

15
1.1 Admin Tab
General: Use the Admin tab (Figure 1.1-1) to log onto the XG1 radio Installation Software for
operator authentication and to test communications with the radio connected to the laptop via the
Ethernet port. In addition, the operator may save some default configuration parameters (such as
the default radio IP address) for convenience during subsequent installations.
Figure 1.1-1: Admin Tab
Login – Enter your User Name and Password (provided by Network Operator). Optionally, enter
your Operator ID, also provided by the Network Operator. Click the Login button. (Later, click
Logout to cancel your session.) A message will be sent to the EMS that an operator has logged
in. A message will appear in the Message Log area of your screen. (The User is the user login
name for all users of the software. The Operator ID is unique for the individual user; this
identifies the operator in log entries.)
Test Communications with Radio – Enter the IP address and IP mask of the radio. The default
values for an unconfigured radio are IP address (10.255.0.1) and mask (255.255.255.0). This
address is permanent and may be used only for configuring the radio. Your laptop must be
configured on this IP subnet as well. Alternatively, you may set an alternate address in the radio
that is compatible with your laptop’s present IP configuration by putting an IP address and mask
in the Set IP Address panel and pressing the Set Local IP Addr/Mask. (The Network Operator

may later change the IP address over-the-air.) To change your laptop’s IP address, use the
Network Connect tool on the Windows Control Panel to set the static IP address (instructions
vary with Windows version). Note: make certain your firewall is not interfering with
communications with the radio.
Click the Test Comm with Radio button to verify that you have communications with the radio
via the Ethernet port. A message will be displayed in the Message Log area when the test
message is sent to the radio. If the radio replies successfully, a “From Radio: test reply” message
will be displayed.
Save Default Configuration – To save your configuration (at any time) come to this tab, select a
directory in the directory box, and click the Save To File button. At some time later, restore this
configuration by clicking the Load From File button. This stores the laptop installation
application configuration, not the radio configuration. The configuration items stored are default
IP address and mask of radio.
1.2 Download Tab
Figure 1.2-1: Download Tab

17
General: Use this tab to install (download) new software onto the XG1 radio, if the Network
Operator provided a new version of software. The laptop sends this software to the radio via the
Ethernet connection.
Procedure
1. Copy the software directory to be downloaded to the radio into a folder on your laptop or
desktop computer. Only one revision of software should be placed in a directory. Typically,
these files will be in a directory for the revision under the c:/program files/adapt4/revXXXX
directory, where XXXX is a revision number.
IMPORTANT: Adapt4 distributes the files in a single directory, which will have a name that
indicates the software release. The directory must be kept intact; the Downloader will reject
the directory if it is not kept intact.
2. From the Select Download Directory box, select the drive and folder containing the software
release to be installed in the XG1.
3. Click Begin Downloads. The progress of the downloads will be shown via the All Files and
Current File progress indicators. The file names will be listed in the Message Log area.
To determine the current software version of every software file in the radio, click Get Value
From Radio from the Current Versions panel. Table 1.2-1 describes the download files.
Table 1.2-1: Description of Download Files
Download Tab Description Type
ControllerVersion Version of Dig Microprocessor Firmware Read-only text
CoefficientsVersion Version of Coefficients File Read-only text
DSPVersion Version of DSP Firmware Read-only text
FPGAVersion Version of FPGA code Read-only text
1.3 Startup Config Tab
General: Use this tab to give the XG1 radio the minimum network configuration that it needs to
join (become part of) the network. After the radio has this information, it will receive further
configuration over-the-air from the EMS. The radio needs the proper Network ID to join the
network and needs the Radio Function to perform the correct role: Base Station or Remote
Station. These configuration values will be provided by the Network Operator. The radio joins the
network by looking for special transmissions (preambles) containing the Network ID.

The installer may also use the Antenna Pointing Tool on this tab to point the Remote Site's
directional antenna towards the Base Station.
Note: The Channel Set must be set before the radio can become operational; this is described in
the Channels Tab section
Figure 1.3-1: Startup Config Tab
1.3.1 Network Configuration Panel
1. Set the Network ID and Radio Function fields:
•Enter the Network ID in decimal or hexadecimal (beginning with “0x”). For example:
25238 (decimal) or 0x6296 (hexadecimal). These two example values are equivalent
(refer to the same network). The Network ID is comprised of two values that must be
accurately entered: the Multi Tx/Rx field and Single Tx/Rx field.
•Click the Network ID checkbox (if it is not already checked).
•Select a radio type by clicking the appropriate option (Factory Default, Hub (Base
Station) or Remote) in the Radio Function area.
•Click the Radio Function checkbox (if it is not already checked).
•Click the Send Config to Radio button.

19
2. Set the Encryption Key
All stations in the network must have the same encryption key. The Network Operator
provides this key. The key may be entered in one of three ways:
•Default Key: a default encryption key is used
•Hex: a 32-character hexadecimal key must be entered. For ease of entry, four 8-
character fields are provided. The valid characters for a hexadecimal key are: 0-9
and A-E (or a-e). Note that a “0x” prefix should not be included in the fields.
•Phrase: a sixteen-character “pass phrase” may be used instead of a hexadecimal key.
NOTE: This key type is provided for convenience, but it produces less-secure keys.
3. Set the Installation Status
When the Field Installer has completed all steps and the field installation is complete, return
to this tab and set the installation status of the radio via the Installation Status field. The
Field Installer indicates that the radio is installed and ready for further configuration from the
EMS (which might not happen until after the Field Installer has left the site) by setting the
Installation Status field to the Installed value.
•Deselect the Network ID and Radio Function checkboxes by clicking them.
•Click the Installed radio button in the Installation Status area.
•Click the Send Config to Radio button to send the Encryption Key and Install Status to
the radio
Note: The EMS operator will set the Installation Status field to Commissioned (over-the-
air) after the EMS has further configured the radio - possibly after the Installer has left the
location.
The present values stored in the radio can be retrieved by selecting all the checkboxes (or
clicking the Check/Uncheck All checkbox) and clicking the Get Values from Radio button.
However, for security, encryption keys will not be displayed.
4. Set the Install Time/Date
The Install Time/Date is stored in the radio’s internal database for record-keeping. This time
will also set the initial time/date included in log entries made by the radio. (The EMS will
update the logging time/date periodically.
5. Save To Flash and Reboot Radio
After completing the above steps, the radio is ready to join the network. Save the
configuration changes in the radio by pressing the Save Changes (to flash) button. Then
reboot the radio by pressing the Reboot Radio button.
1.3.2 Network Status Panel
At remote stations, use this panel to determine if the radio has joined the network. (This can
happen before being configured by the EMS; however, user traffic will not pass over the network

until the EMS configures the site.) Click the Get Values from Radio button in this panel The
network status will be displayed, including:
•Run Status: If Run Status is in the joined state, the radio has connected with the network
•Join Counter: the number of times the radio has joined the network. (For example, the radio
will have to re-join if the installer mispoints the antenna or removes power from the radio for
a while).
•Internal Temp—this field gives the temperature measured by a sensor inside the radio in
degrees-centigrade. This temperature will typically be higher than the external ambient
temperature.
Hub (Base Station) Radio: A second panel gives status of hub (base station) radios:
•Preamble Channel (changes frequently)
•Number of Channels (1-45)
•FEC Coding Rate (none, 1/2, 3/4 or 7/8)
•Tx Power Level (changes frequently)
•Last SNR (signal/noise ratio, which changes frequently)
•System Time: the network time-of-day (which will be set by the Base Station after the
Remote Station joins the network)
1.3.3 Antenna Pointing Tool Panel
Click the Start button to start the tool. The tool will begin periodically polling the attached
remote radio for its signal strength from the Base Station. The tool will show the relative strength
in a vertical bar graph and in a numeric text box. If SNR Beep On is selected (and if laptop
sound is supported and enabled), a beep will sound at a rate proportional to the signal strength.
This enables the Installer to adjust the antenna without viewing the laptop screen. Note: not all
laptops support sound; use the visual display in this case.
Other manuals for XG1
1
Table of contents
Other Adapt4 Radio manuals


