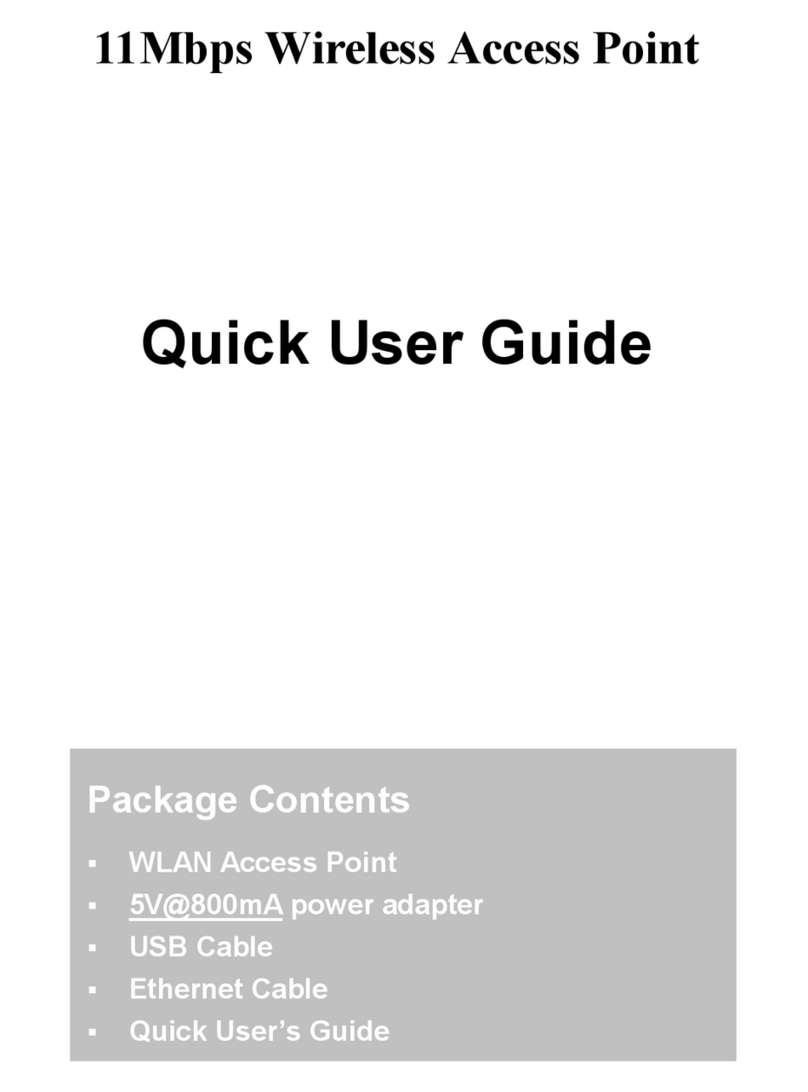
Addtron Technology AWS-110 User manual

Addtron AWS-110
Wireless Access Point
User Manual
FederalCommunicationsCommission(FCC)ComplianceNotice:Radio
Frequency Notice
This device complies with part 15 of the FCC Rules. Operation is subject to the
following two conditions:
1. This device may not cause harmful interference.
2. This device must accept any interference received, including interference that
may cause undesired operation.
Note:ThisequipmenthasbeentestedandfoundtocomplywiththelimitsforaClass
B digital device, pursuant to part 15 of the FCC Rules. These limits are designed to
providereasonableprotectionagainstharmfulinterference in aresidentialinstallation.
This equipment generates, uses, and can radiate radio frequency energy and, if not
installedandusedin accordance with the instructions, may cause harmful interference
to radio communications. However, there is no guarantee that interference will not
occurin a particular installation. Ifthisequipment does cause harmfulinterferenceto
radio or television reception,whichcanbedeterminedbyturningtheequipmentoff
andon, the userisencouraged to tryto correct theinterferenceby one ormoreof the
followingmeasures: (1) Reorient orrelocatethe receiving antenna, (2)Increasethe
separation between the equipment and receiver, (3) Connect the equipment into an
outletonacircuitdifferentfromthattowhichthereceiverisconnected,(4)Consult
the dealer or an experienced radio/TV technician for help.
FederalCommunicationsCommission(FCC)RadiationExposureStatement
This equipment complies with FCC radiation exposure limits set forth for an
uncontrolledenvironment. In order to avoidthepossibility of exceeding theFCCradio
frequencyexposure limits, humanproximityto the antennashallnot belessthan20cm
(8 inches) during normal operation.

Wireless Access Point
iii
TABLE OF CONTENT
TABLE OF CONTENT...........................................................iii
Introduction...........................................................................1
Connect the Wireless Access Point to Your Network ......................2
HARDWARE INSTALLATION.....................................................2
Driver Installation...................................................................3
INSTALLDRIVER UNDERWINDOWS98.....................................3
INSTALLDRIVER UNDERWINDOWSME....................................6
INSTALLDRIVER UNDERWINDOWS2000 ..................................9
Configuration Utility.............................................................13
INSTALL THECONFIGURATIONUTILITY...................................13
USB CONFIGURATION UTILITY .............................................16
SNMP MANAGER CONFIGURATIONUTILITY............................18
FIRMWAREUPGRADEUTILITY...............................................27
Wireless Access Point
1
Introduction
The IEEE 802.11b Wireless Access Point allows you to put your
Wireless LAN into the infrastructure mode. In the infrastructure
mode, the Wireless Access Point converts airwave data into wired
Ethernet data, acting as a bridge between the wired LAN and wireless
clients. Connecting multiple Access Points via a wired Ethernet
backbone can further extend the wireless network coverage. As a
mobile computing device moves out of the range of one access point,
it moves into the range of another. As a result, wireless clients can
freely roam from one access point domain to another and still
maintain seamless connection to the network.
Features
§Complies with the IEEE 802.11b Direct Sequence Spread
Specification
§Complies with IEEE 802.3
§Supports 11, 5.5, 2 and 1 Mbps Data Rates on the wireless
interface
§Supports 10 Mbps Data Rate on the Ethernet interface
§WEP 64-bit data encryption for security
§Roaming capability
§Provides SNMPv1 management
§Remote management via SNMP protocol
§Local management via console port
§Firmware upgrade via console interface
§Requires 5V@800mA power supply
§FCC Certified under Part 15 to Operate in 2.4GHz ISM Band
§Driver Support Microsoft Windows®98,2000,andMillennium

Wireless Access Point
2
Connect the Wireless Access Point to
Your Network
Hardware Installation
§Power on your desktop PC.
§Connectthe USBport ofthe AccessPoint toyour desktopPC.
§Connect the Ethernet port of the Access Point to a hub or
switch.
§Insert the driver CD into your CD-ROM.
§The Hardware Installation is complete.
Wireless Access Point
3
Driver Installation
Install Driver Under Windows 98
1. Windows 98 automatically recognizes a new USB Device. Click
the Next button to proceed.
2. Make sure that Search for the best driver for your device is
selected and click the Next button to continue.

Wireless Access Point
4
3. Make sure that Specify a location is selected and click the
Browse button. At this point, Windows will ask you to browse
for the folder. Simply select the folder in which the driver is
located and click the Next button.
4. Windows is now ready to install the driver. Click the Nextbutton
to continue.
Wireless Access Point
5
5. After Windows copies the files from your CD, you will be
notified that installation has been completed. Click the Finish
button to continue.
6. Right click the mouse on the My computer icon and select
Properties. Click the Device Manager. You will find the
AddtronWireless802.11b AccessPoint,if it has been installed
successfully. The Access Point driver installation is complete.
You may continue on to Utility Installation.

Wireless Access Point
6
Install Driver Under Windows ME
1. Windows ME automatically recognizes a new USB Device
added. Select Specify the location of the driver and click the
Next button to proceed.
2. At this point, Windows will ask you for new drivers.Make sure
that Search for the best driver for your device and Specify a
locationare selected. Click the Browse button, simply select the
folder in which the driver is located and click the Next button to
proceed.
Wireless Access Point
7
3. Windows is now ready to install the driver. Click the Nextbutton
to continue.
4. Windows will indicate that installation is complete. Click the
Finishbutton to continue.

Wireless Access Point
8
5. To verify the driver installation, move the cursor on the My
computer icon and right click your mouse. Select Properties.
The System Properties window appears. Addtron Wireless
802.11b Access Point will be listed if the driver installation was
successful.
Wireless Access Point
9
Install Driver Under Windows 2000
1. Windows 2000 automatically recognizes the Wireless Access
Point when it is connected to the PC. Click the Next button to
proceed.
2. Select Search for a suitable driver for my device and click the
Next button.

Wireless Access Point
10
3. Select Specify a location and click the Next button.
4. On the following screen, click the Browsebutton. Simply select
the folder in which the driver is located. Click the OKbutton.
Wireless Access Point
11
5. Windows will now search for the driver. Click theNext button.
6. Windows has finished installing the driver. Click the Finish
button to complete.

Wireless Access Point
12
7. Right click My computer and select Properties. Select
Hardware and select Device Manager and click on Network
adapters. You will find the Addtron Wireless 802.11b Access
Point, if it has been installed successfully. The Access Point
driver installation is complete.
Wireless Access Point
13
Configuration Utility
The Wireless Access Point can be configured through the USB
Configuration Utility or the SNMP Manager Configuration Utility.
Install the Configuration Utility
1. Execute the Setup.exe file on your CD-ROM. Windows will
bring you to the InstallShield Wizard screen. Click the Next
button to proceed.

Wireless Access Point
14
2. At this point, Windows will ask for the destination folder. Click
the Next button to continue.
3. Windows will ask for the program folder. Click the Next button
to proceed.
Wireless Access Point
15
4. Windows will indicate that installation has been completed.
Click the Finishbutton to continue.
5. After installing the Utility, installation is complete. From the
Start menu, select Addtron Wireless 802.11b Access Point
Utility and then click USB Configuration Utility. Windows
will bring you to the Access Point Configuration &
Firmware Upgrade Utilityscreen.

Wireless Access Point
16
USB Configuration Utility
The USB Configuration Utility is divided into 3 parts: Firmware
Download, Configuration Utilities, and Version Information.
Firmware Download
The Firmware Download is for upgrading the firmware. Click the
Browse button and select the Firmware File. Click the Download
button.
Wireless Access Point
17
Configuration Utilities
Click the Configure button. The Configuration Utility screen
appears. Click the Get button. The Identifier and Value fields should
be listed. Select the Identifier you want to modify and click the
Modify button. You may change the Value. Click the Setbutton to
set the Configuration.
Version Information
The Version Information field shows the release informationforthe
USB Configuration Utility.

Wireless Access Point
18
SNMP Manager Configuration Utility
From the Start menu, select Wireless 802.11 Access Point Utility
and then click SNMP Manager Configuration Utility. Windows
will bring you to the Wireless 802.11b Access Point SNMP
Manager screen.
Find Access Point
From the File tab, select the Find Access Point item. Windows will
bring you to the Available Access Points screen listing the Access
Point.
Wireless Access Point
19
Select Settings from the Start menu and open the Control Panel.
Double click on the Network icon. Windows will bring you to the
Network screen.

Wireless Access Point
20
Select the Configuration tab and double click the TCP/IP item. The
TCP/IP Properties will appear. Select Specify an IP address and set
the IP address and Subnet Mask. The Subnet Mask must be the
same as with the Access Point. The IP address must be different from
the Access Point.
Double click the Access Point you have selected to connect. After
connecting the Access Point, the Wireless 802.11b Access Point
SNMP Manager screen will show six tabs: Setup, Commands, Info,
Traps, Network, and Window.
Wireless Access Point
21
Download Changes
After your setup, you need to download the configuration. From the
File tab, select the Download Changes item. Windows will bring
you to the SNMP manager screen. Click the Yes button to download
configuration.
Setup
Bridge IP Configuration
From the Setup tab, select the Bridge item and then the IP
Configuration item. Windows will bring you to the Bridge IP
Configuration screen.
The IP Address field must be set to a different IP Address to the
Wireless Network Access Point.

Wireless Access Point
22
The IP Mask field must be set to the same Subnet Mask as with the
Wireless Network Access Point.
Privacy Option
From the Setuptab, select the Wireless LAN item and then the
Privacy Options item. Windows will bring you to thePrivacy
Options screen. The 64-bit WEP keys can be set for four different
keys:Key 1, Key 2, Key 3, and Key 4 . The check box besides the
WEP Enable is to enable the WEP security feature. Click theOK
button.
Wireless Operational Settings
From the Setup tab, select the Wireless LAN item and then the
Optional Settings item. Windows will bring you to the Wireless
Operational Settings screen.
Wireless Access Point
23
The ESSID is a unique name shared among all points in a wireless
network. The ESSID must be the same for all points in the network.
It is case sensitive and must not exceed 32 characters.
The Channel field setting specifies the channel used in wireless
communication and should be set to the same channel as the other
points in the wireless network.
The Fragmentation Thresholdfield sets the length of the fragment.
Eachfragment isaframe nolargerthan theFragmentationThreshold.
The RTS/CTS Thresholdfield sets the length threshold. An Access
Point uses a RTS/CTS exchange for directed frames only when the
length of the MPDU is greater than the length threshold.
The Auto Rate Fall Back is for roaming flexibility. When the
wireless devices move away from the Wireless Access Point, the
transfer rate will automatically fall back to the optimum rate.
The Authentication Typefield sets the type of authentication service.
The OpenSystemmode is for any wireless device. The Shared Key
mode is for a wireless device with a shared secret key.
The Preamble Type field sets the length of preamble. The Long
mode is set to 144 bits. The Short mode is set to 72 bits.
The Basic Ratesfieldissetforthe transferratefortheAccessPoint.
Commands
Reset Device

Wireless Access Point
24
From the Commands tab, select the Reset Device item. Windows
will bring you to the SNMP manager screen. Click the OKbutton to
reset the Access Point.
Restore Defaults
From the Commands tab, select the Restore Defaults item.
Windows will bring you to the SNMP manager screen. Click the
OKbutton to restore the default configurationoftheAccessPoint.
Info
Wireless Statistics
From the Info tab, select the Wireless Statistics item. The Wireless
Wireless Access Point
25
Statistics will show you the number of the packets transmitted and
received for Unicast, Broadcast, and Multicast.
Traps
Trap Recorder
From the Traps tab, select the View Recorditem. The Windows will
show you the trap received.
Network
Associated Stations

Wireless Access Point
26
From the Network tab, select Associated Stations item. The
Associated Stationsscreen will appear.
Help
From the Help tab, select About SNMP Manager item. The About
SNMP Manager screen shows the release information for the SNMP
Manager Utility.
Wireless Access Point
27
Firmware Upgrade Utility
TheUSB ConfigurationUtilityor theFirmware UpgradeUtility can
upgrade the Wireless Access Point’s firmware.
From the Start menu, select Wireless 802.11 Access Point Utility
and then click Firmware Upgrade Utility. Windows will bring you
to the TFTP Client v1.1 screen.
Set the IP Addressand click theBrowsebutton. Select the new
firmware file. Click the Download image button to upgrade the
firmware.
Other manuals for AWS-110
1
Table of contents
Other Addtron Technology Wireless Access Point manuals
Popular Wireless Access Point manuals by other brands

Huawei
Huawei Quidway WA1003A Quick installation guide

Motorola
Motorola PTP 600 Series user guide
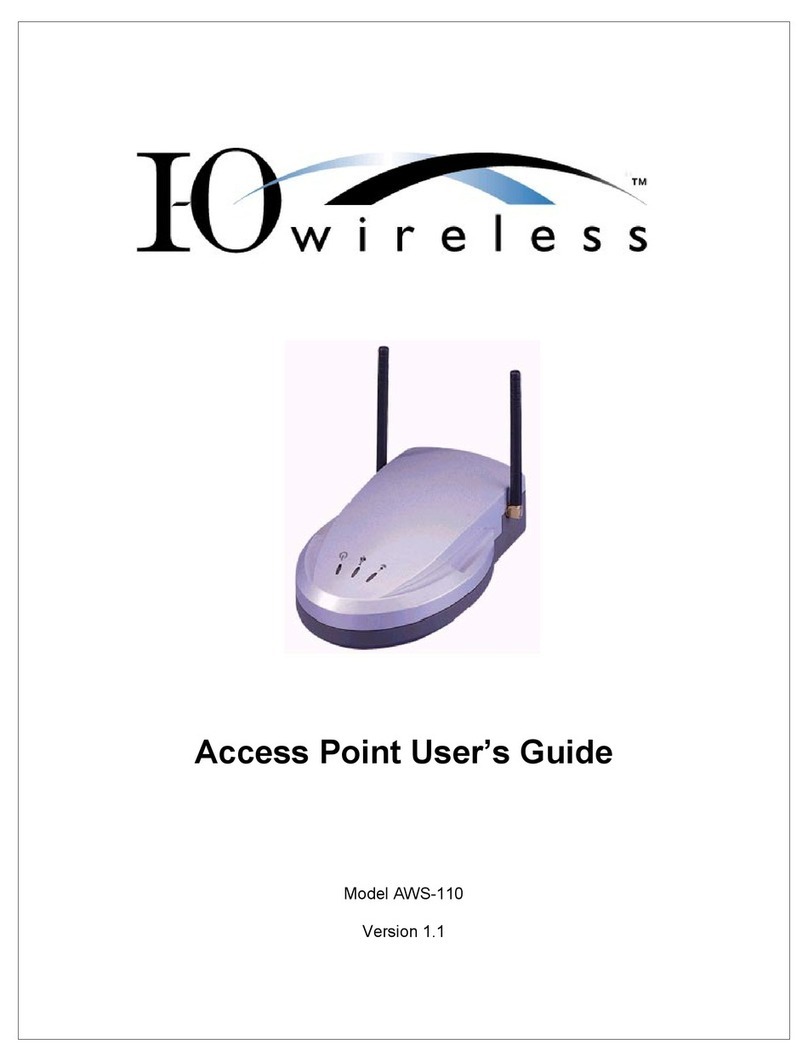
I-O Wireless
I-O Wireless AWS-110 user guide
NETGEAR
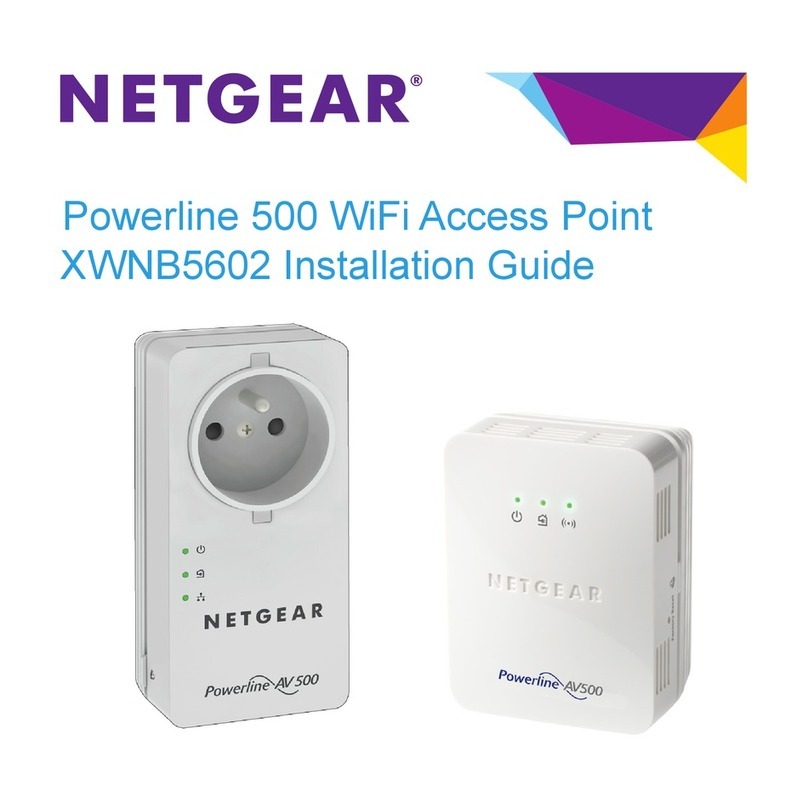
NETGEAR PowerLine XWNB5602 installation guide
DragonWave
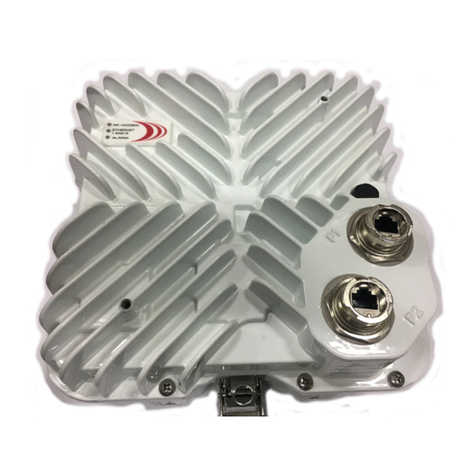
DragonWave Horizon COMPACT product manual
Ruijie
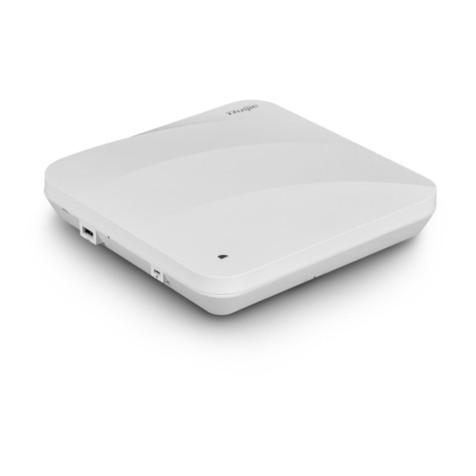
Ruijie RG-AP740-I Series Hardware installation and reference guide
